Featured Post

Privacy Policy

I'm working on a new privacy policy for my followers, but for now you should know that if you comment on my site, my site collects your ...

Showing posts with label Stencils. Show all posts

Saturday, April 6, 2024

Watercolor Floral Card


Hi my friends, today I have a card made using the pretty Summer Plumeria Clear Stamp Set from RubberStamp.com


The flowers were stamped on watercolor paper with Onyx Black VersaFine Ink and colored with Distress Watercolor Pencils in Picked Raspberry, Twisted Citron and Villainous Potion.

The flowers were then shadowed with grays and then the panel was splattered with black ink.

Extreme Double-sided Tape 1/8" from Scrapbook Adhesives by 3L was placed below the flowers and sprinkled with purple glitter.

The sentiment was stamped in black, layered and popped up below the glitter strip.

The background was made with the Watercolor Striped Stencil from Altenew and Distress Inks in Picked Raspberry and Twisted Citron. The flower panel was popped up on this.

Have a crafty day!

Let's Connect!

Affiliate and Product Disclosure
I am on various Design Teams and get free goodies for blogging about craft products but only because I love their products and genuinely use them. Ultimately my opinions are my own. A list of companies is in my sidebar.


Monday, October 16, 2023

Stenciled Daisies Card


Today I have a bright and cheery card that has glitter to add a little something special. Adding glitter is easy to do with the help of adhesives from Scrapbook Adhesives by 3L.

Here's how my card was made-

Stencil daisies using the Layered Sunflower Stencil on a white cardstock panel using yellow, brown and green inks.


Place Extreme Double-Sided Tape 1/8" and 1/4" at the bottom of the panel with the thinner tape on top.


Sprinkle brown ultra fine glitter on the tape, after the liners have been removed and rub with your finger to make sure all of the tape is covered with glitter.


Place tape strips on top of a rust top folding card and adhere the daisy pane on top.


Cut a piece of Adhesive Sheet on rust cardstock. Place Thanks die on top of the Adhesive Sheet and run through your die-cut machine.


Remove the carrier from the top of the Thanks, sprinkle with brown glitter and rub to assure adhesion.


Glue the Thanks to the top left of the card using Dual Tip. 


Random glue orange rhinestones to the card using Dual Tip.


Have a crafty day!

Let's Connect!

Affiliate and Product Disclosure
I am on various Design Teams and get free goodies for blogging about craft products but only because I love their products and genuinely use them. Ultimately my opinions are my own. A list of companies is in my sidebar.


Wednesday, May 3, 2023

Wonderful Friends Great Adventures Card


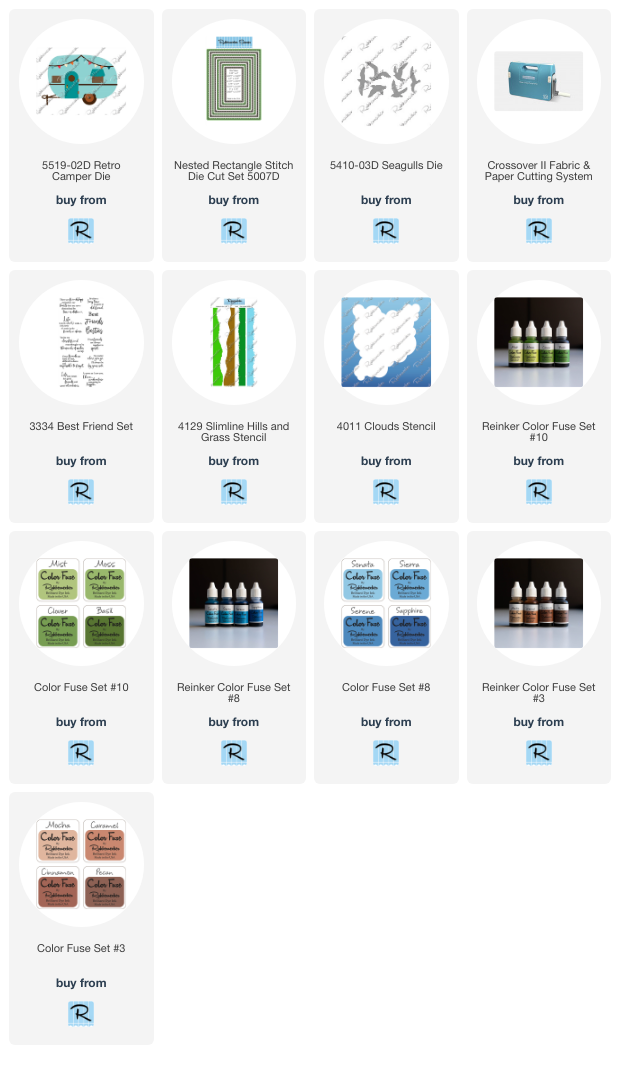
Use the Retro Trailer Die to die-cut different color papers and piece it together, set aside.


On a white cardstock panel 4 1/4" x 5 1/2", make a background scene starting with the grass by using the Slimline Hills and Grass Stencil and different shades of green from the Color Fuse Set #10. 
Next, move up to the mountains using brown inks from the Color Fuse Set #3.
The clouds were made using the Clouds Stencil and blue inks from the Color Fuse Set #8. All of the inks were applied using blender brushes, I like the soft look that can be achived, but you could also use foam daubers.


Die-cut the background scene using the large die from the Nested Rectangle Stitch Die Cut Set and mount to a brown card.
Stamp the sentiment from the Best Friend Set on a white cardstock square with brown ink from the Color Fuse Set #3 and layer it onto gray and peach squares, then pop it up at the top left of the card using 3D Foam Squares.


Glue the trailer to the bottom center of the card.
For the final touch, die-cut a seagull using the Seagulls Die and glue it to the top right of the card.


Click on the product below to go to the Rubbernecker Stamps online shop.

 
Have a crafty day!

Let's Connect!

Affiliate and Product Disclosure
I am on various Design Teams and get free goodies for blogging about craft products but only because I love their products and genuinely use them. Ultimately my opinions are my own. A list of companies is in my sidebar.

Tuesday, April 11, 2023

Pretty Card with Funny Sentiment


It's always fun making a pretty card with an unexpected sentiment. My card today does just that with stencils, stamps, dies and inks from Rubbernecker Stamps.

Here's how my card was made-

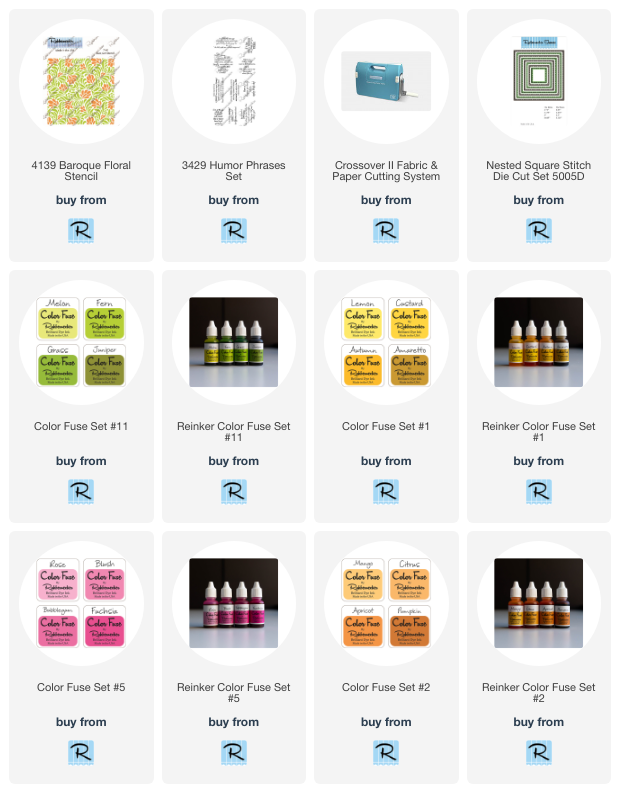
To make the background, I placed a sheet of white cardstock on my STAY-tion, then put the the leaf stencil from the Baroque Floral Stencil (two part stencil) down and used the magnets to hold it in place. 
Next, I used a brush to apply Melon, Grass and Fern Color Fuse Ink.


The leaves stencil was removed and the flower stencil was aligned. Blush, Rose, Mango and Custard Color Fuse Ink were then blended over the stencil.


This was then die-cut twice using two sizes of the Nested Square w/ Pierce Die. 


The large square was glued to a pink square card and ribbon was wrapped around and glued in the center.


The smaller die-cut square was layered onto a slightly larger pink panel and popped up in the center of the card. Ribbon was tied in a knot and glued to the right side.


The sentiment was stamped on vellum using black StazOn Ink and taped to the center of the card using E-Z Runner Permanent Fine Adhesive from Scrapbook Adhesives by 3L. This doesn't show under the vellum.
The flowers were die cut and sponged with orange and pink Color Fuse Inks.  The leaves were die-cut from green cardstock.


It's always fun making a pretty card with an unexpected sentiment!


 Click on the item blow to go to the Rubbernecker Stamps online shop.

Wednesday, February 15, 2023

Truck Filled with Flowers Card


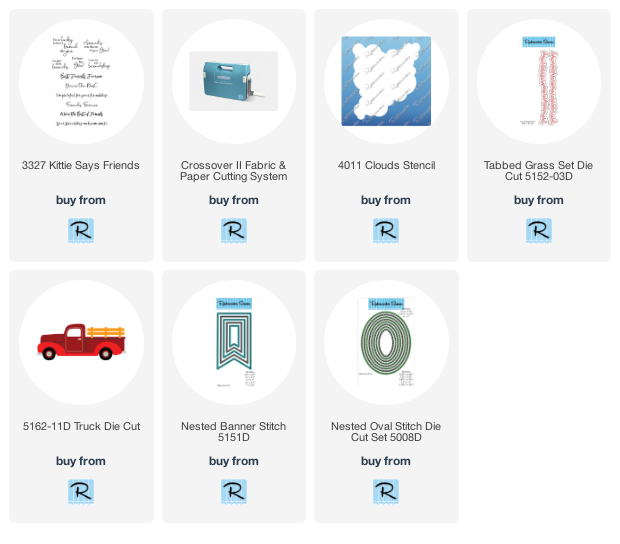
Trucks aren't just for boys, I filled the back up with flowers for my friendship card, it worked perfectly with the sentiment. I have this card up on the Scrapbook Adhesives Blog with a full tutorial, here are a couple of pictures but go to their Blog to see more with directions.


Scrapbook Adhesives by 3L® 3D Foam Squares Micro White 3D Foam Squares White Mix

E-Z Runner Grand E-Z Runner Hearts Adhesive Dots Micro Metallic Transfer Foil Sheets Nature Colors Metallic Transfer Foil Sheets Pastel Colors


Home Hobby by 3L® Dual Tip Glue Pen Plus Rubbernecker- Dies (truck, grass, banner, oval), Stamps, Cloud Stencil Spellbinders Paper Arts- Flower Dies PinkFresh- Inks PrintWorks Specialty Paper- Gold Glitter Paper, Cardstock

Have a crafty day!

Let's Connect!

Affiliate and Product Disclosure
I am on various Design Teams and get free goodies for blogging about craft products but only because I love their products and genuinely use them. Ultimately my opinions are my own. A list of companies is in my sidebar.

Wednesday, October 5, 2022

Mini Slimline Thank You Card.


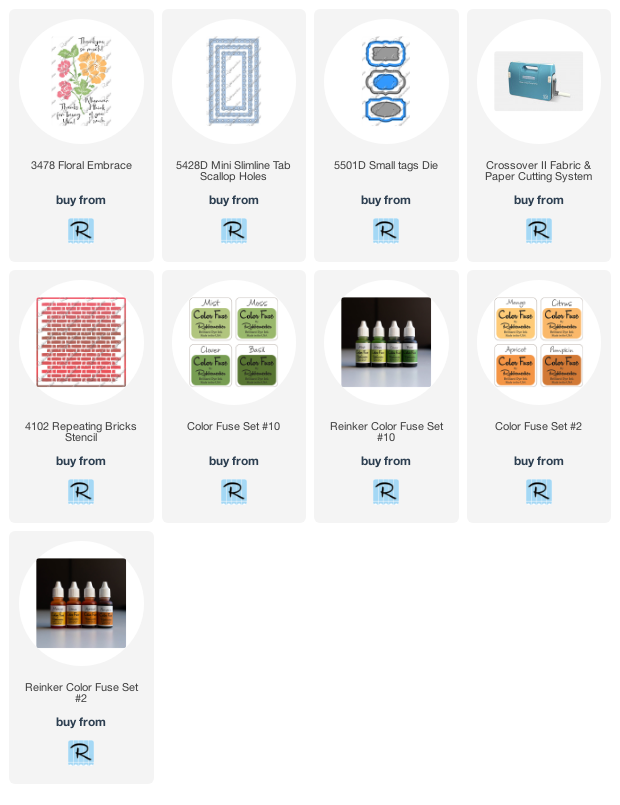
Die-cut white cardstock using the largest die in the Mini Slimline Tab Scallop Die Set.
Use the Floral Embrace Set to stamp to create a flower bunch.  I used a stamping tool to help with placement plus I'm able to stamp in the same location several times just in case it doesn't stamp completely the first time.


Once my flower bunch is complete, masks from the Floral Embrace Mask Set were placed over the flowers and the Repeating Bricks Stencil was placed over this. Caramel and Cinnamon inks were used to stencil.


Next the panel was layered onto slightly larger brown panel and mounted on a goldenrod top folding card.


The Small Tags Die Set was used to cut brown and gold glitter cardstocks. 
The sentiment from the Floral Embrace Set was stamped on the brown piece with VersaMark Ink and embossed with White Embossing Powder.


The gold piece was cut in half and glued to each end.
This was then popped up and placed at the top of the card diagonally.


Click on the items below to go to the Rubbernecker Stamps online shop.

Have a crafty day!

Let's Connect!

Affiliate and Product Disclosure
I am on various Design Teams and get free goodies for blogging about craft products but only because I love their products and genuinely use them. Ultimately my opinions are my own. A list of companies is in my sidebar.

Thursday, September 1, 2022

Gift Card Holder Thank You Card


Today I have this card up on the Scrapbook Adhesives by 3L Blog!

The bag was die-cut from glossy cardstock that had Rosey Posey and Peachy Keen Archival Inks applied to it.  A dot stencil was then laid on top and Rosey Posey Ink was added.  The flower was stamped with black ink on watercolor paper and watercolored with watercolor pencils.


Friday, August 5, 2022

All You Need- Fall Card


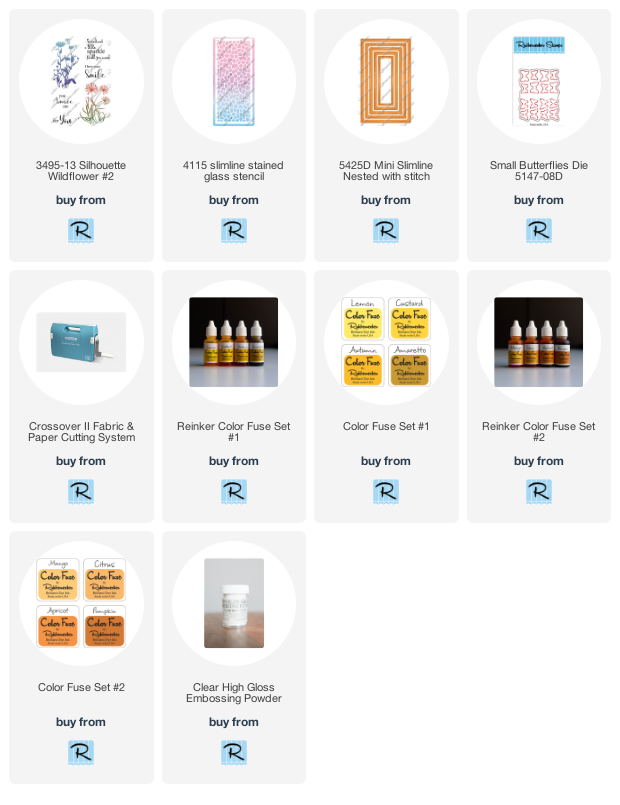
Die-cut white cardstock using the Mini Slimline Nested Die With Stitch.
Place the Slimline Stained Glass Stencil on the paper and apply inks from Color Fuse Inks #1 and #2 Sets.
Stamp flowers from the Silhouette Wildflowers #2 Set with VersaFine Onyx Black Ink on the bottom of the panel and emboss it with Clear Embossing Powder and the sentiment above the flowers a little off center.
Layer this onto slightly larger black and white cardstock panels and then onto a rust colored card.
Randomly apply clear rhinestones around the flowers and the sentiment.


Click on the product below to go to the Rubbernecker Stamps online shop.

Monday, August 1, 2022

You Are My Sunshine


Hi, today I have this card up on the Scrapbook Adhesives by 3L Blog.  You don't need a rainbow die to make a rainbow card.  

Here's how my card was made-

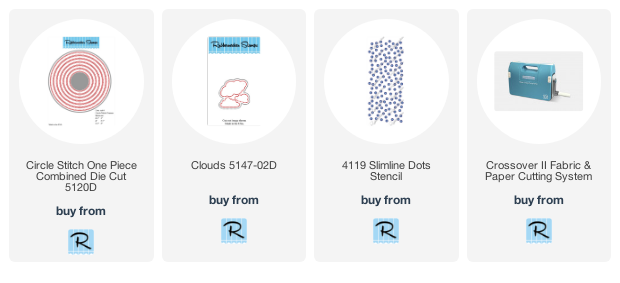
Die-cut different colors of cardstock using a one-piece circle die.


Pick the colors and sizes that you want to use and cut them in half.  Place them in order and apply Extreme Double sided tape on the back side to keep all of the pieces together.


Use a dot stencil to dry emboss white cardstock.


Use the E-Z Runner Squares to attach the white dry embossed pane to a purple card.
Remove the liner from the back of the rainbow and place it on the white panel.


Die cut two clouds from white cardstock and pop them up on each end of the rainbow using 3D Foam Circles White Mix.


Stamp the sentiment on purple cardstock using purple ink and place it under the clouds using E-Z Runner Squares.  Place a yellow enamel dot on each side of the sentiment and randomly add smaller enamel dots around the rainbow.


Materials Needed:


Scrapbook Adhesives by 3L®
E-Z Squares Refillable Dispenser
3D Foam Circles White Mix

Home Hobby by 3L®
Extreme Double-Sided Tape 1/4"

Plus-
Rubbernecker Stamps- Dies, Stencils, Diecutting Machine
Printworks Specialty Paper- All of that pretty Cardstock.

Click on the product below to go to the Rubbernecker Stamps online shop.
Have a crafty day!

Let's Connect!

Affiliate and Product Disclosure
I am on various Design Teams and get free goodies for blogging about craft products but only because I love their products and genuinely use them. Ultimately my opinions are my own. A list of companies is in my sidebar.