Featured Post

Privacy Policy

I'm working on a new privacy policy for my followers, but for now you should know that if you comment on my site, my site collects your ...

Showing posts with label Funny Card. Show all posts

Tuesday, March 7, 2023

Funny Floral Card

One thing that I love doing is making a pretty card and adding an unexpected sentiment. Rubbernecker Stamps has so many funny sentiments, I LOVE them!

Here's how my card was made-

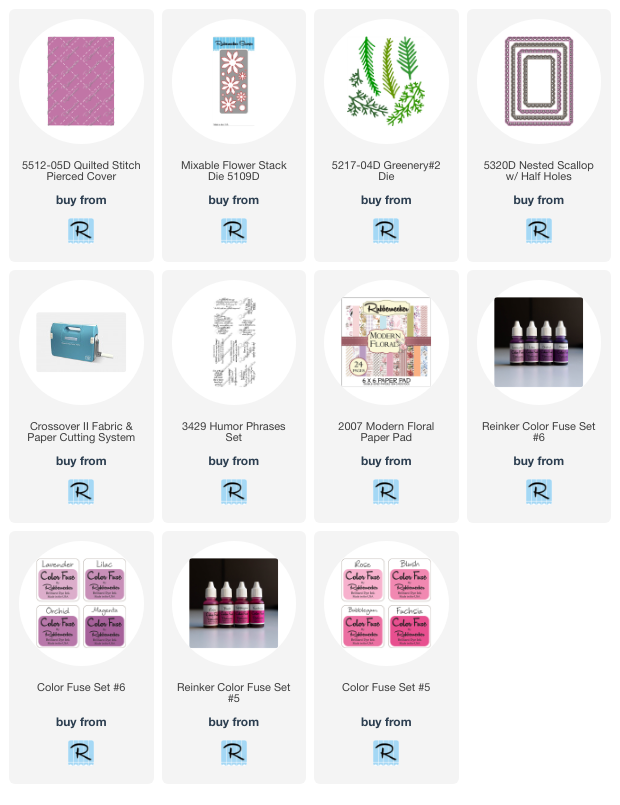
Die-cut white cardstock measuring 4 1/4" x 5 1/2" using the Quilted Stitch Cover.
Cut strips of decorative paper from the Modern Floral Paper Pad and glue them to the center of the panel.


Then cut that using the largest of the Nested Scallop w/ Half Holes die and glue it to a purple card.
Cover the two inner seams of the decorative paper strips with thin glitter Washi Tape and set aside.


Die-cut white cardstock twice with the Mixable Flower Stack Die and sponge one set with pink Color Fuse Ink and purple Color Fuse Inks on the second set. Glue the pieces together and add a yellow enamel dot in the center of both flowers.


Die-cut leaves using the Greenery #2 Die and glue three leaves to the left side of the card.


Pop-up the pink flower and glue down the purple below the pink flower as shown.


Stamp the sentiment from the Humor Phrases Set on black cardstock with VersaMark Ink and emboss with white embossing powder.
Cut it into a tag shape and glue it diagonally below the flowers and add a purple and white baker's twine bow.


Click on the product to go to the Rubberstamps online shop.
They ship quick!
Have a crafty day!

Let's Connect!

Affiliate and Product Disclosure
I am on various Design Teams and get free goodies for blogging about craft products but only because I love their products and genuinely use them. Ultimately my opinions are my own. A list of companies is in my sidebar.

Tuesday, February 15, 2022

Will Work For Stamps!


Today I have this bright, cheery and fun card up on the Scrapbook Adhesives by 3L Blog.  I love their adhesives especially when I have a lot of elements stuck down and popped up, with their adhesives I know nothing will fall off!

Here's how I made my card, first I stamped the images on watercolor paper with Onyx Black VersaFine Ink and watercolored them using Inktense Pencils.
Once the shirt is dry, it was stamped with the sentiment using Onyx Black VersaFine Ink.
To cut them out, the matching dies were used.


Die-cut white cardstock using a slimline die and use the E-Z Dots Permanent Runner to attach the flowers and leaves except for the daisies, as shown.


The smaller 3D Foam Circles were used from the Permanent White Mix to pop up the shirt in the center of the card and also pop up the daisies, one on each side of the shirt. You always want to use enough of the 3D Foam Circles so the edges of your images don't droop, that's why I don't just use one in the center of the flower.


Attach the decorated panel to a black and white buffalo plaid card using the E-Z Dots Permanent Runner.
Apply Sunflower Liquid Pearls to the center of the daisies.
Randomly add a few black and white epoxy dots to the card.


Apply Sunflower Liquid Pearls to the center of the daisies and randomly add a few black and white epoxy dots to the card.


Materials Needed Scrapbook Adhesives by 3L® 3D Foam Circles Whtie Mix

E-Z Dots Permanent Runner


Plus
Whimsy Stamps- Stamps
Queen & Company- Epoxy Dots
PrintWorks- White Cardstock

Have a crafty day 💜

Let's Connect!

Affiliate and Product Disclosure
I am on various Design Teams and get free goodies for blogging about craft products but only because I love their products and genuinely use them. Ultimately my opinions are my own. A list of companies is in my sidebar.


Wednesday, April 21, 2021

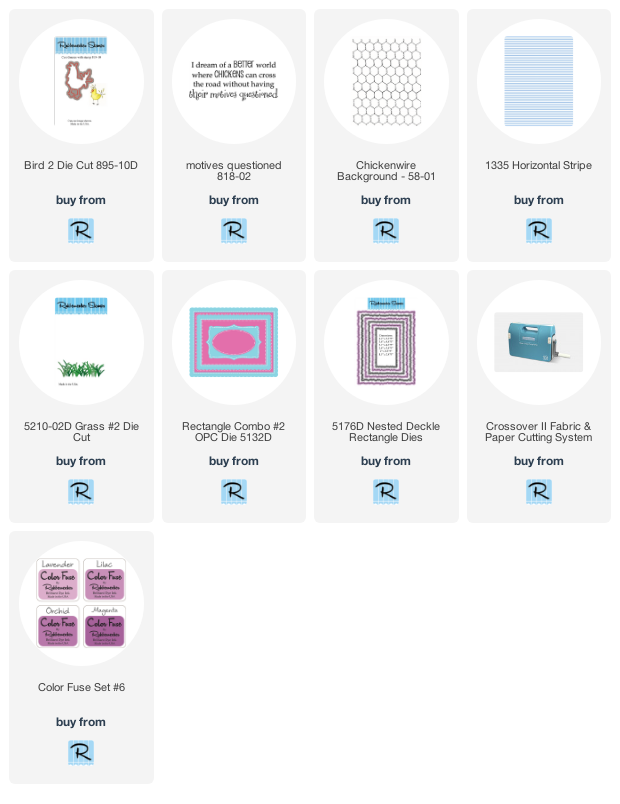
Chickens Cross the Road


Everyone just needs to stop questioning these poor chickens' motives and let them cross the street in peace hahaha.

Here's how my card was made-
  • Stamp the Chicken Wire Background on purple decorative paper with VersaMark Ink and Emboss with Silver Embossing Powder, set aside.
  • Die-cut purple cardstock and decorative paper with the Rectangle Combo #2 OPC Die.
  • Glue one of the purple frames on top of the Chicken Wire Background

  • Then die-cut two shades of green cardstock with the Grass #2 Die and glue pieces to the back of the decorative paper frame, glue this inside of the purple frame.
  • Stamp Bird 2 on Strathmore Bristol Smooth Paper with Onyx Black VersaFine Ink and emboss with Clear Embossing Powder.  Color with Zig Clean Color Real Brush Pens.
  • Die-cut the Bird 2 with the Bird 2 Die Cut and pop up on the Chicken Wire using 3D Foam Squares by Scrapbook Adhesives by 3L.

  • Layer this panel onto a slightly larger black cardstock.
  • Stamp white cardstock with the Horizontal Stripe stamp and Lilac Color Fuse Ink on white cardstock.
  • Die-cut this with the Nested Deckle Rectangle Die Set.
  • Glue black cardstock 4" x 5 1/4" to a white card, then glue the Horizontal Stripe panel diagonally to this. 
  • Pop up the chicken panel diagonally on the card.
  • Stamp Motives Questions on white cardstock with Onyx Black VersaFine Ink, layer it onto decorative paper and pop up on the card.

  • Randomly add white Enamel Dots to the black panel and orange Enamel dots to the sentiment.


Have a crafty day!

Let's Connect!

Affiliate and Product Disclosure
I am on various Design Teams and get free goodies for blogging about craft products but only because I love their products and genuinely use them. Ultimately my opinions are my own. A list of companies is in my sidebar.
Being part of various affiliate programs – when you click on an affiliate link and then go on to make a purchase, at no cost to you, I receive a small commission.  The affiliates I use include Rubbernecker Stamps.

Monday, March 22, 2021

I'd Share With You


I'm popping in today with a card featuring Maxwell wearing a mask and sharing his last bottle of hand sanitizer, such a thoughtful little mouse.  I hope that all of my crafty friends are staying healthy!

Here's how my card was made-
  1. Stamp Masked Maxwell and the hand sanitizer on Mixed Media White Paper and color with colored pencils, then cut out and set aside.
  2. Splatter an orange card using white and orange inks.
  3. Place a piece of decorative paper on the right side of your card with one of the corners as shown and cut off any overhang from the card.  Glue this down.
  4. Line the edge of the decorative paper with black glitter washi tape.
  5. Stamp sentiment with black ink on a die-cut banner and glue to the left side of the card.
  6. Apply a strip of washi tape to the bottom portion of the decorative paper, pop up Masked Maxwell using foam squares and glue down the hand sanitizer bottle.
Supplies
Stampendous
HMCV41 Masked Maxwell
SSC1365 Survived 2020
MPW811Mixed Media White Paper
STF082 VersaFine Ink- Onyx Black
EP020  Clear Embossing Powder

Plus
Prisma Colored Pencils
Decorative Paper
Cardstock- Orange, Black 
Black and White Check Washi Tape
White Pigment Ink
Abandon Coral- Distress Ink
3D Foam Squares- Scrapbook Adhesives by 3L
Zip Dry Glue- Beacon Adhesives
Scissors
Paper Cutter
Heat Gun
Have a creative day!

Let's connect!


Disclaimer- I get free goodies for blogging about craft products! Today I'm sharing a card made with products from Stampendous

Here are some places that you can find Stampendous Products-
First off check out your local Stamp Store, if they don't have it they can order it.
Online Stores

Tuesday, September 29, 2020

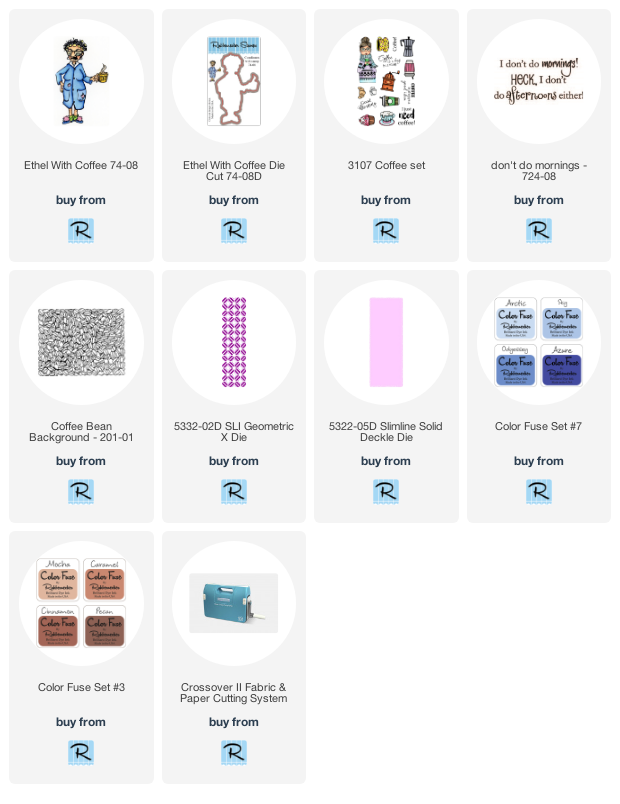
I Don't Do Mornings!


Oh this little lady could be me, I am NOT a morning person even though I've tried, my brain just doesn't turn on before 11:00 am.  So needless to say coffee is my friend!  To make my card I used stamps, dies, and inks from Rubbernecker Stamps and in case you didn't know you can share what you've made with Rubbernecker Stamps on their Facebook page "Rubbernecker Stamps Fans. 

  • Die-cut white cardstock using the SLI Geometric X Die and cut out close to the design.  
  • Sponge Color Fuse Inks with Caramel, Mocha, Artic and Sky.  Glue to a slightly larger white piece of cardstock.


  • Die-cut white cardstock with the Slimline Deckle Die and stamp with the Coffee Bean Background stamp and Mocha Color Fuse Ink.  Glue this to a blue panel then onto a kraft colored slimline card.
  • Stamp Ethel With Coffee on watercolor paper using Onyx Black VersaFine Ink and color with Inktense Pencils.
  • Cut Ethel out with the Ethel With Coffee Die Cut and set aside.
  • Pop up Ethel with foam squares towards the bottom of the card.

  • Stamp Don't Do Mornings on a strip of white cardstock with Pecan Color Fues ink and sponge the edges with the same color.  
  • Glue this to a slightly larger kraft colored piece of cardstock and cut to leave a thin border and pop us with foam squares.


  • Stamp Coffee! three times on strips of white cardstock with Odyssey Color Fuse Ink and glue to the card as shown.
  • Add Unicorn Stickles to Ethel's rollers, slipper pom poms and earings.


Have a creative day!! 


Let's Connect!

Affiliate and Product Disclosure
I am on various Design Teams and get free goodies for blogging about craft products but only because I love their products and genuinely use them. Ultimately my opinions are my own. A list of companies is in my sidebar.
Being part of various affiliate programs – when you click on an affiliate link and then go on to make a purchase, at no cost to you, I receive a small commission.  The affiliates I use include Rubbernecker Stamps.

Wednesday, August 5, 2020

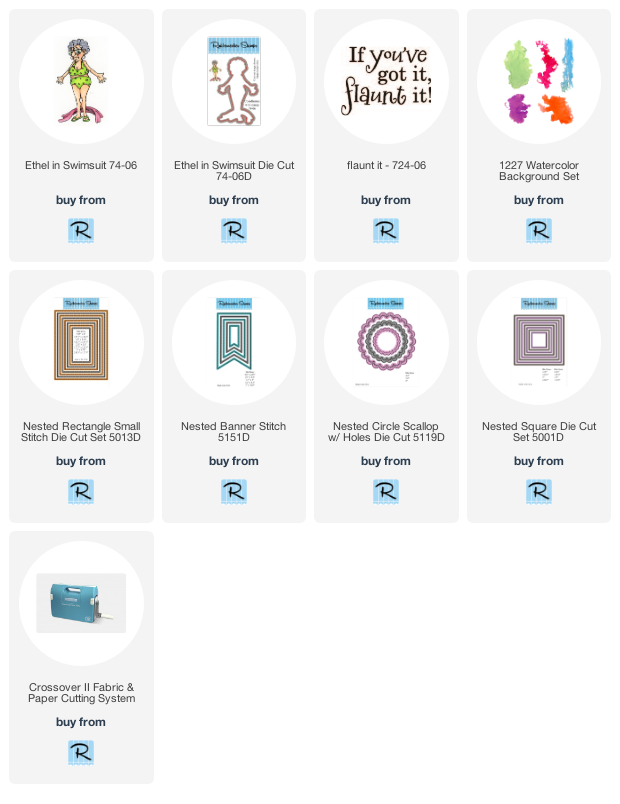
Flaunt It!

                                  
Hey girl if you've got it, flaunt it!!  I sure wish I had her self confidence, how about you? 
Today I used lots of layers for this funny stamp, Ethel in Swimsuit, and to make these layers I used different shapes of nested dies.  The nested dies I used are Nested Banner Stitch, Nested Square Die Cut Set, Nested Rectangle Small Stitch Die Cut Set, and Nested Circle Scallop Set w/ Holes.  All of these layers add a lot of dimension and interest.


Even though I have tons of beautiful decorative paper, I always seem to end up making my own with stamps to I can get the colors I want.  The stamps that were used on my card are Ethel in Swimsuit (she was colored with Inktense Pencils), Flaunt It, Watercolor Background Set which was used on the banner die and scalloped die, plus the Horizontal Stripes Stamp that was stamped on purple paper with VersaMark Ink and embossed with Sparkle Puff Embossing Powder.
For the final touch, I added sparkle with Stickles to the polka dots on Ethel's bathing suit and randomly applied clear rhinestones to the card.


Have a creative day!

Click on the product  to go to the Rubbernecker Stamps shop
Follow Me- Stamp This, on-
Twitter

Affiliate and Product Disclosure
I am on various Design Teams and get free goodies for blogging about craft products but only because I love their products and genuinely use them. Ultimately my opinions are my own. A list of companies is in my sidebar.
Being part of various affiliate programs – when you click on an affiliate link and then go on to make a purchase, at no cost to you, I receive a small commission.  The affiliates I use include Rubbernecker Stamps.

Monday, August 3, 2020

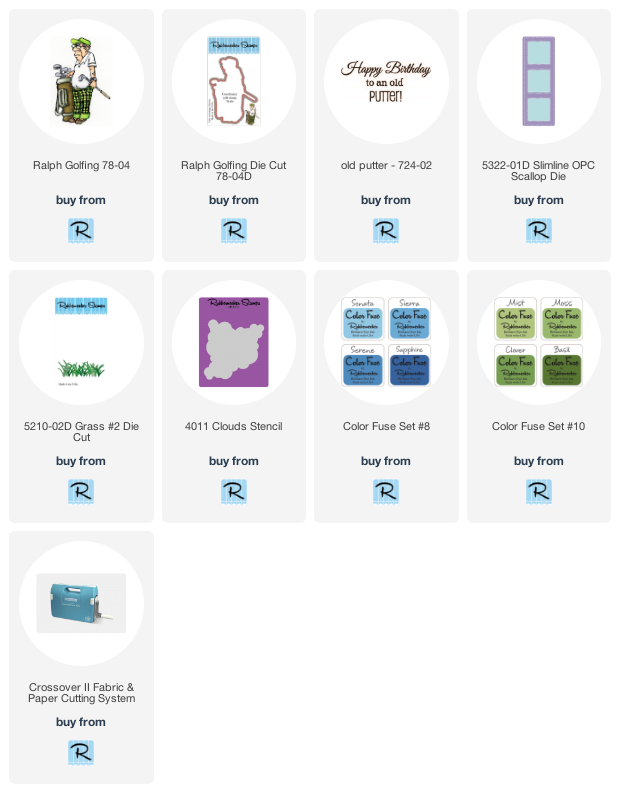
Old Putter


Happy Monday my crafty friends!  Today's card is a slimline birthday card and sometimes it's a challenge coming up with ideas for birthday cards to give to the guys in our lives but if you have a golfer in your life here's a card that he'll appreciate as long as he has a bit of a sense of humor hehe. 

Here's how my card was made-
  • Stamp Ralph Golfing on watercolor paper with Onyx Black VersaFine Ink and he was colored with Derwent Inktense Pencils.
  • Die-cut using the Ralph Golfing Die Cut and set aside.

  • Die-cut white cardstock using the Slimeline OPC Scallop Die, you will have the slimline frame and three squares once cut.

  • On one of the squares, Grass Color Fuse Ink was applied to the bottom of the square with a brush.
  • Die-cut grass from green cardstock using the Grass #2 Die Cut and glue to the bottom of the square with Zip Dry Glue and trim off any overhang of grass.

  • Stencil clouds using the Clouds Stencil and Sonata Color Fuse Ink on the other two squares.
  • Stamp Old Putter to one of the stenciled cloud squares with black ink.
  • Cut a dark blue panel 3 1/4" x 8 1/4" and glue the frame and squares to this.
  • Pop up Ralph using 3D Foam Squares from Scrapbook Adhesives by 3L.
  • Randomly glue on blue sequins using Zip Dry Glue.


Follow Me- Stamp This, on-
Twitter

Affiliate and Product Disclosure
I am on various Design Teams and get free goodies for blogging about craft products but only because I love their products and genuinely use them. Ultimately my opinions are my own. A list of companies is in my sidebar.
Being part of various affiliate programs – when you click on an affiliate link and then go on to make a purchase, at no cost to you, I receive a small commission.  The affiliates I use include Rubbernecker Stamps.


Monday, July 20, 2020

Behind You 100%


Happy Monday my friends, Jamie here with you today with a card to give to the guys in our lives.  I know for me the guys get a bit neglected because it's so much fun making cards with flowers, butterflies, teddy bears, and the like.  But this card was fun too!

Here's how my card was made-
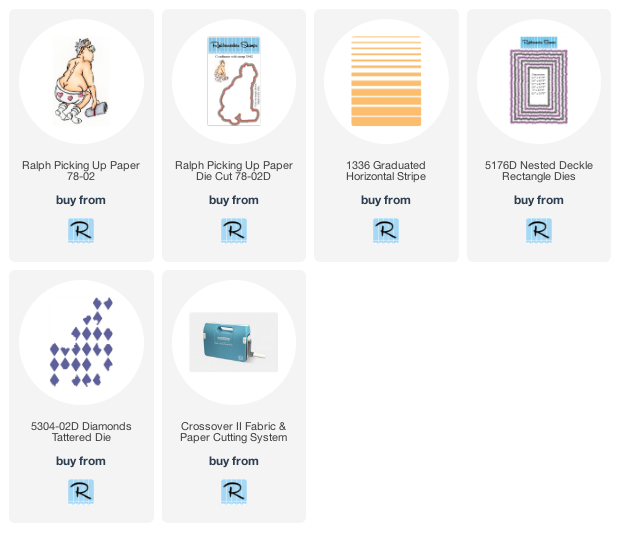
  • Stamp the Graduated Horizontal Stripe Stamp on white cardstock with VersaMark Ink and emboss with Vintage Blue Embossing Enamel.
  • Die-cut using the largest die from the Nested Deckle Rectangle Dies Set.
  • Use the Diamonds Tattered Die and cut the center of the stamped panel, glue this to a red card.

 
  • Stamp Ralph Picking Up Paper on watercolor paper and color with Inktense Pencils.
  • Use the cordinating Ralph die to cut him out and pop him up on the card using 3D Foam Squares from Scrapbook Adhesives by 3L. 
 

  • Stamp Behind You on white cardstock square with Onyx Black VersaFine Ink and layer onto slightly larger black cardstock as shown.
  • Apply two round red rhinestones on the right side of the black panel and a red rhinestone heart in between the round ones.  Pop this up with 3D Foam Squares.
  • When I made this I thought I was done but it seemed visually off balance so I added a strip of black and white decorative paper to the left side to tie in the black.  That pleased my eyes and balanced it out.

  • When I made this I thought I was done but it seemed visually off balance so I added a strip of black and white decorative paper to the left side to tie in the black.  That pleased my eyes and balanced it out.


Follow Me- Stamp This, on-
Twitter

Affiliate and Product Disclosure
I am on various Design Teams and get free goodies for blogging about craft products but only because I love their products and genuinely use them. Ultimately my opinions are my own. A list of companies is in my sidebar.
Being part of various affiliate programs – when you click on an affiliate link and then go on to make a purchase, at no cost to you, I receive a small commission.  The affiliates I use include Rubbernecker Stamps.


Monday, February 18, 2019

This Body...


This is what I feel like when I do yoga haha!  I think I'll send this to some friends who feel the same way, let them know they're not alone...the struggle is real.

Here's how my card was made with Stampendous stamps and dies;
1.  Die cut background scene using the Meadow Edgers Die Set from green and white cardstock.
2.  Stamp the green grass on the light green cardstock.  glue to a light blue panel and glue to a kraft colored card.
3.  Stamp Yoga Giraffe on white cardstock with black ink, color with colored pencils and cut out.
4.  Stamp This Body on white cardstock with black ink and emboss with Clear Embossing Powder.
5.  Die cut the sentiment with a circle die and layer onto a larger kraft color circle.  Glue this to the card and pop up Yoga Giraffe with foam squares.


Click on picture to go to link
     

Supplies
Stampendous
Q242 Yoga Giraffe
SSC1292 Meadows Edge Perfectly Clear Stamps
DCP1013 Meadow Edgers Die Set
EP020 Clear Embossing Powder
STF082 Onyx Black VersFine Ink

Plus
My Colors Cardstock- My Minds Eye
Zip Dry Glue- Beacon Adhesives
3D Foam Squares- Scrapbook Adhesives
Prisma Colored Pencils
Mowed Lawn- Distress Ink


Disclaimer- I get free goodies for blogging about craft products! Today I'm sharing a card made with products from Stampendous.