Featured Post

Privacy Policy

I'm working on a new privacy policy for my followers, but for now you should know that if you comment on my site, my site collects your ...

Tuesday, October 18, 2022

Floral Friendship Mini Slimline Card


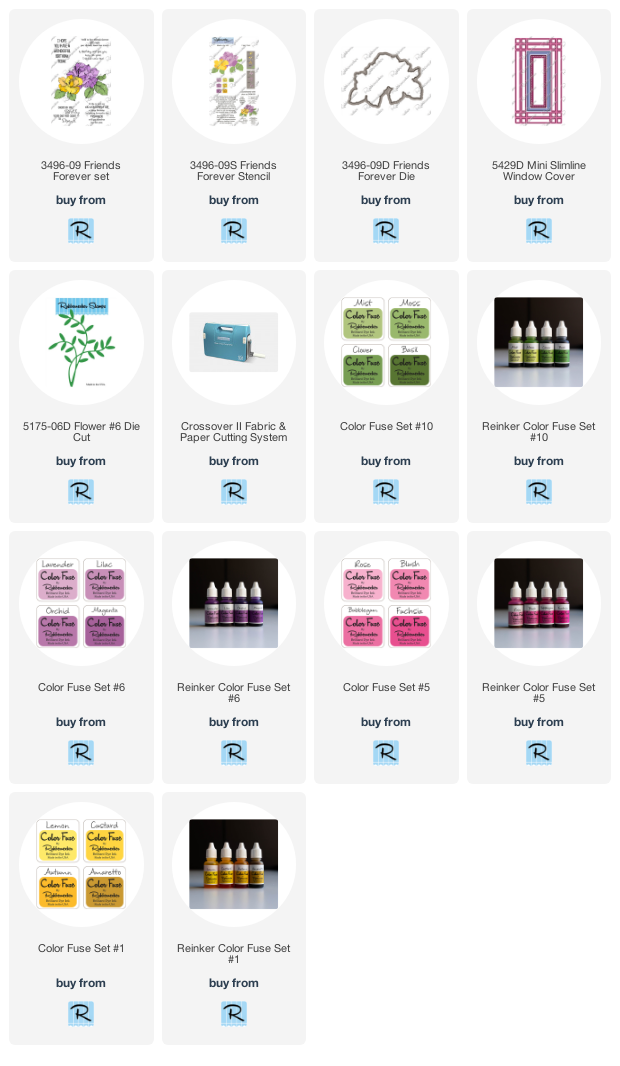
Hi crafty friends, today I have a mini slimline card made with stamps, dies, stencils and inks from Rubbernecker Stamps. I'm really enjoying this new Friends forever set with coordinating dies and stencils, so no coloring is required other than brushing on the pretty inks through the stencil.

Here's how my card was made-

Die-cut white cardstock using the Mini Slimline Window Cover and layer it onto decorative paper.
Replace four of the little squares in the corners and two of the long strips using glue.


Use the Flower #6 Die Cut to cut white glitter paper and sponge it with Rose Color Fuse Ink.


Glue the Flower #6 flat to the left side of the card.


Stamp the flower from the Friends Forever Set on white cardstock with black ink.
Use the Friends Forever Mask to color the flower using purple, pink, yellow and orange Color Fuse Inks with a sponge or brush, I used a brush.
Rub the die-cut flower on a VersaMark Ink pad and heat emboss it with a clear glitter embossing powder.
Rub it again on the VersaMark Ink pad and emboss it with clear embossing powder for a smooth finish.


Pop the flower up with 3D Foam squares over the sponged die-cut piece.
Stamp the sentiment in black on the white die-cut center from the Mini Slimline Window Cover.
Randomly glue on Dew Drops around the flower and one by the sentiment.


Click on the images below to go to the Rubbernecker online Shop.
Click on the items below to go to the Rubbernecker Stamps online shop.

Have a crafty day!

Let's Connect!

Affiliate and Product Disclosure
I am on various Design Teams and get free goodies for blogging about craft products but only because I love their products and genuinely use them. Ultimately my opinions are my own. A list of companies is in my sidebar.

Saturday, October 15, 2022

Wagon Filled with Pumpkins!


This month I've been using the October Die Hard Club Set from The Stamps of Life and posting to my Stamp This, Facebook page and wanted to share all three creations here too.
I've had so much fun making projects that look so different from each other! This wagon will be fun to use year-round, just imagine the wagon filled with Christmas gifts, Valentine's Day hearts, shamrocks for Saint Patrick's Day, flowers for spring... the list goes on and on.

Here are the benefits of the monthly Die Hard Club-
  • Our Die Hard Club includes the monthly Stamp Club set and the Matching Die Set.
  • Stamp and Die sets are always brand new sets, never released before.
  • Bills automatically on the 1st of each month.
  • Ships automatically on the 1st of each month.
  • Die Hard Club members are eligible for a discounted price on the Card Kit Club.
  • Die Hard Club members receive a FREE Limited Edition GIFT 2-3 times a year
  • Die Hard Club members receive a 15% OFF discount on all website orders.
  • Die Hard Club members receive a yearly $15 Anniversary Gift Certificate.
  • Option to save an additional 5% if you subscribe yearly.

This is my first card and I have others that I'll be sharing using different colors so stay tuned. Take a look at the Club Set here !https://thestampsoflife.com/clubs/?pc=JAMIEM
To make my card, I die-cut the wagon from different colors of cardstock and pieced it together. The pumpkins are die-cut from decorative paper. If you aren't into coloring, this is the card for you!


I'm having so much fun using different colors for the wagon and pumpkins. Take a look at this Month's Club Kits here https://thestampsoflife.com/clubs/?pc=JAMIEM
I die-cut the images from blue and white cardstock along with white and gold glitter paper from PrintWorks Specialty Papers. The glitter papers are so smooth, you can stamp and ink blend on them!
Everything is stuck down and popped up using adhesives from Scrapbook Adhesives BY 3L.


Here is my 3rd project using the October Die Hard Club Kit from The Stamps of Life, you can see the kits here- https://thestampsoflife.com/clubs/?pc=JAMIEM
I made a little card using the wagon outline die, or it could be used as a gift tag!
The wagon was die-cut from white cardstock and inked with Rosey Posey and Peachy Keen Wendy Vecchi Make Art Archival Inks.
The pumpkins were die-cut from white cardstock and stamped with the same ink.
The card portion was made by using the wagon outline die and cutting two wagons from white cardstock.
A small portion of one of the wagons, was scored on the left side and glued underneath the other piece, making a card.
The intricate wagon die piece was glued to the top.


Have a crafty day!

Let's Connect!

Affiliate and Product Disclosure
I am on various Design Teams and get free goodies for blogging about craft products but only because I love their products and genuinely use them. Ultimately my opinions are my own. A list of companies is in my sidebar.

Metal Christmas Gift Tags


Today I have these Christmas metal gift tags up on the Scrapbook Adhesives by 3L Blog. I really like the rustic look of the tags and they can be used year after year.
Here's how they were made-

Place several strips of tape from the E-Z Runner Grand across the bottom portion of the metal tag. I found the tags at Hobby Lobby.


Place decorative paper from the Festive Farm House 6x6 Paper Pad from Rubbernecker Stamps, on the tape, turn the tag over and trim off the excess paper.  Place a strip of Extreme Double-Sided Tape 1/4" along the edge of the decorative paper and place a strip of decorative paper from the same pad on the adhesive strip.


Use the "Merry" from the Merry Word with Shadow Die to cut decorative paper and the shadow of the Merry from kraft cardstock.


Glue the two together using the Dual Tip Glue Pen.


Turn the piece over and place 3D Foam Squares Micro Black on the back. Set aside.


Die-cut snowflakes from white glitter paper and kraft paper, glue the glitter snowflakes on top of the kraft snowflakes with the Dual Tip Glue Pen and off set it so the kraft paper can be seen.


Glue the snowflakes to the metal portion of the tag and pop up the Merry on top of the snowflakes.  Stamp Christmas on white glitter paper, layer onto kraft paper, then glue down on the decorative paper diagonally.  Add a gold glitter enamel dot and you're done.


Scrapbook Adhesives by 3L® Extreme Double-Sided Tape 1/4"
E-Z Runner Grand 
3D Foam Squares Micro Black


Home Hobby by 3L® Dual Tip Glue PenPlus

Glitter Paper from PrintWorks Specialty Paper, can be purchased on Amazon. Not only stamp on it and ink blend on it, you can also run it through your printer.
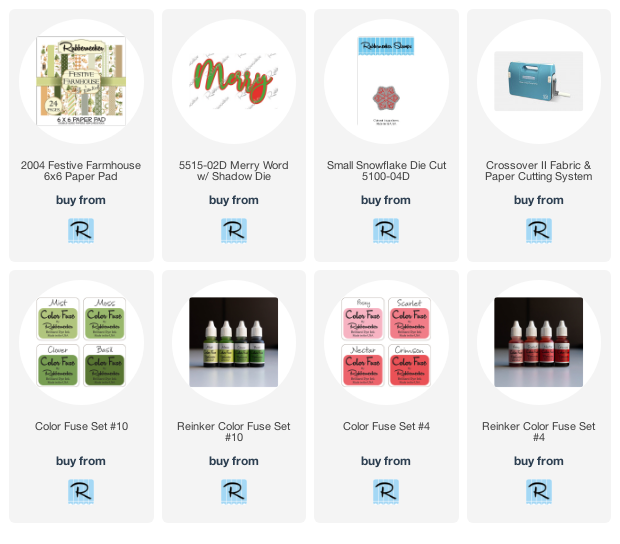

Click on the items below to go to the Rubbernecker Stamps online shop.


Have a crafty day!

Let's Connect!

Affiliate and Product Disclosure
I am on various Design Teams and get free goodies for blogging about craft products but only because I love their products and genuinely use them. Ultimately my opinions are my own. A list of companies is in my sidebar.

Wednesday, October 5, 2022

Mini Slimline Thank You Card.
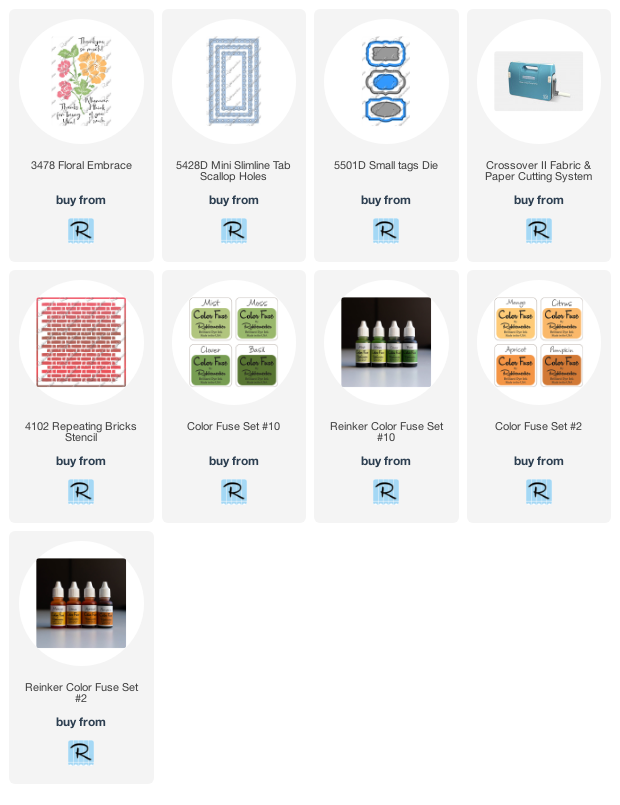

Die-cut white cardstock using the largest die in the Mini Slimline Tab Scallop Die Set.
Use the Floral Embrace Set to stamp to create a flower bunch.  I used a stamping tool to help with placement plus I'm able to stamp in the same location several times just in case it doesn't stamp completely the first time.


Once my flower bunch is complete, masks from the Floral Embrace Mask Set were placed over the flowers and the Repeating Bricks Stencil was placed over this. Caramel and Cinnamon inks were used to stencil.


Next the panel was layered onto slightly larger brown panel and mounted on a goldenrod top folding card.


The Small Tags Die Set was used to cut brown and gold glitter cardstocks. 
The sentiment from the Floral Embrace Set was stamped on the brown piece with VersaMark Ink and embossed with White Embossing Powder.


The gold piece was cut in half and glued to each end.
This was then popped up and placed at the top of the card diagonally.


Click on the items below to go to the Rubbernecker Stamps online shop.

Have a crafty day!

Let's Connect!

Affiliate and Product Disclosure
I am on various Design Teams and get free goodies for blogging about craft products but only because I love their products and genuinely use them. Ultimately my opinions are my own. A list of companies is in my sidebar.

Saturday, October 1, 2022

Mini Slimline Foiled Merry Christmas


Today I have this card up on the Scrapbook Adhesives by 3L Blog with a full picture tutorial on how to make this mini slimline card with Wendy Vecchi Chippies from Ranger Ink, Adhesive Sheets and Transfer Foil from Scrapbook Adhesives by 3L, dies, stamps and decorative paper by Rubbernecker Stamps and cardstock from PrintWorks Specialty paper.

Materials Needed:

Scrapbook Adhesives by 3L® Adhesive Sheets 4x6 Metallic Transfer Foil Sheets Celebrate Colors 3D Foam Circles White Mix

Home Hobby by 3L® Extreme Double-Sided Tape 1/8" 

Plus
Ranger Ink- Wendy Vecchi Statement Chippies
Rubbernecker Stamps- Dies, Stamps, Decorative Paper
PrintWorks Specialty Paper- Earth Tone Cardstock
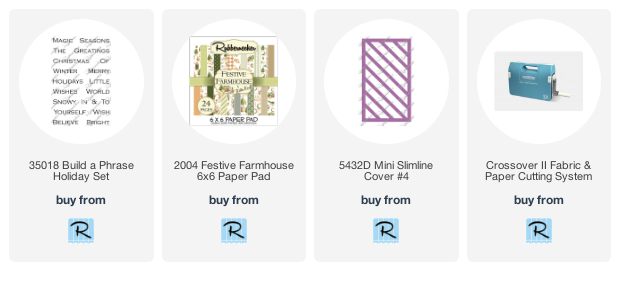
 Click on the item to go to the Rubbernecker Stamps online shop.

Click on the items below to go to the Rubbernecker Stamps online shop.

Have a crafty day!

Let's Connect!

Affiliate and Product Disclosure
I am on various Design Teams and get free goodies for blogging about craft products but only because I love their products and genuinely use them. Ultimately my opinions are my own. A list of companies is in my sidebar.