Featured Post

Privacy Policy

I'm working on a new privacy policy for my followers, but for now you should know that if you comment on my site, my site collects your ...

Friday, April 30, 2021

A Lovable Llama Birthday


Hi my friends, here's a little peek of my card that I have up on the Scrapbook Adhesives Blog by 3L Blog with step-by-step directions AND it's on my Instagram page for the Scrapbook Adhesives by 3L and Whimsy Stamps Instagram Hop!  You'll want to check it out and play along for your chance to win some wonderful prizes!! Click HERE to go to my Instagram @stampthis.


Have a crafty day!

Let's Connect!

Affiliate and Product Disclosure
I am on various Design Teams and get free goodies for blogging about craft products but only because I love their products and genuinely use them. Ultimately my opinions are my own. A list of companies is in my sidebar.


Wednesday, April 21, 2021

Chickens Cross the Road


Everyone just needs to stop questioning these poor chickens' motives and let them cross the street in peace hahaha.

Here's how my card was made-
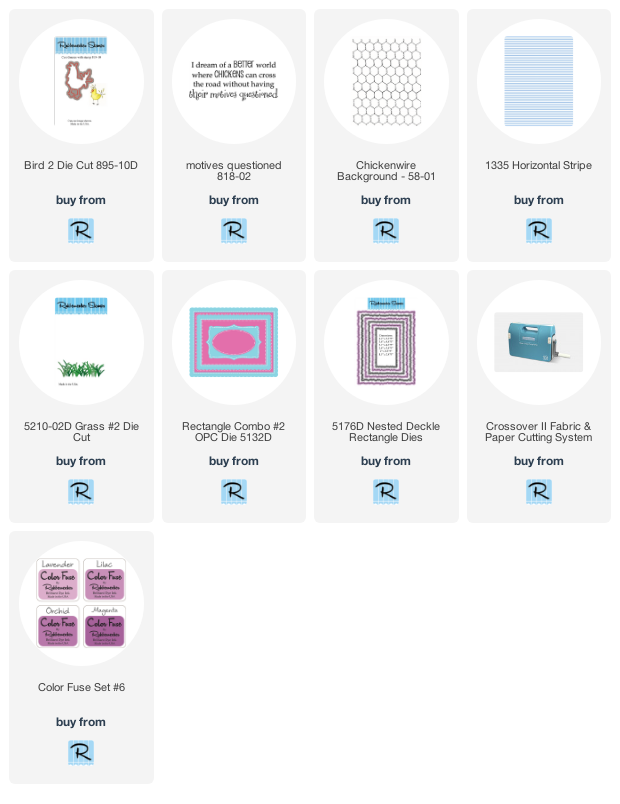
  • Stamp the Chicken Wire Background on purple decorative paper with VersaMark Ink and Emboss with Silver Embossing Powder, set aside.
  • Die-cut purple cardstock and decorative paper with the Rectangle Combo #2 OPC Die.
  • Glue one of the purple frames on top of the Chicken Wire Background

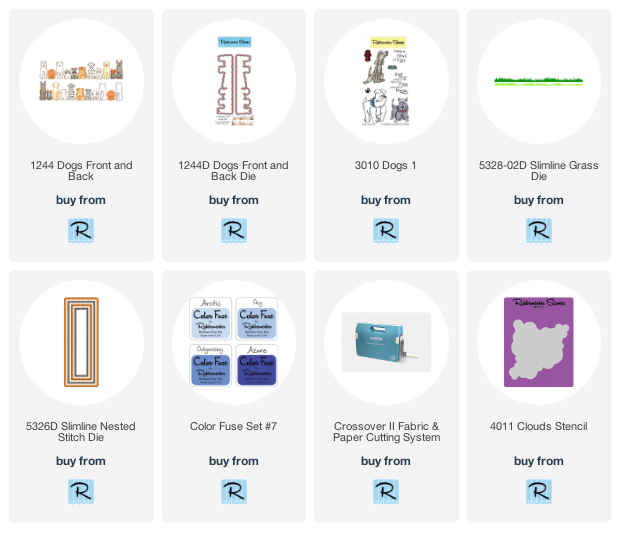
  • Then die-cut two shades of green cardstock with the Grass #2 Die and glue pieces to the back of the decorative paper frame, glue this inside of the purple frame.
  • Stamp Bird 2 on Strathmore Bristol Smooth Paper with Onyx Black VersaFine Ink and emboss with Clear Embossing Powder.  Color with Zig Clean Color Real Brush Pens.
  • Die-cut the Bird 2 with the Bird 2 Die Cut and pop up on the Chicken Wire using 3D Foam Squares by Scrapbook Adhesives by 3L.

  • Layer this panel onto a slightly larger black cardstock.
  • Stamp white cardstock with the Horizontal Stripe stamp and Lilac Color Fuse Ink on white cardstock.
  • Die-cut this with the Nested Deckle Rectangle Die Set.
  • Glue black cardstock 4" x 5 1/4" to a white card, then glue the Horizontal Stripe panel diagonally to this. 
  • Pop up the chicken panel diagonally on the card.
  • Stamp Motives Questions on white cardstock with Onyx Black VersaFine Ink, layer it onto decorative paper and pop up on the card.

  • Randomly add white Enamel Dots to the black panel and orange Enamel dots to the sentiment.


Have a crafty day!

Let's Connect!

Affiliate and Product Disclosure
I am on various Design Teams and get free goodies for blogging about craft products but only because I love their products and genuinely use them. Ultimately my opinions are my own. A list of companies is in my sidebar.
Being part of various affiliate programs – when you click on an affiliate link and then go on to make a purchase, at no cost to you, I receive a small commission.  The affiliates I use include Rubbernecker Stamps.

Thursday, April 15, 2021

Happy Anniversary


Hi,  today I have an Anniversary card up on the Scrapbook Adhesives by 3L Blog, made using the pretty shimmery and sparkly Metallic Transfer Foil Sheets Holographic Colors, Adhesive Sheets 12" x 12", 3D Foam Butterflies, Adhesive Lines, 3D Foam Circles and the Dual Tip Glue Pen. Be sure to stop by their Blog for full directions and pictures on how to make this card, click HERE.


Have a creative day!

Let's connect!


Connect with Scrapbook Adhesives by 3L


Sunday, April 11, 2021

She Persisted


Today is a 10-minute slimline card using the Slim Vintage Border from Stampendous.  If you're in a hurry and need a card or you need to make a bunch, this one is quick since the image is all one stamp.  

Here's how it was made-
  1. Stamp the Slim Vintage Border on watercolor paper with black ink.
  2. Sponge Picked Raspberry Ink on the top and Wild Honey on the bottom.
  3. Die-cut using any slimline card die and layer onto slightly larger black cardstock.
  4. Stamp sentiment with black ink onto a white strip of paper cut into a tag shape.
  5. Tie the left side of the panels with a gold cord and add the tag using foam squares to pop up.
  6. Now mount to a pink slimline card using a tape runner.


Supplies
Stampendous
CSL04 Slim Vintage Border
SSC1384 Amazing Woman
MPW811Mixed Media White Paper
STF082 VersaFine Ink- Onyx Black

Plus
Distress Inks- Picked Raspberry, Wild Honey
3D Foams Squares and tape runner- Scrapbook Adhesives by 3L
Scissors
Paper Cutter

Let's connect!


Disclaimer- I get free goodies for blogging about craft products! Today I'm sharing a card made with products from Stampendous

Here are some places that you can find Stampendous Products-
First off check out your local Stamp Store, if they don't have it they can order it.
Online Stores
 

Wednesday, April 7, 2021

All Shapes and Sizes


  • Stamp Dogs on white cardstock with Onyx Black VersaFine Ink and color with Prisma Colored Pencils.
  • Die-cut the dogs using the coordinating Dogs Front Back Die Set and set aside.
  • Use the Slimline Grass Die to die-cut green card stock.
  • Glue the die-cut grass on the top of the dogs and at the bottom of the dogs.


  • Using the largest die from the Slimline Nested Stitch Die Set, cut white cardstock.
  • Stencil clouds using the Clouds Stencil and blue inks from the Color Fuse #7 Set and set aside.


  • Die-cut a red frame using the largest and third largest of the Slimline Nested Stitch Die Set.
  • Randomly stamp dog paws from the Dogs 1 Stamp Set on the red frame with Onyx Black VersaFine Ink and emboss with Clear Embossing Powder. Set aside.


  • Put these pieces together by first using a tape runner on the bottom back of your red frame and adhere to the grass and dogs.
  • Apply foam tape to the red frame and pop it up on the stenciled cloud panel.


  • Use glue to attach this framed piece to a black cardstock pane and then mount to a white slimline card.
  • Stamp the sentiment from the Dogs 1 Stamp Set on white cardstock with Onyx Black VersaFine Ink and emboss it with Twilight Embossing Powder.
  • Layer the sentiment onto black and white buffalo plaid paper and glue it to the left corner.


Have a crafty day!

Let's Connect!

Affiliate and Product Disclosure
I am on various Design Teams and get free goodies for blogging about craft products but only because I love their products and genuinely use them. Ultimately my opinions are my own. A list of companies is in my sidebar.
Being part of various affiliate programs – when you click on an affiliate link and then go on to make a purchase, at no cost to you, I receive a small commission.  The affiliates I use include Rubbernecker Stamps.

Tuesday, April 6, 2021

BE the CHANGE!


What a wonderful world it would be if we all took personal responsibility and lived by this sentiment!  I used the Slim Cling Rose Tendrils from Stampendous.  It's a slimline stamp and it's so nice to be able to just stamp once and your card is complete except for the sentiment. That fabulous sentiment is from the Amazing Woman Perfectly Clear Set that has so many wonderfully inspiring sayings.

To make my card I stamped the Slim Cling Rose Tendrils on watercolor paper and watercolored the image with Inktense Pencils.  I shadowed around the flowers with blue chalk from the Jane Davenport Palette Pastel- Chilled using a flat dry paintbrush.  This panel was layered onto a slightly larger Mixed Media White Cardstock panel and attached to a green slimline card with final measurements being 8 1/2" x 3 1/2".
The sentiment was stamped with Onyx Black VersaFine Ink on Mixed Media White Cardstock, layered onto a slightly larger black cardstock panel and popped up using 3D Foam Squares from Scrapbook Adhesives by 3L.

Here's a close-up of the rose.


Have a creative day!

Let's connect!


Disclaimer- I get free goodies for blogging about craft products! Today I'm sharing a card made with products from Stampendous

Here are some places that you can find Stampendous Products-
First off check out your local Stamp Store, if they don't have it they can order it.
Online Stores