Featured Post

Privacy Policy

I'm working on a new privacy policy for my followers, but for now you should know that if you comment on my site, my site collects your ...

Sunday, August 29, 2021

Christmas Tag


When you make your Christmas cards, do you also make tags for your gifts?  It's an easy and cute way to make your gifts look a little extra special.  This cute little Christmas stamp is from the Stampendous Happy Holiday Perfectly Clear Set.  I used Shabby White Embossing Enamel also from Stampendous for the snow to give it a little texture.  Rather than punching a hole at the top to tie the tag to the gift with ribbon, I choose to use a small clothespin, it's a fun alternative.

Let's connect!


Disclaimer- I get free goodies for blogging about craft products! Today I'm sharing a card made with products from Stampendous


Wednesday, August 18, 2021

Thanks Floral Slimline


I'm back with another new release from Rubbernecker Stamps.  This slimline card uses the beautiful Just Love stamp set. The color combinations that you can use with this are endless!

Here's how my card was made-
  • Die-cut white cardstock using the Slimline Deckle Die.
  • Stamp Thanks three times in the middle of the die-cut piece starting with Mango, Rose and then Bubblegum Color Fuse Inks.
  • Stamp the first layer of the flower with Rose ink at the top of the panel and once on a scrap piece of white cardstock that will be cut out once the different layers have been stamped.
  • Sometimes when we make a card the colors don't quite work the way we envisioned in our head and that' what happened with the bottom flowers so just ignore those.  That's why you're stamping the flowers on a scrap to cut out and pop up over my mistake hahaha.

  • Stamp the second layer of the flower with Bubblegum ink and stamp the centers with black ink, do this on the panel and the scrap paper.  
  • Cut out the flower that's stamped on the scrap paper and pop it up on the bottom of the panel.


  • Stamp the stems with Mist and Clover inks, cut out and glue underneath the flowers on the bottom of the panel.

  • Layer this on a slightly larger pink panel and glue it to a white card.
  • Die-cut pink decorative paper with the Small Butterflies Die Cut and glue it to the top of the card and add a little rhinestone to the center of the body.
  • Randomly add black and white enamel dots and you're done!


Have a crafty day!

Let's Connect!

Affiliate and Product Disclosure
I am on various Design Teams and get free goodies for blogging about craft products but only because I love their products and genuinely use them. Ultimately my opinions are my own. A list of companies is in my sidebar.
Being part of various affiliate programs – when you click on an affiliate link and then go on to make a purchase, at no cost to you, I receive a small commission.  The affiliates I use include Rubbernecker Stamps.

Tuesday, August 17, 2021

Warm Winter Wishes


Here's a Christmas card I made using the new Forest Christmas stamp from Stampendous.

The image was colored with Prisma Colored Pencils and blue decorative chalk was sponged around the edges.  

Green cardstock from PrintWorks was stamped using the Slim Cling Woodgrain stamp with VersaMark Ink and embossed with Sparkle Puff Embossing Powder from Stampendous.  

Sparkle Puff Embossing Powder was also used for the snow below the tree.  

A strip of Crafty Power Tape from Scrapbook Adhesives by 3L was placed along the edge of a kraft-colored card and Crystal Micro Glitter was sprinkled on top. 

The Sentiment is from the Happy Holiday Perfectly Clear Set and stamped with Onyx Black VersaFine Ink. 


Let's connect!


Disclaimer- I get free goodies for blogging about craft products! Today I'm sharing a card made with products from Stampendous


Sunday, August 15, 2021

Hello My Bestie


Hello and welcome back, today I have this foil butterfly card up on the Scrapbook Adhesives by 3L Blog with a full tutorial.  Head on over there to find out how to add foil and other embellishments using their fun products.

 Products used from Rubbernecker Stamps

Have a crafty day!

Let's Connect!

Affiliate and Product Disclosure
I am on various Design Teams and get free goodies for blogging about craft products but only because I love their products and genuinely use them. Ultimately my opinions are my own. A list of companies is in my sidebar.

Wednesday, August 4, 2021

Be Yourself


Hi my friends, today's card uses the pretty new release, Little Cosmos Set from Rubbernecker Stamps.  All month the design team will be sharing creations made with all of the new sets and there are quite a few!

Here's how my card was made-

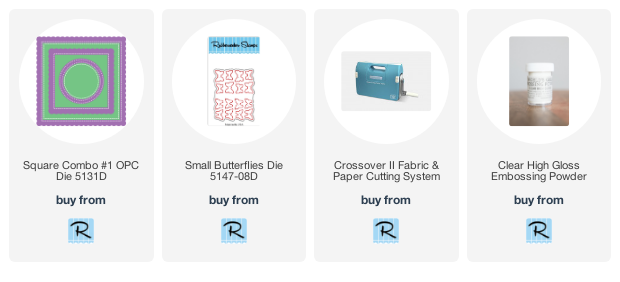
  • Stamp flowers from the Little Cosmos Set on watercolor paper with black ink and emboss with clear embossing powder.
  • Watercolor the flowers, cut them out and set them aside.

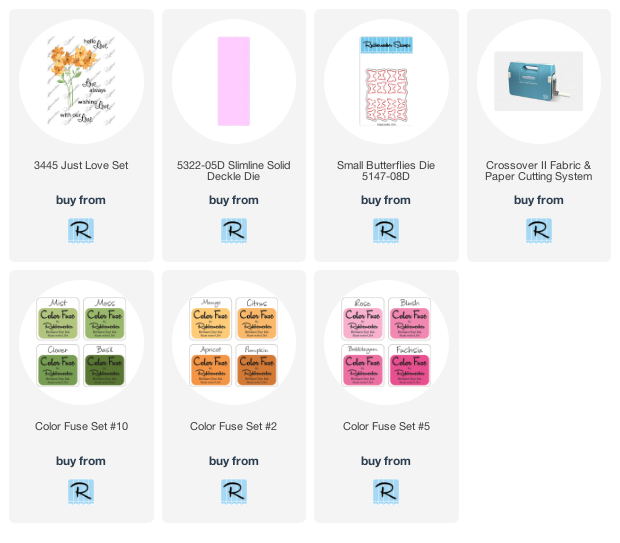
  • Use the Square Combo #1 OPC Die and die-cut decorative paper, black and white cardstock. I used my favorite die-cutting machine the Crossover ll Fabric and Paper System, it's my favorite because you can adjust the pressure on top of the machine and this makes it so you do NOT need different plates!
  • Glue the outer two decorative paper frames to slightly larger white cardstock. Then glue the black frame, decorative paper frame and then the black circle frame.
  • Stamp the sentiment from the set on the white circle center with black ink and glue this to the center.
  • Use a white gel pen to add white dots around the scalloped black frame.
  • Pop up the flowers around the bottom left of the frame using 3D Foam Squares.

  • Pop up the flowers around the bottom left of the frame using 3D Foam Squares.
  • Glue the little bud to the bottom of the white circle.
  • Die-cut pink decorative paper with the Small Butterflies Die Cut and glue one butterfly to the top right of the card.
  • Attach this to a square black card.
 

Have a crafty day!

Let's Connect!

Affiliate and Product Disclosure
I am on various Design Teams and get free goodies for blogging about craft products but only because I love their products and genuinely use them. Ultimately my opinions are my own. A list of companies is in my sidebar.
Being part of various affiliate programs – when you click on an affiliate link and then go on to make a purchase, at no cost to you, I receive a small commission.  The affiliates I use include Rubbernecker Stamps.

Sunday, August 1, 2021

Floating Strips Card


Wow, can you believe that today is the first day of August?! To kick off the start of a new month, I have this card up on the Scrapbook Adhesives by 3L Blog, with this "floating strips" Feel Better card. Be sure to stop by to see the full tutorial on how to make this card and what adhesives work best to stick down, pop up, and to add foil!

Have a creative day!


The items below were used from Rubbernecker Stamps.

Have a crafty day!

Let's Connect!

Affiliate and Product Disclosure
I am on various Design Teams and get free goodies for blogging about craft products but only because I love their products and genuinely use them. Ultimately my opinions are my own. A list of companies is in my sidebar.