Featured Post

Privacy Policy

I'm working on a new privacy policy for my followers, but for now you should know that if you comment on my site, my site collects your ...

Wednesday, November 29, 2023

You Can Do It! Encouragement Card


You can do it!! Today I have a cute encouragement card with the Flying to See You Stamp Set from Spellbinders.
The image is colored with Prisma Colored Pencils and layered onto a cloud background that was made by sponging on pink, purple and blue shades of Distress Oxides.
The white frame was made using rectangle dies and the mouse body was glued to the center of the frame and the wings were pulled up to look like he's flying.


Have a crafty day!

Let's Connect!

Affiliate and Product Disclosure
I am on various Design Teams and get free goodies for blogging about craft products but only because I love their products and genuinely use them. Ultimately my opinions are my own. A list of companies is in my sidebar.


Sunday, November 26, 2023

A Winter Hello


Today I have an all-occasion winter card that can be for Christmas, birthday, thank you, or a card just to say hi.

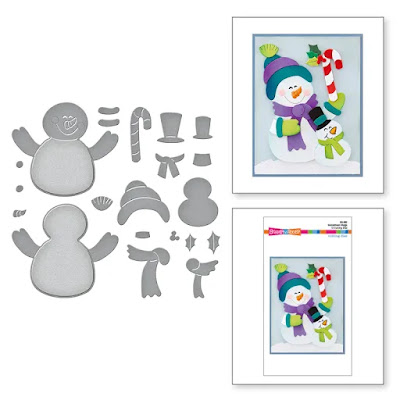
To make my card, I used the Snowman Etched Dies from Spellbinders

The small snowman, scarf and hat band were die cut three times from white glitter cardstock from Printworks Specialty paper. The scarves and hat bands were sponged with different colors of Distress Inks.
Since this glitter paper is smooth, it can be stamped on and run through your printer. The faces were stamped using Onyx Black VersaFine Ink and the nose was colored using an orange alcohol marker, I used the ones from Spectrum Noir. 
The hats were die cut from black glitter paper.

SPELLBINDERS HUGE SALE

Spellbinders is having a huge sale going on now!
Hear are the links, you'll want to be sure to check it out the prices are amazing!!


Spellbinders Black Friday Sale- https://shrsl.com/4bnw6
Spellbinders Clearance- https://shrsl.com/4bnwb


Have a crafty day!

Let's Connect!

Affiliate and Product Disclosure
I am on various Design Teams and get free goodies for blogging about craft products but only because I love their products and genuinely use them. Ultimately my opinions are my own. A list of companies is in my sidebar.


Wednesday, November 22, 2023

Fun Fold Thank You Card


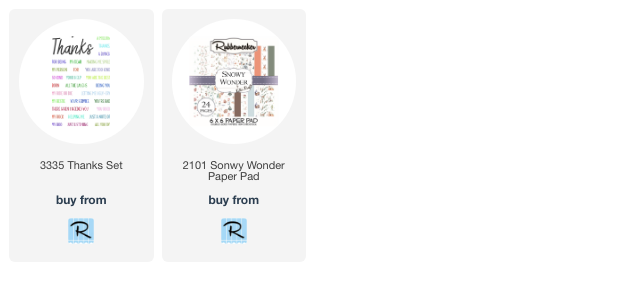
Today I have a fun fold thank you card make with pretty papers and stamps from Rubbernecker Stamps.
Here's how my card was made.

Cut a sheet of rust colored cardstock to 4 1/4" x 11" and fold in half.
Fold the top of the card in half so that the flap can be pulled open from the left side.
Pick two patterns from the Snowy Wonders Paper Pad and glue one sheet to the inside of the card and half to the top of the folded side.


Stamp a white cardstock panel with Thanks in rust ink and the rest of the sentiment below Thanks in a dusty blue ink.
The pinecone was cut from the paper pad and glued to the bottom left corner of the panel.
Randomly add blue Stickles to the panel.


Monday, November 20, 2023

Season's Greetings Pink & Gray Card


I love traditional colors for Christmas cards but sometimes it's fun to use colors that aren't expected and that's what I've done.

Pink and gray are pretty together and I love how this turned out. The Merry Mugs Set ( https://shrsl.com/49sra ) was used to die cut decorative paper. The sentiment die and stamp is from Bibi's Snowflake Collection ( https://shrsl.com/4a73v ) AND it's currently on sale at Spellbinders.

Here's the link for the HUGE SPELLBINDERS SALE- https://shrsl.com/4bcmo be sure to take a look, you don't want to miss this!


Have a crafty day!

Let's Connect!

Affiliate and Product Disclosure
I am on various Design Teams and get free goodies for blogging about craft products but only because I love their products and genuinely use them. Ultimately my opinions are my own. A list of companies is in my sidebar.


Saturday, November 18, 2023

Magic of Christmas


 I'm playing along with Color Hues Color Challenge #76, the colors are red and metallic gold, but you can also use neutrals.

I made a Christmas card using dies and stamps from Spellbinders
I used the Shapeabilities Layered Poinsettia Etched Die Set (it's on sale for $10.99 off!) and die cut red cardstock. A couple of layers were sponged with red ink to get some color variation. 
The leaves were die cut from gold foil cardstock.
To make the background, a white cardstock panel was embossed using the Autumn Serenade 3D Embossing Folder and it was glued to a top folding red card.
The Sentiment was made using the Snowflake Wishes Clear Stamp & Die Set ( sale $6.75 off ), "believe" was die cut from gold foil cardstock and black cardstock. The gold was layered on top of the black, slightly askew.
Have a crafty day!

Let's Connect!

Affiliate and Product Disclosure
I am on various Design Teams and get free goodies for blogging about craft products but only because I love their products and genuinely use them. Ultimately my opinions are my own. A list of companies is in my sidebar.


Wednesday, November 15, 2023

Fun Fold Christmas Card


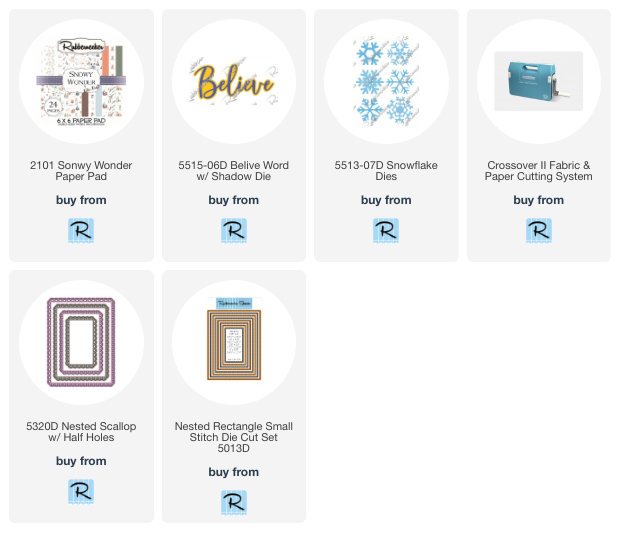
Today I have a fun fold Card using dies and decorative paper from Rubbernecker Stamps and all of the adhesives used are from Scrapbook Adhesives by 3L.  To make my card, I cut a sheet of 8 1/2" x 11" periwinkle cardstock diagonally. The cardstock was then scored to create the fold. Next a 4" x 5 1/4" piece of decorative paper paper was then cut diagonally (this will make two cards) and one piece was taped to the bottom fold using TAPE RUNNER.


Snow fakes were die-cut from white cardstock and glued to the top fold of the card using the DUAL TIP. The snowflakes that were hanging over the edge were cut off.


To make the frame, white cardstock was die-cut using a scalloped rectangle and and a stitched rectangle that's slightly smaller was cut from periwinkle cardstock and attached using RUNNER


The frame was centered and glued to the left top fold of the card, using the DUAL TIP.  Believe was die-cut from the same carstock colors, glued together using the DUAL TIP. Hearts were placed aroud the sentiment using the HEARTS RUNNER and crystal micro fine glitter was sprinkled on.


Click on the product below to go to the Rubbernecker Stamps online store.

Have a crafty day!

Let's Connect!

Affiliate and Product Disclosure
I am on various Design Teams and get free goodies for blogging about craft products but only because I love their products and genuinely use them. Ultimately my opinions are my own. A list of companies is in my sidebar.


Tuesday, November 7, 2023

Happy Birthday Wishes


Happy Birthday Wishes was made using the Party Streamers House-Mouse Designs Stamp from Spellbinders.

The image was colored with Prisma Colored Pencils and the sentiment was die-cut from white cardstock using the Popular Sentiments Etched Dies
The die-cut words were ink blended with blue and green inks and layered onto the word shadows that were die-cut from black cardstock. The words were then popped up on the card using 3D Foam Strips from Scrapbook Adhesives BY 3L.

***SALE ALERT***
Spellbinders is having a CLEARANCE SALE with up to 80% off!! This is a great time to stock up and get gifts for others or yourself. Head on over before it's gone, here's the link for my US FRIENDS
Or for my UK FRIENDS

Have a crafty day!

Let's Connect!

Affiliate and Product Disclosure
I am on various Design Teams and get free goodies for blogging about craft products but only because I love their products and genuinely use them. Ultimately my opinions are my own. A list of companies is in my sidebar.


Wednesday, November 1, 2023

Happy Birthday Card


Today I have a clean and simple birthday card that's fun to make. I used a Happy die that cuts and leaves the letters attached to the card.


Next, strips of colored cardstock were die-cut with the Happy die and the letters were cut off of the strip it was attached to.


The colored letters were glued to the letters on the card using Dual Tip Pen. Two thin strips were cut from black cardstock and glued above and below the letters to make them pop.


Birthday was stamped on a strip of blue cardstock with black ink and layered onto a strip of green cardstock using the E-Z Strips.


Foam strips were placed on the back of the sentiment and popped up diagonally below the Happy.


Stars were place on the card as shown and purple, pink and blue glitters were sprinkled on the stars.


 y


Have a crafty day!

Let's Connect!

Affiliate and Product Disclosure
I am on various Design Teams and get free goodies for blogging about craft products but only because I love their products and genuinely use them. Ultimately my opinions are my own. A list of companies is in my sidebar.