Featured Post

Privacy Policy

I'm working on a new privacy policy for my followers, but for now you should know that if you comment on my site, my site collects your ...

Showing posts with label Happy Birthday. Show all posts

Friday, January 19, 2024

Colorful Flower Birthday Card


Hi my crafty friends! Today I have another card made using the Colorful Burst Flower Etched Die from Spellbinders. These fun and funky flowers scream bold colors to me but even though my flowers were die-cut from pastels, the background is bold and bright.

To make the background, yellow and orange Distress Inks were blended on white cardstock using blender brushes and the flowers were glued onto the blended card.

The sentiment it from the Popular Sentiments Etched Die that has bold lettering that works perfectly with the bold flowers.

\Have a crafty day!

Let's Connect!

Affiliate and Product Disclosure
I am on various Design Teams and get free goodies for blogging about craft products but only because I love their products and genuinely use them. Ultimately my opinions are my own. A list of companies is in my sidebar.


Tuesday, November 7, 2023

Happy Birthday Wishes


Happy Birthday Wishes was made using the Party Streamers House-Mouse Designs Stamp from Spellbinders.

The image was colored with Prisma Colored Pencils and the sentiment was die-cut from white cardstock using the Popular Sentiments Etched Dies
The die-cut words were ink blended with blue and green inks and layered onto the word shadows that were die-cut from black cardstock. The words were then popped up on the card using 3D Foam Strips from Scrapbook Adhesives BY 3L.

***SALE ALERT***
Spellbinders is having a CLEARANCE SALE with up to 80% off!! This is a great time to stock up and get gifts for others or yourself. Head on over before it's gone, here's the link for my US FRIENDS
Or for my UK FRIENDS

Have a crafty day!

Let's Connect!

Affiliate and Product Disclosure
I am on various Design Teams and get free goodies for blogging about craft products but only because I love their products and genuinely use them. Ultimately my opinions are my own. A list of companies is in my sidebar.


Monday, September 25, 2023

A Winter Birthday


 The holidays get so busy, I thought it would be a good idea to get birthday cards made now, for a few friends that have winter birthdays.

To make my card I used the Dancin' Christmas Collection- https://shrsl.com/48p3c from Spellbinders.
** Here's what was used to make the card **
The penguin was die-cut using the Dancin' Penguin Etched Dies- https://shrsl.com/48p2x and is dressed in rose gold glitter paper with a blue cardstock scarf.
The Monoline Stars Embossing Folder- https://shrsl.com/48p39 was used to emboss white cardstock and placed on the bottom half of the card.
The sentiment was die-cut using the Popular Sentiments Etched Dies- https://shrsl.com/48p3i and was cut from blue and black cardstock.

Have a crafty day!

Let's Connect!

Affiliate and Product Disclosure
I am on various Design Teams and get free goodies for blogging about craft products but only because I love their products and genuinely use them. Ultimately my opinions are my own. A list of companies is in my sidebar.

Wednesday, March 23, 2022

Hugs, Kisses, Birthday Wishes


With the first days of Spring here we are finally getting a few blades of green grass and a few trees have leaves.  To welcome Spring, I have a bright and cheery birthday card made with stamps, stencils and dies from Rubbernecker Stamps.  Here's how my card was made-
  • To make the background, the Plaid Texture Stencil was used with Carved Pumpkin Ink.  


This time I used the same color with both stencils but it's also fun to use different colors for each stencil.  Die-cut the stenciled piece with the Nested Rectangle Stitch Die.

  • Stamp the vase of flowers on watercolor paper with Onyx Black VersaFine Ink and emboss it with clear embossing powder.
  • Color the image with Clean Color Real Brush Pens and cut it out.

  • Now to assemble the card, layer the stenciled panel onto a slightly larger purple panel. 
  • This was then layered onto a white cardstock panel that was die-cut using the largest die from the Nested Rectangle Die Set and then mounted to a purple card.
  • Glue leaves that have been die-cut using the Large Ivy Die to the bottom of the card.
  • Pop up the vase on top of the leaves.
  • Glue the sentiment down to the right side.  The sentiment from the set was stamped with black ink on white cardstock and die-cut using a circle die.  Purple rhinestones were randomly applied around the sentiment.

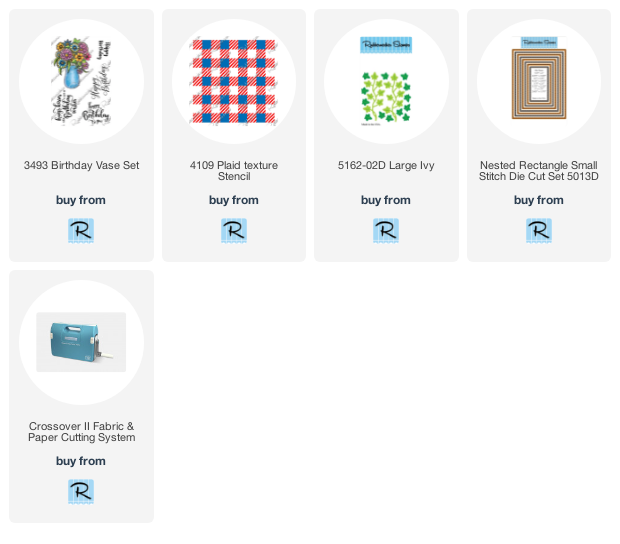
Click on the product below to go to the Rubbernecker Stamps Online Shop.
 
Other Products Used
Cardstock from PrintWorks

Have a crafty day!

Let's Connect!

Affiliate and Product Disclosure
I am on various Design Teams and get free goodies for blogging about craft products but only because I love their products and genuinely use them. Ultimately my opinions are my own. A list of companies is in my sidebar.
Being part of various affiliate programs – when you click on an affiliate link and then go on to make a purchase, at no cost to you, I receive a small commission.  The affiliates I use include Rubbernecker Stamps.

Wednesday, February 9, 2022

Happy Birthday to You!


Do you need to replenish your birthday card supply?  If so, you're in luck because Rubbernecker Stamps is sharing birthday cards all month long!

To make my card, I used their new release Gift Set #4 which comes with this pretty vase of flowers and four sentiments in different fonts.

Here's how my card was made-
  • Stamp the vase of flowers on watercolor paper with Onyx Black VersaFine Ink and emboss it with clear embossing powder.
  • Color the image with Clean Color Real Brush Pens, cut it out and set it aside.

  • Use a blender brush to add Rose Color Fuse ink to the center-right of a white cardstock panel and over stamp this with any sentiment using the same ink.
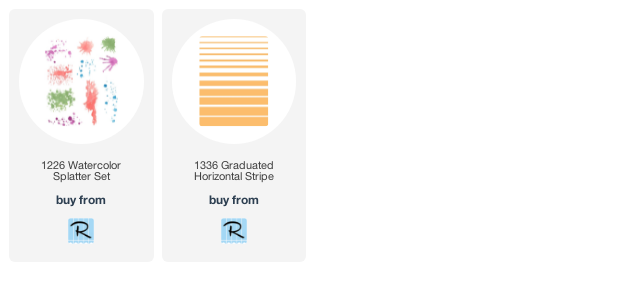
  • Stamp ink splatters from the Watercolor Splatter Set using Silver Color Fuse Ink.
  • Apply a strip of black and white washi tape to the left side of the card and set a side.

  • Stamp a pink card with the Graduated Horizontal Stripe Background Stamp using VersaMark Ink and emboss with Vintage Pink Embossing Powder.

  • Stamp the sentiment from the same set on pink cardstock with Onyx Black VersaFine ink and emboss with clear embossing powder.
  • Glue the white panel to the pink card and pop up the sentiment and the flowers on the card as shown.
  • Randomly glue iridescent sequins to the card.
  • For the final touch, glue a pink twine bow to the flower vase.


Have a crafty day!

Let's Connect!

Affiliate and Product Disclosure
I am on various Design Teams and get free goodies for blogging about craft products but only because I love their products and genuinely use them. Ultimately my opinions are my own. A list of companies is in my sidebar.
Being part of various affiliate programs – when you click on an affiliate link and then go on to make a purchase, at no cost to you, I receive a small commission.  The affiliates I use include Rubbernecker Stamps.

Wednesday, September 15, 2021

Birthday Card and Gift Box


Hi there, today I have a slimline birthday card and a coordinating little pillow gift box made using Simple Stories Happily Ever After, Collector's Essential Kit, up on the Scrapbook Adhesives by 3L Blog.

Simple Stories make such pretty kits, it makes card making and gift box making so quick and easy and adhesives from Scrapbook Adhesives by 3L has all of the adhesives you'll need to keep everything stuck together.

Head on over to their blog and check it out!

Have a crafty day!

Let's Connect!

Affiliate and Product Disclosure
I am on various Design Teams and get free goodies for blogging about craft products but only because I love their products and genuinely use them. Ultimately my opinions are my own. A list of companies is in my sidebar.


Friday, May 21, 2021

Let Them Eat Cake


Look at this beautiful big cake, there's enough for everyone!  This cake is from the Slim Cake Perfectly Clear Stamp Set from Stampendous.  It comes in three different layers so you can make any size cake that you'd like.  I used all three layers to fill my slimline card, two layers would fill a regular-sized card and one layer would be cute on a mini card or tag.

The cake was stamped on Mixed Media White Cardstock with VersaFine Ink, then colored with Prisma Colored Pencils.  The sentiment is one of five from the set.  Sequins were randomly added around the cake to give it a festive feel.


Let's connect!


Disclaimer- I get free goodies for blogging about craft products! Today I'm sharing a card made with products from Stampendous

Here are some places that you can find Stampendous Products-
First off check out your local Stamp Store, if they don't have it they can order it.
Online Stores


Friday, February 19, 2021

Belated Birthday


Today's an exciting day, Rubbernecker Stamps is having an Instagram hop to celebrate their birthday, a new release and yes they will be giving away a prize!!  You can go to my Instagram HERE or you can go on your Instagram and search @stampthis.

Hey, crafty friends! I’m joining a fun Instagram Hop with Rubbernecker Stamps to celebrate the "Rubbernecker Springtime Fun Release" for February.

To celebrate this release, Rubbernecker is giving away $20 gift cards to 5 lucky winners!


Now for my card, I used the new, beautiful Heavenly Hydrangeas stamp set.  Here you can see a close-up of the flowers that were colored with Zig Clean Color Real Brush Pens.


If you're a little late sending out that birthday card, Rubbernecker has a stamp that's got you covered and will make whoever you give it to smile and laugh.


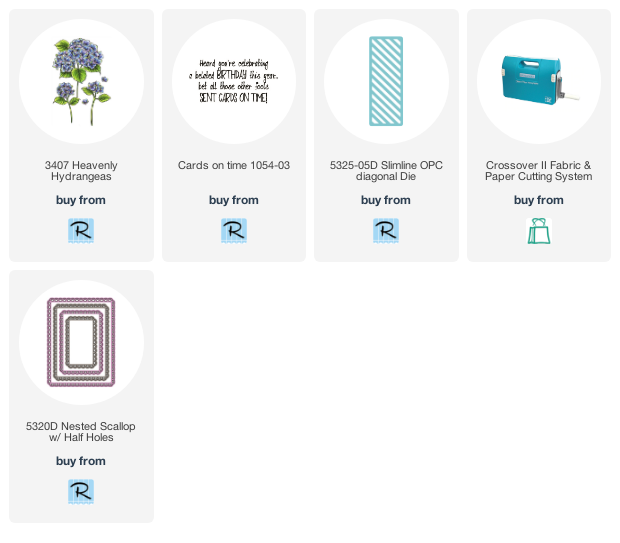
Here are links to the Rubbernecker products that were used to make my card, you will be taken to the Rubbernecker online shop.

 
Have a crafty day!

Let's Connect!

Affiliate and Product Disclosure
I am on various Design Teams and get free goodies for blogging about craft products but only because I love their products and genuinely use them. Ultimately my opinions are my own. A list of companies is in my sidebar.
Being part of various affiliate programs – when you click on an affiliate link and then go on to make a purchase, at no cost to you, I receive a small commission.  The affiliates I use include Rubbernecker Stamps.

Wednesday, February 17, 2021

Blooming Birthday


All month long Rubbernecker Stamps is celebrating their birthday and sharing birthday cards.  Today I have a bright and cheery card to share, sure to brighten anyone's birthday.
Be sure to check back on Friday the 19th to see what we have going on!!!!!

Here's how my card was made-
  • Stamp Daisies on white cardstock with VersaMark Ink and emboss with White Embossing Powder.
  • Blend Color Fuse Inks using a brush starting with Fushia at the bottom then moving up to Bubble Gum, and Blush. Do this halfway up the panel.  Then from the top blend Magenta, Orchid and Lilac.
  • Cut the panel diagonally, save half for another card, and glue half to a black cardstock panel, I used the E-Z Runner Strips by Scrapbook Adhesives by 3L.
  • Apply a thin strip of silver washi tape along the edge of the stamped panel.
  • Glue this to a pink card and set it aside.


  • Die-cut white cardstock using the Nested Rectangle Small Stitched Die and stamp Happy Birthday from the It's Spring Time Set with Onyx Black VersaFine Ink.
  • Glue this to a purple panel that was die-cut with the Nested Scallop w/ Half Holes and set aside.


  • Stamp a flower and leaves with the It's Spring Time set using inks from Color Fuse Sets #5, #6, and #10.
  • Die-cut using the Spring Time Die Set and glue the birthday panel as shown.
  • Use the Small Butterflies Die with silver glitter paper and glue one butterfly to the right corner.
  • Pop up the panel on the card using 3D Foam Squares from Scrapbook Adhesives by 3L.
  • Add three self-adhesive rhinestones to the left side.


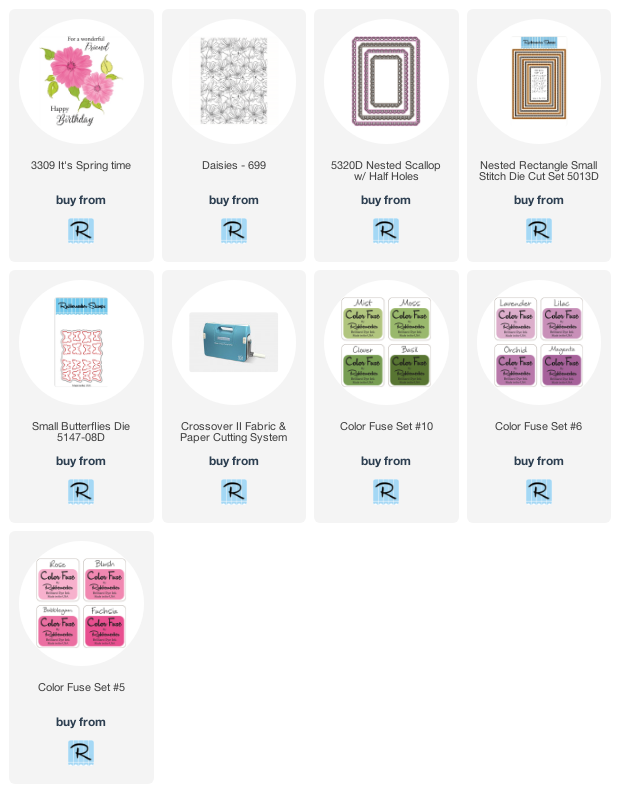
Here is the list of Rubbernecker Stamps product used.


Have a crafty day!

Let's Connect!

Affiliate and Product Disclosure
I am on various Design Teams and get free goodies for blogging about craft products but only because I love their products and genuinely use them. Ultimately my opinions are my own. A list of companies is in my sidebar.
Being part of various affiliate programs – when you click on an affiliate link and then go on to make a purchase, at no cost to you, I receive a small commission.  The affiliates I use include Rubbernecker Stamps.

Wednesday, February 3, 2021

Birthday Wishes


While making this birthday card using the Circle Background w/Stitch Die from Rubbernecker Stamps, I also wanted to use the circles that would be cut out from this pretty lined paper, but how can I keep all of the lines straight?  Well here is a super-easy way to do just that with a little help from Stick It Paper that Rubbernecker Stamps carries HERE.
Here's how my card was made;
  • Apply a 4" x 5" piece of Stick It to the back of striped decorative paper from Bo Bunny and die-cut using the Circle Background w/ Stitch Die Cut, with the die on top of the decorative side.
  • Keep the die-cut pieces in the die, place the die on your desk with the Stick It side facing up and remove the liner paper from all of the circles only using an Exacto knife.  
  • Take a piece of white cardstock 3 3/4" x 5" and place this on top of the Stick It panel that has the liner removed from the circles only and rub the cardstock with your fingers to have the Stick It adhere to the panel.  Lift the panel and the decorative paper will have adhered to the panel. Set this aside to use for another card.

  •  Remove the remaining paper from the die, remove the liner and place on a 4" x 5 1/" piece of white cardstock.  Layer this onto slightly larger orange card stock and glue to a black card.
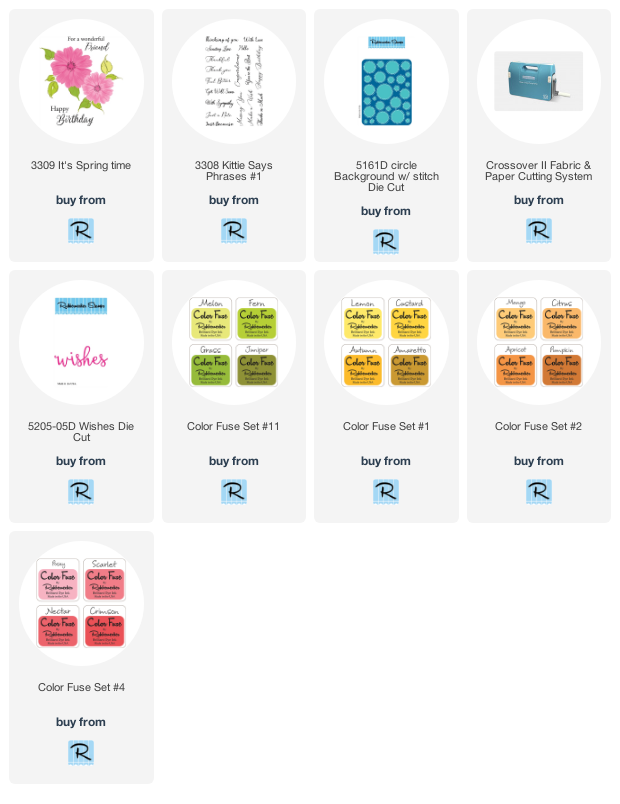
  • Stamp three flowers and five leaves from the It's Spring Time set with inks from Color Fuse Ink Sets #1, #2, #4, #11 and die cut using the coordinating Spring Time Die Set.

  • Glue two of the flowers and three of the leaves flat in the bottom left corner and pop up the last flower and leaves using 3D Foam Squares from Scrapbook Adhesives by 3L.

  • Stamp the sentiment from the Kittie Says Phrases #1 set with Onyx Black VersaFine Ink on orange paper.  Pop this up diagonally on the card.
  • Die-cut Wishes Die Cut from black cardstock and glue below the popped up sentiment.
  • Randomly apply Silver Pearl Liquid Pearls to the popped up sentiment.

Have a crafty day!
Let's Connect!

Affiliate and Product Disclosure
I am on various Design Teams and get free goodies for blogging about craft products but only because I love their products and genuinely use them. Ultimately my opinions are my own. A list of companies is in my sidebar.
Being part of various affiliate programs – when you click on an affiliate link and then go on to make a purchase, at no cost to you, I receive a small commission.  The affiliates I use include Rubbernecker Stamps.

Thursday, June 18, 2020

Bon Bon Birthday


Oh I just can't get enough of these House-Mouse Design stamps from Stampendous, they're the cutest!!  If you haven't seen all that Stampendous carries you'll want to check it out, they even have clear sets. 

Here's how my card was made-

  • Stamp Bon Bon Birthday on white cardstock with black ink, color with colored pencils and shade the edges with Scatter Straw Ink.
  • Layer onto a larger black panel and set aside.
  • Glue a strip of decorative paper onto a blue card and glue Bon Bon Birthday to this.
  • Stamp sentiment from Friend Wishes Perfectly Clear Stamp Set on white cardstock with black ink and cut out using the Fitted Frame B Die Set.
  • Pop up using foams squares.
  • Randomly apply orange Nuvo Crystal Drops.


Stampendous
MP120 Bon Bon Birthday
SSCM5003 Friend Wishes Perfectly Clear Stamp Set
DCP1006 Fitted Frames B Die Set
MPW811 Mixed Media White Paper
STF082 VersaFine Ink- Onyx Black

Plus
Prisma Colored Pencils
Nuvo Crystal Drops- Orange
3D Foam Squares- Scrapbook Adhesive by 3L
Zip Dry Glue- Beacon Adhesives
Paper- Blue Cardstock, Decorative Paper
Distress Inks- Scattered Straw

Have a creative day and follow me on 

Disclaimer- I get free goodies for blogging about craft products! Today I'm sharing a card made with products from Stampendous


Monday, June 1, 2020

Birthday Time!


Hi there, Jamie here with you today, I don't know about you but I'm always in need of birthday cards and Rubbernecker Stamps has this Party Balloons stamp that has the string from one of the balloons spelling out happy birthday in a really pretty font.  

Do you want to share what you have made with Rubbernecker Stamps products?  Be sure to go to the Rubbernecker Stamps Fans Facebook page and add your creation, we'd love to see it!!

Here's how my card was made-
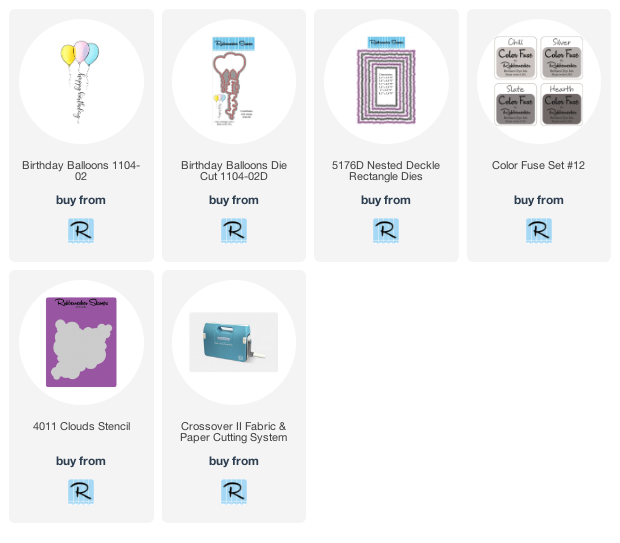
  • Stamp Party Balloons on watercolor paper with Onyx Black VersaFine ink, emboss with clear embossing powder and color with Zig Clean Color Real Brush pens.  
  • Use the matching Party Balloons Die Cut to cut out the balloons and set aside.
fP
  • Use the Clouds Stencil to stencil clouds on a 5 1/2" x 4 1/4" white cardstock panel using the grey inks from the Color Fuse Set #12.
  • Die-cut this panel using the Nested Rectangle Dies and glue this to a slightly larger pink panel then to a slightly larger white panel and finally glue this to a grey top folded card.

  • Pop up the balloons using 3D Foam Squares, then glue green and white ribbon towards the bottom of the card.
  • Take some of the same ribbon, fold it in half, diagonally trim the ends and push a cream color small brad through the ribbon and glue to the right top of the card.


  • Now for the final touch randomly add a few sequins to the card.

Click on these links below to go to the Rubbernecker Stamps online shop!

Follow Me- Stamp This, on-
Twitter

Affiliate and Product Disclosure
I am on various Design Teams and get free goodies for blogging about craft products but only because I love their products and genuinely use them. Ultimately my opinions are my own. A list of companies is in my sidebar.
Being part of various affiliate programs – when you click on an affiliate link and then go on to make a purchase, at no cost to you, I receive a small commission.  The affiliates I use include Rubbernecker Stamps.


Tuesday, May 5, 2020

Birthday Butterflies


This week the Stampendous Design Team will be making cards using the Butterfly Frame Perfectly Clear Set.  The frame and all of the butterflies is just one stamp and you can pick your sentiment to fill the frame from the five choices.


To make my card I stamped it with Onyx Black VersaFine Ink and embossed it with Clear Embossing Powder.  I then color with Zig Clean Color Real Brush Pens and colored in the dots on the butterflies with a white gel pen. 


Have a creative day and follow me on 

Disclaimer- I get free goodies for blogging about craft products! Today I'm sharing a card made with products from Stampendous