Featured Post

Privacy Policy

I'm working on a new privacy policy for my followers, but for now you should know that if you comment on my site, my site collects your ...

Friday, April 24, 2020

Happy Birthday


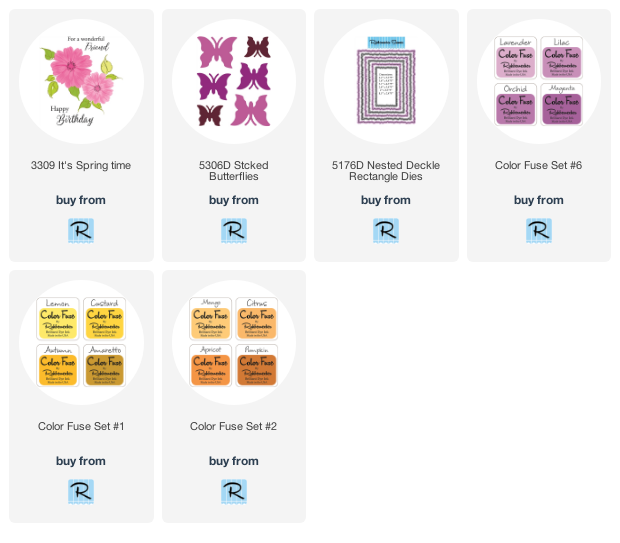
Hi my crafty friends, I'm here again this week with another card made with Rubbernecker Stamps, this time I used they're beautiful new layering stamp set "It's Spring Time".
Here's how my card was made-
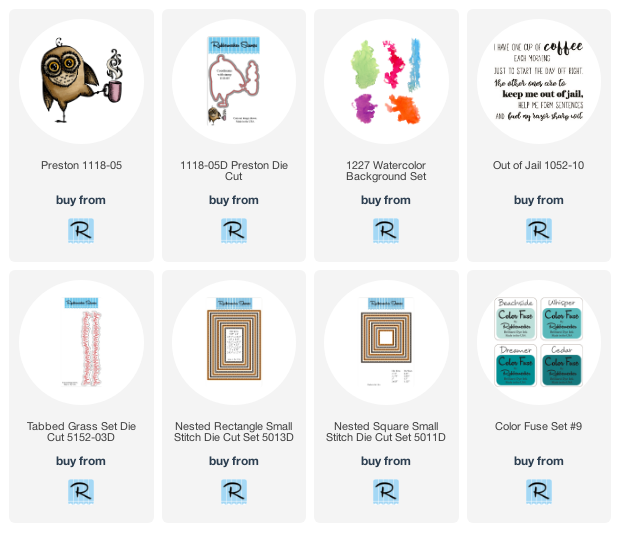
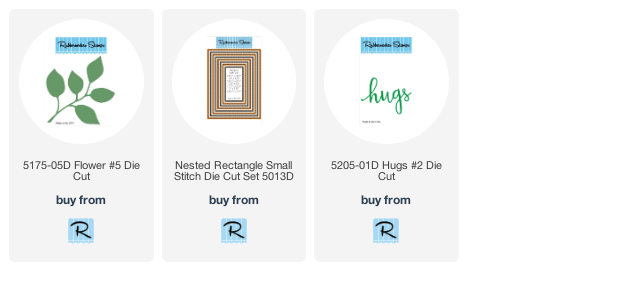
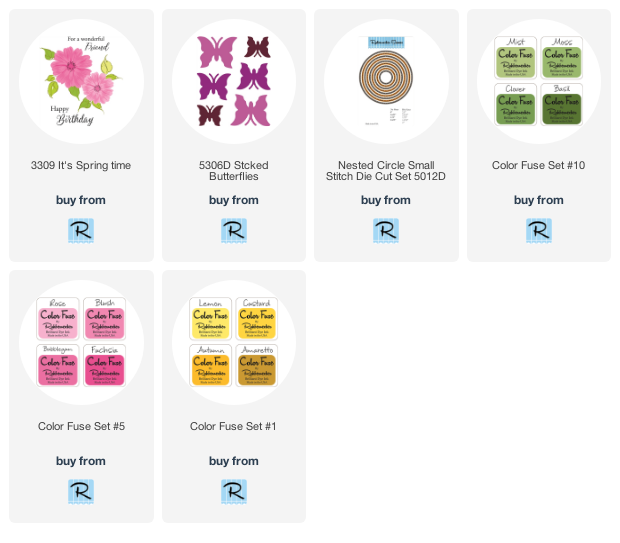
  • Die-cut a circle from white cardstock and grey using the Nested Circle Small Stitch Die Cut Set.
  • Use the "It's Spring Time" stamp set to stamp the large flower in pinks using Color Fuse Inks #5 and the small flower with Color Fuse Inks #1  and leaves with Color Fuse Inks #10 on the right side of the die-cut circle.
  • Stamp the sentiment from the set with Onyx Black VersaMark Ink and glue to the grey die-cut circle.
  • Glue decorative paper to a grey card and glue a strip of white glitter paper to it towards the bottom.
  • Pop up the circle on the card using foam squares.
  • Then you just can't make a Springtime birthday card without a butterfly so I die-cut a butterfly using the Stcked Butterflies from white glitter paper.  To add a little color to it, I used a blue alcohol marker to color the body and the edges of the wings.

  • Randomly apply a few dots of green Nuvo Drops to the white circle and you're done!

Have a creative day!


Follow Me- Stamp This, on-
Twitter

Affiliate and Product Disclosure
I am on various Design Teams and get free goodies for blogging about craft products but only because I love their products and genuinely use them. Ultimately my opinions are my own. A list of companies is in my sidebar.
Being part of various affiliate programs – when you click on an affiliate link and then go on to make a purchase, at no cost to you, I receive a small commission.  The affiliates I use include Rubbernecker Stamps.


Wednesday, April 22, 2020

We're Friends!


Hi there, here's a House-Mouse card today so everyone can have their daily dose of cuteness.  This stamp is called Mousse Mice from Stampendous and they have so many more cute ones too!!

I colored the Mousse Mice with Prisma Colored Pencils then added Shabby Green Embossing Enamel at the bottom and heated it from underneath so it wouldn't blow off.
To add shading around the image, green decorative chalk was used with a flat brush.


This was then layered onto a pink panel and popped up on a card with a band of decorative paper layered on a larger pink strip that has the top and bottom die-cut using Spring Borders Cutting Die Set.
Have a creative day!


Disclaimer- I get free goodies for blogging about craft products! Today I'm sharing a card made with products from Stampendous


Tuesday, April 21, 2020

Wine Frame


Today I made this Birthday card using the Wine Frame Perfectly Clear Set and I just love the saying inside the frame.  I combined three separate sentiments from the set to create the saying.  The wine, glasses, grapes, and frame are one stamp and the set comes with many saying to choose from.

The Wine Frame was stamped on white cardstock with Onyx Black ink, then colored with Prisma Colored Pencils.  I stamped each of the sentiments separately with black ink but stamp the Happy Birthday with purple ink.  I shadowed inside of the frame using my favorite way to shadow and that's by using decorative chalk, here I used blue and applied it using a flat brush.  It stays on and doesn't rub off!

Have a creative day!

Disclaimer- I get free goodies for blogging about craft products! Today I'm sharing a card made with products from Stampendous


Monday, April 20, 2020

Why I Have Coffee


Hi everyone, today and I have a coffee card for you to get your week started.  This cute little wide-eyed owls name is Preston, doesn't he look like he's had just a little too much caffeine?
Here's how my card was made-
  • Stamp Preston on white cardstock with Onyx Black VersaMark Ink and color with Prisma Colored Pencils. Use the matching die to cut out and set aside.

  • Die-cut white cardstock using the largest Nested Rectangle Small Stitched Die and stamp the sky background using one of the stamps from the Watercolor Backgound Set and Color Fuse Inks Set #9.  Start stamping with the darkest color of ink down to the lightest.
  • Die-cut the grass using the Tabbed Grass Set Die Cut and cut from two different shades of green cardstock and glue it to the bottom of the sky panel.
  • Pop up Preston using foam squares so one of his foot is on the grass.
  • Die-cut white cardstock using the Nested Square Small Stitch Die Cut Set and stamp it with Out of Jail using Onyx Black VersaMark Ink and emboss with clear embossing powder.
  • Layer this onto a slightly larger green panel and pop up with foam squares.
  • Randomly apply blue Nuvo Drops to the card, let dry and glue to a craft colored top folded card.

Have a creative day!

Follow Me- Stamp This, on-
Twitter

Affiliate and Product Disclosure
I am on various Design Teams and get free goodies for blogging about craft products but only because I love their products and genuinely use them. Ultimately my opinions are my own. A list of companies is in my sidebar.
Being part of various affiliate programs – when you click on an affiliate link and then go on to make a purchase, at no cost to you, I receive a small commission.  The affiliates I use include Rubbernecker Stamps.


Sunday, April 19, 2020

Listening is a Precious Gift


Here is a quick and easy way to make a beautiful card by making your background and added a sentiment.
To make the card-

  •  I repeatedly stamped the background stamp with VersaMark Ink and embossed with white embossing powder on white cardstock until the panel was filled.  
  • I then used a brush to brush on yellow and orange inks and blended the colors into each other.  
  • This panel was then layered onto a larger black panel, then a larger white panel before being glued to and orange card.
  • Black and white twine was wrapped around the card three times.

  • Stamp the sentiment from the From My Heart Perfectly Clear Set on white cardstock with black ink and cut out using the Fitted Frames B Set and layer onto black cardstock that was also cut using the same set.
  • Layer these two pieces and pop up on the card using 3D Foam Squares from Scrapbook adhesives by 3L.
  • To finish off the card, randomly add enamel dots.


Have a creative day and follow me on 


Disclaimer- I get free goodies for blogging about craft products! Today I'm sharing a card made with products from Stampendous


Friday, April 17, 2020

Got Hugs?


I'm back with another card made with Whimsy Stamps' new release Cactus products,  Cute Cacti Stamp SetCute Cacti Die SetSpring Border Die Set, and 6x6 Festive Desert Paper Pack .   The Cute Cacti Stamp Set comes with a bunch of different faces that you can put on the cacti or leave them plain.

My cactus was stamped and embossed on watercolor paper then colored with watercolor pencils. I used one of the Spring Border Dies to die-cut the top and the bottom of the decorative paper.


Have a creative day!

Have a creative day and follow me on 
Instagram

Affiliate and Product Disclosure
I am on various Design Teams and get free goodies for blogging about craft products but only because I love their products and genuinely use them. Ultimately my opinions are my own. A list of companies is in my sidebar.
Being part of various affiliate programs – when you click on an affiliate link and then go on to make a purchase, at no cost to you, I receive a small commission.  The affiliates I use include Whimsy Stamps.

Thursday, April 16, 2020

You're the Best!


Hi everyone, today I have a card that is good for any time of the year and who doesn't want to hear that you're the best?!  I think we all need to make an effort to build people up every day and to let them know how much they mean to us.

Here's how my card was made-
  • Stamp the Daisies on a 4"x5 1/4" watercolor panel with VersaMark Ink and Emboss with white embossing powder.
  • Apply Color Fuse Ink using Set #5 and Set #6, I used a brush but you can also use a sponge or other blending tool.
  • Once done wipe the embossed piece with a paper towel to remove any ink on the embossed area.  Cut the panel in half diagonally, this will give you two pieces to make two cards.
  • Glue the top half of the watercolor panel to a piece of 4"x5 1/4" cardstock, this is the same size as the watercolor panel you started with.
  • Apply a strip of thin black glitter washi tape across the seam of the top and bottom.
  • Stamp You're the Best with black ink on the white cardstock.
  • Die-cut Smile from black cardstock and glue to the center of the card, I used Nuvo Deluxe adhesive.
  • Randomly glue on a few sequins for a touch of bling and you're done.
  • Pop this up on a black card with foam squares.  I popped this up on purpose to give it a bit of interest. 


Have a creative day!

Click on product to go to the Rubbernecker Stamps online shop.

Follow Me- Stamp This, on-
Twitter

Affiliate and Product Disclosure
I am on various Design Teams and get free goodies for blogging about craft products but only because I love their products and genuinely use them. Ultimately my opinions are my own. A list of companies is in my sidebar.
Being part of various affiliate programs – when you click on an affiliate link and then go on to make a purchase, at no cost to you, I receive a small commission.  The affiliates I use include Rubbernecker Stamps and Whimsy Stamps.


Wednesday, April 15, 2020

You're Stuck With Me!


Today is Whimsy Stamps' new release day for the Cute Cacti Stamp Set, Cute Cacti Die Set, Spring Border Die Set, and 6x6 Festive Desert Paper Pack .  I think I'll give this to my husband for our anniversary in a couple of months since I always tell him that he's stuck with me haha.

  • To make my card I stamped the cactus planter from the Cute Cacti Stamp Set on watercolor paper and colored it with watercolor pencils.  Once it dried I added white dots using a white Gelly Pen and cut it out using the matching die from the Cute Cacti Die Set.
  • This was then glued to a white cardstock panel that has been die-cut with a circle die and a pattern was die-cut towards the bottom of the panel, it was hard to photograph but  in real life it really adds alot.
  • A decorative paper panel from the Festive Desert Paper Pack was glued to a white card and the white die-cut panel was popped up with this using foam squares.
  • The sentiment was stamped on a strip of brown cardstock with VersaMark Ink and embossed with white embossing powder.


Click on the product to be taken to the Whimsy Stamps online shop
    *NEW Cute Cacti Clear Stamps - Whimsy Stamps  *NEW Cute Cacti Outline Die Set - Whimsy Stamps  *NEW 6x6 Paper Pack - Festive Desert - Whimsy Stamps    White Embossing Powder - Basic - Whimsy Stamps3D Foam Squares - White - Whimsy Stamps

Have a creative day and follow me on 
Instagram

Affiliate and Product Disclosure
I am on various Design Teams and get free goodies for blogging about craft products but only because I love their products and genuinely use them. Ultimately my opinions are my own. A list of companies is in my sidebar.
Being part of various affiliate programs – when you click on an affiliate link and then go on to make a purchase, at no cost to you, I receive a small commission.  The affiliates I use include Whimsy Stamps.


Friday, April 10, 2020

Bold Beautiful Birthday


 Today I'm sharing a birthday card that was made using the new "It's Spring Time" layering stamp set.  I just love these new layering sets, it makes it quick and easy to have a beautiful card in minutes especially with the help of the new Color Fuse Ink sets.

Here's how my card was made-
  • Die-cut white cardstock using the Nested Deckle Rectangle Dies set.
  • Using the Spring Time clear stamp set, stamp the flowers starting with the center larger flower and Color Fuse #6 ink set. Each of the layering stamp sets has an instruction sheet on what order to stamp so there's no guesswork.
  • Next stamp the side flowers using Color Fuse #1 and #2.
  • Stamp the sentiment at the bottom with black ink and layer this onto a slightly larger black panel.
  • Glue yellow and white striped decorative paper onto a purple card and diagonally pop up the stamped piece using foam squares.

  • Die-cut a butterfly from white glitter paper using the Stcked Butterflies die and bend the wings to give it dimension.  Place a thin strip of foam tape under each wing so they stay up and glue only the body to the card.
  • Apply self-adhesive purple pearls to the butterfly body.
  • Last but not least a self-adhesive gold gym was placed in the center of the purple flower.

Here are the products I used to make my card.


Follow Me- Stamp This, on-
Twitter

Affiliate and Product Disclosure
I am on various Design Teams and get free goodies for blogging about craft products but only because I love their products and genuinely use them. Ultimately my opinions are my own. A list of companies is in my sidebar.
Being part of various affiliate programs – when you click on an affiliate link and then go on to make a purchase, at no cost to you, I receive a small commission.  The affiliates I use include Rubbernecker Stamps and Whimsy Stamps.


Thursday, April 9, 2020

Coffee Frame Week


This week the Stampendous Design Team's sharing cards made with the Coffee Frame Perfectly Clear Set.  This is a great set because the design work is done for you with the coffee cup and frame being one stamp and the set is filled with sentiments that fit perfectly in the frame.


My card was stamped with Sepia VersaMark Ink, embossed with Clear Embossing Powder and colored with Zig Clean Color Real Brush Pens.  A few sequins were randomly glued to the card using Nuvo Glue and glitter washi tape was also used.
Have a creative day and follow me on 

Disclaimer- I get free goodies for blogging about craft products! Today I'm sharing a card made with products from Stampendous


Monday, April 6, 2020

Hugs Shaker Card


Hi there, Jamie with you for another Monday and to help get your creativity started for the week!  I really LOVE this card that I made, it has 3 of my favorite elements first it has leaves which I just can't get enough of, second it's a shaker card and cards that have movement are so much fun, then third the leaves are die-cut from glitter paper and everything looks better with glitter!!! 

Here's how my card was made-
  •  Cut leaves using the Flower #5 Die Cut from three different colors of glitter paper.
  • Glue the leaves onto a white cardstock panel that has been die cut using the Nested Rectangle Stitched Die Set.
  • Glue this panel onto a light blue card and set aside.
  • To make the shaker frame, use two of the Rectangle Stitched die and make a frame from the same blue paper as the card.
  • Glue a piece of acetate to the backside of the frame, then line the frame with thin foam tape.  To help prevent the shaker bits from clinging to the acetate, rub it with a dryer sheet, then rub with a paper towel to get some of the film that it leaves off.
  • Place shaker bits on your card, and place the acetate frame over them.
  • Using the Hugs Die Cut #2, cut out the word on black cardstock and glue to the acetate and now your card is done.

Follow Me- Stamp This, on-
Twitter

Affiliate and Product Disclosure
I am on various Design Teams and get free goodies for blogging about craft products but only because I love their products and genuinely use them. Ultimately my opinions are my own. A list of companies is in my sidebar.
Being part of various affiliate programs – when you click on an affiliate link and then go on to make a purchase, at no cost to you, I receive a small commission.  The affiliates I use include Rubbernecker Stamps and Whimsy Stamps.


Sunday, April 5, 2020

Spring Shaker Card


Are you sending out Easter cards this year since we all are social distancing?  If you are you'll want to check out 5 new products from Whimsy Stamps that are 25% off with a coupon code.  These 5 products are from the March Paper Door kit that sold out in hours!  The 25% off coupon code SpringPD25 is good for only seven days, April 1-7, Whimsy Stamps has a quick turn around time so there's still time to get cards made.  The 5 products are the thumbnails listed below.


Today's card is a shaker card using the Spring Bunnies Clear set, Nested Pierced Egg Die Set and the 6x6 Paper Pack- Eggstra Bunnies.  I used the Nested Pierced Egg Die Set in two different ways, for the front of the card I made a frame from white cardstock and I also used it for the card base.   To make the base I placed the largest die on a folded white card but had the left side of the die hanging off of the card so after it's cut, it's still attached.

Here's a trick I use to help prevent the shaker card bits from clinging to the acetate, rub the acetate with a new dryer sheet, this helps to remove the static.  Be sure to then rub the acetate with a cloth or paper towel to remove the streaks.


Have a creative day and go get these before they're gone!

*NEW Spring Bunnies Clear Stamps - Whimsy Stamps    *NEW Spring Bunnies Outline Die Set - Whimsy Stamps   *NEW Nested Pierced Egg Die Set - Whimsy Stamps   *NEW 6x6 Paper Pack - Eggstra Bunnies - Whimsy Stamps
*NEW Eggstra Special Clear Stamps - Whimsy Stamps   3D Foam Squares - White - Whimsy Stamps
Have a creative day and follow me on 
Instagram

Affiliate and Product Disclosure
I am on various Design Teams and get free goodies for blogging about craft products but only because I love their products and genuinely use them. Ultimately my opinions are my own. A list of companies is in my sidebar.
Being part of various affiliate programs – when you click on an affiliate link and then go on to make a purchase, at no cost to you, I receive a small commission.  The affiliates I use include Whimsy Stamps.