Featured Post

Privacy Policy

I'm working on a new privacy policy for my followers, but for now you should know that if you comment on my site, my site collects your ...

Showing posts with label colored pencils. Show all posts

Saturday, December 30, 2023

House Mouse Thinking of You Card


House-Mouse stamps are the cutest. I used this "We Heart You" stamp that comes with the sentiment to make a thinking of you card. I'm thinking of switching out the sentiment to make this a Valentine's Day card too.

This is a simple card to make since it fills up the card and you don't have to worry about the layout. The image was stamped with Onyx Black VersaFine ink and colored with Prisma Colored Pencils. Adhesives from Scrapbook Adhesives were used to stick things down and to pop them up.

You can see the House-Mouse collection at Spellbinders HERE

SALE
PLUS SPELLBINDERS IS HAVING A HUGH NEW YEAR SALE WITH GREAT DEALS! CHECK IT OUT HERE

Have a creative day :)

 Have a crafty day!


Let's Connect!

Affiliate and Product Disclosure
I am on various Design Teams and get free goodies for blogging about craft products but only because I love their products and genuinely use them. Ultimately my opinions are my own. A list of companies is in my sidebar.

Friday, December 29, 2023

Warm Birthday Wishes Card


 I'm making a few winter birthday cards using this Knit One, you can see it here https://shrsl.com/4d048 on the Spellbinders site.


Knit One, House-Mouse Designs from Spellbinders


To make my card, the image was stamped with Onyx Black VersaFine Ink and colored with Prisma Colored Pencils. It was then layered onto pink cardstock and glued to a card that was covered with decorative paper.
The sentiment from the set was stamped on the same decorative paper and layered onto silver glitter paper, the adhesives I used are from Scrapbook Adhesives BY 3L.

Have a creative day and stay warm! :)

Have a crafty day!

Let's Connect!

Affiliate and Product Disclosure
I am on various Design Teams and get free goodies for blogging about craft products but only because I love their products and genuinely use them. Ultimately my opinions are my own. A list of companies is in my sidebar.


Wednesday, December 27, 2023

Coffee Lover Card


Stamp a brown cardstock panel using the Wood Grain Fence stamp with VersaMark ink and emboss using white embossing powder. Glue this to a pink top folding card.


Stamp the owl from the Words Can't Espresso Set and the heart from the Coffee Lovers Set on white cardstock using Onyx Black VersaFine Ink. Color with Prisma Colored Pencils.
Use the coordinating dies to cut out the images and set aside.


Die cut an oval frame using two dies from the Nested Oval Stitch Die Cut Set and pop this up in the center of your card.
Pop up the owl in the center of the die and the heart at the top left of the card.
Die cut leaves from green cardstock using the Branches and Leaves Die Set and glue them below the oval.


Have a crafty day!

Let's Connect!

Affiliate and Product Disclosure
I am on various Design Teams and get free goodies for blogging about craft products but only because I love their products and genuinely use them. Ultimately my opinions are my own. A list of companies is in my sidebar.

Tuesday, November 7, 2023

Happy Birthday Wishes


Happy Birthday Wishes was made using the Party Streamers House-Mouse Designs Stamp from Spellbinders.

The image was colored with Prisma Colored Pencils and the sentiment was die-cut from white cardstock using the Popular Sentiments Etched Dies
The die-cut words were ink blended with blue and green inks and layered onto the word shadows that were die-cut from black cardstock. The words were then popped up on the card using 3D Foam Strips from Scrapbook Adhesives BY 3L.

***SALE ALERT***
Spellbinders is having a CLEARANCE SALE with up to 80% off!! This is a great time to stock up and get gifts for others or yourself. Head on over before it's gone, here's the link for my US FRIENDS
Or for my UK FRIENDS

Have a crafty day!

Let's Connect!

Affiliate and Product Disclosure
I am on various Design Teams and get free goodies for blogging about craft products but only because I love their products and genuinely use them. Ultimately my opinions are my own. A list of companies is in my sidebar.


Sunday, October 29, 2023

Get Well Soon House-Mouse Card


 Get those get-well cards ready, cold and flu season is here. My card is made with the House-Mouse Designs, Froggy Throat from Spellbinders.


The image is colored with Prisma Colored Pencil, shadowed with decorative chalk and green ink is sponged around the top and sides. The sentiment plus another is included with the stamp.

Have a crafty day!

Let's Connect!

Affiliate and Product Disclosure
I am on various Design Teams and get free goodies for blogging about craft products but only because I love their products and genuinely use them. Ultimately my opinions are my own. A list of companies is in my sidebar.

Wednesday, July 19, 2023

Merry Christmas Gnomes


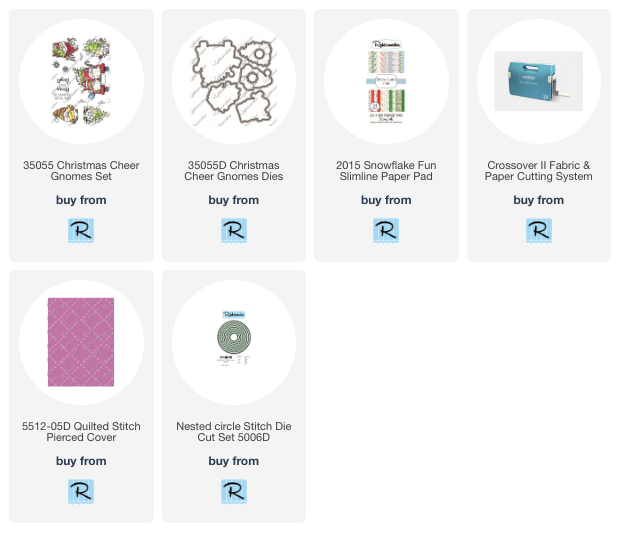
Glue a strip of decorative paper from the Snowflake Fun Paper Pad onto a red top folding card.
Place Extreme Double-Sided Tape above and below the decorative paper, remove the carrier and apply crystal glitter to each strip.


Die-cut white cardstock using the Quilted Stitch Pierced Cover Die and then cut that using the Nested Circle Stitch Die Cut Set.
Next cut a frame from red cardstock using the same circle die and one size larger.


Glue the white circle to the center of the decorative paper.
Die-cut acetate using the larger die used for the frame and glue it to the back of the red circle frame.
Place 3D Micro Foam Squares on the back and pop it up over the white circle.
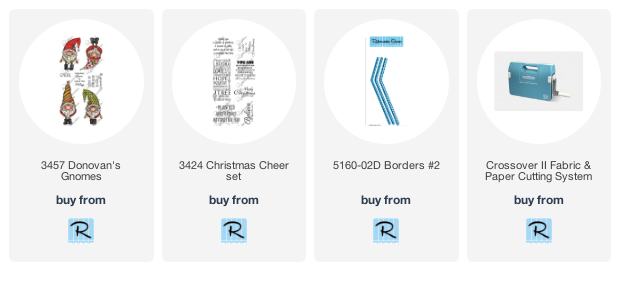
Stamp the gnomes from the Christmas Cheer Gnomes Set, on white cardstock, color with colored pencils and die-cut using the Christmas Cheer Gnomes Dies.
Glue this to the center of the acetate.


Click on the product below to go to the Rubbernecker Stamps online shop.


Have a crafty day!

Let's Connect!

Affiliate and Product Disclosure
I am on various Design Teams and get free goodies for blogging about craft products but only because I love their products and genuinely use them. Ultimately my opinions are my own. A list of companies is in my sidebar.

Monday, May 1, 2023

Be A Cactus Card


Today I have a fun cactus card with a southwestern flare and it's up on the Scrapbook Adhesives by 3L Blog.

Die-cut white cardstock and decorative paper using the largest rectangle die from the set. Using a paper trimmer, cut just a bit of the top left corner off and about half of the bottom right corner off.


Using the E-Z Runner Squares Dispenser, tape the cut white cardstock panel to the decorative paper panel and set aside.


Die-cut white cardstock using the second to the smallest oval and apply green and blue inks using blender brushes.


Stamp the cactus images on white cardstock, color with colored pencils then die-cut the images. Next, apply Sunflower Liquid Pearls to the dots on the tall cactus. Since the dots are so small, I squirted some of the Liquid Pearls on my glass mat and used a small stylus to dip it into the Liquid Pearls and dot it on the vase.

E-Z Runner Squares were placed on the back of the tall cactus 3D Foam Circles were place behind the flower cactus and mounted to the oval as shown.


3D Foam Strips were placed on the back of the oval panel. These are great to use so that no part of your oval sags once it's placed on the card.


The oval is placed off center to the upper left. Two die-cut arrows were glued below the cactus's using the Dual Tip Glue Pen. The sentiment was stamped with brown ink on white cardstock, layered on brown cardstock and popped up on the bottom of the card using 3D Foam Circles. Orange enamel dots were randomly placed around the card.


off


Supplies

All adhesives are from Scrapbook Adhesives by 3L

Stamps, Dies and Decorative Paper- Whimsy Stamps
Arrow Dies- Spellbinders
Inks- Pinkfresh
Liquid Pearls- Wendy Vecchi/ Ranger
Cardstock- PrintWorks Specialty Paper

Have a crafty day!

Let's Connect!

Affiliate and Product Disclosure
I am on various Design Teams and get free goodies for blogging about craft products but only because I love their products and genuinely use them. Ultimately my opinions are my own. A list of companies is in my sidebar.

Friday, November 18, 2022

Christmas Cards Galore!!

For those of you that haven't started your Christmas cards, I have a bunch of cards with directions to help you get started. All of the cards and tags are made using Stamps and Dies from Rubbernecker Stamps. If you need to order anything, they have fast shipping so it's not too late to order!!

Santa and Reindear Tags


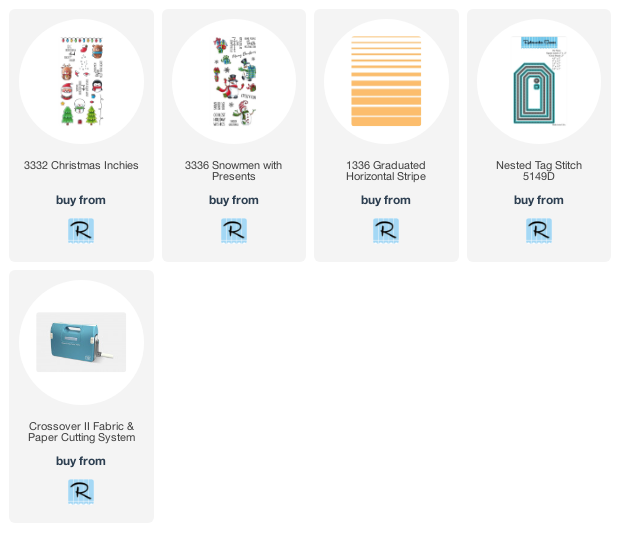
This Christmas Season don't forget to make some cute little tags for those gifts under the tree.  I used the Christmas Inchies Stamp Set from Rubbernecker Stamps that I used on Monday to make my slimline card (see it HERE), this set is not only cute but also versatile.  
Here's how my card was made-

  • Stamp Christmas Inchies on white cardstock with Onyx Black VersaMark Ink and color with Prisma Colored Pencils.  
  • Cut out and set aside.

  • Stamp tan cardstock with the Graduated Horizontal stamp using white pigment ink.
  • Stamp snowflakes from the Snowman with Presents stamp set over the stamped tan panel.
  • Die-cut the stamped tan panel twice using a tag from the Nested Tag Stich Die Set.

  • Cut a wave at the top of white glitter paper and use the same tag die to cut the glitter paper just tall enough for the bottom of the tag.
  • Glue the glitter paper to the bottom of the tags and layer and glue the tags, one on red and one on green cardstock that has been die-cut with the same tag die having them be a bit offset.  

  • Pop up the Christmas Inchies on the tag as shown. 
  • Glue the small Christmas stocking to the top of the reindeer tag and stamp the sentiment on the Santa tag with black ink.
  • Tie the tops of the tags with ribbon and cord.


  • Click on the product to go to the Rubbernecker Stamps online shop

    Christmas Tree Tags


    Gingerbread Man Tag


    Winter Coffee Card

    Just because Christmas is over, don't put away those snowflakes, they can be used all winter long!  I used them on the purple frame and die-cut them out of glitter paper.  Here's how my card was made;
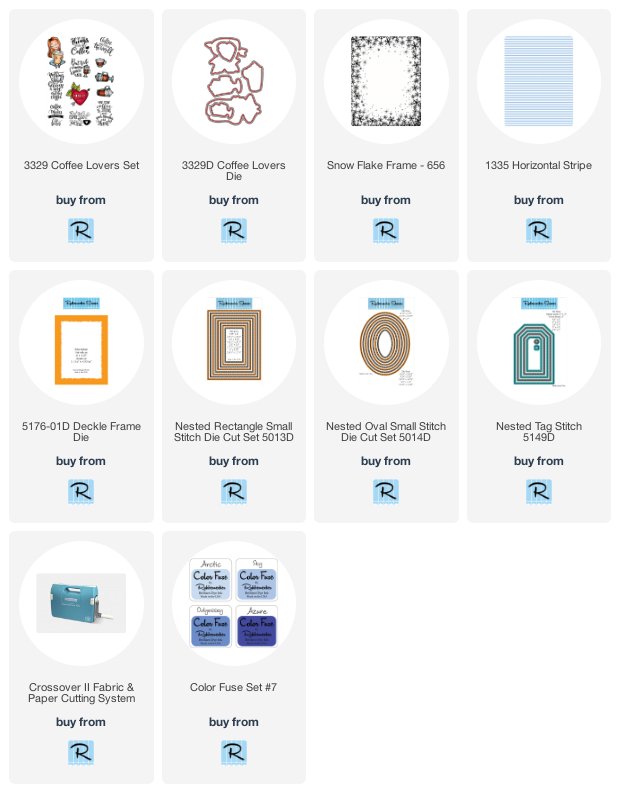
    1. Die-cut a purple frame using the Deckle Frame Die.
    2. Stamp the frame with the Snow Flake Frame stamp and white pigment ink.  Pop this up on a white card using foam squares and set aside.
    3. Die-cut a white and purple cardstock with the Nested Rectangle Small Stitch Die Set and glue together so that they are offset. Glue this in the center of the frame on the white card.
    4. Stamp the girl from the Coffee Lovers Set with black ink on white cardstock, color with colored pencils, and die-cut with the Coffee Lovers Die set.
    5. Die-cut white cardstock using the Nested Tag Stitch die set and apply Sky Color Fuse Ink to the enter of the die.
    6. Use the Nested Oval Small Stitch Die Cut Set to cut grey patterned paper.
    7. Glue the oval to the bottom of the tag, pop up the girl with foam squares, and randomly ally sequines to the tag.
    8. Glue the tag to the center of the frame diagonally and glue on green ribbon that has been tied into a knot.
    9. Die-cut several snowflakes from white glitter paper and glue two flat to the bottom left corner and pop one up using a foam square.
    10. Stamp the sentiment from the set onto white cardstock with black ink and die-cut with the Nested Oval Small Stitch Die.
    11. Glue two snowflakes to the back of the sentiment and pop up the right corner.


    Slimline Christmas Card


    Hi there, I hope you're having a good start to your week.  How are you doing on those Christmas cards?  If you haven't started, today is the day!  For my card, I made a slimline card using the new Christmas Inchies stamp set.  Be sure to come back in a couple of days, I'll have tags that I made using the same set for a completely different look.

    Here's how my card was made;

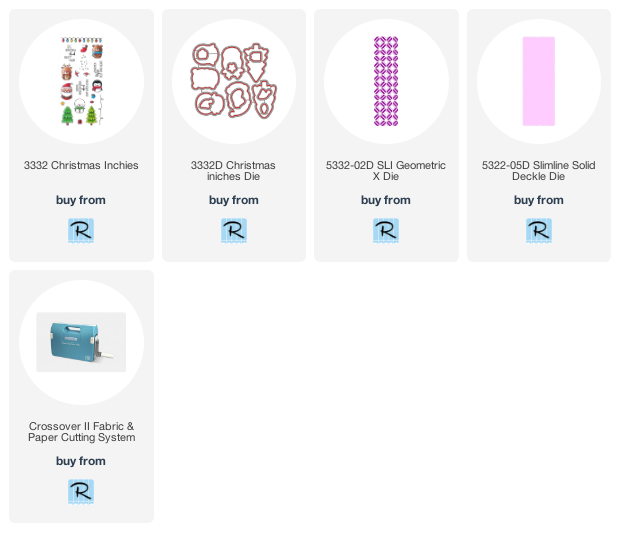
    • Stamp the Santa, Christmas tree and Rudolph from the Christmas Inchies set on white cardstock with Onyx Black Ink and color with Prisma Colored Pencils.
    • Die-cut the images with the Christmas Inchies Die set and set aside.

    • Using the Slimline Solid Deckle Die, die-cut white cardstock.
    • Place the SLI Geometric X Die in the center of the Solid Deckle panel, keep it in place using a low tack tape and run it through the Crossover ll.
    • Repeatedly stamp the string of lights across the top of the die-cut panel with black ink.
    • Stamp Merry Christmas on the bottom center of the panel with black ink.

    • Color lights green, red, and yellow using Bottle Green Nuvo Crystal Drops, Carnation Red Liquid Pearls, and Sunflower Liquid Pearls. 
    • Apply Diamond Glaze over the top of the painted lights and let dry.

    • Layer the die-cut slimline panel onto slightly larger decorative paper and glue to a red slimline card.
    • Place foam squares on the back of the three Inchies and pop upon the card as shown.


    Hi there, I hope you're having a good start to your week.  How are you doing on those Christmas cards?  If you haven't started, today is the day!  For my card, I made a slimline card using the new Christmas Inchies stamp set.  Be sure to come back in a couple of days, I'll have tags that I made using the same set for a completely different look.
    Here's how my card was made;

    • Stamp the Santa, Christmas tree and Rudolph from the Christmas Inchies set on white cardstock with Onyx Black Ink and color with Prisma Colored Pencils.
    • Die-cut the images with the Christmas Inchies Die set and set aside.

    • Using the Slimline Solid Deckle Die, die-cut white cardstock.
    • Place the SLI Geometric X Die in the center of the Solid Deckle panel, keep it in place using a low tack tape and run it through the Crossover ll.
    • Repeatedly stamp the string of lights across the top of the die-cut panel with black ink.
    • Stamp Merry Christmas on the bottom center of the panel with black ink.

    • Color lights green, red, and yellow using Bottle Green Nuvo Crystal Drops, Carnation Red Liquid Pearls, and Sunflower Liquid Pearls. 
    • Apply Diamond Glaze over the top of the painted lights and let dry.

    • Layer the die-cut slimline panel onto slightly larger decorative paper and glue to a red slimline card.
    • Place foam squares on the back of the three Inchies and pop upon the card as shown.

    Products used
    Click on item to go to the Rubbernecker Stamps online shop

    Believe Santa Gnome Card


    Hey my crafty friends, have you started on your Christmas cards yet?  If not tic toc... now is the time, and if you're short on time here's a quick and easy festive card that you can whip out in no time.  The new William Winter Gnome from Rubbernecker Stamps is colored with Prisma Colored Pencils  and glitter was applied to the trim of the hat.

    He was cut out and popped up on a white panel.  The plaid paper edge was die cut using the Borders #2 die set, isn't that cute!!  Once the papers were glued to a red top folding card, the sentiment Magic of the Season was stamped in black and a twine bow was tied on the top.

    Wintery Gingerbread Man Slimline Card


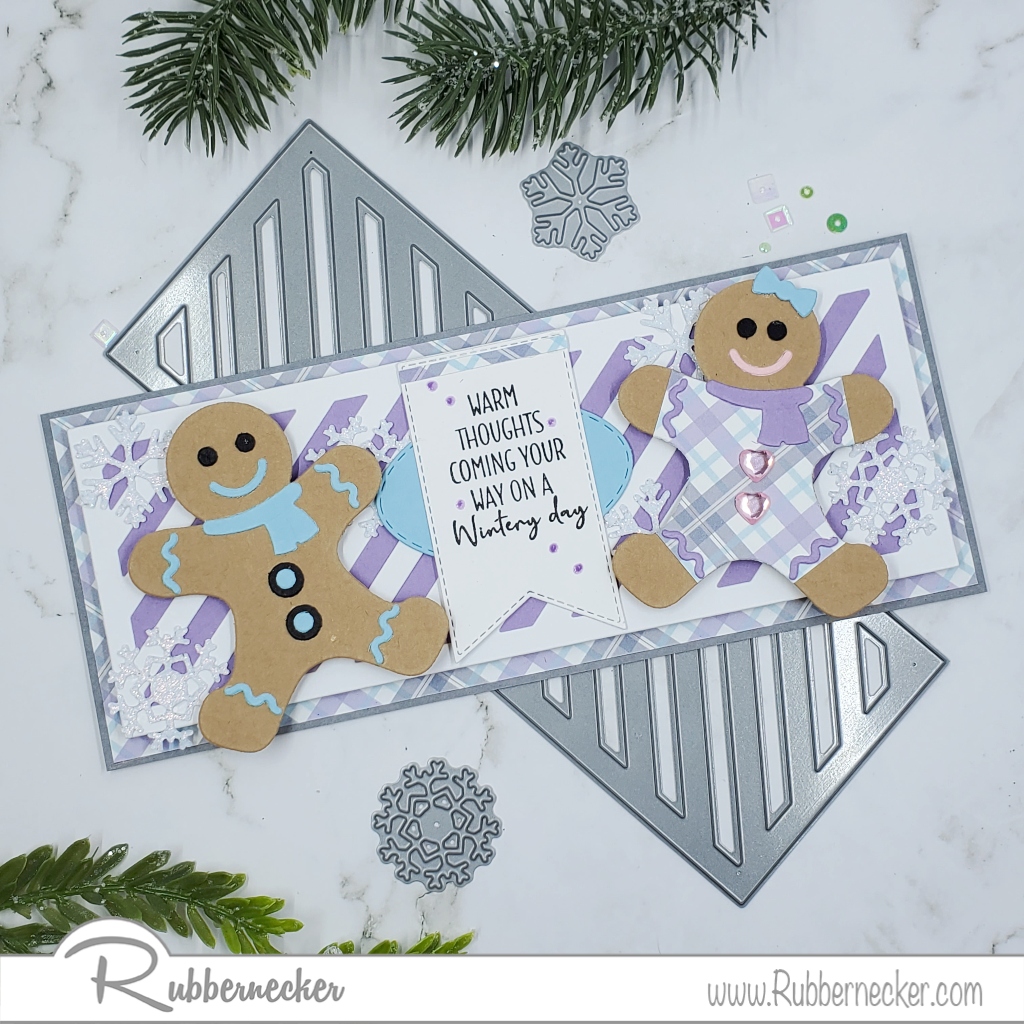
    • Die-cut two pieces of kraft color cardstock, one-piece each of light blue cardstock, lavender cardstock,  black cardstock, and one piece of decorative paper using the Mr. Mrs. Gingerbread Die Cut.
    • Glue blue and black pieces onto one of the gingerbread men as shown and set aside.


    • Cut the hands and feet off of the decorative paper gingerbread man to make a cute little outfit for the Mrs.
    • Glue the pieces on as shown.
    • Apply two pink adhesive heart rhinestones for the buttons and set aside.


    • Die-cut white cardstock using the Nested Banner Stitch Die Set and Slimline OPC Diagonal die.
    •  Die-cut white cardstock with the Nested Oval Small Stitch Die Cut Set from light blue cardstock.
    • Glue the Slimline OPC Diagonal onto lavender paper, pop this up onto slightly larger decorative paper, and glue it onto a grey slimline card.
    • Die-cut white glitter paper with the Small Snow Flake Die 5100-03D and 5100-04D.  Glue these to the card.
    • Stamp sentiment from the Wintery Friends stamp set with black in on the die-cut banner, glue it on top of the blue oval die-cut and glue flat to the center of the card.
    • Randomly add dots of Nuvo Crystal Crushed Grape around the sentiment.
    • Pop up Mr. and Mrs. Gingerbread Die Cut to each side of the sentiment.


    • There were some cutout images on my desk and thought they would also look good on the card, so I added the bottom two cards for a couple more ideas.


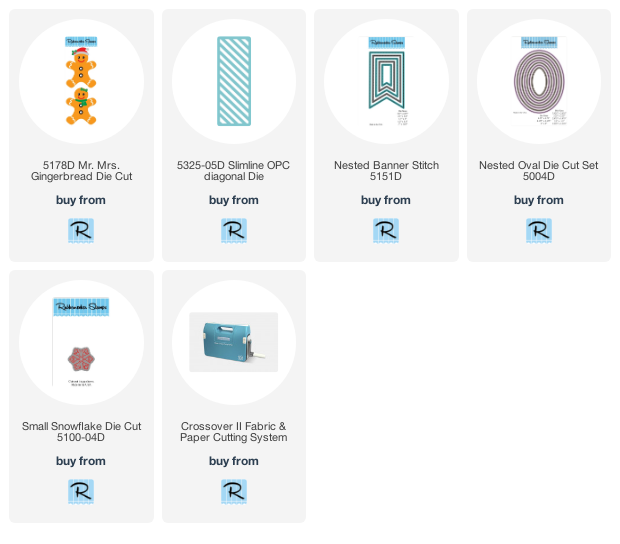
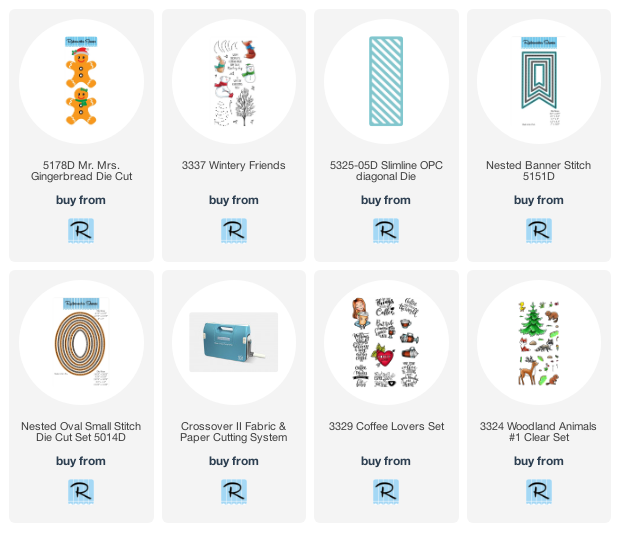
    These are the Rubbernecker Stamps products used for the cards.


    Gold Glitter Christmas Card

    I know this may seem early but it's Christmas in July, if you start now and make a few each month, you won't be in a rush to make Christmas cards in December.  My card is quick and easy so if you have a lot to make this might be for you.  

    Here's how my card was made-

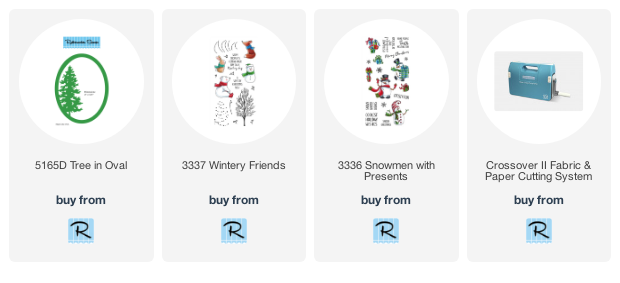
    • Die-cut the Tree In Oval from gold glitter paper, I used the Crossover II Fabric & Paper Cutting System.


    • Apply 3D Foam Squares from Scrapbook Adhesives by 3L to the backside of the die-cut piece.

    • Place this piece on a 4" x 5 1/4" cream cardstock panel and lightly mark the inside of the oval with a pencil.
    • Before removing the die-cut piece stamp the sentiment from the Wintery Friends Set with gold ink and emboss with clear embossing powder.
    • Randomly stamp snowflakes from the Snowmen with Presents Set.
    • Adhere the cream panel to a kraft and gold polka dot card.

    • Now adhere the die-cut piece to the card.