Featured Post

Privacy Policy

I'm working on a new privacy policy for my followers, but for now you should know that if you comment on my site, my site collects your ...

Friday, March 27, 2020

Just For You


Hi there and happy Friday, I hope you are all doing well and staying healthy.  Hopefully, with the extra time that you have on your hands, you've been creating pretty things.  Rubbernecker Stamps has beautiful new clear stamps that are layering stamps, each set comes with an instruction sheet on how to layer them for easy stamping. They also have a whole new line of Fuse Inks that come in gorgeous colors and are perfect for the new stamp sets.


Here's how my card was made-
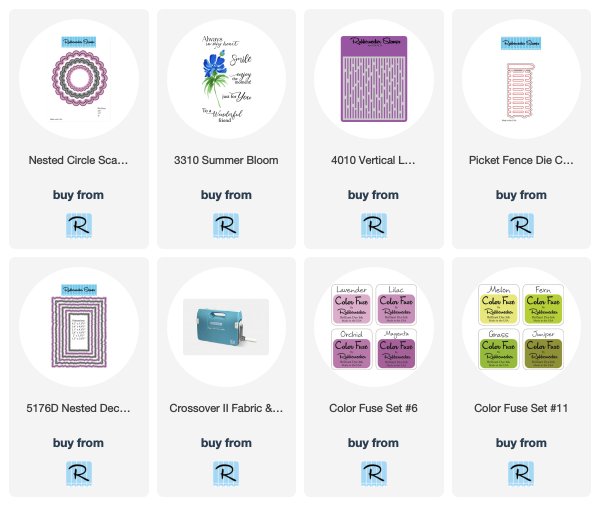
  • I stamped the Summer Bloom flower on white cardstock using Fuse Inks #6 and #11.  I started stamping with the lightest color first and went darker with each additional stamp.
  • This was then die-cut using the Nested Deckle Die Set and layered onto slightly larger black cardstock.
  • Die-cut the Picket Fence Die from white cardstock and pop up on the flower using foam squares.
  • Dry emboss the Verticle Lines Stencil on a white cardstock panel and glue it to a purple card.
  • Die-cut green decorative paper with the Nested Circle Scallop Die Set using the largest scalloped circle and glue to the card.
  • Cut a 1" strip of black and white striped decorative paper and glue towards the bottom of the card.
  • Glue a purple panel, the same size as the black panel that mats the flower, to the card and pop up and off set the flower panel using foam squares.
  • Stamp the sentiment on white cardstock with black ink, glue to the fence.
  • Randomly add dots of green Nuvo drops to the card as shown.

Tuesday, March 17, 2020

Donut Day


Hi my friends, with all that's going on in the world with this virus, the businesses that are shut down and events that are canceled, we have to find the little things every day to be thankful for and to enjoy.  This cute House-Mouse Designs image Donut Day from Stampendous is a reminder of that.
I colored Donut Day up with Prisma Colored Pencils and used Fitted Frames B Die Set to make a shaker card.


I hope you all stay healthy, keep a positive attitude and have a creative day!

Have a creative day and follow me on 

Disclaimer- I get free goodies for blogging about craft products! Today I'm sharing a card made with products from Stampendous

Monday, March 16, 2020

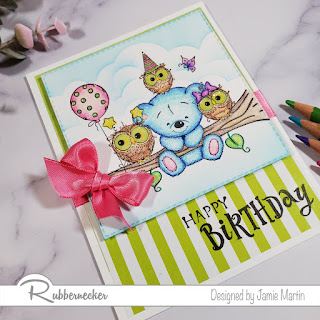
Birthday Tree Party


Hi, Jamie here with you for another Monday!  If you're like me I'm always in need of birthday cards for all ages and I like to have a bunch to choose from so I can pick one that really suits the person that I'm giving it to.  This stamp is so adorable, I already have someone in mind for it!

Here's how my card was made;
  • Stamp Birthday Tree Party on white cardstock and color with color pencils.
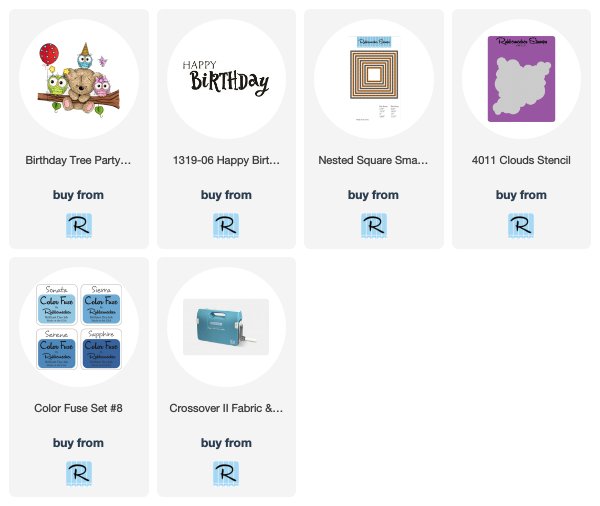
  • Make the clouds by using the Clouds Stencil and the new Sonata ink from the Color Fuse #8 ink set.
  • Die-cut the colored piece using the largest die from the Nested Square Stitch Die Set and set aside.
  • Glue decorative paper to a white top folding card and glue pink ribbon around the center.
  • Pop up the stamped image on the top of the card and glue a pink bow to the left side.
  • Stamp Happy Birthday in black ink on the bottom right of the card. 
  • Add Glossy Accents to the eyes of the owls and Stickles to the balloon, stars, hat, and bow.

In the picture above you can see the Glossy Accents on the eyes and some of the glitter.


Paper dimensions
White card 4 1/4" x 5 1/2"
Decorative Paper from The Paper Studio 4" x 2 3/4" (two pieces)
White cardstock square- cut with the largest die

Plus
Stickles- Unicorn
Glossy Accents
3D Foam Squares- Scrapbook Adhesives by 3L
Pink statin ribbon
Nuvo Deluxe Adhesive
VersaFine Onyx Black Ink
Prisma Color Pencils
   *Pink- 929, 994
   *Green- 1005, 912, 909, 911
   *Blue- 992, 905, 902
   *Brown- 941, 943, 945
   *Yellow- 916, 1034, 1003
   *Purple- 956, 932


Follow Me- Stamp This, on-
Twitter

Affiliate and Product Disclosure
I am on various Design Teams and get free goodies for blogging about craft products but only because I love their products and genuinely use them. Ultimately my opinions are my own. A list of companies is in my sidebar.
Being part of various affiliate programs – when you click on an affiliate link and then go on to make a purchase, at no cost to you, I receive a small commission.  The affiliates I use include Rubbernecker Stamps and Whimsy Stamps.

Tuesday, March 10, 2020

Eggstra Special- Paper Door Kit


**Sold Out**
Hey everyone, guess what day it is, it's Whimsy Stamps Paper Door Kit release day for March!!  And it's another super cute Card Kit for Easter and Spring, take a look at what you get, two stamp sets, two die sets and a 6 x 6 paper pack.  It's a $50 retail value for only $29.95 plus shipping.  This Kit will be available until March 25th or until it's sold out, the last two months Kits sold out in a few days!!  Keep stopping by, I'll be sharing more cards made with this Kit until it sells out.


Step by Step Instructions:
  • Pick two sheets of decorative paper from the 6 x 6 paper pack and cut two strips from each piece measuring 1 ¼” x 3 ¾” and glue to a 5 ¼” x 4” white cardstock panel.
  • Glue this to a pink card.
  • Stamp words on a white cardstock piece with black ink, emboss with clear embossing powder and glue to a slightly larger pink panel.
  • Use a flat brush to apply pink and green decorative chalks over the words and randomly apply Apple Green Nuvo drops.  Set aside to dry.
  • Stamp the striped egg and bunny ears on white cardstock with black ink and color with colored pencils.
  • Cut out the egg and ears then glue the ears to the back of the egg.
  • Pop up the sentiment panel using foam circles and glue the egg to the right corner.


Paper Door Supplies: 
6 x 6 paper pack
Stamp Set

Whimsy Stamps Supplies:
Nuvo Deluxe Adhesive
VersaFine Onyx Black Ink
Clear Embossing Powder
3D Foam Circles

Other: 
Prisma Colored Pencils
Nuvo Crystal Drops- Apple Green
Decorative Chalk- Jane Davenport

Cardstock Measurements:
5 ½” x 4 ¼” pink card base
5 ¼” x 4” white cardstock panel
1 ¼” x 3 ¾” decorative paper strips
3 ½” x 1 ¾” white cardstock
3 ¾” x 2” pink cardstock 

Here's how the Paper Door Kits work and what a great value it is.
Whimsy Stamps PAPER DOOR kits for 2020, now your monthly crafty goodness delivered right to your front door is even more affordable, and includes even more exclusive Whimsy Stamps products!
BRAND NEW kit debuting on the 10th of each month
Each kit is a $50+ retail value for only $29.95 plus shipping
You get PRIVATE access to PDF files with step-by-step instructions for at least 4 different projects
We’ve made PAPER DOOR an easy and affordable way for you to enjoy a monthly card making kit:
NO minimums
NO subscriptions to commit to
NO wait lists to sweat out
NO multi-tier pricing
Each kit is a LIMITED EDITION and individual items may or may not be released at a later date. Supplies are limited so order yours today, and unlock your creativity with Whimsy Stamps PAPER DOOR kits!


Have a creative day and follow me on 
Instagram

Affiliate and Product Disclosure
I am on various Design Teams and get free goodies for blogging about craft products but only because I love their products and genuinely use them. Ultimately my opinions are my own. A list of companies is in my sidebar.
Being part of various affiliate programs – when you click on an affiliate link and then go on to make a purchase, at no cost to you, I receive a small commission.  The affiliates I use include Whimsy Stamps.
Monday, March 9, 2020

Springtime Smile


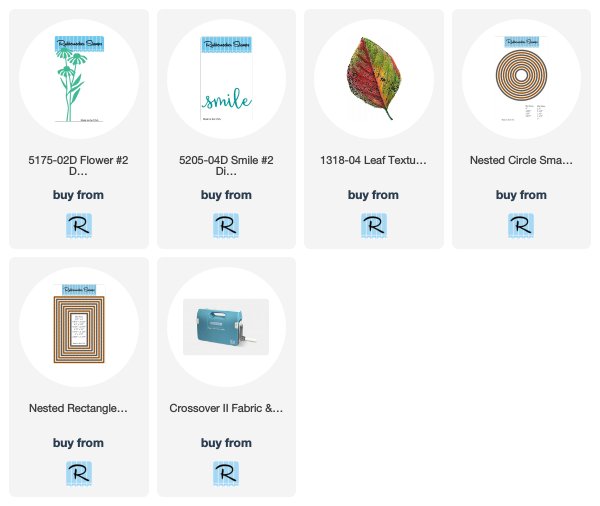
Hi there, today I have a card made with four dies and one stamp from Rubbernecker Stamps to make a Springtime card.  The one stamp, Leaf Texture was used to make the background by repeatedly stamping the leaf in different directions using green, pink, and orange inks.  The flowers were die-cut from white cardstock and sponged with the same ink.

If you're on FaceBook, you can find everything I post on my Blog and more!  Just click on Stamp This  to be taken to the page and follow me.


Links to the Rubbernecker Stamps products


Follow Me- Stamp This, on-
Twitter

Affiliate and Product Disclosure
I am on various Design Teams and get free goodies for blogging about craft products but only because I love their products and genuinely use them. Ultimately my opinions are my own. A list of companies is in my sidebar.
Being part of various affiliate programs – when you click on an affiliate link and then go on to make a purchase, at no cost to you, I receive a small commission.  The affiliates I use include Rubbernecker Stamps and Whimsy Stamps.

Monday, March 2, 2020

With Sympathy


Happy March everyone, can you believe that Spring is just a couple of weeks away?  I sure am ready for warmer weather and flowers.  My card today uses pretty flowers for a card we all hope we never need but when we do, it's helpful to have some on hand.

Here's how my card was made-
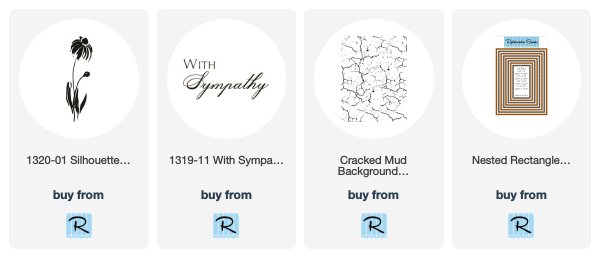
  • Stamp white cardstock with Crackled Mud Background Stamp with Tea Dye Ink.
  • Die-cut the stamped piece using the Nested Rectangle Small Stitch Die Cut Set, in the second to largest size.  Using the largest of the dies, cut a piece from pink cardstock and set aside.
  • Place three strips of washi tape diagonally across the top right corner of the stamped panel.
  • Stamp the Silhouette Flower #4 three times at the bottom of the white panel using VersaMark Ink and Emboss with Shabby Pink Embossing Enamel.
  • Layer this onto a slightly larger tan panel and tie tan twine around the bottom.
  • Glue this to the pink die-cut piece.
  • Pop this up on a tan-colored card.
  • Stamp With Sympathy using Onyx Black VersaFine Ink and emboss with clear embossing powder.  Cut out close to the sentiment, layer onto a tan panel and pop up on the card using 3D Foam Squares from Scrapbook Adhesives by 3L.
  • Apply two pink rhinestones around the sentiment and your card is done.
.

Have a creative day!


Follow Me- Stamp This, on-
Twitter

Affiliate and Product Disclosure
I am on various Design Teams and get free goodies for blogging about craft products but only because I love their products and genuinely use them. Ultimately my opinions are my own. A list of companies is in my sidebar.
Being part of various affiliate programs – when you click on an affiliate link and then go on to make a purchase, at no cost to you, I receive a small commission.  The affiliates I use include Rubbernecker Stamps and Whimsy Stamps.