Featured Post

Privacy Policy

I'm working on a new privacy policy for my followers, but for now you should know that if you comment on my site, my site collects your ...

Showing posts with label Scrapbook Adhesives by 3L. Show all posts

Saturday, June 29, 2024

Mushroom Mansion


 Today I made a card using the cute new Mushroom Mansion Die Set from Today I made a card using the cute new Mushroom Mansion Die Set from Spellbinders. The mushroom, leaves, flowers and snail are all part of the set.

--I layered the whimsical mushroom on a fence card that I made by slicing off 5, 1/2" strips from the top of a folded white card.


--The sentiment die and stamp are from the Snowflake Wishes Clear Stamp and Die Set. The "believe" was cut from gold mirror paper and the sentiment was stamped with VersaMark ink, embossed with white on dark brown cardstock.


--Grass was added to the bottom of the card using the Die D-Lites Picket Fence Die Set.

Adhesives from Scrapbook Adhesives by 3L were used to stick everything together.


Mushroom Mansion- (New)
Snowflake Wishes Clear Stamp and Die Set. (This is currently on sale!)
Die D-Lites Picket Fence Die Set (This is currently on sale!)

Spellbinders Main Page


Let's Connect!

Affiliate and Product Disclosure
I am on various Design Teams and get free goodies for blogging about craft products but only because I love their products and genuinely use them. Ultimately my opinions are my own. A list of companies is in my sidebar.

Wednesday, November 15, 2023

Fun Fold Christmas Card


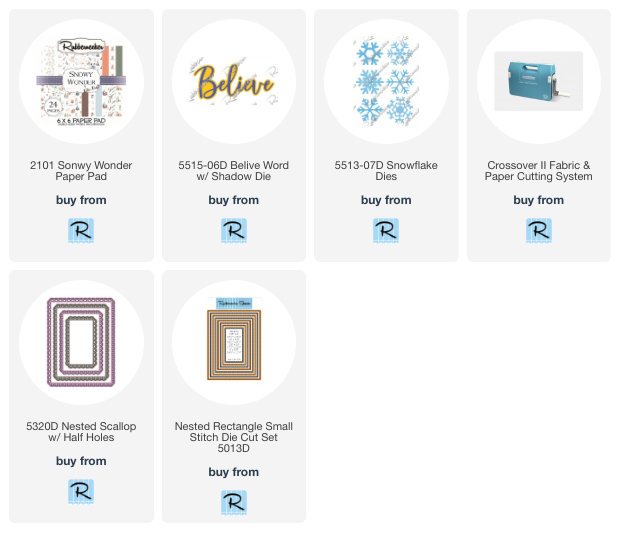
Today I have a fun fold Card using dies and decorative paper from Rubbernecker Stamps and all of the adhesives used are from Scrapbook Adhesives by 3L.  To make my card, I cut a sheet of 8 1/2" x 11" periwinkle cardstock diagonally. The cardstock was then scored to create the fold. Next a 4" x 5 1/4" piece of decorative paper paper was then cut diagonally (this will make two cards) and one piece was taped to the bottom fold using TAPE RUNNER.


Snow fakes were die-cut from white cardstock and glued to the top fold of the card using the DUAL TIP. The snowflakes that were hanging over the edge were cut off.


To make the frame, white cardstock was die-cut using a scalloped rectangle and and a stitched rectangle that's slightly smaller was cut from periwinkle cardstock and attached using RUNNER


The frame was centered and glued to the left top fold of the card, using the DUAL TIP.  Believe was die-cut from the same carstock colors, glued together using the DUAL TIP. Hearts were placed aroud the sentiment using the HEARTS RUNNER and crystal micro fine glitter was sprinkled on.


Click on the product below to go to the Rubbernecker Stamps online store.

Have a crafty day!

Let's Connect!

Affiliate and Product Disclosure
I am on various Design Teams and get free goodies for blogging about craft products but only because I love their products and genuinely use them. Ultimately my opinions are my own. A list of companies is in my sidebar.


Monday, October 16, 2023

Stenciled Daisies Card


Today I have a bright and cheery card that has glitter to add a little something special. Adding glitter is easy to do with the help of adhesives from Scrapbook Adhesives by 3L.

Here's how my card was made-

Stencil daisies using the Layered Sunflower Stencil on a white cardstock panel using yellow, brown and green inks.


Place Extreme Double-Sided Tape 1/8" and 1/4" at the bottom of the panel with the thinner tape on top.


Sprinkle brown ultra fine glitter on the tape, after the liners have been removed and rub with your finger to make sure all of the tape is covered with glitter.


Place tape strips on top of a rust top folding card and adhere the daisy pane on top.


Cut a piece of Adhesive Sheet on rust cardstock. Place Thanks die on top of the Adhesive Sheet and run through your die-cut machine.


Remove the carrier from the top of the Thanks, sprinkle with brown glitter and rub to assure adhesion.


Glue the Thanks to the top left of the card using Dual Tip. 


Random glue orange rhinestones to the card using Dual Tip.


Have a crafty day!

Let's Connect!

Affiliate and Product Disclosure
I am on various Design Teams and get free goodies for blogging about craft products but only because I love their products and genuinely use them. Ultimately my opinions are my own. A list of companies is in my sidebar.


Sunday, October 1, 2023

Floating Strips Birthday Card


Today I have a floating strips birthday card that's made with pretty scraps that I just couldn't throw away.

Here's how my card was -

Emboss the bottom of a white cardstock panel using the Monoline Stars Embossing Folder and place the panel diagonally in the folder.

Snowflake Wishes Clear Stamp and Die Set-

  Place a strip of gold paper where the embossing ends using 1/8" tape. Mount this to a top folding pink card using the E-Z Runner Strips. 


Die-cut an oval from acetate and place alternating strips of decorative paper and gold paper, securing it with 1/4" and 1/8" tape. 


Place 3D Strips on the back of the acetate behind the paper strips.


Die-cut flowers and leaves using Sealed For Christmas Sprigs Dies from white cardstock and place them on the left side of the oval using Micro dots. The pink center of the flower is popped up using 3D micro squares. Attach pink cord and a bow to the stem of the flowers using Micro Dots. Die-cut Wishing from black and gold cardstock. Layer the gold on the black with the black edge showing and pop this up diagonally on the oval using a 3D Foam Strip. Die-cut a banner from white cardstock and stamp it with the sentiment using pink ink. Add pink twine and a white and gold ribbon to the stem of the flowers.


Die-cut the sentiment using the Snowflake Wishes Clear Stamp and Die Set and cut the Wishing from black and gold cardstock. Layer the gold on the black with the black edge showing and pop this up diagonally on the oval using a 3D Foam Strip. Die-cut a banner from white cardstock and stamp it with the sentiment using pink ink. Add pink twine and a white and gold ribbon to the stem of the flowers.


Here are the dies and embossing folders that were used.


Have a crafty day!

Let's Connect!

Affiliate and Product Disclosure
I am on various Design Teams and get free goodies for blogging about craft products but only because I love their products and genuinely use them. Ultimately my opinions are my own. A list of companies is in my sidebar.


Friday, September 15, 2023

Have A Ball Birthday Card


Today I have this card up on the Scrapbook Adhesives Blog and it's made with the new Game Day Collection from Spellbinders.

To make my card, a 4" x 5 1/4" of white cardstock was placed in the Sports Talk Embossing Folder and run through a die-cutting machine, glue it to a tan card using the Dual Tip Glue Pen. Also die-cut the basketball and soccer ball from the Sporting Goods Etched Dies and glue the black details on top also using the Dual Tip Glue Pen.


A circle was die-cut from tan cardstock,, the front was stamped using the All-Star Sentiment Clear Stamps, with Onyx Black VersaFine Ink and embossed with clear embossing powder. Foam Strips and Foam Squares were placed on the pack to pop it up on the center of the card.


Since the tan circle is popped up, a Foam Circle was placed on the portion of the ball that is over the embossed panel, then glue is placed on the rest of the ball and stuck down. 


The sentiment was stamped and embossed on a white cardstock strip, layered onto a larger piece of black cardstock using Extreme Double-Sided Tape 1/4", then popped up diagonally on the tan circle.


Orange enamel dots were placed randomly on the card for a finishing touch.


Have a crafty day!

Let's Connect!

Affiliate and Product Disclosure
I am on various Design Teams and get free goodies for blogging about craft products but only because I love their products and genuinely use them. Ultimately my opinions are my own. A list of companies is in my sidebar.


Friday, September 8, 2023

You're The Best Fall Card


Cut a sheet of decorative paper from the Harvest Time Paper Pad 4" x 5 1/4" and glue it to a top folding kraft colored card.
Glue a strip black and white striped decorative paper to the right side and a strip of orange cardstock.


Place jute ribbon on an Adhesive Transfer Sheet to get the adhesive on the back. Place this on the left side of your card.
Sprinkle the jute ribbon with Crystal Micro Glitter and shake off the excess.


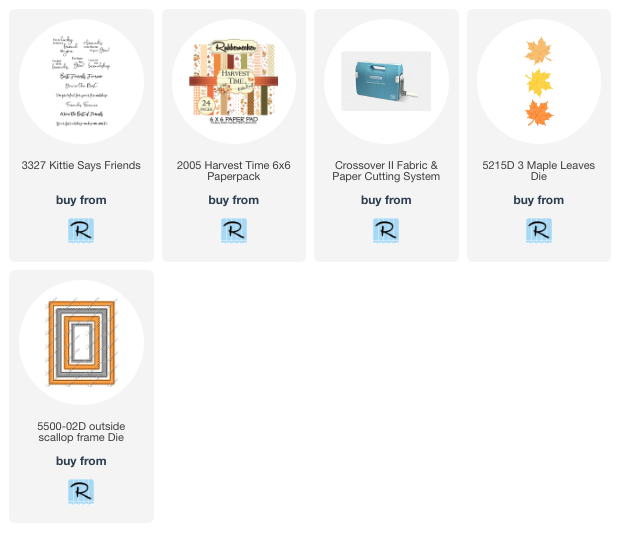
Die-cut leaves using the Maple Leaves Die from kraft colored cardstock and polka dots decorative paper. Layer the decorative paper leaves to the top of the kraft colored leaves, slightly offset. 
Glue the orange leaves to the top and the bottom of the jute ribbon.
Die-cut a rectangle with orange paper from the paper pad,. using the Outside Scallop Frame Die and pop it up in the center of the jute ribbon.
Pop up the green leaf in the center of the orange rectangle.


Stamp the sentiment from Kittie Says Friends, on a white strip of white cardstock with black ink. Layer this onto a slightly larger orange strip and pop it up diagonally at the top of the card.
Add two enamel dots to the left of the sentiment.


Click the image below to go to the Rubbernecker Stamps online shop.

Have a crafty day!

Let's Connect!

Affiliate and Product Disclosure
I am on various Design Teams and get free goodies for blogging about craft products but only because I love their products and genuinely use them. Ultimately my opinions are my own. A list of companies is in my sidebar.

Friday, September 1, 2023

Simple Thanks


Today I have a simple thank you card that use adhesives from Scrapbook Adhesives by 3L along with dies from Rubbernecker Stamps and Simon Hurly.

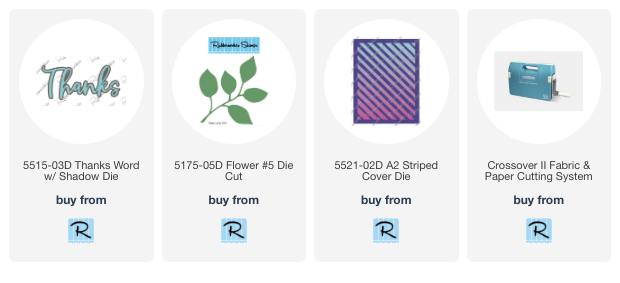
To make my card, white cardstock and decorative cardstock was die-cut using Candy Stripes Etched Dies.


Use the Dual Tip Glue Pen to glue the white stripes on top of the pink decorative paper.


Die-cut white glitter paper using a leaf die, glue it pointing down, using the Dual Tip Glue Pen. Tie a bow using black twine and glue it to the stem of the leaves, holding the bow down for a couple of minutes to make sure it doesn't move.


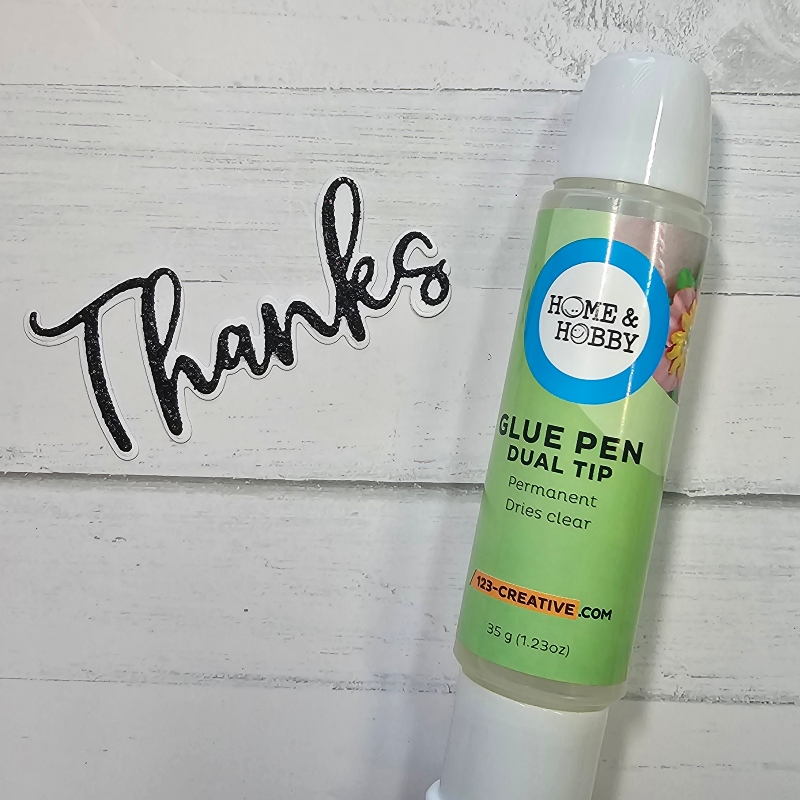
Using a Thanks die, cut it from black glitter paper and the shadow from white cardstock and glue the black glitter paper Thanks to the top of the white shadow.


Place 3D Black Squares Mini to the back of the thank you. Be sure to place enough on the back so you don't have any parts sagging.


Pop up the Thanks on the right side of the card. Now attach this to a white card using the E-Z Runner Strips.


Click on the product below to go to the Rubbernecker online shop.
Have a crafty day!

Let's Connect!

Affiliate and Product Disclosure
I am on various Design Teams and get free goodies for blogging about craft products but only because I love their products and genuinely use them. Ultimately my opinions are my own. A list of companies is in my sidebar.