Featured Post

Privacy Policy

I'm working on a new privacy policy for my followers, but for now you should know that if you comment on my site, my site collects your ...

Showing posts with label Slimline Card. Show all posts

Thursday, July 18, 2024

Slimline Santa Card


Today I have another card made using the St Nick Die Set from Spellbinders. This time I used the same die-cut pieces and sentiment but put it on a slimline card and got a completely different look.

For the background, I sponged blue ink on a white cardstock panel and glued white snowflakes that were die-cut from the St. Nick Set, to the background. 
The star was cut from gold cardstock and glued to the top right corner.
White glitter paper was hand cut and glued to the bottom of the panel. 
This panel was then mounted to a white slimline card.


Let's Connect!

Affiliate and Product Disclosure
I am on various Design Teams and get free goodies for blogging about craft products but only because I love their products and genuinely use them. Ultimately my opinions are my own. A list of companies is in my sidebar.


Saturday, July 15, 2023

Slimline Polar Bear Card


Share winter wishes with this a slimline card and cute little bears popping up with greetings.

Stamp three of the bears from the Polar Bear Friends Set on white cardstock with black ink and color with colored pencils, then use Polar Bear Friends Dies to cut them out.


Die-cut snowflake paper from the Snowflake Fun Slimline Paper Pad using the largest die from the Slimline Nested Stitched Die set.
Now die-cut this piece by placing the Slimline Inside Circles Dies in the center of the cut panel and run it through your die-cuting machine. I used the Crossover ll Paper Cutting System since it has a wheel at the top of the machine so you can adjust the pressure. So, you can run dies and embossing folders through it without changing plates, plus the plates don't warp.


Place 3D Foam Strips from Scrapbook Adhesives by 3L, on the back of the die-cut panel, ensuring you use enough so no parts of the panel sag. Pop this up on a slightly larger white slimline card.


Die-cut white cardstock with the Slimline Inside Circles Dies and blend the tops of each circle with Artic and Odyssey Color Fuse Inks. I used a blending brush, but a sponge will work as well.
Glue these flat inside of the circles on the card.
Place 3D Circles on the back of three of the bears and pop them up in the circles.


Glue two thin strips of white glitter paper on the card as shown.
Stamp the snowflake two times on white cardstock using Artic Color Fuse Ink and die-cut them using the coordinating die set. 
Pop them up on the glitter paper using 3D Foam Circles.
Place a self-adhesive rhinestone in the center of each snowflake.
Stamp the sentiments on white cardstock using Odyssey Color Fuse Ink, trim them down and pop them up, one by each bear.


Have a crafty day!

Let's Connect!

Affiliate and Product Disclosure
I am on various Design Teams and get free goodies for blogging about craft products but only because I love their products and genuinely use them. Ultimately my opinions are my own. A list of companies is in my sidebar.

Wednesday, February 8, 2023

Sweet Birthday Wishes Slimline Card

 
Have you heard?! This month is Rubbernecker Stamps 30th Birthday and to celebrate the design team will be sharing Birthday cards all month long. My first card is a slimline card and here's how it was made-

Die-cut decorative paper and white cardstock, using the Slimline OPC Scallop Die. 


Stamp on each of the squares using the Shadow Words Set and Color Fuse Inks in Seren and Grass.


Stamp the cupcake from the Desert Set onto watercolor paper and watercolor using watercolor pencils.


Now to assemble the card, the decorative paper panel is popped up on a slightly larger white cardstock panel using 3D Foam Circles.
Adhere this to a blue slimline card using a tape runner.
Glue the white square panels inside of the square cut-outs and pop up the cupcakes on the white squares using 3D Foam Circles.
Randomly apply pink self-adhesive pearls around each of the cupcakes.


Click on item to go to the Rubbernecker Stamps online shop.
Have a crafty day!

Let's Connect!

Affiliate and Product Disclosure
I am on various Design Teams and get free goodies for blogging about craft products but only because I love their products and genuinely use them. Ultimately my opinions are my own. A list of companies is in my sidebar.

Monday, January 9, 2023

Fabulous Friends Slimline Card


Have you heard the news? Stampendous products are now available at Spellbinders Paper Arts AND Stampendous has a new release with some really cute animal sets.

For my slimline card, I used the Stampendous FransFormer Feathers Clear Stamps by stamping the flamingo on watercolor paper with Onyx Black VersaFine Ink and embossed with Clear Embossing Powder. The flamingo was then colored with watercolor pencils.
The sentiment from the set was stamped with VeraMark Ink on black cardstock and embossed with White Embossing Powder.
The panel was then layered on pink cardstock that was die-cut with the  Stampendous Frames and Borders Die Set then mounted onto a white card.

Be sure to go to the Spellbinders Paper Arts site HERE and put Stampendous in their search bar to see all of the products available.

 Have a crafty day!

Let's Connect!

Affiliate and Product Disclosure
I am on various Design Teams and get free goodies for blogging about craft products but only because I love their products and genuinely use them. Ultimately my opinions are my own. A list of companies is in my sidebar. 

Wednesday, October 5, 2022

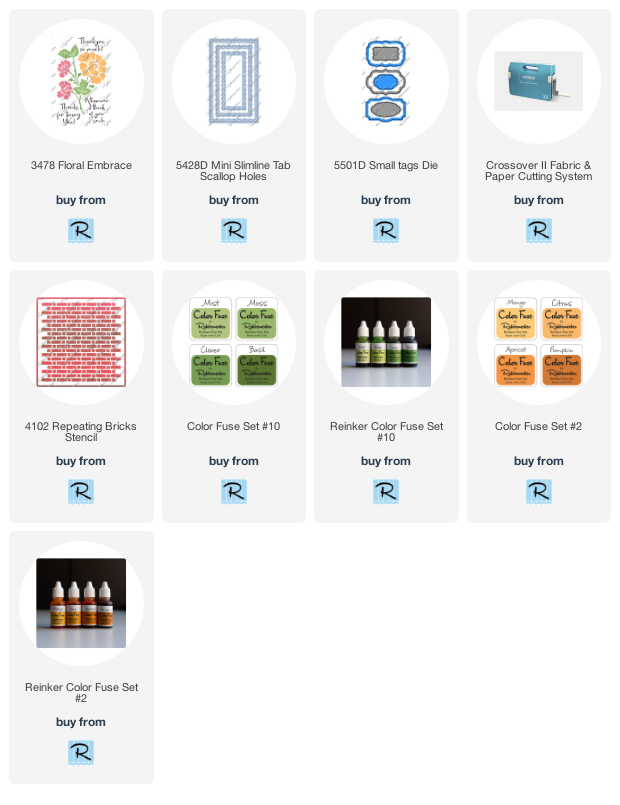
Mini Slimline Thank You Card.


Die-cut white cardstock using the largest die in the Mini Slimline Tab Scallop Die Set.
Use the Floral Embrace Set to stamp to create a flower bunch.  I used a stamping tool to help with placement plus I'm able to stamp in the same location several times just in case it doesn't stamp completely the first time.


Once my flower bunch is complete, masks from the Floral Embrace Mask Set were placed over the flowers and the Repeating Bricks Stencil was placed over this. Caramel and Cinnamon inks were used to stencil.


Next the panel was layered onto slightly larger brown panel and mounted on a goldenrod top folding card.


The Small Tags Die Set was used to cut brown and gold glitter cardstocks. 
The sentiment from the Floral Embrace Set was stamped on the brown piece with VersaMark Ink and embossed with White Embossing Powder.


The gold piece was cut in half and glued to each end.
This was then popped up and placed at the top of the card diagonally.


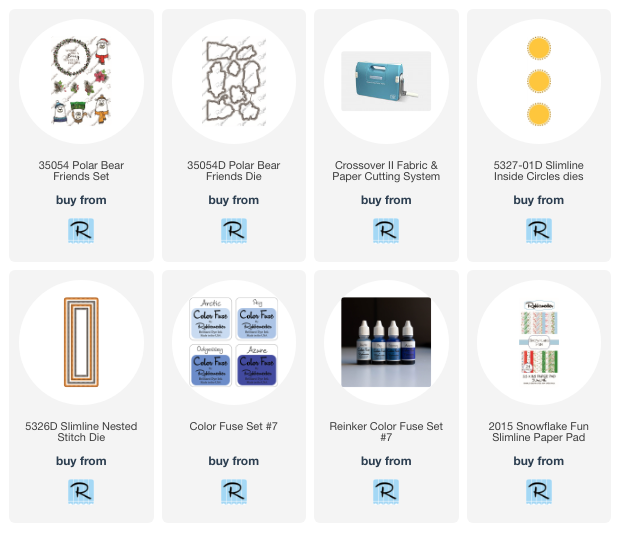
Click on the items below to go to the Rubbernecker Stamps online shop.

Have a crafty day!

Let's Connect!

Affiliate and Product Disclosure
I am on various Design Teams and get free goodies for blogging about craft products but only because I love their products and genuinely use them. Ultimately my opinions are my own. A list of companies is in my sidebar.

Saturday, January 1, 2022

Gardeners of Our Souls Slimline Card


Happy 2022, I hope you all are having a good start to the year!  Today I have a card made with a new slimline stamp from Stampendous, Slim Pop Blooms.  If they aren't in your local stamp/scrap store, they should be soon!!

I colored the flowers with Prisma Colored Pencils and then shadowed around the top of them with blue decorative chalk using a flat brush.
It was then layered onto a pink card using PrintWorks Cardstock.
A sentiment from the True Friends Perfectly Clear Set, was stamped with Onyx Black VersaFine Ink and "Friends" was outlined with a pink pencil, layer onto a pink circle and popped up using adhesives from Scrapbook Adhesives by 3L.

Let's connect!


Disclaimer- I get free goodies for blogging about craft products! Today I'm sharing a card made with products from Stampendous


Saturday, November 6, 2021

A Note To Lift You


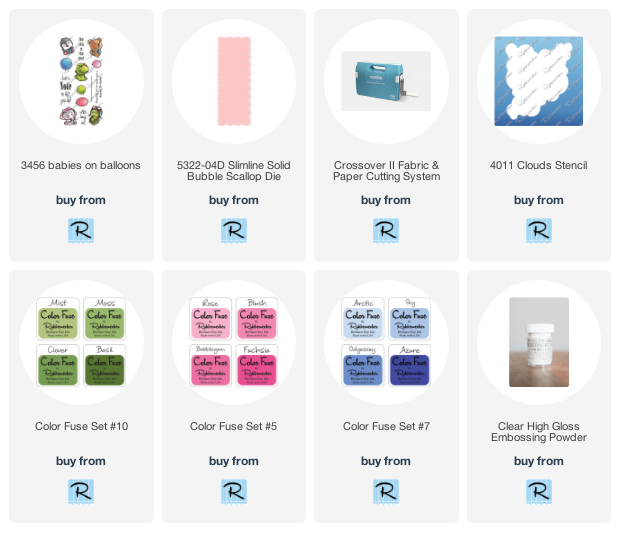
Rubbernecker Stamps has a new release and one of the new items is this, Babies on Balloons set.  It's such a cute set and I thought it would look cute against a pastel cloud background. Here's how my card was made-
  • Use the Cloud Stencil to stencil clouds on white cardstock with Blush, Sky and Clover Color Fuse Inks. Blender brushes or sponges can be used for this, I used blender brushes.

  • Die-cut the cloud panel using the Slimline Solid Bubble Scallop Die.  I use the CrossOver ll die-cut machine, you don't have to change the plates depending on what you're cutting because it has a wheel on the top for you to adjust the pressure, so easy!!

  • Layer this onto a slightly larger white cardstock panel and then onto a light blue card.

  • Stamp the animals and balloons from the Babies on Balloons Clear Set on watercolor paper with VersaFine Ink and emboss with clear embossing powder.
  • Watercolor the images with Inktense Pencils and cut them out.

  • Stamp the sentiment from the same set with black ink on white cardstock and layer this onto slightly larger blue cardstock. Glue this diagonally to the top left of the card.
  • Pop up the animals and balloons with foam squares.
  • Glue twine to the back of the balloons, tie a knot towards the bottom and glue the knot to the animal.
  • Randomly glue sequins to the card and pink enamel dots around the sentiment.


Have a crafty day!

Let's Connect!

Affiliate and Product Disclosure
I am on various Design Teams and get free goodies for blogging about craft products but only because I love their products and genuinely use them. Ultimately my opinions are my own. A list of companies is in my sidebar.
Being part of various affiliate programs – when you click on an affiliate link and then go on to make a purchase, at no cost to you, I receive a small commission.  The affiliates I use include Rubbernecker Stamps.

Tuesday, November 2, 2021

Birthday Balloons Slimline Card


Even though many of us are working on getting our Christmas cards done, we still need to make birthday cards for all of the November and December birthdays.  This card is so much prettier in person, I'll have to see if I can post a short video to all of the sparkle and shine can be seen.
Here's how my card was made-
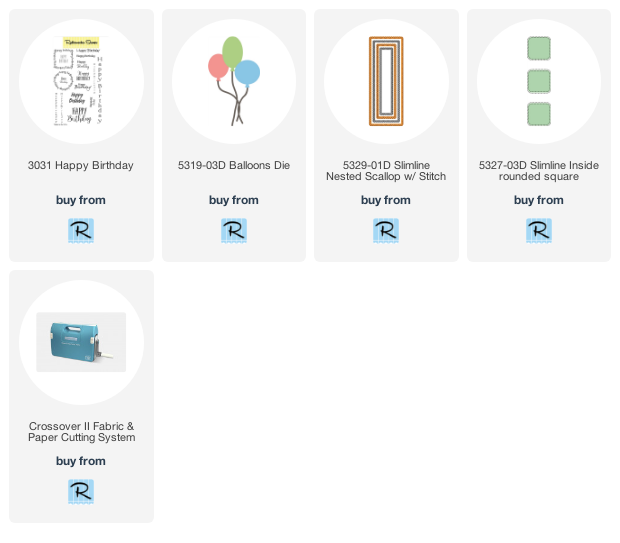
  • Die-cut decorative paper using the largest die from the Slimline Nested Scallop w/ Stitch.
  • Place the Slimline Inside Rouned Square die in the center of the decorative paper piece and run it through your CrossOver ll die cut machine (with this machine there is no need to change out plates.  You can adjust the pressure by turning a knob on top, so easy!). Also, die-cut white cardstock with the same die, to use one of the squares.

  • Pop up the decorative paper piece on a slightly larger white cardstock panel using foam squares.
  • Stamp the happy birthday square from the Happy Birthday Set, on one of the die-cut squares with VersaMark Ink and emboss with Iced Pink Embossing Enamel.
  • Stamp Happy Birthday from the same set with VersaMark Ink and emboss it with gold embossing powder.


  • Apply foam squares to the back of the square and pop it up in the center open square.

  • Use the Balloons Die and die-cut decorative paper and Iced Pink embossed cardstock.
  • Add three balloons to the top and bottom squares, gluing the side balloons to the decorative paper card and popping up the center balloon with foam squares.

  • Glue this to a pink slimline card and randomly add sequins.


Tuesday, October 19, 2021

Slimline Fall Thank You


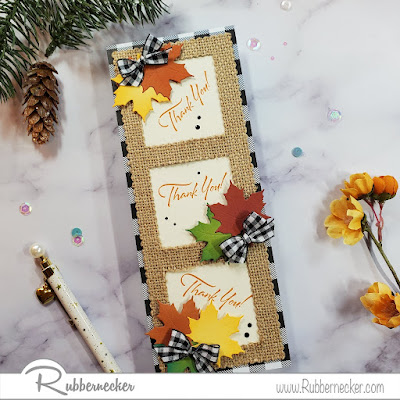
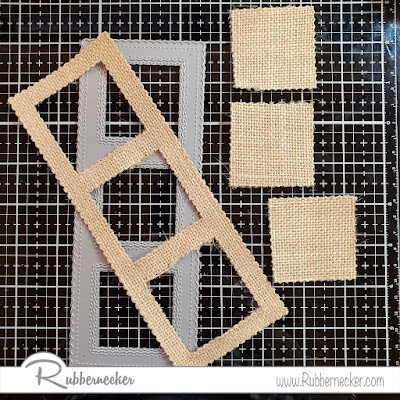
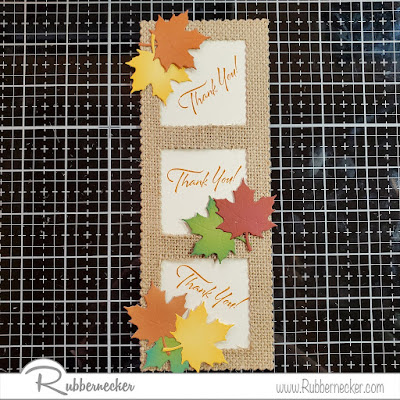
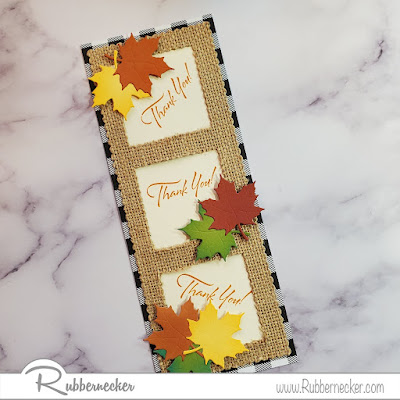
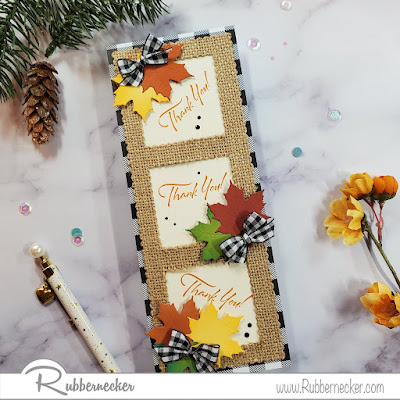
Today I have a Fall slimline thank you card with a burlap frame that makes a pretty background for leaves.  Here's how it was made-

  • Die-cut burlap using the Slimline OPC Scallop Die.  I use the Crossover ll that Rubbernecker carries because you can adjust the pressure by turning a knob on top, so you don't have to mess around with changing out plates.  It really is wonderful, quick and easy!

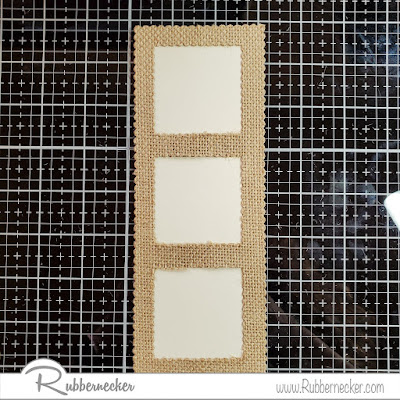
  • Attach the die-cut burlap to a cream-colored panel that is slightly smaller than the burlap.

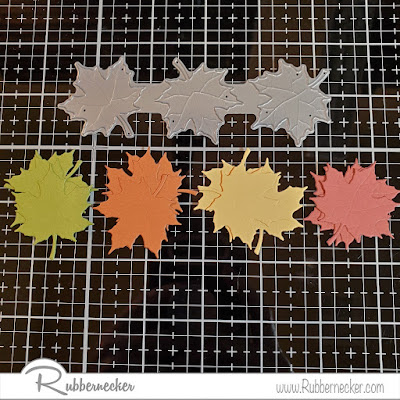
  • Next die-cut leaves in Fall colors of cardstock and glue them to all three of the openings.

  • Stamp "Thank you" in each of the openings using the sentiment from the Best Wishes Etc clear set using Pumpkin Color Fuse Ink.

  • Layer the slimline piece to a slightly larger piece of decorative paper.
  • Now to dress it up a little, black and white ribbon was tied into bows for each of the leaf clusters and Ebony Black Nuvo Crystal Drops were randomly placed around each thank you.


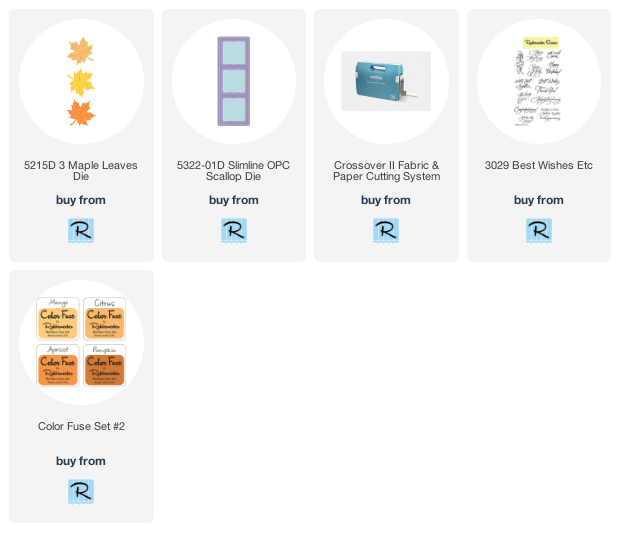
Click on the images below to go the Rubberneck Stamps online shop.
Have a crafty day!

Let's Connect!

Affiliate and Product Disclosure
I am on various Design Teams and get free goodies for blogging about craft products but only because I love their products and genuinely use them. Ultimately my opinions are my own. A list of companies is in my sidebar.
Being part of various affiliate programs – when you click on an affiliate link and then go on to make a purchase, at no cost to you, I receive a small commission.  The affiliates I use include Rubbernecker Stamps.