Featured Post

Privacy Policy

I'm working on a new privacy policy for my followers, but for now you should know that if you comment on my site, my site collects your ...

Friday, February 19, 2021

Belated Birthday


Today's an exciting day, Rubbernecker Stamps is having an Instagram hop to celebrate their birthday, a new release and yes they will be giving away a prize!!  You can go to my Instagram HERE or you can go on your Instagram and search @stampthis.

Hey, crafty friends! I’m joining a fun Instagram Hop with Rubbernecker Stamps to celebrate the "Rubbernecker Springtime Fun Release" for February.

To celebrate this release, Rubbernecker is giving away $20 gift cards to 5 lucky winners!


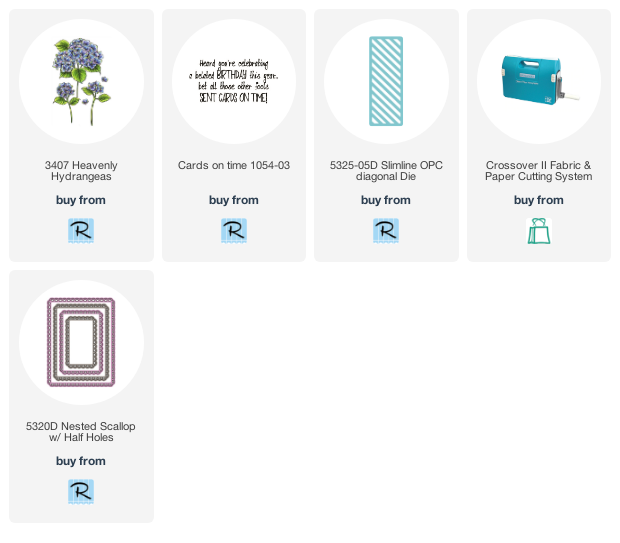
Now for my card, I used the new, beautiful Heavenly Hydrangeas stamp set.  Here you can see a close-up of the flowers that were colored with Zig Clean Color Real Brush Pens.


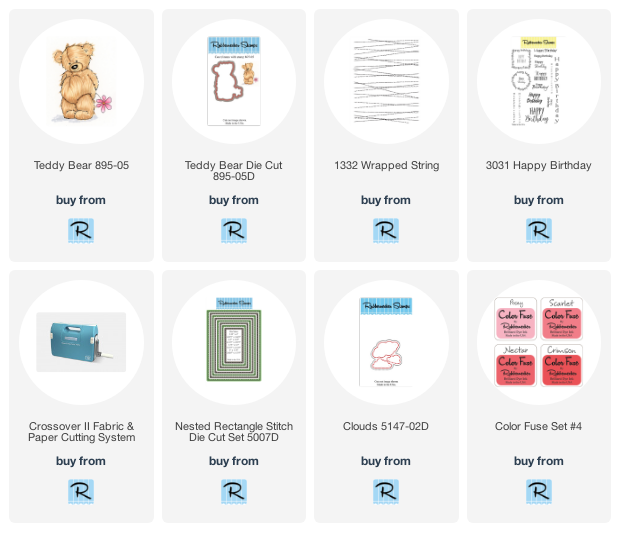
If you're a little late sending out that birthday card, Rubbernecker has a stamp that's got you covered and will make whoever you give it to smile and laugh.


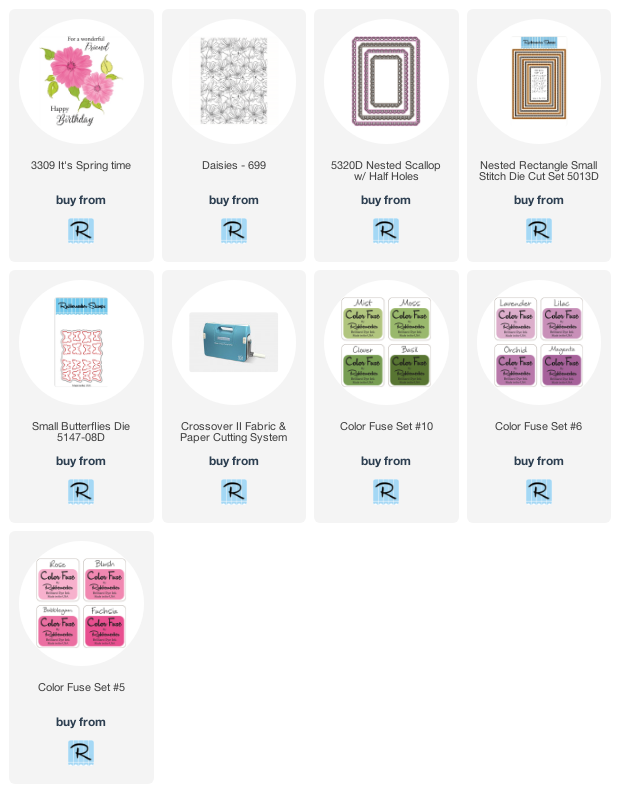
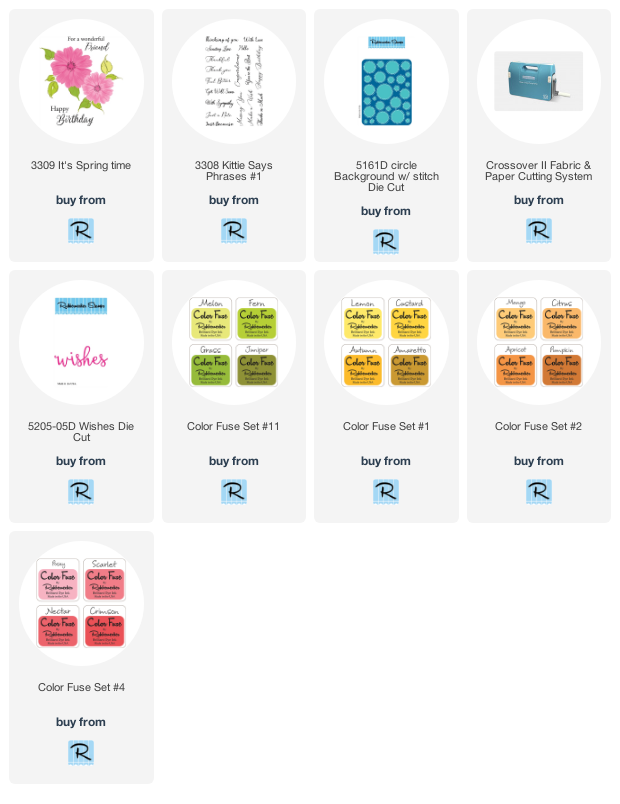
Here are links to the Rubbernecker products that were used to make my card, you will be taken to the Rubbernecker online shop.

 
Have a crafty day!

Let's Connect!

Affiliate and Product Disclosure
I am on various Design Teams and get free goodies for blogging about craft products but only because I love their products and genuinely use them. Ultimately my opinions are my own. A list of companies is in my sidebar.
Being part of various affiliate programs – when you click on an affiliate link and then go on to make a purchase, at no cost to you, I receive a small commission.  The affiliates I use include Rubbernecker Stamps.

Wednesday, February 17, 2021

Blooming Birthday


All month long Rubbernecker Stamps is celebrating their birthday and sharing birthday cards.  Today I have a bright and cheery card to share, sure to brighten anyone's birthday.
Be sure to check back on Friday the 19th to see what we have going on!!!!!

Here's how my card was made-
  • Stamp Daisies on white cardstock with VersaMark Ink and emboss with White Embossing Powder.
  • Blend Color Fuse Inks using a brush starting with Fushia at the bottom then moving up to Bubble Gum, and Blush. Do this halfway up the panel.  Then from the top blend Magenta, Orchid and Lilac.
  • Cut the panel diagonally, save half for another card, and glue half to a black cardstock panel, I used the E-Z Runner Strips by Scrapbook Adhesives by 3L.
  • Apply a thin strip of silver washi tape along the edge of the stamped panel.
  • Glue this to a pink card and set it aside.


  • Die-cut white cardstock using the Nested Rectangle Small Stitched Die and stamp Happy Birthday from the It's Spring Time Set with Onyx Black VersaFine Ink.
  • Glue this to a purple panel that was die-cut with the Nested Scallop w/ Half Holes and set aside.


  • Stamp a flower and leaves with the It's Spring Time set using inks from Color Fuse Sets #5, #6, and #10.
  • Die-cut using the Spring Time Die Set and glue the birthday panel as shown.
  • Use the Small Butterflies Die with silver glitter paper and glue one butterfly to the right corner.
  • Pop up the panel on the card using 3D Foam Squares from Scrapbook Adhesives by 3L.
  • Add three self-adhesive rhinestones to the left side.


Here is the list of Rubbernecker Stamps product used.


Have a crafty day!

Let's Connect!

Affiliate and Product Disclosure
I am on various Design Teams and get free goodies for blogging about craft products but only because I love their products and genuinely use them. Ultimately my opinions are my own. A list of companies is in my sidebar.
Being part of various affiliate programs – when you click on an affiliate link and then go on to make a purchase, at no cost to you, I receive a small commission.  The affiliates I use include Rubbernecker Stamps.

Monday, February 15, 2021

Stay Pawsitive


Stay Pawsitive like our furry friends from the new Puppy Frame Perfectly Clear Set by Stampendous!  With this sweet set, you can make thinking of you cards, birthday cards, loss of a dog card, new dog card and so much more.  

Here are the sets that were used for my card.


Supplies
Stampendous

Plus
Prisma Pencils
Cardstock- Pink, Kraft
Decorative Paper
3D Foam Squares- Scrapbook Adhesives by 3L
Scrapbook Adhesives by 3L- 3D Foam Squares, Premium Double-Sided Tape
Die-Cuts- Oval, Banner

Have a creative day!

Let's connect!


Disclaimer- I get free goodies for blogging about craft products! Today I'm sharing a card made with products from Stampendous

Here are some places that you can find Stampendous Products-
First off check out your local Stamp Store, if they don't have it, you can order it directly from Stampendous or the places listed below.
Online Stores


Monday, February 8, 2021

Birthday Bear


Here's a quick post today, I made this birthday card for my little granddaughter's 2nd birthday. I didn't think to take a picture of it to share so I just cropped this picture that I had sent to my daughter.

Stamps, dies and inks are from Rubbernecker Stamps and listed below. The cute little bear was watercolored with Inktense Pencils and the background was stamped and sponged with the same color ink.

Here are the products that were used;
 

Have a crafty day!

Let's Connect!

Affiliate and Product Disclosure
I am on various Design Teams and get free goodies for blogging about craft products but only because I love their products and genuinely use them. Ultimately my opinions are my own. A list of companies is in my sidebar.
Being part of various affiliate programs – when you click on an affiliate link and then go on to make a purchase, at no cost to you, I receive a small commission.  The affiliates I use include Rubbernecker Stamps.

Wednesday, February 3, 2021

Birthday Wishes


While making this birthday card using the Circle Background w/Stitch Die from Rubbernecker Stamps, I also wanted to use the circles that would be cut out from this pretty lined paper, but how can I keep all of the lines straight?  Well here is a super-easy way to do just that with a little help from Stick It Paper that Rubbernecker Stamps carries HERE.
Here's how my card was made;
  • Apply a 4" x 5" piece of Stick It to the back of striped decorative paper from Bo Bunny and die-cut using the Circle Background w/ Stitch Die Cut, with the die on top of the decorative side.
  • Keep the die-cut pieces in the die, place the die on your desk with the Stick It side facing up and remove the liner paper from all of the circles only using an Exacto knife.  
  • Take a piece of white cardstock 3 3/4" x 5" and place this on top of the Stick It panel that has the liner removed from the circles only and rub the cardstock with your fingers to have the Stick It adhere to the panel.  Lift the panel and the decorative paper will have adhered to the panel. Set this aside to use for another card.

  •  Remove the remaining paper from the die, remove the liner and place on a 4" x 5 1/" piece of white cardstock.  Layer this onto slightly larger orange card stock and glue to a black card.
  • Stamp three flowers and five leaves from the It's Spring Time set with inks from Color Fuse Ink Sets #1, #2, #4, #11 and die cut using the coordinating Spring Time Die Set.

  • Glue two of the flowers and three of the leaves flat in the bottom left corner and pop up the last flower and leaves using 3D Foam Squares from Scrapbook Adhesives by 3L.

  • Stamp the sentiment from the Kittie Says Phrases #1 set with Onyx Black VersaFine Ink on orange paper.  Pop this up diagonally on the card.
  • Die-cut Wishes Die Cut from black cardstock and glue below the popped up sentiment.
  • Randomly apply Silver Pearl Liquid Pearls to the popped up sentiment.

Have a crafty day!
Let's Connect!

Affiliate and Product Disclosure
I am on various Design Teams and get free goodies for blogging about craft products but only because I love their products and genuinely use them. Ultimately my opinions are my own. A list of companies is in my sidebar.
Being part of various affiliate programs – when you click on an affiliate link and then go on to make a purchase, at no cost to you, I receive a small commission.  The affiliates I use include Rubbernecker Stamps.

Monday, February 1, 2021

Enjoy Your Day


Today's card uses the cute new Marshmallow Munching House-Mouse Designs stamp from Stampendous and that hot cup of cocoa sure does look good!  

Here's how my card was made;
  1. Stamp Marshmallow Munching with black in on Mixed Media White Paper and color with colored pencils.
  2. Sprinkle the top of the panel with Shabby White Embossing Enamel and heat from underneath so the Enamel doesn't blow off.
  3. Layer this to a larger blue panel.
  4. Glue striped decorative paper to a blue card and glue on the image diagonally.
  5. Stamp the sentiment from the Birthday Age Perfectly Clear Set with black ink and pop up on the card.

Supplies
Stampendous
Mixed Media White Paper
VersaFine Ink- Onyx Black

Plus
Prisma Colored Pencils
Cardstock- Blue
Heat Gun
Zip Dry Glue, Beacon Adhesives
Foam Squares
Have a crafty day!
Let's connect!


Disclaimer- I get free goodies for blogging about craft products! Today I'm sharing a card made with products from Stampendous

Here are some places that you can find Stampendous Products-
First off check out your local Stamp Store, if they don't have it they can order it.
Online Stores