Featured Post

Privacy Policy

I'm working on a new privacy policy for my followers, but for now you should know that if you comment on my site, my site collects your ...

Showing posts with label Color Fuse Inks. Show all posts

Tuesday, April 11, 2023

Pretty Card with Funny Sentiment


It's always fun making a pretty card with an unexpected sentiment. My card today does just that with stencils, stamps, dies and inks from Rubbernecker Stamps.

Here's how my card was made-

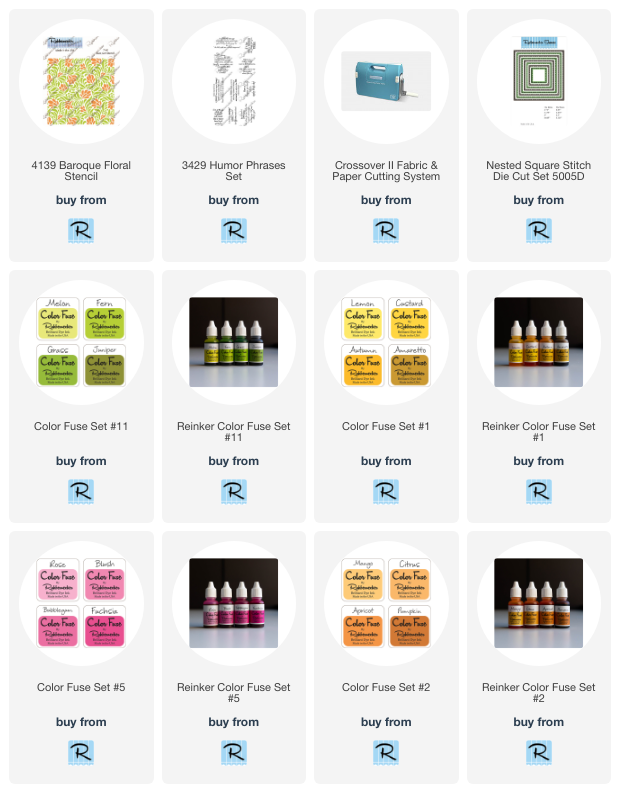
To make the background, I placed a sheet of white cardstock on my STAY-tion, then put the the leaf stencil from the Baroque Floral Stencil (two part stencil) down and used the magnets to hold it in place. 
Next, I used a brush to apply Melon, Grass and Fern Color Fuse Ink.


The leaves stencil was removed and the flower stencil was aligned. Blush, Rose, Mango and Custard Color Fuse Ink were then blended over the stencil.


This was then die-cut twice using two sizes of the Nested Square w/ Pierce Die. 


The large square was glued to a pink square card and ribbon was wrapped around and glued in the center.


The smaller die-cut square was layered onto a slightly larger pink panel and popped up in the center of the card. Ribbon was tied in a knot and glued to the right side.


The sentiment was stamped on vellum using black StazOn Ink and taped to the center of the card using E-Z Runner Permanent Fine Adhesive from Scrapbook Adhesives by 3L. This doesn't show under the vellum.
The flowers were die cut and sponged with orange and pink Color Fuse Inks.  The leaves were die-cut from green cardstock.


It's always fun making a pretty card with an unexpected sentiment!


 Click on the item blow to go to the Rubbernecker Stamps online shop.
Monday, March 20, 2023

Wreath Thank You Card


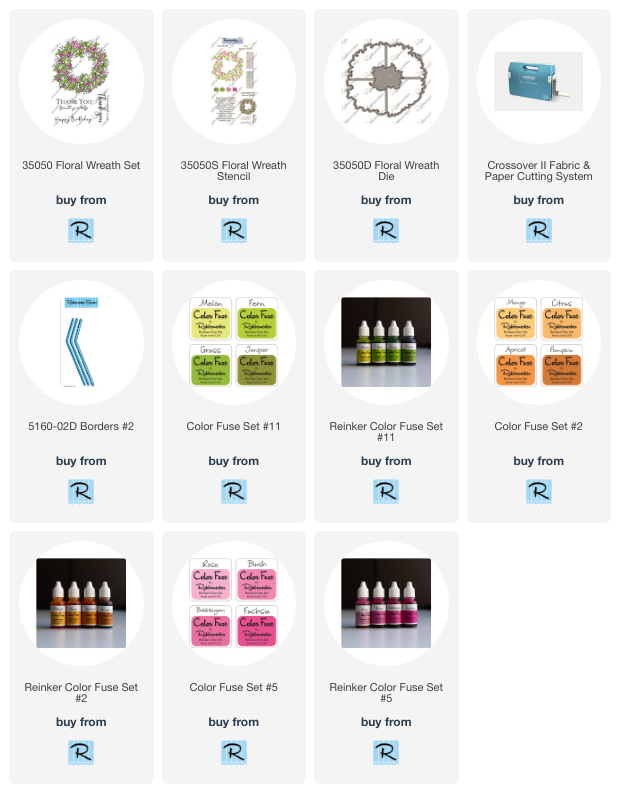
For the first day of Spring, I have a card made with the beautiful Floral Wreath Set along with the coordinating Floral Wreath Stencil and Floral Wreath Die. The Stencil Set makes this quick and easy to color.

Here's how my card was made-

Stamp the Floral Wreath on white cardstock with Onyx Black VersaFine Ink. 
Use the coordinating stencils to add Color Fuse Inks using blending brushes.


Die-cut the bottom of and orange panel of paper using a border die from the Borders #2 Set. 
Splatter white on the panel by mixing a little water with Dr.Ph Martin's Bleed Proof White, this paint  is very opaque.


Next, place three strips of 3D Foam Strips on the back of the orange panel, these are from Scrapbook Adhesives by 3L.


Pop the panel up on a lighter orange card and stamp the sentiment with Onyx Black VersaFine Ink.


Die-cut the wreath using the coordinating Wreath Die and place 3D Foam Circles on the back.


Pop the wreath up on the card and use the Dual Tip Glue Pen to glue a bow at the top of the wreath. 
Lastly, apply Premium Double-Sided Tape 1/8", also from Scrapbook Adhesives by 3L, to the back of a strip of white and gray striped paper and place it on the left edge of the card.


Click on the product to go to the Rubbernecker Stamps online shop.


Have a crafty day!

Let's Connect!

Affiliate and Product Disclosure
I am on various Design Teams and get free goodies for blogging about craft products but only because I love their products and genuinely use them. Ultimately my opinions are my own. A list of companies is in my sidebar.

Wednesday, May 18, 2022

You Are Amazing Mini Slimline Card


Hi crafty friends, today I have a mini slimline card using the new Someone Like You Stamp Set and the Someone Like You Stencil, this does all of the coloring for you, all you have to do is place the stencils over the rose and use different shades of ink, then you have a beautiful rose.
Here's how my card was made-

Die-cut gold glitter paper using the Crosshatch Design Die.


Stamp the Rose on white cardstock with black ink and use the Someone Like You Stencil and use Color Fuse Inks #5 and #10 Sets to blend the inks using blender brushes.


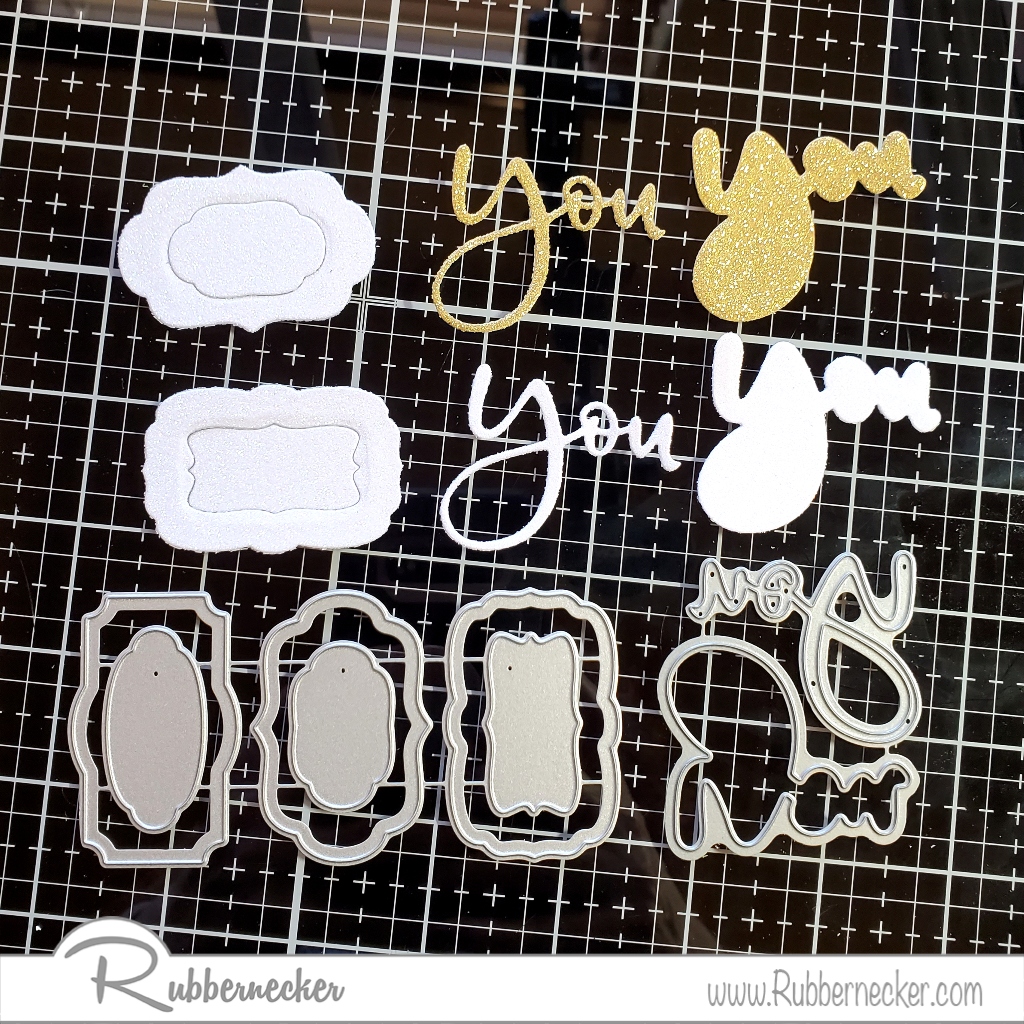
Die-cut the You Script w/ Shadow from both gold glitter paper and white glitter paper and glue the gold glitter You to the white glitter You Shadow and set aside.
Also, die-cut white glitter paper with the Small Tags Die.  Stamp the sentiment from the Someone Likes you set on the centerpiece from one of the dies with Bubble Gum Color Fuse Ink and set this aside.


Die-cut the Mini Slimline Cover #4 from white glitter paper and layer it over green decorative paper and mount this to a white slimline card.


Glue the gold Crosshatch Design to the left side of the card and pop up the rose using foam squares on top of the Crosshatch Design.
Pop up the You on the right side and glue down the sentiment below it.


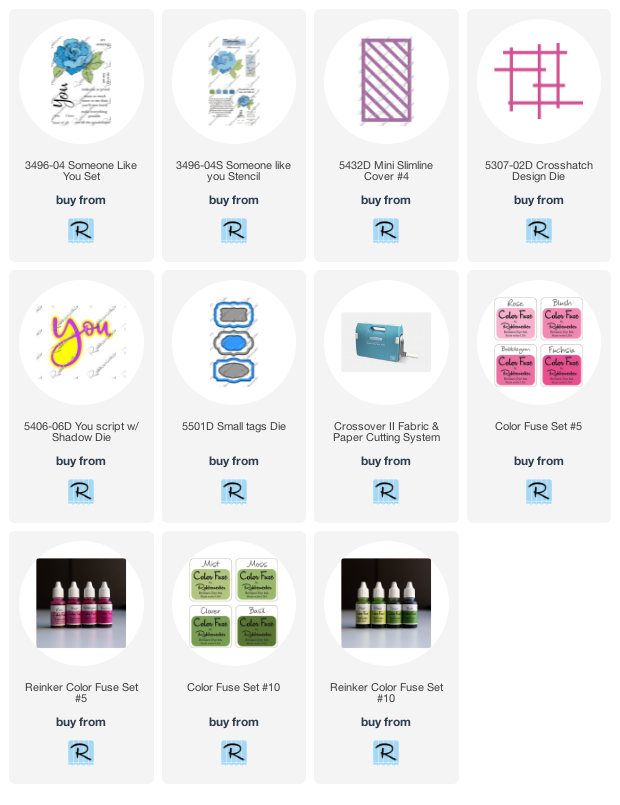
 Click on the product below to go to the Rubbernecker Stamps online shop.

Adhesives- Scrapbook Adhesives by 3L
Glitter Paper, White & Gold- Printworks Specialty Paper

Have a crafty day!

Let's Connect!

Affiliate and Product Disclosure
I am on various Design Teams and get free goodies for blogging about craft products but only because I love their products and genuinely use them. Ultimately my opinions are my own. A list of companies is in my sidebar.

Wednesday, May 4, 2022

Love, Yoga and a Dog


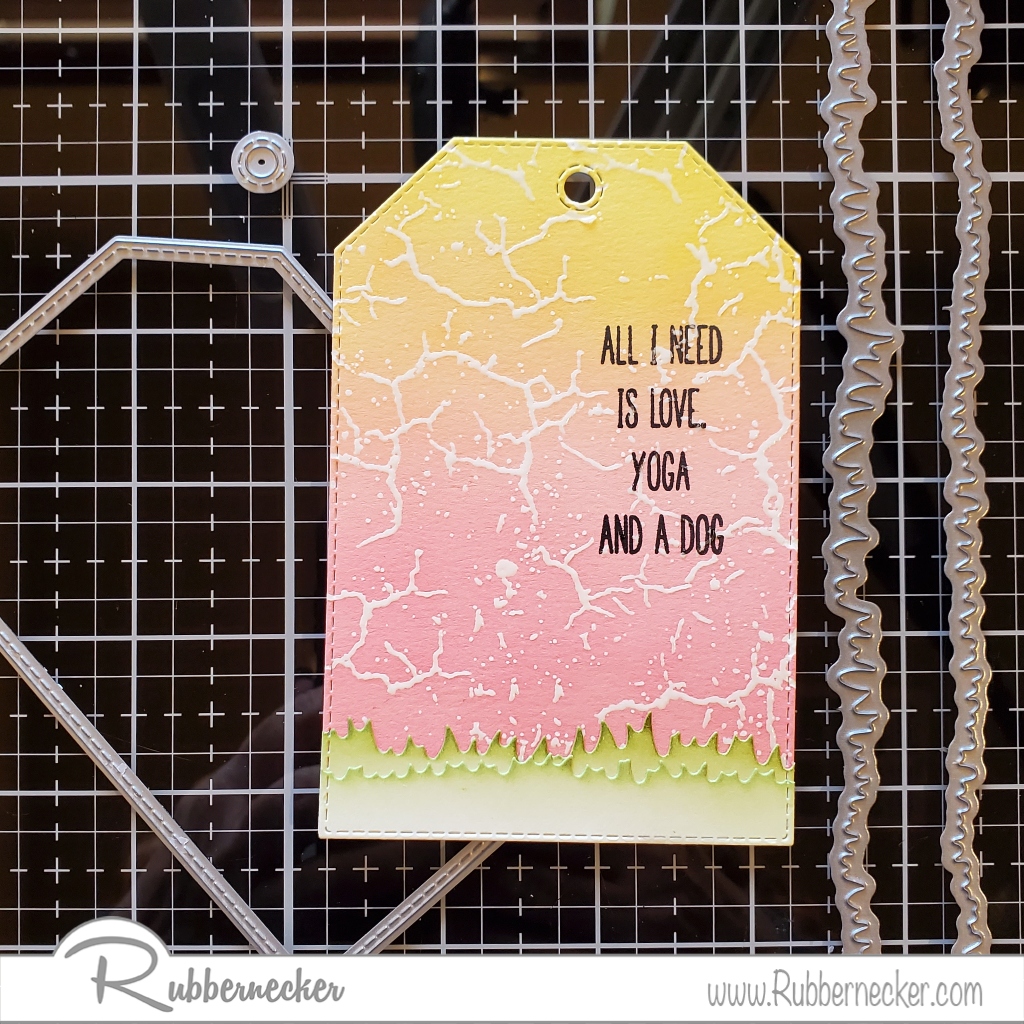
I thought making a tag and creating a little scene with the new Yoga Dogs from Rubbernecker Stamps would be fun.  I haven't decided if I'll attach it to a gift bag or mount it on a card, either will be cute.  Below are pictures of how the card was made and below that are the instructions, I thought I would try a new format.  Let me know which you prefer.


Directions
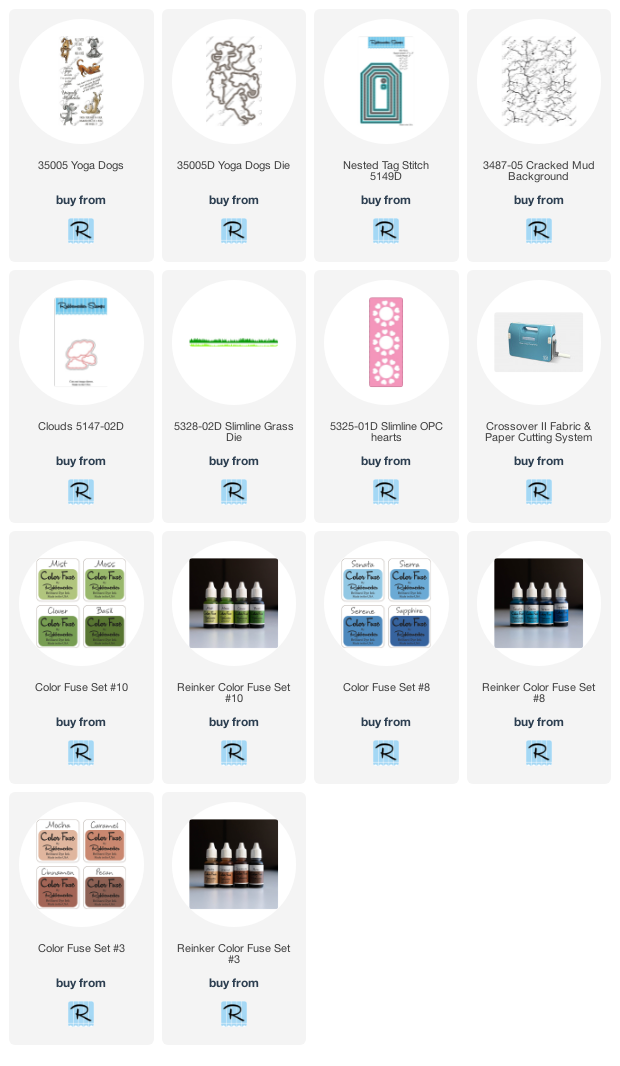
  1. Stamp the dog from the Yoga Dogs set with black ink and emboss with clear embossing powder.  Sponge the dog with Mocha Color Fuse Ink, die-cut with the Yoga Dogs Die and set it aside.
  2. Stamp white cardstock with the Crackled Mud Background using VersaMark Ink and emboss with clear embossing powder. Color blend the panel with yellow and pink Distress Oxides.  I used these inks instead of the beautiful Color Fuse Inks because the Oxides can be wiped off of the embossed areas where the Color Fuse can't.
  3. Die-cut the panel with the Nested Tag Stitch Die and set it aside.
  4. Die-cut two strips of white cardstock using the Slimline Die, sponge the tops with green Color Fuse Inks and layer them on top of each other with one just below the other.
  5. Now die-cut the grass with the same Nested Tag Stitch Die and glue this to the bottom of the tag.
  6. Stamp the sentiment from the Yoga Dogs Set on the right side of the tag with Black VersaFine Ink.
  7. Pop up the dog at the bottom left of the tag using foam squares.
  8. Use the Clouds Die to die-cut white cardstock and blend the bottom of the clouds with Sonata Color Fuse Ink and glue the two clouds to the top of the tag.
  9. The hearts are from the Slimline OPC Hearts die, they were leftover from another project.  You know we crafters can't throw anything away, we might be able to use it haha. The two hearts were popped up using foam squares and the third little heart is an enamel heart.
  10. A ribbon was added to the top of the tag and tied with black and white twine.

Click on the product to go to the Rubbernecker Stamps online shop.

Wednesday, February 17, 2021

Blooming Birthday


All month long Rubbernecker Stamps is celebrating their birthday and sharing birthday cards.  Today I have a bright and cheery card to share, sure to brighten anyone's birthday.
Be sure to check back on Friday the 19th to see what we have going on!!!!!

Here's how my card was made-
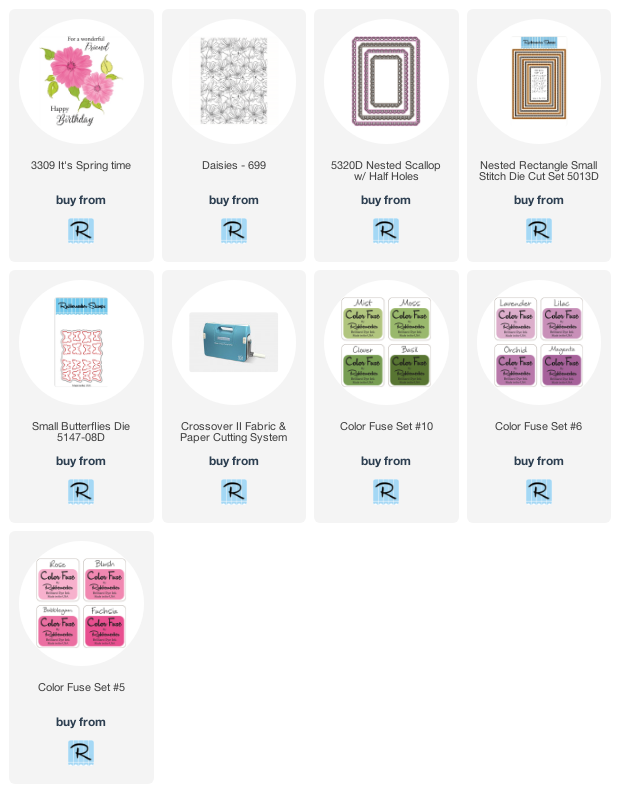
  • Stamp Daisies on white cardstock with VersaMark Ink and emboss with White Embossing Powder.
  • Blend Color Fuse Inks using a brush starting with Fushia at the bottom then moving up to Bubble Gum, and Blush. Do this halfway up the panel.  Then from the top blend Magenta, Orchid and Lilac.
  • Cut the panel diagonally, save half for another card, and glue half to a black cardstock panel, I used the E-Z Runner Strips by Scrapbook Adhesives by 3L.
  • Apply a thin strip of silver washi tape along the edge of the stamped panel.
  • Glue this to a pink card and set it aside.


  • Die-cut white cardstock using the Nested Rectangle Small Stitched Die and stamp Happy Birthday from the It's Spring Time Set with Onyx Black VersaFine Ink.
  • Glue this to a purple panel that was die-cut with the Nested Scallop w/ Half Holes and set aside.


  • Stamp a flower and leaves with the It's Spring Time set using inks from Color Fuse Sets #5, #6, and #10.
  • Die-cut using the Spring Time Die Set and glue the birthday panel as shown.
  • Use the Small Butterflies Die with silver glitter paper and glue one butterfly to the right corner.
  • Pop up the panel on the card using 3D Foam Squares from Scrapbook Adhesives by 3L.
  • Add three self-adhesive rhinestones to the left side.


Here is the list of Rubbernecker Stamps product used.


Have a crafty day!

Let's Connect!

Affiliate and Product Disclosure
I am on various Design Teams and get free goodies for blogging about craft products but only because I love their products and genuinely use them. Ultimately my opinions are my own. A list of companies is in my sidebar.
Being part of various affiliate programs – when you click on an affiliate link and then go on to make a purchase, at no cost to you, I receive a small commission.  The affiliates I use include Rubbernecker Stamps.

Monday, February 8, 2021

Birthday Bear


Here's a quick post today, I made this birthday card for my little granddaughter's 2nd birthday. I didn't think to take a picture of it to share so I just cropped this picture that I had sent to my daughter.

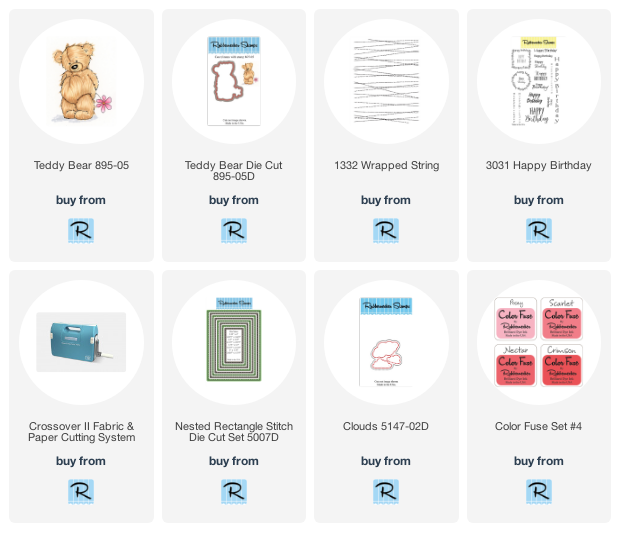
Stamps, dies and inks are from Rubbernecker Stamps and listed below. The cute little bear was watercolored with Inktense Pencils and the background was stamped and sponged with the same color ink.

Here are the products that were used;
 

Have a crafty day!

Let's Connect!

Affiliate and Product Disclosure
I am on various Design Teams and get free goodies for blogging about craft products but only because I love their products and genuinely use them. Ultimately my opinions are my own. A list of companies is in my sidebar.
Being part of various affiliate programs – when you click on an affiliate link and then go on to make a purchase, at no cost to you, I receive a small commission.  The affiliates I use include Rubbernecker Stamps.

Monday, December 21, 2020

White Christmas


I'm dreaming of a white Christmas but here in Oklahoma, I don't know if it will be happening but I'm keeping my fingers crossed.  Today I have one card with two different backgrounds, I couldn't decide which I liked best so I'm sharing them both, which do you like best?
Here's how they were made-


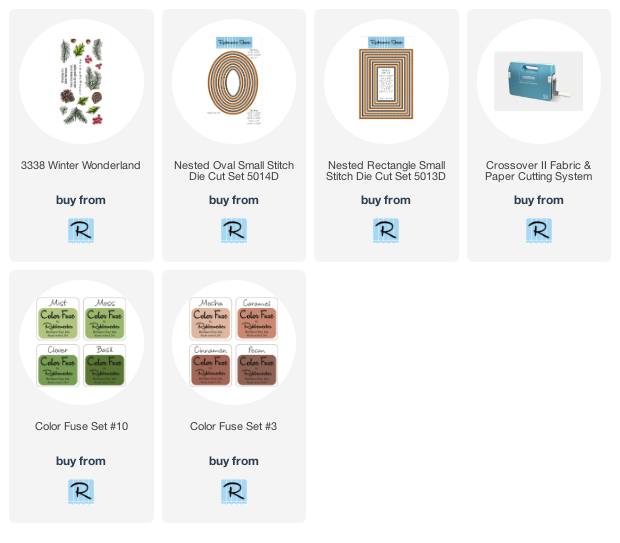
  • Die-cut white cardstock using the Nested Rectangle Small Stitch Die.
  • Die-cut an oval from red cardstock using the Nested Oval Small Stitch Die.

  • Stamp sentiment in the center of the red oval with VersaMark Ink and emboss with clear embossing powder. 
  • Place the red die in the empty space of the white panel and tape the oval into place using removable tape from the backside of the panel.
  • Randomly stamp the branches from the Winter Wonderland set so they are going towards the oval using VersaMark Ink and
  •  emboss with white embossing powder.

  • Apply Moss Color Fuse Ink with a brush to all off the branches, be generous and go outside of the branches a bit.
  • Next use Clover Color Fuse Ink on just the branches, don't go outside of the branches.
  • Finally, apply Basil Color Fuse Ink to just the center of the branches.

  • Stamp from the set, the acorn twice and the pinecone once on white cardstock with VersaMark Ink and emboss with white embossing powder.
  • Sponge both with Cinnamon Color Fuse Ink, cut out, and glue to the card as shown.
  • Pop up the panel with foam squares on a slightly larger white cardstock panel and glue the red oval in the center.  
  • Glue to a red card and you're done!


Have a creative day!

Let's Connect!

Affiliate and Product Disclosure
I am on various Design Teams and get free goodies for blogging about craft products but only because I love their products and genuinely use them. Ultimately my opinions are my own. A list of companies is in my sidebar.
Being part of various affiliate programs – when you click on an affiliate link and then go on to make a purchase, at no cost to you, I receive a small commission.  The affiliates I use include Rubbernecker Stamps.

Monday, November 16, 2020

Thank You Shaker


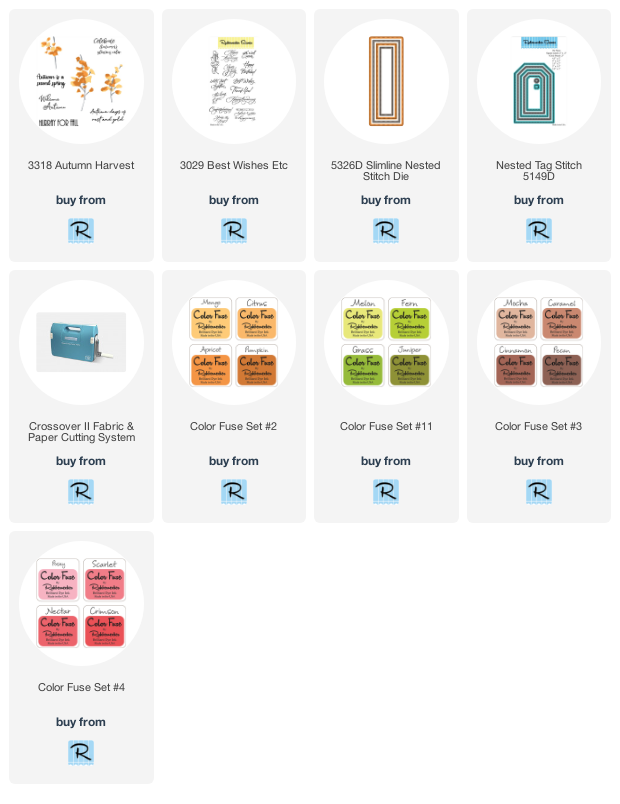
November is the month of Thanksgiving and one wonderful way to celebrate is to make thank you cards to let those who have touched your life know just how thankful you are for them.  I made a slimline Fall shaker thank you card using products from Rubbernecker Stamps, here's how my card was made.

  • Die-cut white cardstock using the Slimline Nested Stitch Die using the largest and third-largest dies to create a center pop out panel and frame.


  • Stamp the die-cut pieces with the center panel inside of the frame with the Autumn Harvest set using Color Fuse Inks in Citrus, Apricot, Pumpkin, Nectar, Mango, Melon, Fern, and Caramel.

  • To make a shaker card, glue acetate to the underside of the window and the pop out piece to the center of an orange slimlinecard.
  • Use foam tape and place it around the glued panel being sure to have the corners butt up against each other so that the shaker bits don't fall out.

  • Place the frame panel on top of the foam tape.
  • Stamp "thank you" on a white cardstock tag that was die-cut using the smallest of the Nested Tag Stitch Dies, with VersaMark Ink and emboss with Champagne embossing powder.
  • Layer this onto a slightly larger piece of orange cardstock.
  • Tie with ribbon and pop up on the corner of the card.

Have a crafty day!

Follow Me- Stamp This, on-

Affiliate and Product Disclosure
I am on various Design Teams and get free goodies for blogging about craft products but only because I love their products and genuinely use them. Ultimately my opinions are my own. A list of companies is in my sidebar.
Being part of various affiliate programs – when you click on an affiliate link and then go on to make a purchase, at no cost to you, I receive a small commission.  The affiliates I use include Rubbernecker Stamps.