Featured Post

Privacy Policy

I'm working on a new privacy policy for my followers, but for now you should know that if you comment on my site, my site collects your ...

Thursday, September 29, 2022

2022 National Coffee Day Hop


Today starts National Coffee Day Blog Hop 2022! You'll want to play along, get inspired and win prizes!  

In honor of National Coffee Day, Rubbernecker is offering 20% off all coffee, tea and dessert items 9-29-2022 to 10-6-2022. Head on over to their Blog to get the link by clicking here.


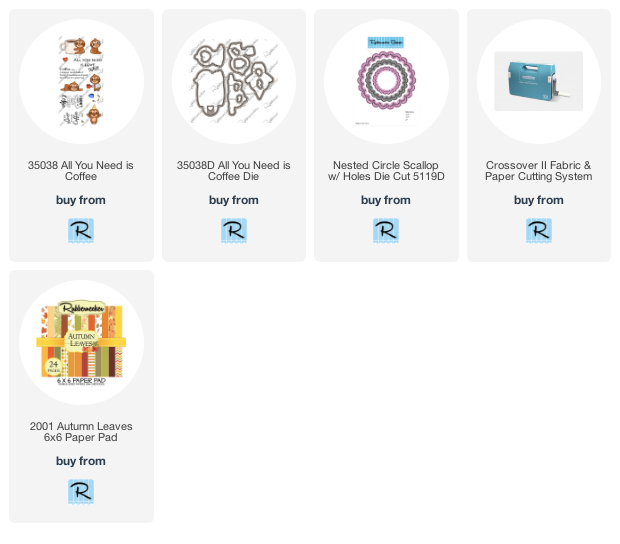
 Here are the products I used, click on the image to go to the Rubbernecker shop.

Click on the items below to go to the Rubbernecker Stamps online shop.

Have a crafty day!

Let's Connect!

Affiliate and Product Disclosure
I am on various Design Teams and get free goodies for blogging about craft products but only because I love their products and genuinely use them. Ultimately my opinions are my own. A list of companies is in my sidebar.

Wednesday, September 21, 2022

Happy Thanksgiving


Today I have a Thanksgiving card with pretty Fall leaves made with stamps, dies and inks from Rubbernecker Stamps. There are times when friends and family can't get together for the holidays, so I like to send out cards to let them know we are thinking of them.
Here's how my card was made.

Die-cut the Plaid Cover Die from white cardstock and layer it onto wood patterned paper.


Stamp the sentiment from the Give Thanks Sayings set on white cardstock with VersaMark Ink and emboss it with rust embossing powder.
Die-cut this using the Nested Scallop w/ Half Holes die and layer it onto slightly larger rust cardstock.
 

Pop the sentiment up on the center of the card and glue the leaves beneath it.


Here’s what you will want to have on hand to make this pretty project:
Have a crafty day!

Let's Connect!

Affiliate and Product Disclosure
I am on various Design Teams and get free goodies for blogging about craft products but only because I love their products and genuinely use them. Ultimately my opinions are my own. A list of companies is in my sidebar.


Thursday, September 15, 2022

Hello Thinking of You Card


To make the panel, shades of yellow and pink inks were blended on white cardstock, then attached to a black card using the Double-Sided Tape Runner Strips 150ft.


The flower was stamped on watercolor paper and colored with colored pencils.  It was then die-cut with a rectangle stitched die and layered onto a purple die-cut panel also using the Double-Sided Tape Runner Strips 150ft.


The panel was then popped up using 3D Foam Circles and mounted diagonally on the card.


Butterflies were die-cut from foam from the 3D Foam Creative Embellishment Kit.


A butterfly was added to the top right corner, blue foil from the Foil Transfer Sheets Pastel Colors pack was placed on top and a little rhinestone was added to the body. 
E-Z Runner Stars was used to place three stars at the bottom left of the card and crystal glitter was rubbed on top.


Skill Level: Intermediate

Creative Time: 35 minutes

Materials Needed:
Scrapbook Adhesives by 3L®
3D Foam Circles
3D Foam Creative Embellishment Kit
E-Z Runner Stars
Metallic Transfer Foil Pastel Colors

Home Hobby by 3L®
Double-Sided Tape Runner Strips 150ft

Plus
Rubbernecker Stamps- Stamps and Dies
Ranger Ink- Distress Inks

Tuesday, September 6, 2022

Halloween Card


Rubbernecker Blog RN-9-2022-Halloween-a-JM

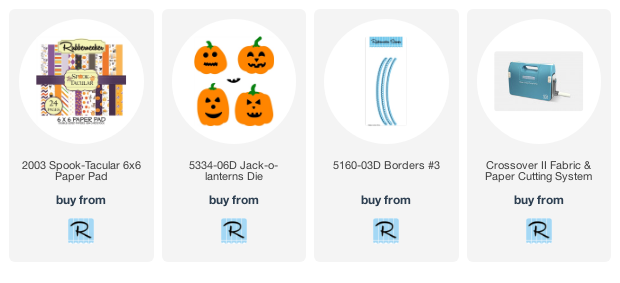
Today I have a card using the new Spook-Tacular 6x6 paper pad from Rubbernecker Stamps. Here's how my card was made.

I started by using the die with the circular detail holes from our Borders #3 to cut the bottom of a card sized panel of one of the sheets from the Spook-Tacular Paper Pad, a scrap of black card stock and a scrap of purple card stock. I layered these together with the black piece peeking out from under the patterned paper and then the purple under the black. This is a super easy way to build a detailed edge on any element.

Then I took a white piece of card panel sized card stock and splattered it with some gray Color Fuse Ink from Set #12. When it was dry, she adhered her layered component over it. She added that assembly over a layer of black card stock and then popped the whole “stack” onto a purple card base.
 
Using paper snips, cut out the words “Halloween” and “Boo”from the leftover paper as well as fussy cut some of the little elements from the scraps to save for a future project. I then layered “Halloween” onto black and purple card stock and added it to her card with some dimensional adhesive.

Rubbernecker Blog RN-9-2022-Halloween-b-JM-500x500

The Jack-O-Lanterns die to cut some orange, green and black scraps and made a couple of cute accents, adhering them to the card in the lower right corner.  Then I adhered “Boo”, added a few black Nuvo Drops and Crystal Stickles and this card was ready.

Rubbernecker Blog RN-9-2022-Halloween-e-JM-500x500

Here’s what you will want to have on hand to make this card. 


Have a crafty day!

Let's Connect!

Affiliate and Product Disclosure
I am on various Design Teams and get free goodies for blogging about craft products but only because I love their products and genuinely use them. Ultimately my opinions are my own. A list of companies is in my sidebar.


Thursday, September 1, 2022

Gift Card Holder Thank You Card


Today I have this card up on the Scrapbook Adhesives by 3L Blog!

The bag was die-cut from glossy cardstock that had Rosey Posey and Peachy Keen Archival Inks applied to it.  A dot stencil was then laid on top and Rosey Posey Ink was added.  The flower was stamped with black ink on watercolor paper and watercolored with watercolor pencils.