Featured Post

Privacy Policy

I'm working on a new privacy policy for my followers, but for now you should know that if you comment on my site, my site collects your ...

Showing posts with label Distress Inks. Show all posts

Friday, January 19, 2024

Colorful Flower Birthday Card


Hi my crafty friends! Today I have another card made using the Colorful Burst Flower Etched Die from Spellbinders. These fun and funky flowers scream bold colors to me but even though my flowers were die-cut from pastels, the background is bold and bright.

To make the background, yellow and orange Distress Inks were blended on white cardstock using blender brushes and the flowers were glued onto the blended card.

The sentiment it from the Popular Sentiments Etched Die that has bold lettering that works perfectly with the bold flowers.

\Have a crafty day!
Let's Connect!

Affiliate and Product Disclosure
I am on various Design Teams and get free goodies for blogging about craft products but only because I love their products and genuinely use them. Ultimately my opinions are my own. A list of companies is in my sidebar.


Wednesday, November 29, 2023

You Can Do It! Encouragement Card


You can do it!! Today I have a cute encouragement card with the Flying to See You Stamp Set from Spellbinders.
The image is colored with Prisma Colored Pencils and layered onto a cloud background that was made by sponging on pink, purple and blue shades of Distress Oxides.
The white frame was made using rectangle dies and the mouse body was glued to the center of the frame and the wings were pulled up to look like he's flying.


Have a crafty day!

Let's Connect!

Affiliate and Product Disclosure
I am on various Design Teams and get free goodies for blogging about craft products but only because I love their products and genuinely use them. Ultimately my opinions are my own. A list of companies is in my sidebar.


Wednesday, June 7, 2023

Hello-Clean and Simple


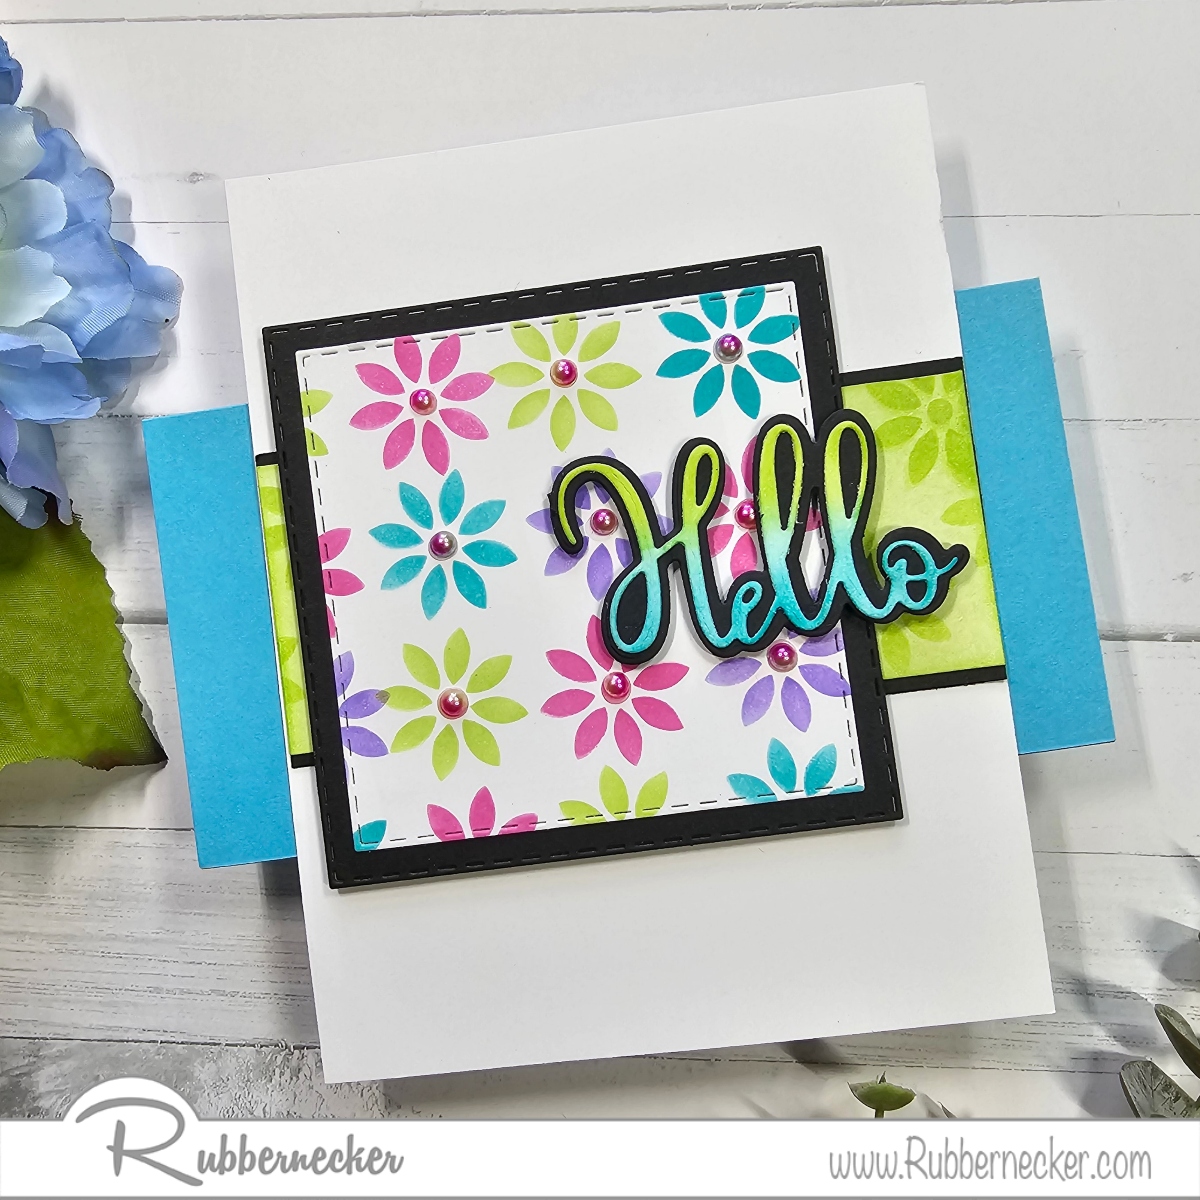
Today I have a clean and simple card made using a beautiful Spinaround Flower Stencil from Rubbernecker Stamps. Links to the products is at the bottom of the post.

Here's how my card was made-
Place the Spinaround Flower Stencils on white cardstock, use pink ink on all of the flowers, clean it then spin it 1/4 of the way and apply the next color, continue until all four sides are done.
Die-cut this piece using the Nested Square with Pierce Die and the next larger die on black cardstock to layer the flowers onto.


Stencil green flowers onto a strip of white cardstock, once the ink is dry, lightly sponge the strip with the same color ink.
Layer the panel onto a slightly wider piece of black cardstock and glue it to the center of a white card.
Die-cut Hello Script w/ Shadow die on white cardstock. Keep the Hello in the cardstock to sponge it with blue ink on the bottom and green ink on top.
Die-cut the shadow portion on black cardstock and glue the sponged Hello on the shadow.


Apply 3D Foam Squares Micro Black on the back of the Hello and pop it up center, right on the card.
Place small self-adhesive pearls to the center of the flowers.


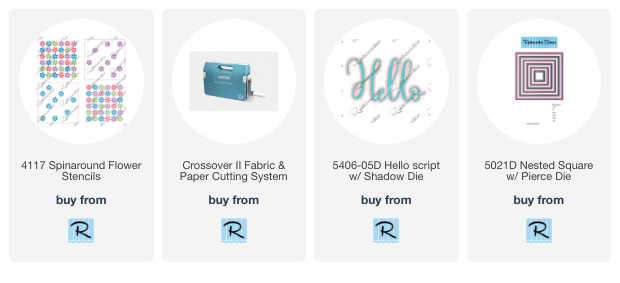
Click on the product to go to the Rubbernecker Stamps online shop.

Have a crafty day!

Let's Connect!

Affiliate and Product Disclosure
I am on various Design Teams and get free goodies for blogging about craft products but only because I love their products and genuinely use them. Ultimately my opinions are my own. A list of companies is in my sidebar.

Monday, January 23, 2023

Hello Friend Bunny Card


Here's a card made with the Stampendous, FransFormer Furry Friends Stamp set from Spellbinders
 This is a realy cute set, you can pick what animal and face you want to use with the cloths.  I chose the bunny to go against a background made using the leaf stamp in the set.

FransFormer Fury Friends Stamp Set


To make the background, I used blender brushes to apply Twisted Citron and Mowed Lawn Distress inks on watercolor paper.  I then went over the inks with a slightly wet brush.  Once dry the leaves were stamped using VersaMark Ink and embossed with Stampendous White Embossing Powder.


The cardstock and gold glitter paper that was used is from PrintWorks Specialty Paper that's available on Amazon, you can see it HERE.

Have a crafty day!

Let's Connect!

Affiliate and Product Disclosure
I am on various Design Teams and get free goodies for blogging about craft products but only because I love their products and genuinely use them. Ultimately my opinions are my own. A list of companies is in my sidebar.


Tuesday, November 15, 2022

Watercolor Winter Shaker Card


Today I have this Winter Shaker Card up on the Scrapbook Adhesives Blog showing how easy it is to make a shaker card using their foam adhesives. Be sure to stop by thieir blog to see all of the adhesives that they have available.

To make my card I ink blended blue and purple inks on watercolor paper then went over it with a wet brush to make it look like it was watercolored. Once this panel is dry, stamp the snowflake from with VeraMark Ink and emboss it with white embossing powder. A pinetree die was used to cut white glitter cardstock.


The E-Z Runner Grand was used to tape pine trees to the bottom of the watercolor panel, then the panel was taped to a blue card.


Now the 3D Foam Circle Frames make shaker card making easy!  After stamping the sentiment with VersaMark Ink in the center of the card and embossing with white embossing powder, one of the foam circles was placed on the card the the sentiment would be in the center.  


Two circle dies were used to cut a circle frame from white glitter cardstock that will cover the 3D Foam Circle.


Die-cut acetate using the larger die, then us the E-Z Runner Grand to tape the back of the circle frame and place it over the acetate. After placing shaker bits in the center of the 3D Foam Circle, put the circle frame on top of the foam.

Now go see all of the adhesives on the Scrapbook Adhesives Site.

Click on the product below to go to the Rubbernecker Stamps online shop.

Have a crafty day!

Let's Connect!

Affiliate and Product Disclosure
I am on various Design Teams and get free goodies for blogging about craft products but only because I love their products and genuinely use them. Ultimately my opinions are my own. A list of companies is in my sidebar.

Thursday, September 15, 2022

Hello Thinking of You Card


To make the panel, shades of yellow and pink inks were blended on white cardstock, then attached to a black card using the Double-Sided Tape Runner Strips 150ft.


The flower was stamped on watercolor paper and colored with colored pencils.  It was then die-cut with a rectangle stitched die and layered onto a purple die-cut panel also using the Double-Sided Tape Runner Strips 150ft.


The panel was then popped up using 3D Foam Circles and mounted diagonally on the card.


Butterflies were die-cut from foam from the 3D Foam Creative Embellishment Kit.


A butterfly was added to the top right corner, blue foil from the Foil Transfer Sheets Pastel Colors pack was placed on top and a little rhinestone was added to the body. 
E-Z Runner Stars was used to place three stars at the bottom left of the card and crystal glitter was rubbed on top.


Skill Level: Intermediate

Creative Time: 35 minutes

Materials Needed:
Scrapbook Adhesives by 3L®
3D Foam Circles
3D Foam Creative Embellishment Kit
E-Z Runner Stars
Metallic Transfer Foil Pastel Colors

Home Hobby by 3L®
Double-Sided Tape Runner Strips 150ft

Plus
Rubbernecker Stamps- Stamps and Dies
Ranger Ink- Distress Inks


Wednesday, May 4, 2022

Love, Yoga and a Dog


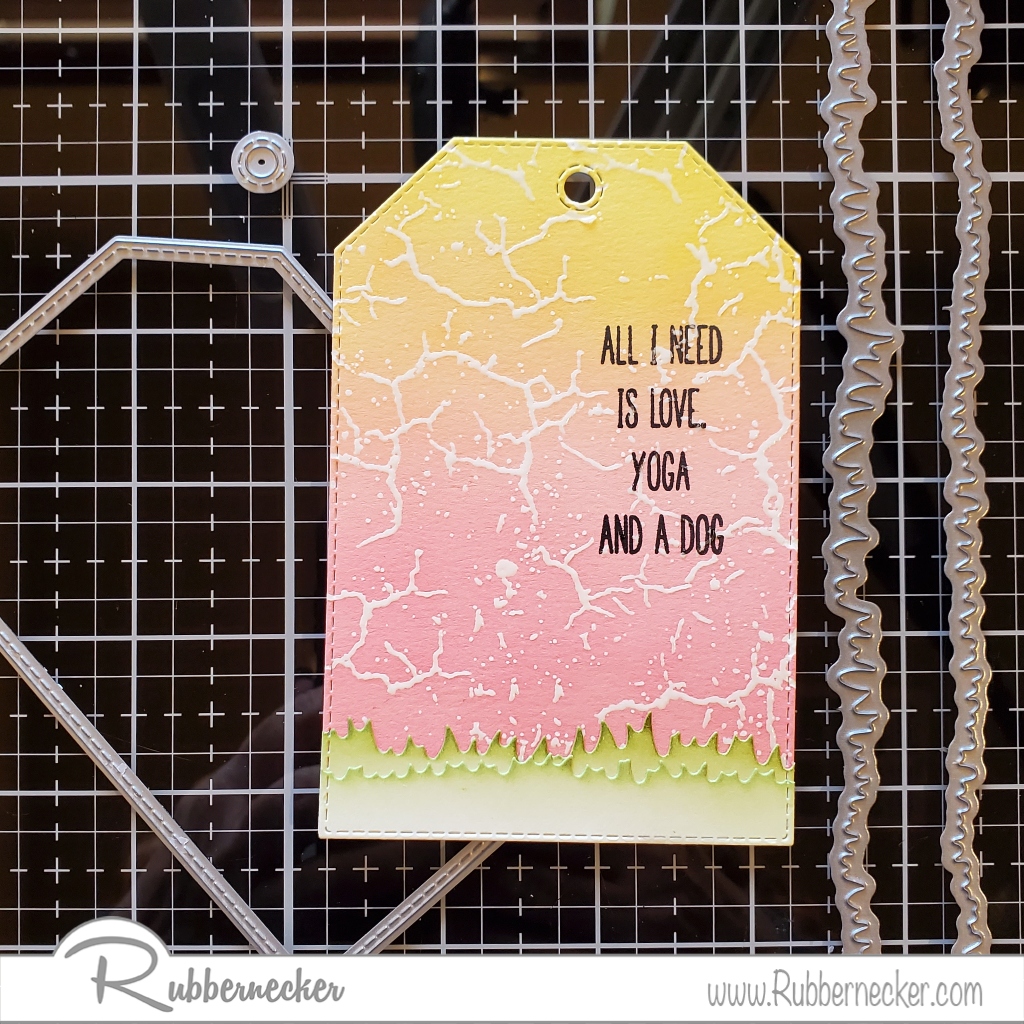
I thought making a tag and creating a little scene with the new Yoga Dogs from Rubbernecker Stamps would be fun.  I haven't decided if I'll attach it to a gift bag or mount it on a card, either will be cute.  Below are pictures of how the card was made and below that are the instructions, I thought I would try a new format.  Let me know which you prefer.


Directions
  1. Stamp the dog from the Yoga Dogs set with black ink and emboss with clear embossing powder.  Sponge the dog with Mocha Color Fuse Ink, die-cut with the Yoga Dogs Die and set it aside.
  2. Stamp white cardstock with the Crackled Mud Background using VersaMark Ink and emboss with clear embossing powder. Color blend the panel with yellow and pink Distress Oxides.  I used these inks instead of the beautiful Color Fuse Inks because the Oxides can be wiped off of the embossed areas where the Color Fuse can't.
  3. Die-cut the panel with the Nested Tag Stitch Die and set it aside.
  4. Die-cut two strips of white cardstock using the Slimline Die, sponge the tops with green Color Fuse Inks and layer them on top of each other with one just below the other.
  5. Now die-cut the grass with the same Nested Tag Stitch Die and glue this to the bottom of the tag.
  6. Stamp the sentiment from the Yoga Dogs Set on the right side of the tag with Black VersaFine Ink.
  7. Pop up the dog at the bottom left of the tag using foam squares.
  8. Use the Clouds Die to die-cut white cardstock and blend the bottom of the clouds with Sonata Color Fuse Ink and glue the two clouds to the top of the tag.
  9. The hearts are from the Slimline OPC Hearts die, they were leftover from another project.  You know we crafters can't throw anything away, we might be able to use it haha. The two hearts were popped up using foam squares and the third little heart is an enamel heart.
  10. A ribbon was added to the top of the tag and tied with black and white twine.

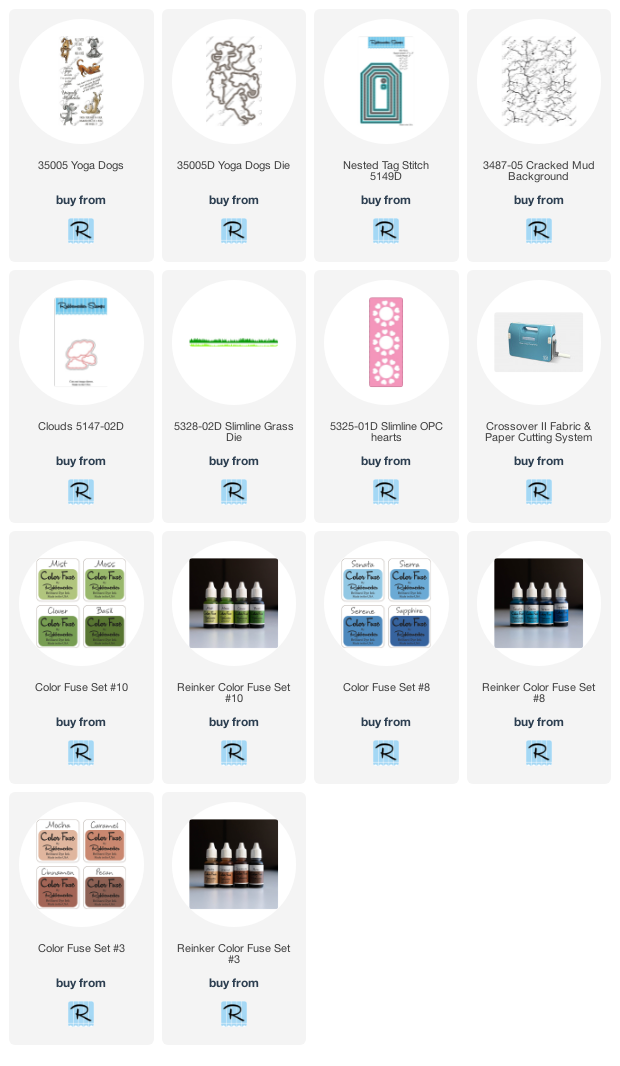
Click on the product to go to the Rubbernecker Stamps online shop.

Tuesday, December 7, 2021

Merry Little Christmas


Here's a little inspiration to those of you that haven't started your Christmas cards and need a design that's quick and easy so that you can pump those puppies out!  You can stamp and emboss then do the rest while watching t.v.
Here's how my card was made-

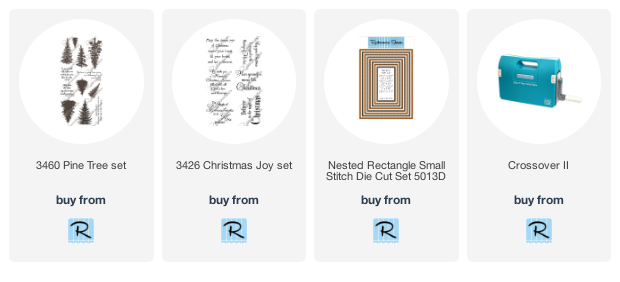
  • Die-cut white cardstock using the 3rd largest die from the Nested Rectangle Stitch Die Set.
  • Stamp several trees from the Pine Tree Set along the bottom of the panel using VersaMark Ink and emboss with white embossing powder.


  • Now ink the panel starting from the bottom going up so you get a faded look with Pine Needles Distress Ink.  I used this ink so that it will rub off of the embossed trees, permanent and archival inks will stain.
  • Stamp a couple of smaller trees in between the embossed trees with the Pine Needles Ink.
  • Layer this onto a slightly larger craft-colored cardstock panel and pop it up on a white card using 3D Foam Squares.


  • Stamp the sentiment from the Christmas Joy Set onto kraft-colored paper with VersaMark Ink and emboss with white embossing powder.
  • Layer this onto a slightly larger white cardstock panel and pop it up diagonally on the left side.
  • Add a star to the top of the right tree and two stars on the sentiment using the E-Z Runner® Stars Refillable Dispenser then sprinkle them with gold glitter.


  Click on the images below to go to the Rubbernecker Stamps online shop.

PrintWorks- Cardstock
Scrapbook Adhesives by 3L- Adhesives

Have a crafty day!

Let's Connect!
Affiliate and Product Disclosure
I am on various Design Teams and get free goodies for blogging about craft products but only because I love their products and genuinely use them. Ultimately my opinions are my own. A list of companies is in my sidebar.
Being part of various affiliate programs – when you click on an affiliate link and then go on to make a purchase, at no cost to you, I receive a small commission.  The affiliates I use include Rubbernecker Stamps.

Sunday, April 11, 2021

She Persisted


Today is a 10-minute slimline card using the Slim Vintage Border from Stampendous.  If you're in a hurry and need a card or you need to make a bunch, this one is quick since the image is all one stamp.  

Here's how it was made-
  1. Stamp the Slim Vintage Border on watercolor paper with black ink.
  2. Sponge Picked Raspberry Ink on the top and Wild Honey on the bottom.
  3. Die-cut using any slimline card die and layer onto slightly larger black cardstock.
  4. Stamp sentiment with black ink onto a white strip of paper cut into a tag shape.
  5. Tie the left side of the panels with a gold cord and add the tag using foam squares to pop up.
  6. Now mount to a pink slimline card using a tape runner.


Supplies
Stampendous
CSL04 Slim Vintage Border
SSC1384 Amazing Woman
MPW811Mixed Media White Paper
STF082 VersaFine Ink- Onyx Black

Plus
Distress Inks- Picked Raspberry, Wild Honey
3D Foams Squares and tape runner- Scrapbook Adhesives by 3L
Scissors
Paper Cutter

Let's connect!


Disclaimer- I get free goodies for blogging about craft products! Today I'm sharing a card made with products from Stampendous

Here are some places that you can find Stampendous Products-
First off check out your local Stamp Store, if they don't have it they can order it.
Online Stores
 

Friday, November 6, 2020

Coffee Lover


Welcome, today is the start of the Fall/Winter Coffee Lover's Blog Hop and Stampendous is joining in on the fun.  You'll want to grab a cup of coffee, put up your feet and get ready to play along for your chance to win prizes!!!!


The card I made for the hop uses-
Winged Cup Perfectly Clear Set for the cup and sentiment.  
Build a Wreath Die Set for the circle die, scallop die, leaf die, and the pine cone die.
The cup and hands are colored with Inktense Pencils and the leaves were colored by smoothing orange and rust inks on watercolor paper then die-cut once dry.


Now head on over to Fall/Winter Coffee Lover's Blog Hop and see what they have in store for you!

Let's connect!


Disclaimer- I get free goodies for blogging about craft products! Today I'm sharing a card made with products from Stampendous

Here are some places that you can find Stampendous Products-
First off check out your local Stamp Store, if they don't have it they can order it.
Online Stores
Scrapbook.com


Wednesday, May 20, 2020

Funny Farm


Today I have a card made with the new Funny Farm stamp from Stampendous, look at those cute little faces peeking around the corner of the barn door.

Here's how my card was made-

  • Stamp Funny Farm on white cardstock with black ink, color with colored pencils, and shadow around the animals with blue decorative chalk. Layer onto a larger black panel.
  • Blend inks on a white panel in green, yellow, and blue, then stamp thinking of you in those same colors to create the background.
  • Layer this onto a larger black panel, glue to a blue card, and pop up on the card.
  • Stamp Thinking of you on a strip of white cardstock with black ink and glue to the card as shown.


Supplies
Stampendous
P354 Funny Farm
SSC 1309 Best Day Perfectly Clear Stamp Set
White Mixed Media Cardstock
Onyx Black VersaFine Ink

Plus
Prisma Color Pencils
3D Foam Squares- Scrapbook Adhesives by 3L
Zip Dry Glue- Beacon Adhesives
Cardstock- Black, Blue
Distress Ink- Shabby Shutters, Mowed Lawn,  Scattered Straw, Salty Ocean, Tumbled Glass
Decorative Chalk-Blue


Have a creative day and follow me on 

Disclaimer- I get free goodies for blogging about craft products! Today I'm sharing a card made with products from Stampendous