Featured Post

Privacy Policy

I'm working on a new privacy policy for my followers, but for now you should know that if you comment on my site, my site collects your ...

Showing posts with label Clean and Simple. Show all posts

Wednesday, November 22, 2023

Fun Fold Thank You Card


Today I have a fun fold thank you card make with pretty papers and stamps from Rubbernecker Stamps.
Here's how my card was made.

Cut a sheet of rust colored cardstock to 4 1/4" x 11" and fold in half.
Fold the top of the card in half so that the flap can be pulled open from the left side.
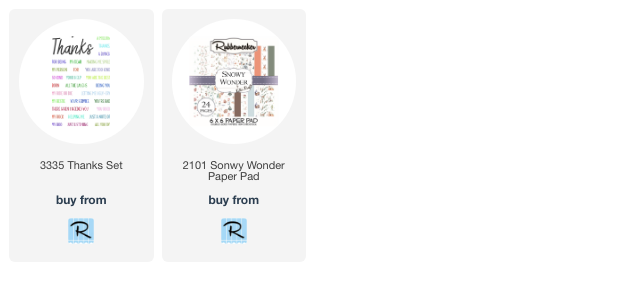
Pick two patterns from the Snowy Wonders Paper Pad and glue one sheet to the inside of the card and half to the top of the folded side.


Stamp a white cardstock panel with Thanks in rust ink and the rest of the sentiment below Thanks in a dusty blue ink.
The pinecone was cut from the paper pad and glued to the bottom left corner of the panel.
Randomly add blue Stickles to the panel.










Wednesday, June 7, 2023

Hello-Clean and Simple


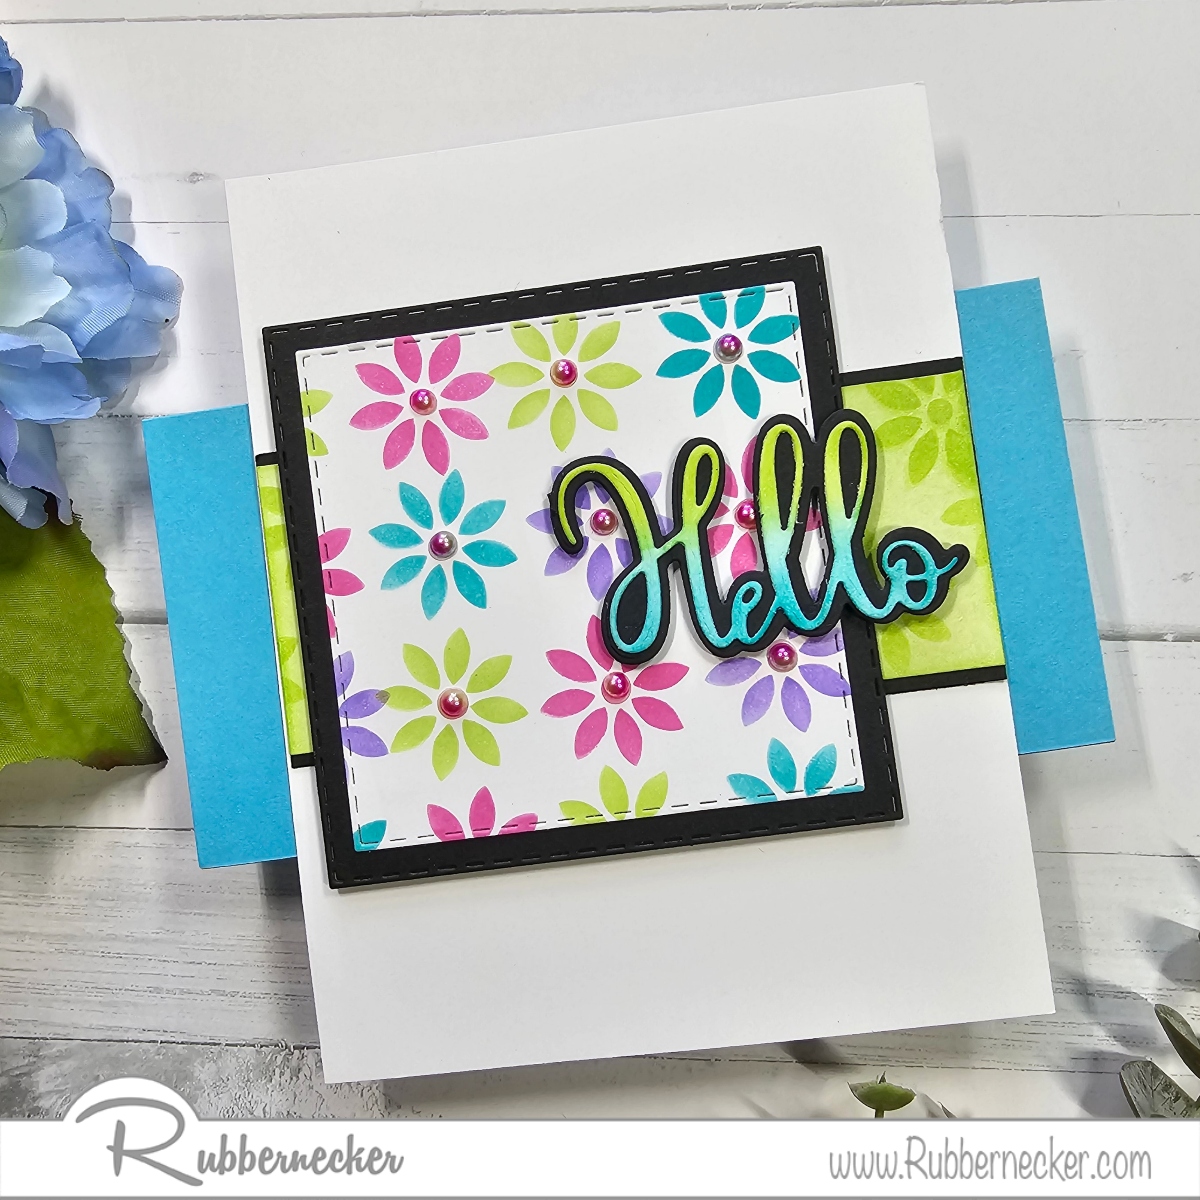
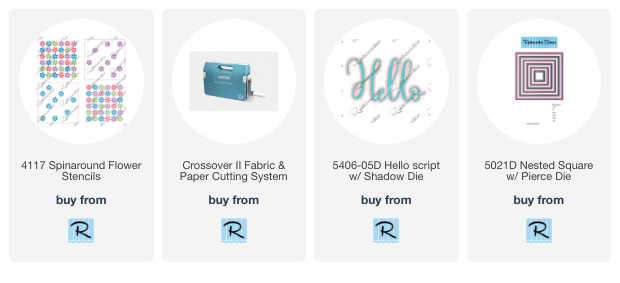
Today I have a clean and simple card made using a beautiful Spinaround Flower Stencil from Rubbernecker Stamps. Links to the products is at the bottom of the post.

Here's how my card was made-
Place the Spinaround Flower Stencils on white cardstock, use pink ink on all of the flowers, clean it then spin it 1/4 of the way and apply the next color, continue until all four sides are done.
Die-cut this piece using the Nested Square with Pierce Die and the next larger die on black cardstock to layer the flowers onto.


Stencil green flowers onto a strip of white cardstock, once the ink is dry, lightly sponge the strip with the same color ink.
Layer the panel onto a slightly wider piece of black cardstock and glue it to the center of a white card.
Die-cut Hello Script w/ Shadow die on white cardstock. Keep the Hello in the cardstock to sponge it with blue ink on the bottom and green ink on top.
Die-cut the shadow portion on black cardstock and glue the sponged Hello on the shadow.


Apply 3D Foam Squares Micro Black on the back of the Hello and pop it up center, right on the card.
Place small self-adhesive pearls to the center of the flowers.


Click on the product to go to the Rubbernecker Stamps online shop.

Have a crafty day!

Let's Connect!

Affiliate and Product Disclosure
I am on various Design Teams and get free goodies for blogging about craft products but only because I love their products and genuinely use them. Ultimately my opinions are my own. A list of companies is in my sidebar.

Wednesday, March 22, 2023

Floral Friendship Card


Use the Quilted Stitch Pierced Cover to die-cut a white cardstock panel.
Die-cut a frame from gold glitter paper using the Nested Rectangle Stitch Die Cut Set and glue it to the center of the white panel.


Next, stamp the sentiment from the Floral Embrace Set, in the center of the frame with VersaFine Onyx Black Ink and emboss it with clear embossing powder.
Stamp two flowers, one with Posey Color Fuse Ink and sponge the edges with Scarlet Color Fuse Ink. Stamp the second flower with Lavender and sponge the edges with Magenta.
Stamp the leaves with Mist and Clover Color Fuse Inks.


Cut out the flowers and leaves, pop up the flowers one in the upper left corner and one in the lower right corner using 3D Foam Squares.
Glue the flowers down under the flowers.
Mount this to a purple top folding card.


Click on the product to go to the Rubbernecker Stamps online shop.
Have a crafty day!

Let's Connect!

Affiliate and Product Disclosure
I am on various Design Teams and get free goodies for blogging about craft products but only because I love their products and genuinely use them. Ultimately my opinions are my own. A list of companies is in my sidebar.

Thursday, July 8, 2021

On a Wintery Day


I know this may seem early but it's Christmas in July, if you start now and make a few each month, you won't be in a rush to make Christmas cards in December.  My card is quick and easy so if you have a lot to make this might be for you.  

Here's how my card was made-

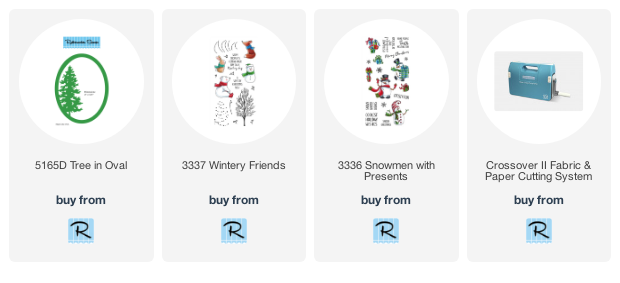
  • Die-cut the Tree In Oval from gold glitter paper, I used the Crossover II Fabric & Paper Cutting System.


  • Apply 3D Foam Squares from Scrapbook Adhesives by 3L to the backside of the die-cut piece.

  • Place this piece on a 4" x 5 1/4" cream cardstock panel and lightly mark the inside of the oval with a pencil.
  • Before removing the die-cut piece stamp the sentiment from the Wintery Friends Set with gold ink and emboss with clear embossing powder.
  • Randomly stamp snowflakes from the Snowmen with Presents Set.
  • Adhere the cream panel to a kraft and gold polka dot card.

  • Now adhere the die-cut piece to the card.

 
Have a crafty day!

Let's Connect!

Affiliate and Product Disclosure
I am on various Design Teams and get free goodies for blogging about craft products but only because I love their products and genuinely use them. Ultimately my opinions are my own. A list of companies is in my sidebar.
Being part of various affiliate programs – when you click on an affiliate link and then go on to make a purchase, at no cost to you, I receive a small commission.  The affiliates I use include Rubbernecker Stamps.

Wednesday, June 2, 2021

Give Love


Hi, today and I have a quick and easy card up on the Scrapbook Adhesives by 3L Blog, that is perfect for the paper crafter, paper hoarder and those who like to make pretty cards but don't want to color them.  I fall into the paper hoarder category and I have quite a bit of 12" x 12" decorative paper. I use the small patterns on cards but never used the large patterns until now!

Be sure to go to the Scrapbook Adhesives by 3L Blog for a tutorial on how to make this card and what adhesives to use by clicking HERE.  


Have a crafty day!

Let's Connect!

Affiliate and Product Disclosure
I am on various Design Teams and get free goodies for blogging about craft products but only because I love their products and genuinely use them. Ultimately my opinions are my own. A list of companies is in my sidebar.


Thursday, April 16, 2020

You're the Best!


Hi everyone, today I have a card that is good for any time of the year and who doesn't want to hear that you're the best?!  I think we all need to make an effort to build people up every day and to let them know how much they mean to us.

Here's how my card was made-
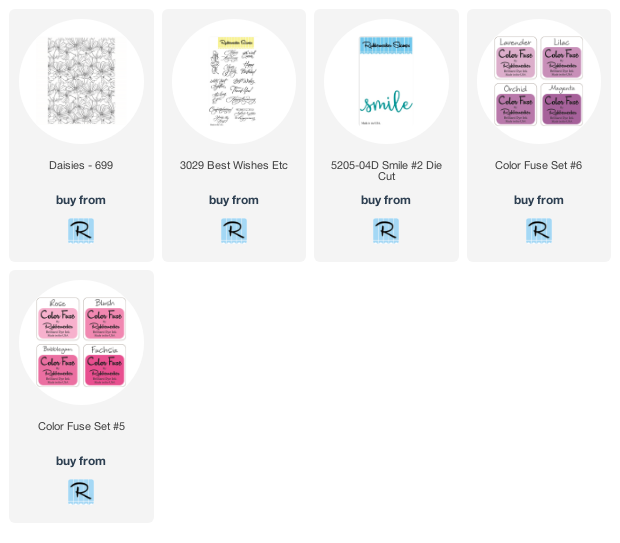
  • Stamp the Daisies on a 4"x5 1/4" watercolor panel with VersaMark Ink and Emboss with white embossing powder.
  • Apply Color Fuse Ink using Set #5 and Set #6, I used a brush but you can also use a sponge or other blending tool.
  • Once done wipe the embossed piece with a paper towel to remove any ink on the embossed area.  Cut the panel in half diagonally, this will give you two pieces to make two cards.
  • Glue the top half of the watercolor panel to a piece of 4"x5 1/4" cardstock, this is the same size as the watercolor panel you started with.
  • Apply a strip of thin black glitter washi tape across the seam of the top and bottom.
  • Stamp You're the Best with black ink on the white cardstock.
  • Die-cut Smile from black cardstock and glue to the center of the card, I used Nuvo Deluxe adhesive.
  • Randomly glue on a few sequins for a touch of bling and you're done.
  • Pop this up on a black card with foam squares.  I popped this up on purpose to give it a bit of interest. 


Have a creative day!

Click on product to go to the Rubbernecker Stamps online shop.

Follow Me- Stamp This, on-
Twitter

Affiliate and Product Disclosure
I am on various Design Teams and get free goodies for blogging about craft products but only because I love their products and genuinely use them. Ultimately my opinions are my own. A list of companies is in my sidebar.
Being part of various affiliate programs – when you click on an affiliate link and then go on to make a purchase, at no cost to you, I receive a small commission.  The affiliates I use include Rubbernecker Stamps and Whimsy Stamps.


Tuesday, December 31, 2019

You Everytime


Hi my friends, Happy New Year's Eve and  I hope you all are having a nice holiday season!! I thought I would take a quick break from all of the holiday cards and share a card that's for the special someone in your life.  
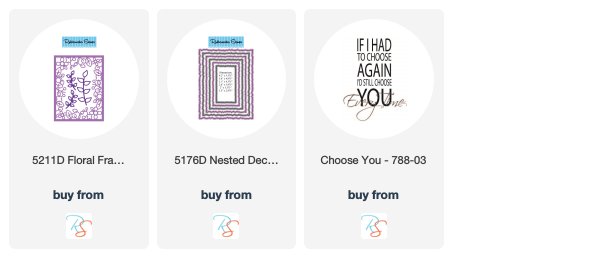
I used the Floral Frame Die Cut and the Nested Deckle Rectangle Die from Rubbernecker Stamps to make the frame for the "Choose You" sentiment also from Rubbernecker Stamps.  


1.  I die cut the pieces from white cardstock, patted them with my VersaMark Inkpad, sprinkled it with Vintage Lilac Embossing Powder and heated it with a heat gun.  And wow does this sparkle!! 
2.  The piece from the Floral Frame Die Cut was glued to a white panel and then to a purple card.  
3.  The sentiment was stamped with black ink and embossed with clear embossing powder.  4.  The frame was made using the Nested Deckle Rectangle Die was popped up using 3D Foam Squares from Scrapbook Adhesives by 3L.  
5.  Then a couple of sequins were glued around the sentiment.

Thank you to all of my crafty friends for your support and kind comments, they all mean so much to me!  I'll be back with you in the New Year with more creative ideas for you, have a safe and happy New Year's Eve!

Here are the RubberNecker products I used to make my card

Follow Me- Stamp This, on-
Twitter

Affiliate and Product Disclosure
I am on various Design Teams and get free goodies for blogging about craft products but only because I love their products and genuinely use them. Ultimately my opinions are my own. A list of companies is in my sidebar.
Being part of various affiliate programs – when you click on an affiliate link and then go on to make a purchase, at no cost to you, I receive a small commission.  The affiliates I use include Rubbernecker Stamps and Whimsy Stamps.

Saturday, November 30, 2019

Friends at Christmas


Hi, I hope you all are having a crafty week!  I have a clean and simple card today made with a large sentiment stamp from Stampendous, this stamp makes it really easy to make a bunch of Christmas cards when you're short on time.
I stamped the Always Friends sentiment on white, colored it with Prisma colored pencils and die cut it with the Fitted Frames B Set (links below).  It's then layered onto decorative paper, a green card using a tape runner from Scrapbook Adhesives by 3L.

I also thought it would be cute to use the sentiment on a gift bag and attach it with a clothespin.

Always Friends
Fitted Frames B Set  

Have a creative day and follow me on 

Disclaimer- I get free goodies for blogging about craft products! Today I'm sharing a card made with products from Stampendous


Friday, March 22, 2019

Happy Birthday- The Stamps of Life


Today's card was made using the March Card Kit from The Stamps of Life, which makes cards quick and easy to make with coordinating stamps, die-cuts, embellishments, and papers.
I started by gluing a couple of decorative papers to the bottom of a white panel.


It was then glued to a red card.

Then the pom poms and twine were glued on to the card so they would look like balloons.  The words were die-cut from yellow and red papers, layered and glued to the card.  Rhinestones were randomly applied to add just a little something to this card a festive look.


Be sure to keep stopping by to see the other three cards I'll be sharing from The Stamps of Life March Card Kit.  Have a crafty day!

Here's how the monthly Card Kits work

New Card Kit (retail value over $50) automatically sent each month, charged on the 15th and shipped the next business day.
$39.98 per month / $34.88 per month for current Stamp or Die Hard Club Members
FREE shipping in the USA on your club shipments
FREE stamp set from The Stamps of Life as a welcome gift!
Yearly $25 Gift Certificate on your anniversary
15% Off every purchase (excludes Big Shots and classes)
24 hour Early Access to LIMITED EDITION products
Minimum 3 month commitment
Card Kits include various supplies to create 12+ cards, including an exclusive stamp set, die set, paper pad, embellishments, storage folder, envelopes and more. Also includes an idea post card, a video on our site, and an idea gallery.

Product Disclosure
I am on various Design Teams and get free goodies for blogging about craft products but only because I love their products and genuinely use them. Ultimately my opinions are my own. A list of companies is in my sidebar.