Featured Post

Privacy Policy

I'm working on a new privacy policy for my followers, but for now you should know that if you comment on my site, my site collects your ...

Monday, November 22, 2021

A Merry Christmas Shaker


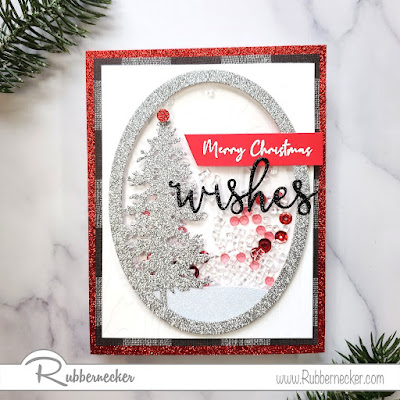
Hi my crafty friends, I hope that you all are having a good week!  Today I have a card that I made while making a card with this die from Rubbernecker Stamps and thought that I would also try a shaker card with it. I really like the way that it turned out, in person, it is super sparkly.  

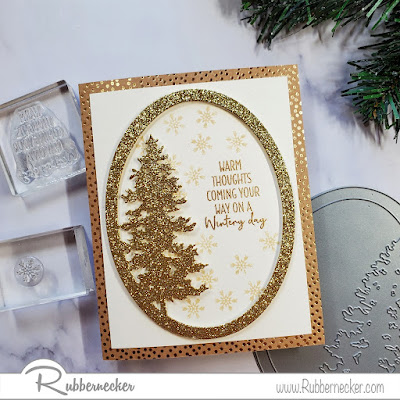
Here is the other card that I made, directions are HERE.


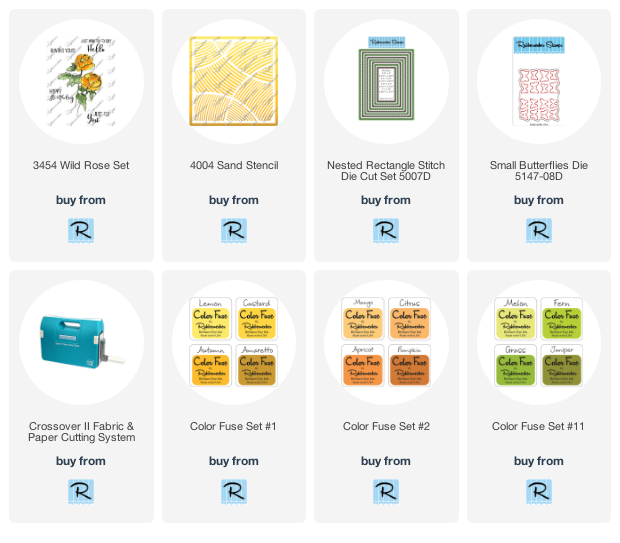
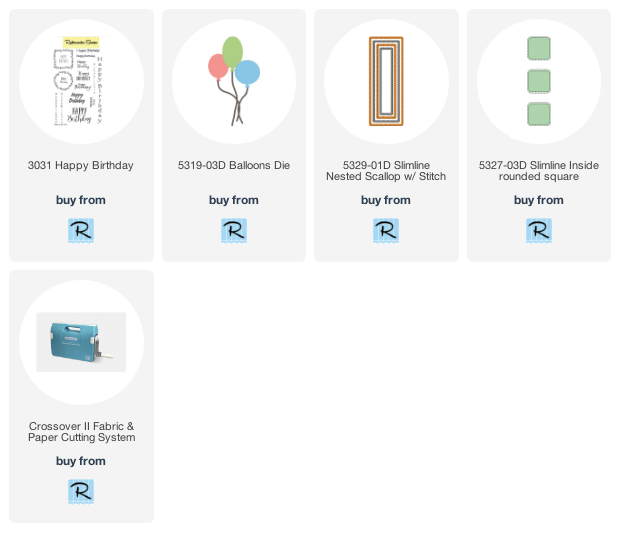
 Click on the images below to go to the Rubbernecker Stamps online shop.

Have a crafty day!

Let's Connect!

Affiliate and Product Disclosure
I am on various Design Teams and get free goodies for blogging about craft products but only because I love their products and genuinely use them. Ultimately my opinions are my own. A list of companies is in my sidebar.
Being part of various affiliate programs – when you click on an affiliate link and then go on to make a purchase, at no cost to you, I receive a small commission.  The affiliates I use include Rubbernecker Stamps.

Monday, November 15, 2021

Make your Merry Christmas Background


Hi my crafty friends, today I have this Christmas card on the Scrapbook Adhesives by 3L. The background was made using 3D Foam Snowflakes and Crafty Power Tape.  It's nice making your own background, you can make it whatever color you want it and you don't need to have decorative paper that's the right color for your project.

Stop by the Scrapbook Adhesives by 3L Blog to see the tutorial, products and links.


Additional Products
Stampendous-  Chickadee Holiday Perfectly Clear Set, POP Frame Die Set, crystal Micro Glitter, Clear Embossing Powder
PrintWorks- Cardstock
Rubbernecker Stamps- Cloud Stencil

Have a crafty day!

Let's Connect!

Affiliate and Product Disclosure
I am on various Design Teams and get free goodies for blogging about craft products but only because I love their products and genuinely use them. Ultimately my opinions are my own. A list of companies is in my sidebar.


Tuesday, November 9, 2021

Just For You


It's always nice to take a break from coloring images and Rubbernecker Stamps has a line of layered floral clear stamps that leave you with a beautiful and colorful image.  

For my card, I used the Wild Rose Set and inked it with Color Fuse Inks from sets #1, #2 and #11.
The Sand Stencil was used to make a background panel with Color Fuse Inks from sets #1 and #2, the colors were blended with blender brushes but sponges work too.
To add a little dimension, the stamped image was layered on several panels and popped up with foam squares.  A butterfly was die-cut using the Small Butterflies Die and this too was popped up.

Click on the images below to be taken to the Rubbernecker Stamps online shop.


Have a crafty day!

Let's Connect!

Affiliate and Product Disclosure
I am on various Design Teams and get free goodies for blogging about craft products but only because I love their products and genuinely use them. Ultimately my opinions are my own. A list of companies is in my sidebar.
Being part of various affiliate programs – when you click on an affiliate link and then go on to make a purchase, at no cost to you, I receive a small commission.  The affiliates I use include Rubbernecker Stamps.

Saturday, November 6, 2021

A Note To Lift You


Rubbernecker Stamps has a new release and one of the new items is this, Babies on Balloons set.  It's such a cute set and I thought it would look cute against a pastel cloud background. Here's how my card was made-
  • Use the Cloud Stencil to stencil clouds on white cardstock with Blush, Sky and Clover Color Fuse Inks. Blender brushes or sponges can be used for this, I used blender brushes.

  • Die-cut the cloud panel using the Slimline Solid Bubble Scallop Die.  I use the CrossOver ll die-cut machine, you don't have to change the plates depending on what you're cutting because it has a wheel on the top for you to adjust the pressure, so easy!!

  • Layer this onto a slightly larger white cardstock panel and then onto a light blue card.

  • Stamp the animals and balloons from the Babies on Balloons Clear Set on watercolor paper with VersaFine Ink and emboss with clear embossing powder.
  • Watercolor the images with Inktense Pencils and cut them out.

  • Stamp the sentiment from the same set with black ink on white cardstock and layer this onto slightly larger blue cardstock. Glue this diagonally to the top left of the card.
  • Pop up the animals and balloons with foam squares.
  • Glue twine to the back of the balloons, tie a knot towards the bottom and glue the knot to the animal.
  • Randomly glue sequins to the card and pink enamel dots around the sentiment.


Have a crafty day!

Let's Connect!

Affiliate and Product Disclosure
I am on various Design Teams and get free goodies for blogging about craft products but only because I love their products and genuinely use them. Ultimately my opinions are my own. A list of companies is in my sidebar.
Being part of various affiliate programs – when you click on an affiliate link and then go on to make a purchase, at no cost to you, I receive a small commission.  The affiliates I use include Rubbernecker Stamps.

Tuesday, November 2, 2021

Birthday Balloons Slimline Card


Even though many of us are working on getting our Christmas cards done, we still need to make birthday cards for all of the November and December birthdays.  This card is so much prettier in person, I'll have to see if I can post a short video to all of the sparkle and shine can be seen.
Here's how my card was made-
  • Die-cut decorative paper using the largest die from the Slimline Nested Scallop w/ Stitch.
  • Place the Slimline Inside Rouned Square die in the center of the decorative paper piece and run it through your CrossOver ll die cut machine (with this machine there is no need to change out plates.  You can adjust the pressure by turning a knob on top, so easy!). Also, die-cut white cardstock with the same die, to use one of the squares.

  • Pop up the decorative paper piece on a slightly larger white cardstock panel using foam squares.
  • Stamp the happy birthday square from the Happy Birthday Set, on one of the die-cut squares with VersaMark Ink and emboss with Iced Pink Embossing Enamel.
  • Stamp Happy Birthday from the same set with VersaMark Ink and emboss it with gold embossing powder.


  • Apply foam squares to the back of the square and pop it up in the center open square.

  • Use the Balloons Die and die-cut decorative paper and Iced Pink embossed cardstock.
  • Add three balloons to the top and bottom squares, gluing the side balloons to the decorative paper card and popping up the center balloon with foam squares.

  • Glue this to a pink slimline card and randomly add sequins.


Monday, November 1, 2021

Christmas Shaker Card


Happy November my friends!  It's now time to really get serious and make those Christmas cards.  To help with inspiration, I have this Christmas shaker card up on the Scrapbook Adhesives by 3L Blog with a full tutorial so you can easily make one yourself.  And it will show what adhesives to us and when so your projects will stay secure and popped up.


Stamps and Dies from Stampendous
SSC1410 Bright Nose Frame Perfectly Clear Stamps
DCP1020 Pop Frame Die Set

Have a crafty day!

Let's Connect!

Affiliate and Product Disclosure
I am on various Design Teams and get free goodies for blogging about craft products but only because I love their products and genuinely use them. Ultimately my opinions are my own. A list of companies is in my sidebar.