Featured Post

Privacy Policy

I'm working on a new privacy policy for my followers, but for now you should know that if you comment on my site, my site collects your ...

Showing posts with label Get Well Soon. Show all posts

Saturday, July 6, 2024

Get Well "Fence" Card


This dog on roller skates is just too cute! I opted to make my Dalmatian yellow instead of white, because I could lol. And layered it on a fence card, I'm kind of on a fence card kick at the moment.  Since it's a get-well card, flowers were added because a dog and flowers would make anyone feel better.

To make my card, the Roller Disco Dottie Die Set from Spellbinders was used. If you look closely, you can see that I layered Dottie on gray cardstock to give a shadow effect and popped her up on the fence card.

1. To make the "fence" card, white cardstock was cut to 5 1/2" x 8 1/2" and folded in have to make a 5 1/2" x 4 1/4" card.
2. Then on the top panel only, 1/4" strips were cut until you have 5 strips. 
3. One of the strips was cut in half and glued to the top of the card, with both of the bottom strips even with the bottom back of the card.
4. The remaining strips are evenly spaced and glued to the back of the two strips that were glued to the top.


The flowers were made with the Autumn Sealed Sprigs Die Set (this is one of my all-time favorite sets).

The Sentiment was made using the Snowflake Wishes Clear Stamp and Die Set, but don't let the name fool you! It has sentiments for many, many occasions.


Spellbinders has a new, pretty die-cut embossing machine, it's the Platinum Scout Lilac Shimmer Die-cut and Embossing Machine 3.5". It's the perfect size to sit on your desk and cut these dies without getting up.


Let's Connect!

Affiliate and Product Disclosure
I am on various Design Teams and get free goodies for blogging about craft products but only because I love their products and genuinely use them. Ultimately my opinions are my own. A list of companies is in my sidebar.


Sunday, October 29, 2023

Get Well Soon House-Mouse Card


 Get those get-well cards ready, cold and flu season is here. My card is made with the House-Mouse Designs, Froggy Throat from Spellbinders.


The image is colored with Prisma Colored Pencil, shadowed with decorative chalk and green ink is sponged around the top and sides. The sentiment plus another is included with the stamp.

Have a crafty day!

Let's Connect!

Affiliate and Product Disclosure
I am on various Design Teams and get free goodies for blogging about craft products but only because I love their products and genuinely use them. Ultimately my opinions are my own. A list of companies is in my sidebar.

Wednesday, May 5, 2021

Friend Get Well


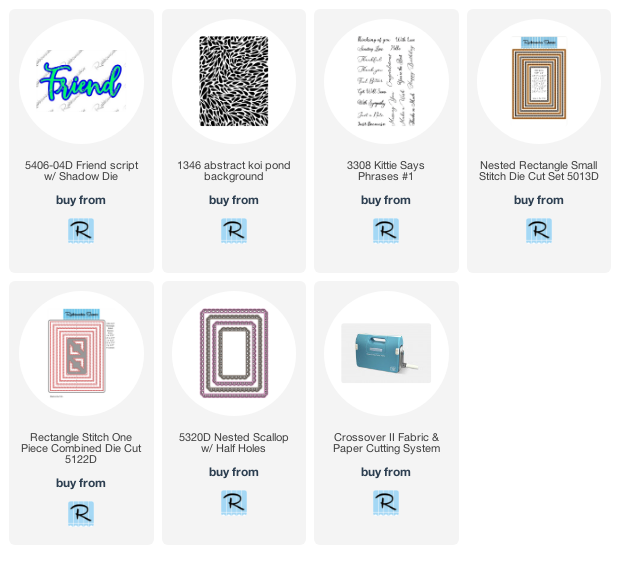
Hi there, this week Rubbernecker Stamps is focusing on background stamps and all of the things that you can do with them.  For my card, I used the Mermaid Sea Embossing Set from Stampendous and the Abstract Koi Pond Background from Rubbernecker Stamps to make a beautiful shimmery background for my Get Well Soon card. 

Here's how my card was made-
  • Stamp a white cardstock panel using the Abstract Koi Pond Background stamp with VersaMark Ink.
  • Sprinkle all five colors of embossing powder from the Mermaid Sea set lightly one at a time until the panel is covered and heat emboss.
  • To help prevent the embossing powder to cling to the paper where you don't want it, us an Embossing Buddy or baby powder on your paper first.  Be sure not to touch the paper with your fingers.
  • Die-cut the embossed panel using one of the dies from the Nested Rectangle Small Stitch Die Cut Set.

  • Layer this onto a larger blue cardstock panel that was die-cut with the largest Nested Scallop w/Half Hole. Then layer it onto a slightly larger white panel before adhering it to a blue card.

  • Use the Rectangle Stitch One Piece Combined Die Cut to cut white cardstock, pop up one of the white frames onto the card using 3D Foam Circles from Scrapbook Adhesives by 3L.
  • Die-cut white and blue cardstock using the Friend Script w/ Shadow Die and glue the white script onto the blue shadow.
  • Apply 3D Foam Circles onto the back and pop up on the frame.

  • Die-cut white and blue cardstock using the Friend Script w/ Shadow Die and glue the white script onto the blue shadow.
  • Apply 3D Foam Circles onto the back and pop up on the frame.
  • Stamp sentiment from the Kittie Says Phrases #1 Set on a strip of white cardstock with VersaMark Ink and emboss with the leftover embossing powder. Glue this to the card with the left edge under the frame.

Have a creative day!

Have a crafty day!

Let's Connect!

Affiliate and Product Disclosure
I am on various Design Teams and get free goodies for blogging about craft products but only because I love their products and genuinely use them. Ultimately my opinions are my own. A list of companies is in my sidebar.
Being part of various affiliate programs – when you click on an affiliate link and then go on to make a purchase, at no cost to you, I receive a small commission.  The affiliates I use include Rubbernecker Stamps.

Monday, April 6, 2020

Hugs Shaker Card


Hi there, Jamie with you for another Monday and to help get your creativity started for the week!  I really LOVE this card that I made, it has 3 of my favorite elements first it has leaves which I just can't get enough of, second it's a shaker card and cards that have movement are so much fun, then third the leaves are die-cut from glitter paper and everything looks better with glitter!!! 

Here's how my card was made-
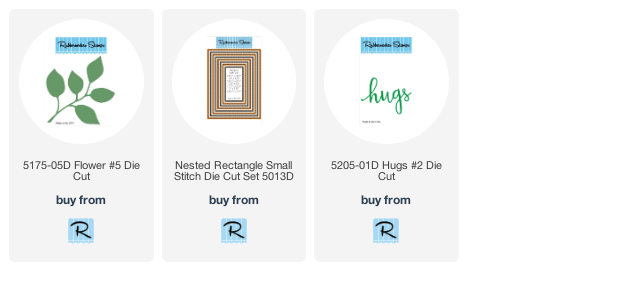
  •  Cut leaves using the Flower #5 Die Cut from three different colors of glitter paper.
  • Glue the leaves onto a white cardstock panel that has been die cut using the Nested Rectangle Stitched Die Set.
  • Glue this panel onto a light blue card and set aside.
  • To make the shaker frame, use two of the Rectangle Stitched die and make a frame from the same blue paper as the card.
  • Glue a piece of acetate to the backside of the frame, then line the frame with thin foam tape.  To help prevent the shaker bits from clinging to the acetate, rub it with a dryer sheet, then rub with a paper towel to get some of the film that it leaves off.
  • Place shaker bits on your card, and place the acetate frame over them.
  • Using the Hugs Die Cut #2, cut out the word on black cardstock and glue to the acetate and now your card is done.

Follow Me- Stamp This, on-
Twitter

Affiliate and Product Disclosure
I am on various Design Teams and get free goodies for blogging about craft products but only because I love their products and genuinely use them. Ultimately my opinions are my own. A list of companies is in my sidebar.
Being part of various affiliate programs – when you click on an affiliate link and then go on to make a purchase, at no cost to you, I receive a small commission.  The affiliates I use include Rubbernecker Stamps and Whimsy Stamps.


Wednesday, March 27, 2019

Penguin Ray


I have a very special image for you today, the Penguin Ray digital stamp from Whimsy Stamps, to honor this brave man battling cancer and all proceeds go to Make a Wish Foundation of Canada!  Please help support this cause that is near and dear to our hearts, read below.
Image may contain: 1 person, smiling


Follow me, Stamp This


Affiliate and Product Disclosure
I am on various Design Teams and get free goodies for blogging about craft products but only because I love their products and genuinely use them. Ultimately my opinions are my own. A list of companies is in my sidebar.
I am also part of various affiliate programs – when you click on an affiliate link and then go on to make a purchase, at no cost to you, I receive a small commission.  The affiliates I use include Rubbernecker Stamps and Whimsy Stamps.
I hope if you like the content of my blog you will support me by clicking through these links to make your purchases.


Monday, September 17, 2018

Bloom Of Good Health


Did you know flu season is right around the corner?  So now is a good time to make a few get well soon cards to have on hand.  Today I have a card with a background made using the Round Doily Metal Stencil from Stampendous.  It was sponged with green Distress Inks then stamped with In the Bloom  also from Stampendous using VersaFine Onyx Black Ink and embossed with Clear Embossing Powder.  A strip of Washi Tape was added down the side, then the panel was layered onto a larger black panel and glued to a white card.

Be sure to share your creations made with Stampendous stamps on their Stampendous! Fans Facebook Page, we'd love to see what you're making with our stamps!!


Disclaimer- I get free goodies for blogging about craft products! Today I'm sharing a card made with products from Stampendous.


Thursday, April 12, 2018

A Flowery Feel Better


Today I'm up on the Rubbernecker Blog with a flowery, Feel Better Quick card.  I used the new Mixable Flower Stack Die which gives you five different sizes of stackable flowers and five different sizes of dots. 

I die cut my flowers and dots from bright colors of yellow and green papers, then glued them to a white panel.  The sentiment is from the Best Friend Etc set, it was stamped on a strip of white paper with Onyx Black VersFine ink and embossed with clear embossing powder.  

This was layered onto decorative paper and glued to the card.  Ebony Black Nuvo Crystal Drops were used for random dots around the card.

Follow Stamp This

Instagram

Disclaimer- I get free goodies for blogging about craft products! Today I'm sharing a card made with products from Rubbernecker Stamps.


Wednesday, March 14, 2018

Stampendous Sneak Peek Time!


Welcome to Sneak Peek Week for the Stampendous April 2018 Catalog!  The new catalog is full of fabulous designs and soon you'll be able to see all of the sample the Design Team have made on the Stampendous Blog.  New product will be online starting March 30th but check in with your local stamp stores, they'll be able to order earlier!!

Here's how my card was made;
Stamp Wisteria Circle on watercolor paper with Onyx Black ink, color with Inktense Pencils and cut out. Layer onto a green die cut circle and set aside.
Place Diamond Grid Metal Stencil on white cardstock and sponge with gray ink.  
Glue Wisteria Circle onto the stenciled piece and stamp sentiment at the bottom from the Greetings Galore Set with Onyx Black ink. Layer onto a purple card.

Supplies
Stampendous
W202 Wisteria Circle
SSC1281 Greeting Galore 
DWLJ882 Diamond Grid Metal Stencil

Plus
My Colors Cardstock
Zip Dry Glue, Beacon Adhesives
Inktense Pencils, Derwent
London Fog Memento Ink
Onyx Black VersaFine
3D Foam Squares, Scrapbook Adhesives by 3L
Circle Stitched Dies

Be sure to stop by the Stampendous Blog to see what the other Design Team Members have shared this week!


Disclaimer- I get free goodies for blogging about craft products! Today I'm sharing a card made with products from Stampendous.


Wednesday, February 28, 2018

Bloom Of Good Health


 If you don't have the right color of background paper for your project, no problem just make it!  I used a stencil from Stampendous and sprays to make a background that matched my flowers.  I'm entering this in the Simon Says Stamp challenge "In My Garden," wish me luck!

1.  Place the Southwest Stencil on a white panel and spray with Picked Raspberry and Marmalade sprays.
2.  Place different sizes of Fitted Frames Dies on the sprayed panel and run through your die cut machine.
3.  Layer pieces on a white panel and glue down.
4.  Stamp sentiment in the center with black ink and emboss with clear embossing powder.
5.  Glue to an orange card.
6.  Stamp flowers and butterfly on watercolor paper with black ink and emboss with clear embossing powder. 
7.  Color with Zig pens and cut out.
8.  Apply glue to the white edges of the flowers and sprinkle with glitter. Glue to card as shown.


Supplies
Stampendous
M332 In The Bloom
SSC1255 Happy Birds
DWLJ807 Southwest Stencil
DCP1006 Fitted Frames B
EP020 Clear Embossing Powder
MG01 Crystal Micro Glitter
STF082 Onyx Black VersaFine Ink
EPA50 Heat Tool

Plus
My Colors Cardstock
Zip Dry Glue
Foam Squares
Zig Clean Color Real Brush Pens
Watercolor Paper
Distress Spray- Picked Raspberry, Marmalade
Quickie Glue Pen

Stay connected and don't miss a thing!

 Follow Stamp This 
(I follow crafty people back!)


https://blogger.googleusercontent.com/img/b/R29vZ2xl/AVvXsEiBIB7cl3FWcUqRpVNE2xf0uD7bSSaDv8EJChhD3TSJRrDTTqubuFddCha_Vsye2BIOBKX1yGUjGJyPJvjizD-izRFYxEG1Q0kTmLKEiANGSeoreVxGdz2kjJCF6lGrlm9fopxLmRzM6V04/s1600/Stampendous+logo.jpg

Wednesday, May 11, 2016

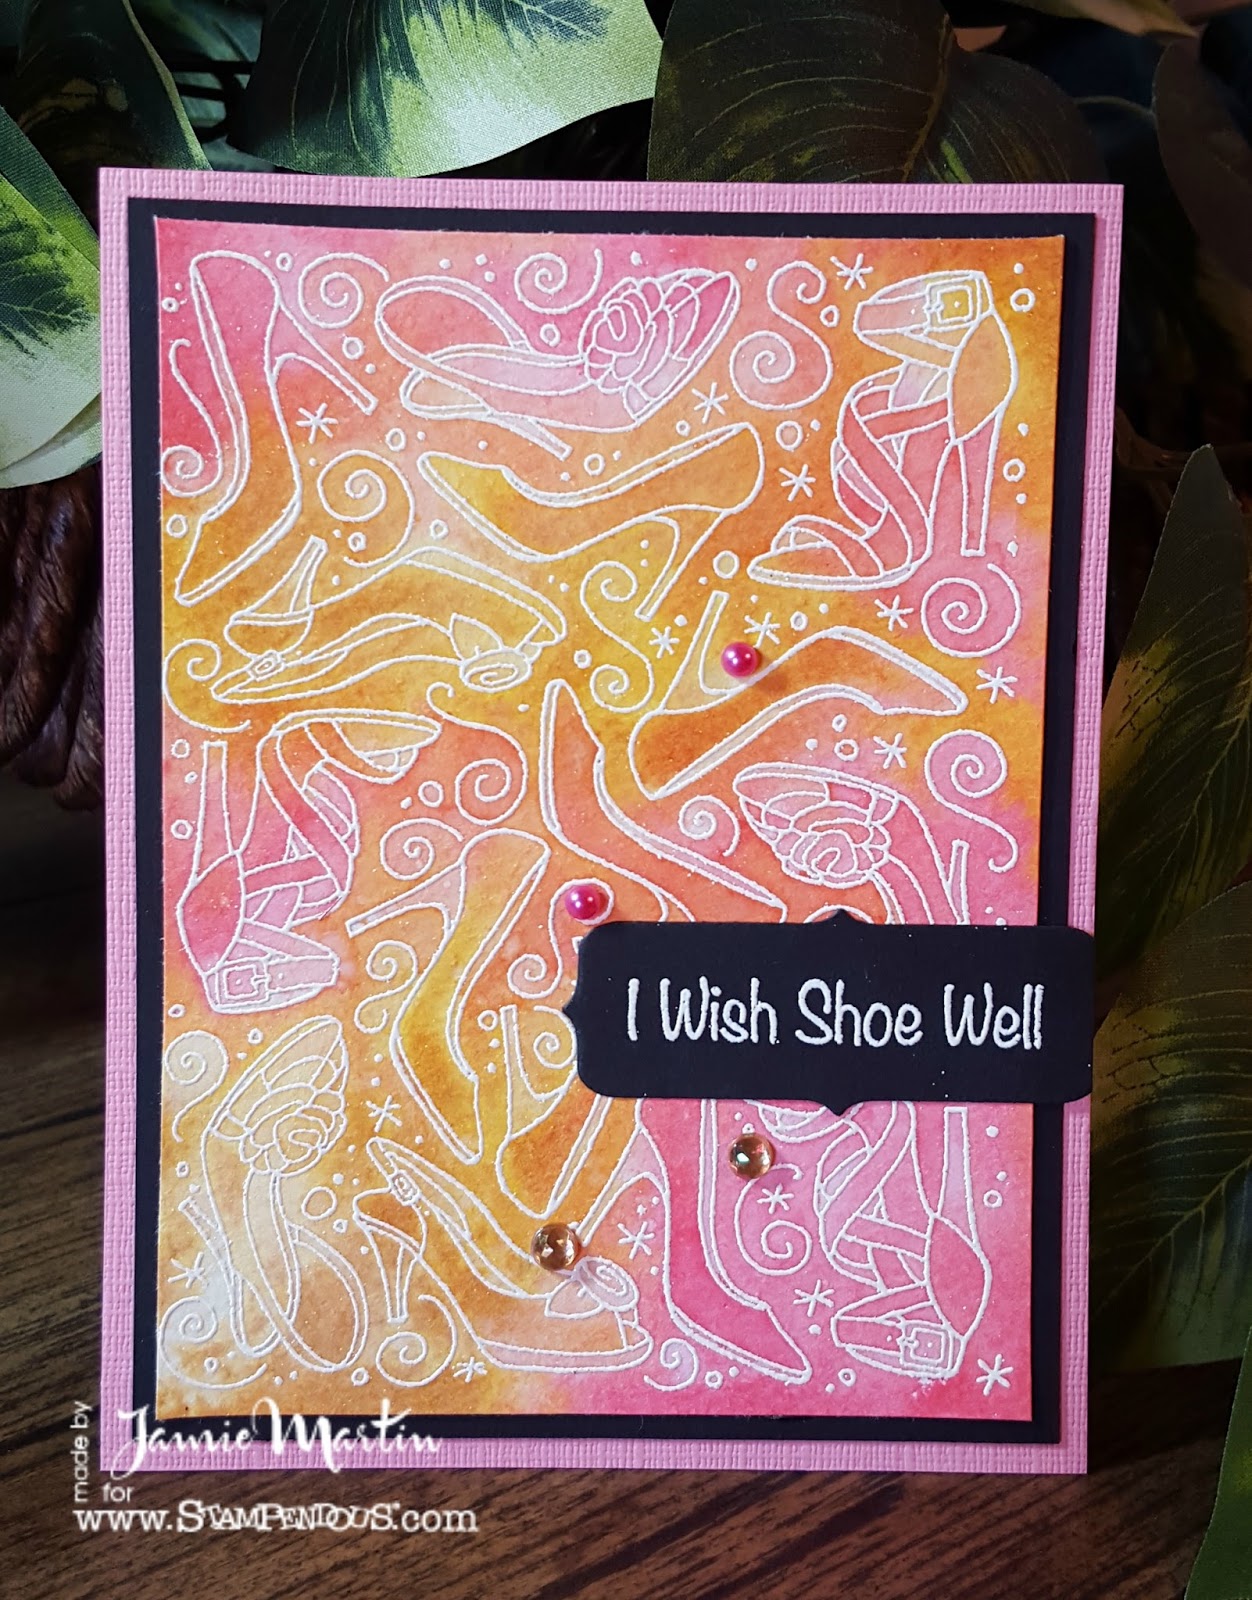
Wish Shoe Well


A girl never has enough shoes and what better way to send well wishes to a friend than a card filled with shoes! Here is how it was made;

1.  Stamp Shoes Galore on watercolor paper with VersaMark ink and emboss with white embossing powder.
2.  Rub Worn Lipstick and Wild Honey ink pads directly on the panel, spritz with water.  When dry layer onto black paper and glue to a Coral Rose color card.  Set aside.
3.  Die cut a frame and stamp sentiment from the Shoe Sense set with VersaMark Ink and emboss with white.  Glue to card and cut off what hangs over the card.
4.  Apply pink pearls and brown rhinestones.

Supplies
Stampendous
R257 Shoes Galore
SSC1247 Shoe Sense
DCP1006 Fitted Frames B
EPA50 Heat Tool
EP100 White Embossing Powder
VM001 VersaMark Ink Tsukineko
GS200 Spray/Spatter Applicator Bottle 2 oz

Plus
My Colors paper- Coral Rose
watercolor paper
Zip Dry Glue Beacon Adhesives
pink self adhesive pearls
brown rhinestones
Distress Ink- Worn Lipstick, Wild Honey

Stay connected and don't miss a thing!


Tuesday, May 26, 2009

Comfort, Strenght, Hope...

This card was made for my "glossy card" class and it is using a crayon resist technique that is super easy! I used this wonderful clear stamp set from Stampendous and stamped the words in black StazOn ink, then stamped the leaves and let dry a few seconds. Using a clear or white crayon, color in the leaves. Then stipple or sponge on the cranberry and lettuce Adirondack inks diagonally, when finished wipe with a paper towel and the leaves will pop! Layer this onto black and gold papers, punch three holes along the left side and add ribbon then layer onto white paper. On a cranberry panel, stamp the leaves from the set using galaxy gold Brilliance and mount to a white card. Add the circle stickers from Stampendous to two of the corners and you are done. This card can be used for sympathy, for someone with an illness or who has lost a job.


Now here is a picture of Melanie who recently got her braces off, look at those wonderfully straight teeth!
So now for the reason I haven't been posting recently. My MIL is in the hospital for the 12th day and is expected to be there for another 2-3 weeks. She has a bunch of problems that came about quickly and we are hoping she gets better. So we have been visiting her often and haven't had time for much else. Here is a picture of my hubby Paul and my son Greg visiting Gram.
Here in southern California we have year round school and tomorrow is Greg's last day of 7th grade, wow my baby is growing up! So tomorrow is his awards ceremony and he will be getting an award for a 4.0 gpa, we are sooooo proud of him!! Then he is off for a month and into 8th grade he goes in July.

Thank you for stopping by and hope you all have a great week.


Monday, April 27, 2009

Caught A Bug...

Stampendous has this super cute little stamp set that has a bunch of small images and saying to go along with them. So I stamped this little ant three times on white squares with black VersaFine ink, layered them on to red and black papers. These were glued to the front of an acetate card and the checkered, red and black papers were glued to the inside of the card. Inside to write on is a white panel. I cut the tag free hand and stamped "heard you caught a bug", tied it with ribbon and glued it down. This card is really cute and there is no coloring involved!
Check out Stampendous' new blog and see my "Spring" card", woo hoo! And keep checking back I have several other acetate cards that I will be posting in the next couple of days.
Have a great day!