Featured Post

Privacy Policy

I'm working on a new privacy policy for my followers, but for now you should know that if you comment on my site, my site collects your ...

Friday, August 28, 2020

Lil Spooks


Have you seen the new Dome and Jar Die Set from Stampendous?  You can make so many things with it like domes, jars, gumball machines, and snowglobes plus this set makes making shaker cards easy!  

For today's card, I made a jar shadowbox style card which will fold flat to fit inside an A2 envelope.  Here's how my card was made-
  • Stamp Jack Stack on Mixed Media White Paper with black ink, color with colored pencils and cut out.
  • Make the jar card using the Dome Jar Shaker Die Set and Halloween decorative paper and glue Jack Stack to the inside.
  • Stamp the sentiment from Spooky Wishes Perfectly Clear Set with black ink on orange cardstock and emboss with clear.  Glue to the upper corner.


Supplies
Stampendous

Plus
Cardstock- Silver, Orange, White Glitter
Decorative Paper
Prisma Colored Pencils
Zip Dry Glue- Beacon Adhesives
Heat Gun


Let's connect!

Disclaimer- I get free goodies for blogging about craft products! Today I'm sharing a card made with products from Stampendous

Other places that you can find Stampendous Products-
First off check out your local Stamp Store, if they don't have it they can order it.
Online Stores


Wednesday, August 26, 2020

Pretty Packages For Christmas


Hi there!  Have you started making things for Christmas yet?  Well, there are more things to make than just Christmas cards, tags, gift bags, and gift containers.  Today I'm sharing a gift bag and gift container that both have tags using the same dies and stamps but with different looks.

Here's what was done for the bag-
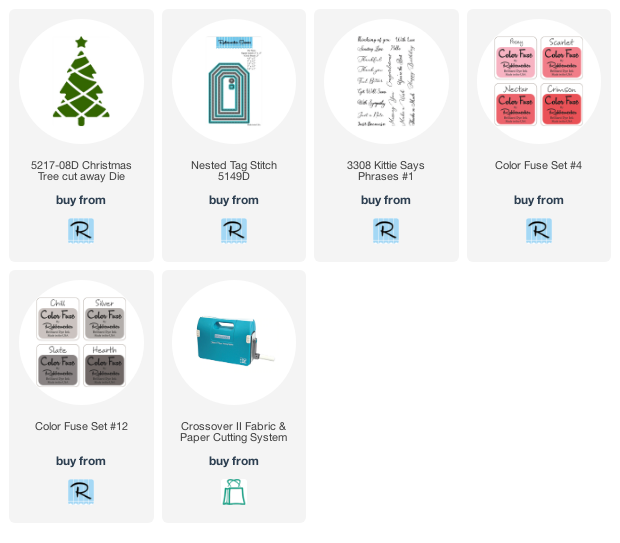
  • To make the tag I used the Nested Tagged Stitch Die and used the largest die to cut red decorative paper. The second to the largest die was used to cut white cardstock and green glitter paper.
  • Die-cut the white tag with the Christmas Tree cutaway Die.
  • Stamp "with love"  with Crimson Color Fuse Ink as shown.
  • Glue the white tag over the green glitter tag then onto the larger red decorative paper tag.
  • Use a decorative close pin to clip the tag onto the bag.

For this gift container I did a little upcycling, being a crafter it's always hard to throw things away that might be useful in some way.  This clear container is a side salad container from Chick-fil-A, when I saw it I just knew it had to be good for something even though it has a clear logo on the top of the lid.


  • This tag was made the same way as above except the words were stamped with Hearth Color Fuse Ink and popped up on the tag with foam squares.  
  • The red ribbon on the top of the tag was stapled on.  
  • Red shred was put inside of the container with the gift nestled in the shred.  
  • The container was then wrapped with red ribbon and the gift tag was popped up on the container with a foam square.


Follow Me- Stamp This, on-
Twitter

Affiliate and Product Disclosure
I am on various Design Teams and get free goodies for blogging about craft products but only because I love their products and genuinely use them. Ultimately my opinions are my own. A list of companies is in my sidebar.
Being part of various affiliate programs – when you click on an affiliate link and then go on to make a purchase, at no cost to you, I receive a small commission.  The affiliates I use include Rubbernecker Stamps.


Tuesday, August 18, 2020

My Favorite Time


Hi there crafty peeps, today I have a card made with the Blue Poppy Perfectly Clear Set from Stampendous, this is the same set that I used last week for a card that looks completely different and you can see it HERE.

  • To make my card I stamped a row of poppies along the bottom of a watercolor paper panel with Onyx Black VersaFine Ink.  It was then colored with Inktense Pencils.  
  • To add shadowing around the flowers, blue decorative chalk was applied using a flat brush.

  • Stamp the sentiment from the set in the top right corner of the card with black ink.
  • Plaid washi tape was placed on the bottom of the stamped panel, layered onto a larger black panel then glued to a red card.
  • Randomly apply dots of black Nuvo Drops to the panel and you're done.


Have a creative day!


Let's connect!

Disclaimer- I get free goodies for blogging about craft products! Today I'm sharing a card made with products from Stampendous

Other places that you can find Stampendous Products-
First off check out your local Stamp Store, if they don't have it they can order it.
Online Stores

Monday, August 17, 2020

Need Coffee!


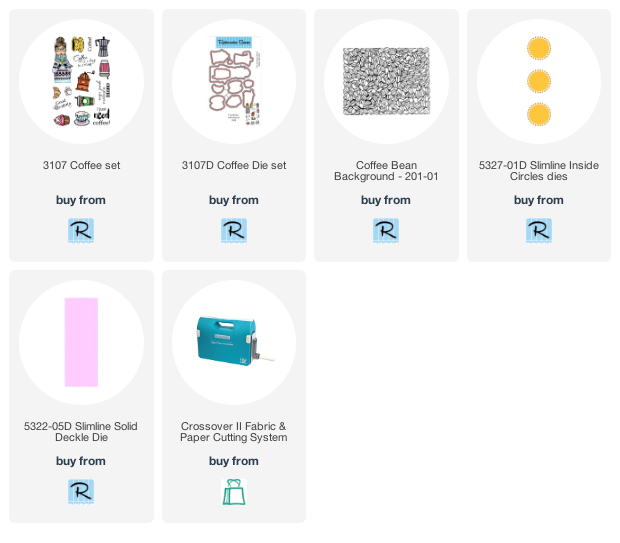
Good morning! If you or someone you know needs coffee to get going in the morning or really anytime throughout the day, you'll want to pick up this Coffee Set from Rubbernecker Stamps.  The set is filled with coffee cups, coffee to go, snacks, and sentiments.

Here's how my card was made-

  • Since I didn't know what I was going to make, I stamped most of the images from the set on watercolor paper with Onyx Black VersaFine Ink and colored them with Inktense Pencils.
  • They were then die-cut with the Coffee Die Set and set aside.

  • The Slimline Solid Deckle Die was placed on purple cardstock and secured with removable tape.  The Slimline Circles Die was then centered inside of the Slimline Solid Deckle Die, also secured with removable tape and run through the Crossover II machine. Be sure to save the three large circles to use for a future project!

  • Cut a tan piece of cardstock and stamp it with the Coffee Bean Background using Caramel Color Fuse Ink.
  • Glue this to the purple panel, pop it up using foam squares on a white cardstock panel             3 1/4" x 8 1/4" then glue this to a purple card 3 1/2" x 8 1/2".
  • Glue the stamped die-cut pieces to the card and add Unicorn Stickles to the pieces.

  • Stamp the sentiment on white cardstock with Caramel Color Fuse Ink, layer it to yellow cardstock, and pop it up on the card.
  • Randomly apply rhinestones to the card.


Follow Me- Stamp This, on-
Twitter

Affiliate and Product Disclosure
I am on various Design Teams and get free goodies for blogging about craft products but only because I love their products and genuinely use them. Ultimately my opinions are my own. A list of companies is in my sidebar.
Being part of various affiliate programs – when you click on an affiliate link and then go on to make a purchase, at no cost to you, I receive a small commission.  The affiliates I use include Rubbernecker Stamps.

Thursday, August 13, 2020

Blue Poppies


Hi everyone, today I have a card made with the pretty Blue Poppy Perfectly Clear Set from Stampendous, I just love this vase of flowers and will be coloring it in a bunch of different colors.
The vase is stamped on watercolor paper and colored with Inktense Pencils, the blue is called Peacock Blue, I would have named it Periwinkle, it's a beautiful color!  A bit of glitter was added to the center of the flowers for a touch of sparkle but it's hard to show it in a photo.  


The flowers are layered against green and white decorative paper from Hobby Lobby, I die-cut two different patterns of the same color, cut it in half and used a piece of each pattern, glued it to a periwinkle card with a strip of thin double-sided tape in between the pieces.  Black glitter was then sprinkled on the double-sided tape and rubbed in to make sure there was glitter on all of the tape.  


 Have a creative day!


Let's connect!

Disclaimer- I get free goodies for blogging about craft products! Today I'm sharing a card made with products from Stampendous

Other places that you can find Stampendous Products-
First off check out your local Stamp Store, if they don't have it they can order it.
Online Stores

Thursday, August 6, 2020

Creepy Weepy Halloween


Hi my crafty friends, I hope you are all doing well.   Today's card uses the new Tree Menace stamp and the current Faboolous Perfectly Clear Set from Stampendous to make a colorful Halloween card. 

Here's how my card was made-
  •  Stamp Tree Menace on a panel of Mixed Media White Paper with Onyx Black Ink and color with Prisma Colored Pencils.
  • Shadow around the tree with blue decorative chalk.
  • Stamp the bat and tombstone from the Faboolous Perfectly Clear Set with black ink and layer this to a slightly larger black cardstock panel.
  • Glue a 5 1/2" x 4 1/4" panel of decorative paper to a white card.
  • Glue a strip of black and white striped decorative paper to the right side of the card and glue on the Tree Menace Panel.
  • Stamp sentiments from the set on decorative paper with black ink and emboss with clear embossing powder.
  • Use the Fitted Frames A Die Cut Set to cut out one of the sentiment, layer it onto black cardstock and glue to the card.  Glue the Halloween sentiment to the card as is.

Stampendous
P357 Tree Menace 
SSC1320 Faboolous Perfectly Clear Set
DCP1005 Fitted Frames A Die Cut Set

Plus
Decorative Paper
Black Cardstock
Zip Dry Glue-Beacon Adhesives
Prisma Colored Pencils
Decorative Chalks


Have a creative day!

Let's connect!

Disclaimer- I get free goodies for blogging about craft products! Today I'm sharing a card made with products from Stampendous

Other places that you can find Stampendous Products-
First off check out your local Stamp Store, if they don't have it they can order it.
Online Stores

Wednesday, August 5, 2020

Flaunt It!

                                  
Hey girl if you've got it, flaunt it!!  I sure wish I had her self confidence, how about you? 
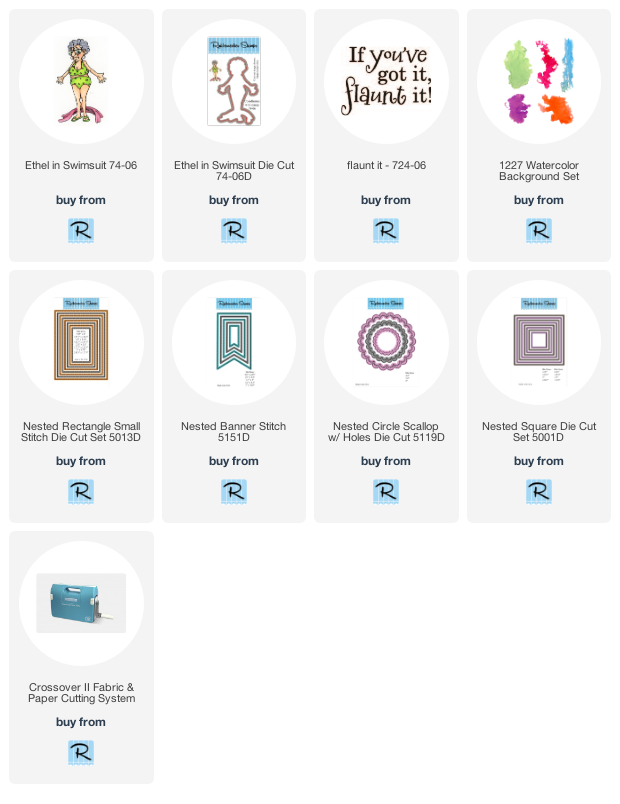
Today I used lots of layers for this funny stamp, Ethel in Swimsuit, and to make these layers I used different shapes of nested dies.  The nested dies I used are Nested Banner Stitch, Nested Square Die Cut Set, Nested Rectangle Small Stitch Die Cut Set, and Nested Circle Scallop Set w/ Holes.  All of these layers add a lot of dimension and interest.


Even though I have tons of beautiful decorative paper, I always seem to end up making my own with stamps to I can get the colors I want.  The stamps that were used on my card are Ethel in Swimsuit (she was colored with Inktense Pencils), Flaunt It, Watercolor Background Set which was used on the banner die and scalloped die, plus the Horizontal Stripes Stamp that was stamped on purple paper with VersaMark Ink and embossed with Sparkle Puff Embossing Powder.
For the final touch, I added sparkle with Stickles to the polka dots on Ethel's bathing suit and randomly applied clear rhinestones to the card.


Have a creative day!

Click on the product  to go to the Rubbernecker Stamps shop
Follow Me- Stamp This, on-
Twitter

Affiliate and Product Disclosure
I am on various Design Teams and get free goodies for blogging about craft products but only because I love their products and genuinely use them. Ultimately my opinions are my own. A list of companies is in my sidebar.
Being part of various affiliate programs – when you click on an affiliate link and then go on to make a purchase, at no cost to you, I receive a small commission.  The affiliates I use include Rubbernecker Stamps.

Monday, August 3, 2020

Old Putter


Happy Monday my crafty friends!  Today's card is a slimline birthday card and sometimes it's a challenge coming up with ideas for birthday cards to give to the guys in our lives but if you have a golfer in your life here's a card that he'll appreciate as long as he has a bit of a sense of humor hehe. 

Here's how my card was made-
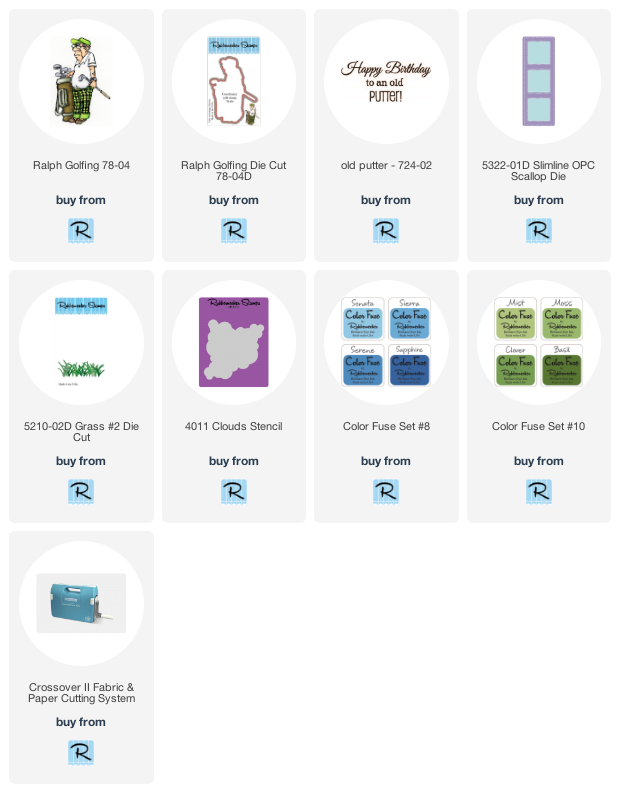
  • Stamp Ralph Golfing on watercolor paper with Onyx Black VersaFine Ink and he was colored with Derwent Inktense Pencils.
  • Die-cut using the Ralph Golfing Die Cut and set aside.

  • Die-cut white cardstock using the Slimeline OPC Scallop Die, you will have the slimline frame and three squares once cut.

  • On one of the squares, Grass Color Fuse Ink was applied to the bottom of the square with a brush.
  • Die-cut grass from green cardstock using the Grass #2 Die Cut and glue to the bottom of the square with Zip Dry Glue and trim off any overhang of grass.

  • Stencil clouds using the Clouds Stencil and Sonata Color Fuse Ink on the other two squares.
  • Stamp Old Putter to one of the stenciled cloud squares with black ink.
  • Cut a dark blue panel 3 1/4" x 8 1/4" and glue the frame and squares to this.
  • Pop up Ralph using 3D Foam Squares from Scrapbook Adhesives by 3L.
  • Randomly glue on blue sequins using Zip Dry Glue.


Follow Me- Stamp This, on-
Twitter

Affiliate and Product Disclosure
I am on various Design Teams and get free goodies for blogging about craft products but only because I love their products and genuinely use them. Ultimately my opinions are my own. A list of companies is in my sidebar.
Being part of various affiliate programs – when you click on an affiliate link and then go on to make a purchase, at no cost to you, I receive a small commission.  The affiliates I use include Rubbernecker Stamps.


Saturday, August 1, 2020

Gumball Shaker


Hi my crafty friends, it's the weekend and I hope that you're able to get some stamping time in!  I wanted to share this dimensional gumball shaker card made with the Dome Jar Shaker Die Set from Stampendous.   The set comes with all of the dies you need to make a gumball machine, snowglobe, or any kind of globe, jar, or shadow box dimensional card that will fold flat to fit in an A2 envelope.

I die-cut everything from decorative paper but you could also use the Gumball Greetings Perfectly Clear Set to stamp and color gumballs, the set also comes with a bunch of cute sayings!


Have a creative day!

Let's connect!

Disclaimer- I get free goodies for blogging about craft products! Today I'm sharing a card made with products from Stampendous

Other places that you can find Stampendous Products-
First off check out your local Stamp Store, if they don't have it they can order it.
Online Stores