Featured Post

Privacy Policy

I'm working on a new privacy policy for my followers, but for now you should know that if you comment on my site, my site collects your ...

Showing posts with label Gift Card Holder. Show all posts

Wednesday, December 6, 2023

Christmas Card Gift Card Holder


Cut cardstock to 5 1/2" x 8 1/2" and fold in half to a 5 12" x 4 1/2" card.
Score the left side of the card at 1 14". 
Place double sided tape on each end of the 1 1/4" scored piece and fold to seal the edges. This will be for the gift card.
Cut the house decorative paper from the Snowy Wonder Paper Pad to 2 3/4" x 5 1/4" and glue it to a slightly larger brown panel from the same paper pad. Glue this to the top card panel.
Cut brown decorative paper from the same pad to 1 1/4" x 5 1/4".
Stamp this panel using snowflakes from the Christmas Cheer Gnomes Set using white ink and glue to the left side of the open card.
Die cut blue and white cardstock using the Nested Scallop w/ Half Holes and just white cardstock from the Nested Rectangle Stitch Die Cut Set.
Stamp the white Nested Rectangle Stitch panel with the sentiment from the Bells and Garland Set with Pecan Color Fuse Ink using a stamping apparatus such as a Misti, clean your stamp without removing it, then ink it with VersaMark Ink and restamp.
Emboss this with clear glitter embossing powder and glue it to the top of the blue die cut piece.
Randomly stamp this with snowflakes using a blue ink and add small rhinestones to the center of the snowflakes.
Stamp the white Nested Scallop w/ Half Holes with the sentiment from the Kittie Says Christmas with Pecan Color Fuse Ink and glue to the inside of the card and add a gift card.


Place double sided tape on each end of the 1 1/4" scored piece and fold to seal the edges. This will be for the gift card.


Cut the house decorative paper from the Snowy Wonder Paper Pad to 2 3/4" x 5 1/4" and glue it to a slightly larger brown panel from the same paper pad. Glue this to the top card panel.


Die cut blue and white cardstock using the Nested Scallop w/ Half Holes and just white cardstock from the Nested Rectangle Stitch Die Cut Set.


Stamp the white Nested Rectangle Stitch panel with the sentiment from the Bells and Garland Set with Pecan Color Fuse Ink using a stamping apparatus such as a Misti, clean your stamp without removing it, then ink it with VersaMark Ink and restamp.
Emboss this with clear glitter embossing powder and glue it to the top of the blue die cut piece.
Randomly stamp this with snowflakes using a blue ink and add small rhinestones to the center of the snowflakes.


Cut brown decorative paper from the same pad to 1 1/4" x 5 1/4".
Stamp this panel using snowflakes from the Christmas Cheer Gnomes Set using white ink and glue to the left side of the open card.
Stamp the white Nested Scallop w/ Half Holes with the sentiment from the Kittie Says Christmas with Pecan Color Fuse Ink and glue to the inside of the card and add a gift card.


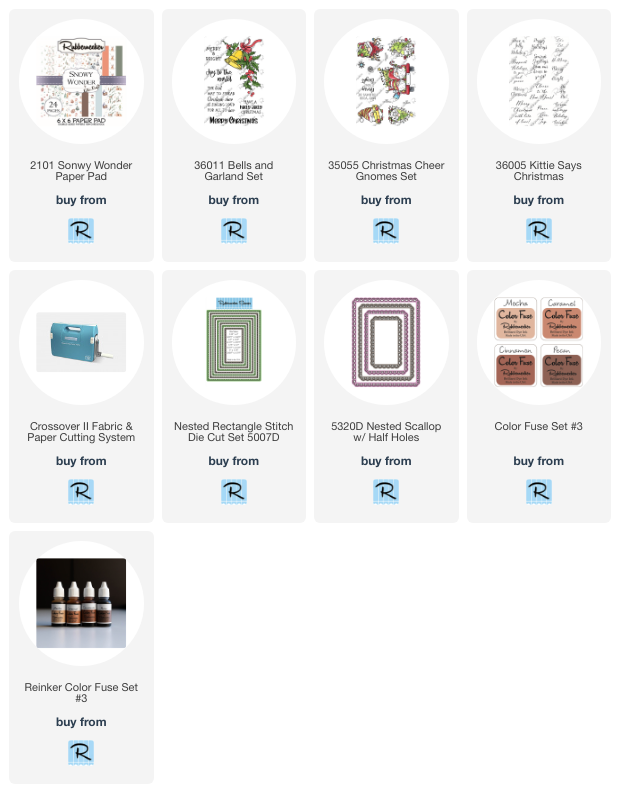
Click on the product below to go to the Rubbernecker Stamps online store.
 
Have a crafty day!

Let's Connect!

Affiliate and Product Disclosure
I am on various Design Teams and get free goodies for blogging about craft products but only because I love their products and genuinely use them. Ultimately my opinions are my own. A list of companies is in my sidebar.

Thursday, September 1, 2022

Gift Card Holder Thank You Card


Today I have this card up on the Scrapbook Adhesives by 3L Blog!

The bag was die-cut from glossy cardstock that had Rosey Posey and Peachy Keen Archival Inks applied to it.  A dot stencil was then laid on top and Rosey Posey Ink was added.  The flower was stamped with black ink on watercolor paper and watercolored with watercolor pencils.


Wednesday, December 15, 2021

Upcycled Christmas Tag Holder


Hi there, Jamie here with you today with a question, were you one of the toilet paper hoarders at the beginning of the pandemic?  Well if you were, keep those empty toilet paper rolls and craft with them!!  I made them into tag holders for Christmas tags, read on to find out how easy it is to make.


To start recycling the roll, wrap it with Extreme Double-Sided Tape 1/4".  I wrapped two rows at the top and bottom and one in the center to make sure that the paper isn't loose once the roll is flattened.


Next I cut a piece of decorative paper a little longer than the roll so that it could be tucked inside.  I wrapped the roll and cut the paper so that it would slightly overlap.  I don't have measurements just in case the rolls are different sizes.
Extreme Double-Sided Tape was placed along all four edges, the roll was placed at on edge and rolled to the other edge.


To tuck the paper in, the paper overhang was cut approximately every 1/4" and folded down.  Since there's already tape at the edge just give it a little rub so that it will adhere.


Next the roll was flattened with the seam of the paper in the back.  Half of a circle die was placed inside of the roll with the cutting blade facing up.  It was then run through my CrossOverll Diecutting Machine to cut out half a circle.
The same circle die plus one that's one size larger was used to cut out the purple cardstock and it was glued the roll cut out using the Dual Tip Glue Pen.  You can see in the picture below, the cut marks of the paper. If this bothers you, you can cut a piece of the same decorative paper and glue a piece inside. But for me, I'm not that picky.


Now it's time to use the 3D Foam Holiday Embellishment Kit!  One of the taller trees from the tree foam sheet was placed on the right side of the roll and then it was rubbed with pink mica powder.  Then white Enamel Accents were placed on the tree, once this dried the star from the kit was placed at the top of the tree and silver foil from the kit was placed on the star.  When you use the foil, make sure the pretty side is facing you and the "ugly" side is down.


Next up is the sentiment, it was stamped on white cardstock with black ink and the edges were sponged with Cactus Flower Ink.  
The sentiment was then layered on slightly larger silver glitter paper using a strip of Extreme Double-Sided Tape.  
To attach this to the roll, turn it over and place a small amount of the Dual Tip Glue Pen on the right and two 3D Foam Circles on the left side.  This needs to be done since the roll is still a bit curved even though it has been flattened.
A strip of Extreme Double-Sided Tape was placed at the bottom of the role and rubbed with pink mica powder.


A tag was made by cutting a piece of white cardstock to fit inside the roll.  It was then rubbed with blue, lavender and silver Brilliance Inks for the background.  Holly Leaves were placed on the tag and rubbed with green mica powder and the dots were rubbed with the same mica powder as above.
The sentiment was then stamped with black ink and ribbon was added to the top.


Skill Level: Intermediate

Creative Time: 35 minutes

Materials Needed:

Scrapbook Adhesives by 3L®

3D Foam Squares White Mix

3D Foam Holiday Embellishment Kit


Home Hobby by 3L®

Extreme Double-Sided Tape 1/4″

Dual Tip Glue Pen


Sunday, December 27, 2020

Just For You Gift Card Holder


When I give gifts I really like to give gift cards, that way the person that I gave it to can get exactly what they want and don't have to deal with returning the gift if it's not what they can use.  I like to make those gift cards extra special by making unique personalized gift card holders.  Stampendous has a great Gift Card Wallet Die Set and along with Hands Hold Perfectly Clear Set
it makes a special holder for any occasion.

The images were stamped on watercolor paper with Onyx Black VersaFine Ink and watercolored with Inktense Pencils. 


Have a creative day!

Let's connect!


Disclaimer- I get free goodies for blogging about craft products! Today I'm sharing a card made with products from Stampendous

Here are some places that you can find Stampendous Products-
First off check out your local Stamp Store, if they don't have it they can order it.
Online Stores


Tuesday, July 21, 2020

Gift Card Wallets


Stampendous! is celebrating the July Catalog with a Virtual Catalog Party for their retailers! Each day a new product will be featured and there will be a video and other artwork spotlighting it. Be sure to check Stampendous!' blog throughout the week so you don't miss anything!


Today I have a few gift card holders made with the new Gift Card Wallet Die from Stampendous.  I wanted to show a few different ideas so you could get an idea of the different looks that you could get.

The first one use just the dies that come in the set except for one sentiment stamp.  The Wallet is cut from decorative paper.  


The baby Gift Card Wallet is cut from decorative paper and the Baby Gift Perfectly Clear Set was used to stamp the sweet images.  This stamp set is made to be used with the Wallet but it can also be used on a card or other things.


This last Wallet was cut from watercolor paper, the hearts from the Wedding Gifts Perfectly Clear Stamps Set were white embossed and colored with Zig Clean Color Real Brush Pens.


Have a creative day!!

Have a creative day and follow me on 

Disclaimer- I get free goodies for blogging about craft products! Today I'm sharing a card made with products from Stampendous


Monday, November 24, 2008

Pop Up Gift Card

Happy Monday and woo hoo to a three day week! This card is a fun pop up gift card and it is for this weeks TLC196 challenge over at SCS. It is so easy to make I didn't even have to write down the directions, you can view the tutorial at the Hero Arts Blog. The paper I used were random scraps I had laying around, the colors are cream, dusty blue and cranberry along with the polka dot decorative paper. The inks are currant and denim Adirondack's. Stamps are by Hero Arts and the circle stickers are from Stampendous.
Today is quite over cast so when I took the top picture with the flash on it doesn't show the colors. But when I turned the flash off for the bottom picture, it came out dark, so here are both of them and IRL it is somewhere in between.

This is the inside of the card, I wrote Love, but didn't sign it just in case my husband or kids needs a birthday card before I do.
Don't forget to check out the bottom of my page to sign the guestbook or if you would like people who visit my blog to be able to visit yours, just add yourself to my followers.
~~~
Have a Happy Thanksgiving :)
