Featured Post

Privacy Policy

I'm working on a new privacy policy for my followers, but for now you should know that if you comment on my site, my site collects your ...

Showing posts with label Flowers. Show all posts

Saturday, April 6, 2024

Watercolor Floral Card


Hi my friends, today I have a card made using the pretty Summer Plumeria Clear Stamp Set from RubberStamp.com


The flowers were stamped on watercolor paper with Onyx Black VersaFine Ink and colored with Distress Watercolor Pencils in Picked Raspberry, Twisted Citron and Villainous Potion.

The flowers were then shadowed with grays and then the panel was splattered with black ink.

Extreme Double-sided Tape 1/8" from Scrapbook Adhesives by 3L was placed below the flowers and sprinkled with purple glitter.

The sentiment was stamped in black, layered and popped up below the glitter strip.

The background was made with the Watercolor Striped Stencil from Altenew and Distress Inks in Picked Raspberry and Twisted Citron. The flower panel was popped up on this.

Have a crafty day!

Let's Connect!

Affiliate and Product Disclosure
I am on various Design Teams and get free goodies for blogging about craft products but only because I love their products and genuinely use them. Ultimately my opinions are my own. A list of companies is in my sidebar.


Friday, February 9, 2024

A Card With A View


Hi! Today I have a card with a view that's making me dream of Spring. To make my card, I used new release dies and stencils from Spellbinders

To make my card, I first used the Vista View Window Die Set to cut white cardstock for the window frame, the back panel that gets stenciled and the window box.


Next, the back panel was stenciled using the Background Scapes Stencils for the mountains and the clouds.


The next step is to die-cut the window box, flowers, grass, butterfly and sun using the Up In The Air View Die Set to cut white cardstock. Inks and a blending brush were then used to color the different pieces. Once the sun was colored, it was glued to the top right of the stenciled panel and the window frame was popped up on the stenciled panel using 3D Foam Squares from Scrapbook Adhesives by 3L.


The window box was popped up at the bottom of the window and the grass and flowers were glued in.  The butterflies were then glued, one to the grass and one out the window. 
The sentiment was glued to the top left of the window.

These are the new release items from Spellbinders, used on my card.
Vista View Window Die Set
Have a crafty day!

Let's Connect!

Affiliate and Product Disclosure
I am on various Design Teams and get free goodies for blogging about craft products but only because I love their products and genuinely use them. Ultimately my opinions are my own. A list of companies is in my sidebar.

Wednesday, February 7, 2024

Birthday Wishes CardT


 I just can't get enough of the Flowers & Foliage 3D Embossing Folder from Spellbinders. I made another card that's quick and easy.

To make my card, I used the Flowers & Foliage 3D Embossing Folder to emboss decorative paper and used a small stencil brush to add green ink to the flowers. Yellow rhinestones were added to the center of the flowers.

The sentiment was die-cut from white and pink cardstock using the Popular Sentiments Die and it was popped up towards the top of the card.

Hearts were die-cut from decorative paper and glued to the left side of the sentiment.

The embossed panel was layered onto pink cardstock and glued to a white card.


The sentiment was made by using the Popular Sentiments Die and cutting white and pink cardstock. The sentiment was then popped up om the card.


For the finishing touch, several hearts were die-cut from decorative paper and glued to the left side of the sentiment.

Have a crafty day!

Let's Connect!

Affiliate and Product Disclosure
I am on various Design Teams and get free goodies for blogging about craft products but only because I love their products and genuinely use them. Ultimately my opinions are my own. A list of companies is in my sidebar.


Saturday, February 3, 2024

Hello Embossed Card


Hi crafty friends, today I have a card made with the Flowers & Foliage 3D Embossing Folder by Wendy Vecchi from Spellbinders along with dies also from Spellbinders.

To make my card I used the Flowers & Foliage 3D Embossing Folder to embossed white cardstock that had blue inks color blended from the bottom up, leaving the top portion white.

Next white cardstock was die-cut using the Sealed Twine Die and it was glued just below center of the card.


The flowers were then die-cut using the Garden Wreath Add Ons Die Set, from white cardstock with the leaves being cut from silver glitter paper.
The large flower was cut three times, inked with purple ink and layered together, then popped up on the center of the Sealed Twine piece. the smaller flowers and leaves were glued around the larger flower.


The sentiment was then die-cut from white, purple and silver glitter paper using the So Many Sentiments Die Set then popped up diagonally at the top of the card.

Have a crafty day!

Let's Connect!

Affiliate and Product Disclosure
I am on various Design Teams and get free goodies for blogging about craft products but only because I love their products and genuinely use them. Ultimately my opinions are my own. A list of companies is in my sidebar.


Friday, January 19, 2024

Colorful Flower Birthday Card


Hi my crafty friends! Today I have another card made using the Colorful Burst Flower Etched Die from Spellbinders. These fun and funky flowers scream bold colors to me but even though my flowers were die-cut from pastels, the background is bold and bright.

To make the background, yellow and orange Distress Inks were blended on white cardstock using blender brushes and the flowers were glued onto the blended card.

The sentiment it from the Popular Sentiments Etched Die that has bold lettering that works perfectly with the bold flowers.

\Have a crafty day!

Let's Connect!

Affiliate and Product Disclosure
I am on various Design Teams and get free goodies for blogging about craft products but only because I love their products and genuinely use them. Ultimately my opinions are my own. A list of companies is in my sidebar.


Monday, October 16, 2023

Stenciled Daisies Card


Today I have a bright and cheery card that has glitter to add a little something special. Adding glitter is easy to do with the help of adhesives from Scrapbook Adhesives by 3L.

Here's how my card was made-

Stencil daisies using the Layered Sunflower Stencil on a white cardstock panel using yellow, brown and green inks.


Place Extreme Double-Sided Tape 1/8" and 1/4" at the bottom of the panel with the thinner tape on top.


Sprinkle brown ultra fine glitter on the tape, after the liners have been removed and rub with your finger to make sure all of the tape is covered with glitter.


Place tape strips on top of a rust top folding card and adhere the daisy pane on top.


Cut a piece of Adhesive Sheet on rust cardstock. Place Thanks die on top of the Adhesive Sheet and run through your die-cut machine.


Remove the carrier from the top of the Thanks, sprinkle with brown glitter and rub to assure adhesion.


Glue the Thanks to the top left of the card using Dual Tip. 


Random glue orange rhinestones to the card using Dual Tip.


Have a crafty day!

Let's Connect!

Affiliate and Product Disclosure
I am on various Design Teams and get free goodies for blogging about craft products but only because I love their products and genuinely use them. Ultimately my opinions are my own. A list of companies is in my sidebar.


Thursday, September 14, 2023

Just For You Die-Cut Card


 When I get Christmas or holiday dies, I like to think of ways to use them year round so I get the most bang for my buck. I made this card using the Sealed Christmas Sprigs Etched Dies and Popular Sentiments Etched Dies from the Sealed for Christmas Collection from Spellbinders, just click on the link.

I made a country floral card that works for Fall. The flowers and leaves were die-cut from white cardstock and sponged with inks. You can't tell from the picture, but glitter is in the center of the flowers.
The flowers are layered on jute ribbbon that I cut the wire edges off of. I think jute ribbon is perfect for Fall cards.

Have a crafty day!

Let's Connect!

Affiliate and Product Disclosure
I am on various Design Teams and get free goodies for blogging about craft products but only because I love their products and genuinely use them. Ultimately my opinions are my own. A list of companies is in my sidebar.


Monday, May 1, 2023

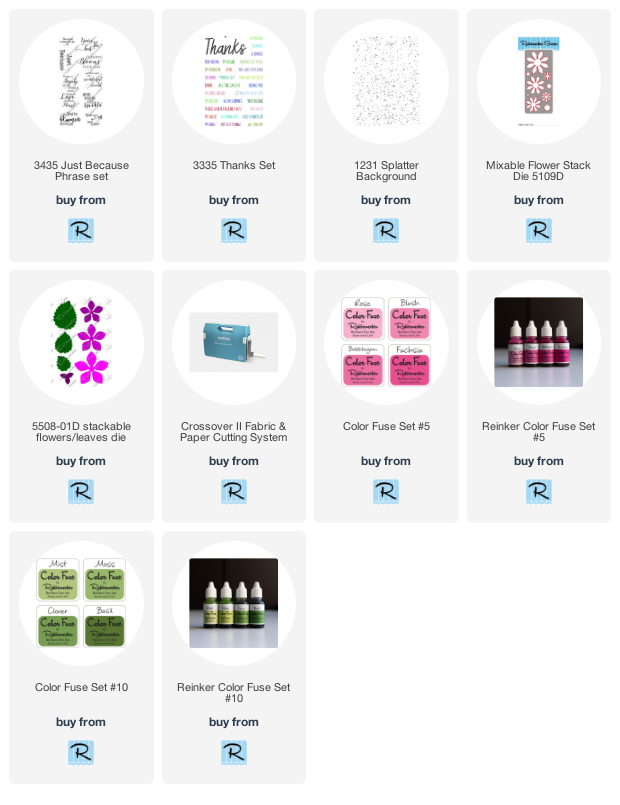
Bloomin Easel (SA Project 2023)


Skill Level: Intermediate

Creative Time: 35 minutes

Materials Needed:

Scrapbook Adhesives by 3L® E-Z Runner Grand E-Z Runner Hearts E-Z Runner Stars 3D Foam Squares White Mix

Plus Rubbernecker Stamps- Flower Dies, Stamps, Color Fuse Inks Sizzix- Easel Die


Saturday, April 15, 2023

Floral Foil Shaker Card


To make the background, four sizes of Premium Double-Sided Tape in, 1", 1/2", 1/4", 1/8", were placed diagonally across a 4 1/4" x 5 1/2" white piece of cardstock. Using Metallic Transfer Foil Sheets from the Nature and Pastel Sets were used to create a marbled look by crumpling up a piece of pink foil and rolling it in your hands, opening it up and placing it on one of the lines of Premium Double-Sided Tape (with the pretty side facing you).  Give it a rub and remove the foil carrier. You will then place a sheet of black foil from the Foil Transfer Sheets over the tape that has the pink foil and rub.  This will create a vein look. You will continue this with other colors until all of the tape is covered.


The panel was then die-cut using a scallop die.


Scrapbook Adhesives by 3L makes shaker card making so easy by using the 3D Foam Circle Frames White. You don't have to worry about any of your shaker bits falling out. All you do is pick the size of circle that you need and place it on your panel.


Then die-cut a circle that fits inside of the foam circle, stamp it with a sentiment with black ink and emboss it with clear embossing powder. Add a couple of self-adhesive pearls. Glue the circle to the inside of the foam circle, I used a liquid glue for this so I could move the circle around while the glue is wet to get it centered.


Next, the shaker bits were placed in the center of the foam circle.


Flowers were diecut twice from white cardstock and once from black cardstock. On one of the white cardstock pieces, pink was sponged on the flowers and the flowers were cut off. On the other white piece the stems were sponed with green ink. The pink flowers were then glued onto the green stems using the Dual Tip Glue Pen.  The flowers were then layered onto the black die-cut pieces so just of a bit of the black can be seen to make a shadow.


A scallop circle was die-cut from white cardstock and the center was die-cut using a circle die. Acetate was placed behind the scallop piece using the Dual Tip Glue Pen.  The flowers were glued to the left side of the shaker also using the Dual Tip Glue Pen. The shaker panel was then mounted to a green card using the E-Z Runner Grand.


Scrapbook Adhesives by 3L®  Premium Double-SidedTape  Tape 1" Premium Double-Sided Tape 1/2" Premium Double-Sided Tape 1/4"  Premium Double-Sided Tape 1/8" E-Z Runner Grand 3D Foam Mini Square

3D Foam Circle Frames White Metallic Foil Transfer Sheets Nature Metallic Foil Transfer Sheets Pastel

Home Hobby by 3L® Dual Tip Glue Pen

Plus Rubbernecker Stamps- Dies (Circle, Rectangle), Color Fuse Inks, Crossover ll Die-cut Machine Sizzix/ Tim Holtz- Dies (flower) Divinity Designs- Dies (mini tag) Printworks Specialty Paper- Cardstock

Have a crafty day!

Let's Connect!

Affiliate and Product Disclosure
I am on various Design Teams and get free goodies for blogging about craft products but only because I love their products and genuinely use them. Ultimately my opinions are my own. A list of companies is in my sidebar.

Tuesday, April 11, 2023

Pretty Card with Funny Sentiment


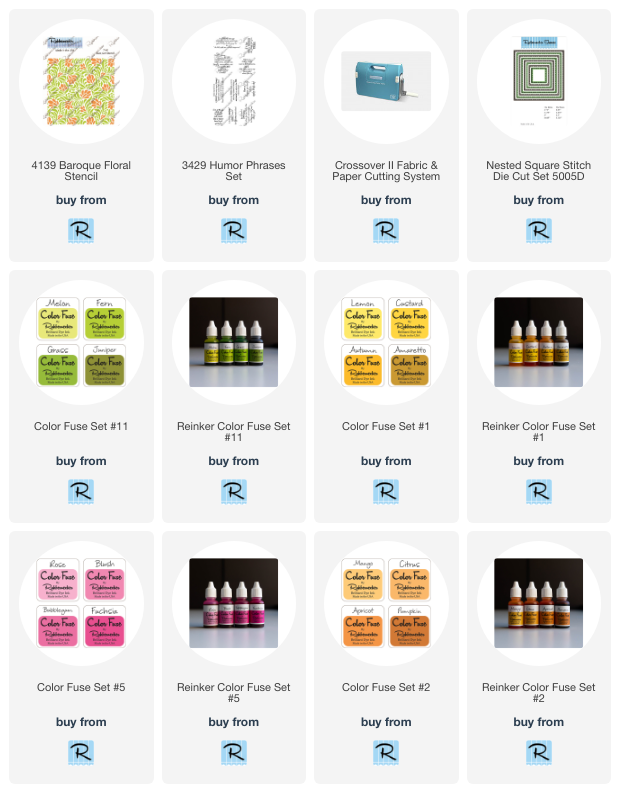
It's always fun making a pretty card with an unexpected sentiment. My card today does just that with stencils, stamps, dies and inks from Rubbernecker Stamps.

Here's how my card was made-

To make the background, I placed a sheet of white cardstock on my STAY-tion, then put the the leaf stencil from the Baroque Floral Stencil (two part stencil) down and used the magnets to hold it in place. 
Next, I used a brush to apply Melon, Grass and Fern Color Fuse Ink.


The leaves stencil was removed and the flower stencil was aligned. Blush, Rose, Mango and Custard Color Fuse Ink were then blended over the stencil.


This was then die-cut twice using two sizes of the Nested Square w/ Pierce Die. 


The large square was glued to a pink square card and ribbon was wrapped around and glued in the center.


The smaller die-cut square was layered onto a slightly larger pink panel and popped up in the center of the card. Ribbon was tied in a knot and glued to the right side.


The sentiment was stamped on vellum using black StazOn Ink and taped to the center of the card using E-Z Runner Permanent Fine Adhesive from Scrapbook Adhesives by 3L. This doesn't show under the vellum.
The flowers were die cut and sponged with orange and pink Color Fuse Inks.  The leaves were die-cut from green cardstock.


It's always fun making a pretty card with an unexpected sentiment!


 Click on the item blow to go to the Rubbernecker Stamps online shop.

Friday, March 24, 2023

Small Miracles Hummingbird Card


Happy Friday! Today I have a card made with the really pretty Stampendous Hummingbird Day Stamp Set from Spellbinders. The set is filled with everything you need to make cute cards.


To make my card, I stamped the images on watercolor paepr and colored them with watercolor pencils.  The images were then cut out.

The white cardstock background was made using the Beveled Diamond 3D Embossing Folder also from Spellbinders. It was mounted to a pink card using the E-Z Runner Grand from Scrapbook Adhesives by 3L. The 3D Embossing Folder, gives wonderful dimension and doesn't cut your paper.

Once everything was placed on the card with the flowers and hummingbird popped up, green enamel dots were placed in the center of the diamond shapes of the embossed background.

Have a crafty day!

Let's Connect!

Affiliate and Product Disclosure
I am on various Design Teams and get free goodies for blogging about craft products but only because I love their products and genuinely use them. Ultimately my opinions are my own. A list of companies is in my sidebar.