Featured Post

Privacy Policy

I'm working on a new privacy policy for my followers, but for now you should know that if you comment on my site, my site collects your ...

Showing posts with label PrintWorks. Show all posts

Monday, October 16, 2023

Happy Halloween Card


It's so fun working with Halloween colors. I made this card using the Halloween Wreath Add-Ons Etched Die Set https://shrsl.com/49kv7 from Spellbinders.


*I used cardstock from PrintWorks Specialty Paper for my card (you can find it on Amazon).

*The Candy Stripes Etched Die https://shrsl.com/49kvh was used to make the background. Purple cardstock was cut and mounted to a black card.


*Frans Frames Die Set https://shrsl.com/49kvo was used to make the ovals.


*The pumpkin was sponged with orange ink around the edges and for the eyes, double sided tape was placed on the back to cover the eyes, nose and mouth. Then black glitter was sprinkled on the front.
Have a crafty day!

Let's Connect!

Affiliate and Product Disclosure
I am on various Design Teams and get free goodies for blogging about craft products but only because I love their products and genuinely use them. Ultimately my opinions are my own. A list of companies is in my sidebar.

Sunday, November 6, 2022

Square Be Thankful Always Fall Card


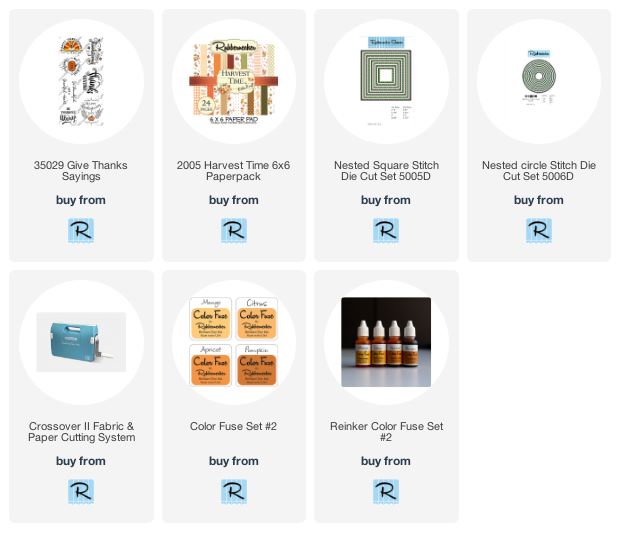
I love the new Fall stamps and paper that Rubbernecker Stamps is carrying this season. The sentiment is from a set that can be used not only for Thanksgiving but year-round and the Color Fuse Inks coordinate so nicely with this beautiful paper.

Listed below are the Rubbernecker Stamps products used to make my card, just click on the product to be taken to their online shop.
Click on the items below to go to the Rubbernecker Stamps online shop.

Have a crafty day!

Let's Connect!

Affiliate and Product Disclosure
I am on various Design Teams and get free goodies for blogging about craft products but only because I love their products and genuinely use them. Ultimately my opinions are my own. A list of companies is in my sidebar.

Wednesday, September 21, 2022

Happy Thanksgiving


Today I have a Thanksgiving card with pretty Fall leaves made with stamps, dies and inks from Rubbernecker Stamps. There are times when friends and family can't get together for the holidays, so I like to send out cards to let them know we are thinking of them.
Here's how my card was made.

Die-cut the Plaid Cover Die from white cardstock and layer it onto wood patterned paper.


Stamp the sentiment from the Give Thanks Sayings set on white cardstock with VersaMark Ink and emboss it with rust embossing powder.
Die-cut this using the Nested Scallop w/ Half Holes die and layer it onto slightly larger rust cardstock.
 

Pop the sentiment up on the center of the card and glue the leaves beneath it.


Here’s what you will want to have on hand to make this pretty project:
Have a crafty day!

Let's Connect!

Affiliate and Product Disclosure
I am on various Design Teams and get free goodies for blogging about craft products but only because I love their products and genuinely use them. Ultimately my opinions are my own. A list of companies is in my sidebar.


Monday, August 1, 2022

You Are My Sunshine


Hi, today I have this card up on the Scrapbook Adhesives by 3L Blog.  You don't need a rainbow die to make a rainbow card.  

Here's how my card was made-

Die-cut different colors of cardstock using a one-piece circle die.


Pick the colors and sizes that you want to use and cut them in half.  Place them in order and apply Extreme Double sided tape on the back side to keep all of the pieces together.


Use a dot stencil to dry emboss white cardstock.


Use the E-Z Runner Squares to attach the white dry embossed pane to a purple card.
Remove the liner from the back of the rainbow and place it on the white panel.


Die cut two clouds from white cardstock and pop them up on each end of the rainbow using 3D Foam Circles White Mix.


Stamp the sentiment on purple cardstock using purple ink and place it under the clouds using E-Z Runner Squares.  Place a yellow enamel dot on each side of the sentiment and randomly add smaller enamel dots around the rainbow.


Materials Needed:


Scrapbook Adhesives by 3L®
E-Z Squares Refillable Dispenser
3D Foam Circles White Mix

Home Hobby by 3L®
Extreme Double-Sided Tape 1/4"

Plus-
Rubbernecker Stamps- Dies, Stencils, Diecutting Machine
Printworks Specialty Paper- All of that pretty Cardstock.

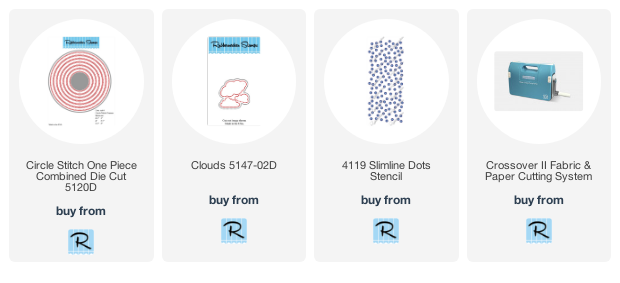
Click on the product below to go to the Rubbernecker Stamps online shop.
Have a crafty day!

Let's Connect!

Affiliate and Product Disclosure
I am on various Design Teams and get free goodies for blogging about craft products but only because I love their products and genuinely use them. Ultimately my opinions are my own. A list of companies is in my sidebar.

Sunday, May 1, 2022

Summer Memories


Today I have this summer memories card up on the Scrapbook Adhesives Blog
Stamp the image on white cardstock with black ink and color with Prisma colored pencils.
Layer onto slightly larger black and red cardstock using E-Z Squares.


Place 3D Foam Squares on the back of the red panel and set it aside.


Wrap blue buffalo plaid paper with gold and white twine using Premium Double-Sided Tape 1/2" to attach the twine to the back.


Apply 3D Foam Squares to the back of the decorative paper and pop it up on a red card.


Die-cut "memories" from gold glitter paper and glue it to a banner die-cut from white cardstock using the Dual Tip Glue Pen.


Die-cut a helm from blue cardstock and place Micro 3D Foam Squares on the back.


Pop up the stamped image on the right side of the card and pop up the helm on the twine as shown. Glue down the sentiment below the stamped image using the Dual Tip Glue Pen.


Scrapbook Adhesives by 3L has all of the adhesives you need for your crafty projects.


Skill Level: Intermediate

Creative Time: 35 minutes


Materials Needed:

Scrapbook Adhesives by 3L® 3D Foam Squares White Mix 3D Foam Micro Squares White

Home Hobby by 3L® Dual Tip Glue Pen Premium Double-Sided Tape 1/2" 

Plus
Whimsy Stamps- Stamp and Banner Die
Momenta- Helm and Word Dies
PrintWorks Specialty Paper- Cardstock- Gold Glitter, White, Red


Saturday, January 1, 2022

Gardeners of Our Souls Slimline Card


Happy 2022, I hope you all are having a good start to the year!  Today I have a card made with a new slimline stamp from Stampendous, Slim Pop Blooms.  If they aren't in your local stamp/scrap store, they should be soon!!

I colored the flowers with Prisma Colored Pencils and then shadowed around the top of them with blue decorative chalk using a flat brush.
It was then layered onto a pink card using PrintWorks Cardstock.
A sentiment from the True Friends Perfectly Clear Set, was stamped with Onyx Black VersaFine Ink and "Friends" was outlined with a pink pencil, layer onto a pink circle and popped up using adhesives from Scrapbook Adhesives by 3L.

Let's connect!


Disclaimer- I get free goodies for blogging about craft products! Today I'm sharing a card made with products from Stampendous


Monday, December 27, 2021

Clean, Simple, Quick Cards


Here are a couple of clean, simple and quick cards that are packed with color to end the year.
I used the flower die from the Spring Borders Cutting Dies Set from Stampendous with green cardstock from the Succulent Cardstock pack and pink and purple cardstock from the Floral Cardstock pack from PrintWorks


Once the floral pieces were die-cut and glued to the white panel, the panel was die-cut with a die from the new Deckle set from Stampendous that will be available in few days, and then layered onto other die-cut panels.
The sentiments from the Spring Sayings and Brushed Messages Perfectly Clear Stamp Sets, that were stamped with black ink on white cardstock.


Let's connect!


Disclaimer- I get free goodies for blogging about craft products! Today I'm sharing a card made with products from Stampendous


Monday, November 15, 2021

Make your Merry Christmas Background


Hi my crafty friends, today I have this Christmas card on the Scrapbook Adhesives by 3L. The background was made using 3D Foam Snowflakes and Crafty Power Tape.  It's nice making your own background, you can make it whatever color you want it and you don't need to have decorative paper that's the right color for your project.

Stop by the Scrapbook Adhesives by 3L Blog to see the tutorial, products and links.


Additional Products
Stampendous-  Chickadee Holiday Perfectly Clear Set, POP Frame Die Set, crystal Micro Glitter, Clear Embossing Powder
PrintWorks- Cardstock
Rubbernecker Stamps- Cloud Stencil

Have a crafty day!

Let's Connect!

Affiliate and Product Disclosure
I am on various Design Teams and get free goodies for blogging about craft products but only because I love their products and genuinely use them. Ultimately my opinions are my own. A list of companies is in my sidebar.


Tuesday, November 9, 2021

Just For You


It's always nice to take a break from coloring images and Rubbernecker Stamps has a line of layered floral clear stamps that leave you with a beautiful and colorful image.  

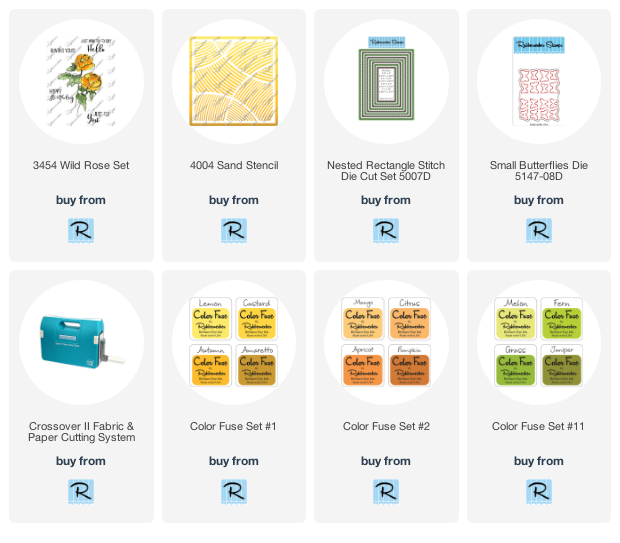
For my card, I used the Wild Rose Set and inked it with Color Fuse Inks from sets #1, #2 and #11.
The Sand Stencil was used to make a background panel with Color Fuse Inks from sets #1 and #2, the colors were blended with blender brushes but sponges work too.
To add a little dimension, the stamped image was layered on several panels and popped up with foam squares.  A butterfly was die-cut using the Small Butterflies Die and this too was popped up.

Click on the images below to be taken to the Rubbernecker Stamps online shop.


Have a crafty day!

Let's Connect!

Affiliate and Product Disclosure
I am on various Design Teams and get free goodies for blogging about craft products but only because I love their products and genuinely use them. Ultimately my opinions are my own. A list of companies is in my sidebar.
Being part of various affiliate programs – when you click on an affiliate link and then go on to make a purchase, at no cost to you, I receive a small commission.  The affiliates I use include Rubbernecker Stamps.

Monday, November 1, 2021

Christmas Shaker Card


Happy November my friends!  It's now time to really get serious and make those Christmas cards.  To help with inspiration, I have this Christmas shaker card up on the Scrapbook Adhesives by 3L Blog with a full tutorial so you can easily make one yourself.  And it will show what adhesives to us and when so your projects will stay secure and popped up.


Stamps and Dies from Stampendous
SSC1410 Bright Nose Frame Perfectly Clear Stamps
DCP1020 Pop Frame Die Set

Have a crafty day!

Let's Connect!

Affiliate and Product Disclosure
I am on various Design Teams and get free goodies for blogging about craft products but only because I love their products and genuinely use them. Ultimately my opinions are my own. A list of companies is in my sidebar.


Thursday, July 1, 2021

Slimline Birthday Shaker Card


Today I'm up on the Scrapbook Adhesives by 3L Blog with this Slimline Birthday card.  I always like to have birthday cards on hand and to have a lot to choose from.  I thought I would go big and bold with a shaker Birthday card to start off this first day of July.

Be sure to go to the Scrapbook Adhesives by 3L Blog to see the full tutorial and to see what adhesives are best to use.

Have a crafty day!

Let's Connect!

Affiliate and Product Disclosure
I am on various Design Teams and get free goodies for blogging about craft products but only because I love their products and genuinely use them. Ultimately my opinions are my own. A list of companies is in my sidebar.

Tuesday, June 15, 2021

Peace, Tranquility & Harmony


Hi!  Today I'm up on the Scrapbook Adhesives by 3L Blog with this pretty springtime friendship card.  You can see the step-by-step directions with pictures by clicking HERE.


Have a crafty day!

Let's Connect!

Affiliate and Product Disclosure
I am on various Design Teams and get free goodies for blogging about craft products but only because I love their products and genuinely use them. Ultimately my opinions are my own. A list of companies is in my sidebar.


Thursday, December 11, 2008

Let It Snow...


Let It Snow... but not here in southern California where I live! That's only something I dream of.
I made this for the sketch challenge over at Paper Craft Planet, and yet again I am using my new Christmas decorative paper.
To make this card, the snowflake was stamped three times on white squares with sepia VersaFine and embossed with a clear glitter powder. They are painted with Twinkling H2O's but the shimmer doesn't show up in the photo.
I'm thinking this will be my last Christmas card, but really this is a winter card :)
Hope you all have a great weekend!
Recipe
Stamps- snowflake by PrintWorks, sentiment by Stampendous
Inks-sepia VersaFine
Plus- punches by SU, stickers by Stampendous, Twinkling H2O's, foam squares

Tuesday, August 26, 2008

Twinkling H2O Background

To make this card it painted watercolor paper with three different colors of Twinkling H2O's, a green, pink and purple. After it dried, I stamped it with this flower stamp from PrintWorks using black VersaFine ink, heat set it and outlined some of the image with a white gel pen. It was then layered on to black and purple papers, I dotted the purple paper with the white gel pen, then mounted it onto a black card. The water colored strip at the bottom is a piece I cut off of the main image. This is stunning in person since the Twinkling H2O's are very shimmery, the camera just can't pick that up :(

Friday, July 18, 2008

Twinkling Birthday

This was a fun birthday card to make. First I picked out the decorative papers, I wanted something that could be used for a guy or a girl then I chose matching Twinkling H2O's to use. The cake stamp is by Printworks and it is a three layer wedding cake so I put tape over the first two layers, inked it up with VersaMark, removed the tape and stamped it onto watercolor paper and embossed with black glitter powder. Using only portions of stamps is one way to get different looks from the stamps you already have!
Recipe
Stamps- PrintWorks, Hero Arts
Ink- VersaMark, Denim Adirondack
Plus- Twinkling H2O's, ribbon, black glitter embossing powder, corner rounder
Paper- whatever I have on hand which is way too much!

Okay, now it's time for family pictures! My son Greg won two tickets to the Orange County fair and to see BB King in concert! So we only had to pay for two tickets and Greg and Paul went to see the concert while Melanie and I shopped the booths then we met up again went the concert was over. We let Greg play a basketball game but told him most people don't win and guess what, he won! That is his prize he is holding and 8 ball basketball, boy was he happy!

Now this is Greg in his first set of P.E. clothes, isn't he cute!


Melanie played water polo this summer for the first time and she loves it, there is only one week left and she will be sad when it is over but will try out for the team in winter. Here she is in her water polo suit, the blue at the bottom of the suit is her second suit, they have to wear two in case on is torn off!


Have a wonderful weekend and thanks for stopping by :)