Featured Post

Privacy Policy

I'm working on a new privacy policy for my followers, but for now you should know that if you comment on my site, my site collects your ...

Monday, October 30, 2023

Speedy Recovery Wreath Card


 I have another get well soon card but unlike my last one that was cutesy, this is more sophisticated.

It's made using the Garden Wreath Add-Ons to make the wreath with flowers around the sentiment.

The background was made using the Autumn Serenade 3D Embossing Folder and decorative paper. The 3D Folder creates a beautiful impression and makes for a striking and easy background.


The sentiment was made using the Snowflake Wishes Clear Stamp and Die Set but don't let the name fool you, it has sentiments for all year long.

Spellbinders is currently having a sale! This is a great time to get your crafty friends some gifts or shop for yourself! You can see everything on sale HERE and start saving!!


Have a crafty day!

Let's Connect!

Affiliate and Product Disclosure
I am on various Design Teams and get free goodies for blogging about craft products but only because I love their products and genuinely use them. Ultimately my opinions are my own. A list of companies is in my sidebar.


Sunday, October 29, 2023

Get Well Soon House-Mouse Card


 Get those get-well cards ready, cold and flu season is here. My card is made with the House-Mouse Designs, Froggy Throat from Spellbinders.


The image is colored with Prisma Colored Pencil, shadowed with decorative chalk and green ink is sponged around the top and sides. The sentiment plus another is included with the stamp.

Have a crafty day!

Let's Connect!

Affiliate and Product Disclosure
I am on various Design Teams and get free goodies for blogging about craft products but only because I love their products and genuinely use them. Ultimately my opinions are my own. A list of companies is in my sidebar.

Saturday, October 28, 2023

Sending Some Sparkle Your Way


Sending some sparkle your way! I made this card using the
Build-A-Wreath Etched Dies from the Beautiful Wreaths Collection by Suzanne Hue


To make my card I die-cut the flowers from white cardstock and silver glitter paper. The top flowers were sponged with a light pink ink and all of the pieces were wrapped around a die-cut circle.
The sentiment was made using Snowflake Whishes Clear Stamp & Die Set from Bibi's Snowflake Collection.


Sending was die-cut from silver cardstock and the sentiment was stamped with pink ink on white cardstock and glued to the bottom of Sending.
To finish off the card, a strip of silver cardstock was glued to the left of the card and white paint was splattered on the card.

Be sure to take a look at the Beautiful Wreaths Collection to see all of the sets available that work together.


**Sale Alert**
Spellbinders is having a sale you don't want to miss!! Click HERE and start saving!!!!

Have a crafty day!

Let's Connect!

Affiliate and Product Disclosure
I am on various Design Teams and get free goodies for blogging about craft products but only because I love their products and genuinely use them. Ultimately my opinions are my own. A list of companies is in my sidebar.


Thursday, October 26, 2023

Believe-Fall Card


Die-cut decorative paper from the Harvest Time 6 x 6 paper pad using the Nested Deckle Rectangle Dies.
Layer this on top of a rust-colored panel that was die-cut using the Nested Deckle Rectangle Die set and glue it to a white card.
Die-cut burlap paper and white cardstock with the Holiday Tags Die.
Stamp the white tag with Caramel Color Fuse Ink using one of the ink splatter stamps from the Watercolor Splatter clear stamp set and sponge the edges with Caramel ink.
Glue the white tag on top of the burlap tag so that you can see the burlap tag underneath and pop it up on the card diagonally.
Die-cut leaves using the Leaf Trio Die from green and goldenrod colored cardstock and sponge the edges with Basil and Caramel Color Fuse Inks.
Glue these leaves to the white tag.
Die-cut Believe Word with Shadow Die from golden rod and black cardstock.
Glue the two together and pop it up on the tag.
Add green ribbon to the top of the tag.


Click on the product below to go to the Rubbernecker Stamps online store.
Have a crafty day!

Let's Connect!

Affiliate and Product Disclosure
I am on various Design Teams and get free goodies for blogging about craft products but only because I love their products and genuinely use them. Ultimately my opinions are my own. A list of companies is in my sidebar.


Friday, October 20, 2023

Christmas Cheer


Wish your friends and family a little Christmas Cheer this holiday season with a cup of cocoa or hot toddy.
I used the Merry Mugs Die Set
and the Fran's Frames Dies both of these sets are from Spellbinders

I've had these red and black buffalo plaid note cards for a while and thought it would make a pretty background for my cup of cocoa. That's how I came up with this color combo, and I think I'll make more experimenting with different colors.
The white paper is white glitter paper from PrintWorks Specialty Paper (available on Amazon) so it has a lot of sparkle for the holidays.

Have a crafty day!

Let's Connect!

Affiliate and Product Disclosure
I am on various Design Teams and get free goodies for blogging about craft products but only because I love their products and genuinely use them. Ultimately my opinions are my own. A list of companies is in my sidebar.


Thursday, October 19, 2023

Season's Greetings Christmas Card


Season's Greetings card made with the Christmas Wreath Add-Ons from the Beautiful Wreaths Collection from Spellbinders.

I made a frame for the snowman and tree from decorative paper and added a white glitter background to give a snowy look to my card.

The band on the hat and the scarf were die-cut from decorative paper. and yellow Stickles was placed in the center of the poinsettias that were made using two different shades of red with the darker color underneath the lighter red.
You can see the full Beautiful Wreaths Collection by Suzanne Hue and how they all work together.

Spellbinders has so many wonderful Christmas and Holiday Dies, you'll want to see them all.

Have a crafty day!

Let's Connect!

Affiliate and Product Disclosure
I am on various Design Teams and get free goodies for blogging about craft products but only because I love their products and genuinely use them. Ultimately my opinions are my own. A list of companies is in my sidebar.


Monday, October 16, 2023

Happy Halloween Card


It's so fun working with Halloween colors. I made this card using the Halloween Wreath Add-Ons Etched Die Set https://shrsl.com/49kv7 from Spellbinders.


*I used cardstock from PrintWorks Specialty Paper for my card (you can find it on Amazon).

*The Candy Stripes Etched Die https://shrsl.com/49kvh was used to make the background. Purple cardstock was cut and mounted to a black card.


*Frans Frames Die Set https://shrsl.com/49kvo was used to make the ovals.


*The pumpkin was sponged with orange ink around the edges and for the eyes, double sided tape was placed on the back to cover the eyes, nose and mouth. Then black glitter was sprinkled on the front.
Have a crafty day!

Let's Connect!

Affiliate and Product Disclosure
I am on various Design Teams and get free goodies for blogging about craft products but only because I love their products and genuinely use them. Ultimately my opinions are my own. A list of companies is in my sidebar.

Stenciled Daisies Card


Today I have a bright and cheery card that has glitter to add a little something special. Adding glitter is easy to do with the help of adhesives from Scrapbook Adhesives by 3L.

Here's how my card was made-

Stencil daisies using the Layered Sunflower Stencil on a white cardstock panel using yellow, brown and green inks.


Place Extreme Double-Sided Tape 1/8" and 1/4" at the bottom of the panel with the thinner tape on top.


Sprinkle brown ultra fine glitter on the tape, after the liners have been removed and rub with your finger to make sure all of the tape is covered with glitter.


Place tape strips on top of a rust top folding card and adhere the daisy pane on top.


Cut a piece of Adhesive Sheet on rust cardstock. Place Thanks die on top of the Adhesive Sheet and run through your die-cut machine.


Remove the carrier from the top of the Thanks, sprinkle with brown glitter and rub to assure adhesion.


Glue the Thanks to the top left of the card using Dual Tip. 


Random glue orange rhinestones to the card using Dual Tip.


Have a crafty day!

Let's Connect!

Affiliate and Product Disclosure
I am on various Design Teams and get free goodies for blogging about craft products but only because I love their products and genuinely use them. Ultimately my opinions are my own. A list of companies is in my sidebar.


Thursday, October 12, 2023

House Mouse Time!


Look at this cute little House-Mouse image, it's so sweet!

I colored the image with Prisma Colored Pencils and sponged blue decorative chalk around the edges.

Stamps and dies are from Spellbinders Here are the names and links to what was used-

*Party Time!

*Snowflake Wishes Clear Stamp & Die Set


This card was made using the This Tall House-Mouse Designs Stamp. It was colored with Prisma Colored Pencils. The background was made using the Star Bright Stencil and green decorative chalk was sponged to give it a lighter look. The sentiment is included in the set and it was stamped with green ink.

Have a crafty day!

Let's Connect!

Affiliate and Product Disclosure
I am on various Design Teams and get free goodies for blogging about craft products but only because I love their products and genuinely use them. Ultimately my opinions are my own. A list of companies is in my sidebar.


Tuesday, October 10, 2023

Snow Glad We're Friends Card


Today is new release day over at Spellbinders and part of the release is this, Stampendous FransFormer Snowy Friends Clear Stamp Set


* I colored the snowmen with Prismas Colored Pencils and added Crystal Stickles to the fur on the hats.
* The postage die from the Stampendous Fran's Frames Etched Dies was used to layer the sentiment and it was popped up.


* The snow on the ground was embossed using some chunky white and gold embossing powder. It was heated from underneath so the embossing powder wouldn't blow away.

You'll want to take a look at the full Cool FranFormers Collection to see the three new cute winter sets.

Have a crafty day!

Let's Connect!

Affiliate and Product Disclosure
I am on various Design Teams and get free goodies for blogging about craft products but only because I love their products and genuinely use them. Ultimately my opinions are my own. A list of companies is in my sidebar.


Friday, October 6, 2023

Boo! Halloween Strips Card


With Halloween right around the corner, Rubbernecker Stamps has some great dies to make those fun spooky cards.

Here's how my card was made-

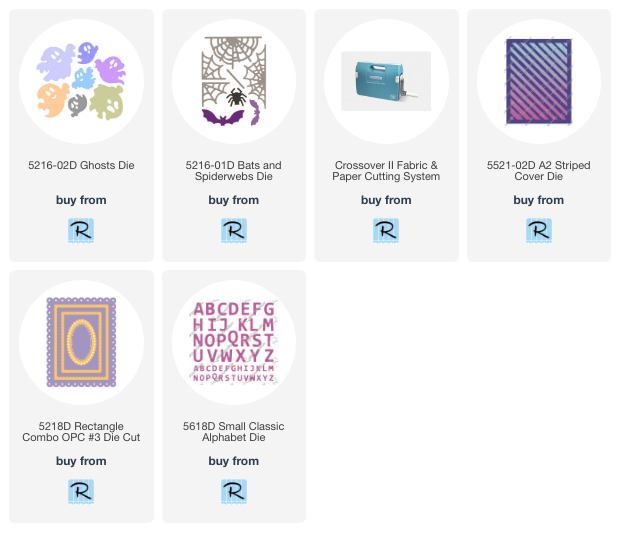
Die-cut black, green and purple cardstock using the Striped Cover Die and keep all of the strips that are cut out. I use the Crossover ll Die-Cut Machine 


Glue the back die-cut panel to a black card, then glue the green and purple strips in the die-cut piece as shown, no need to glue in the black strips, since the card is black and will show through.


Use the Rectangle Combo OPC #3 Die to die-cut black, green and purple cardstock.
Layer the colors together as shown and place tape on the back to keep the pieces together.
Die-cut black glitter paper twice, using the Small Classic Alphabet Die and glue the letters to the center green panel to spell BOO.
Now die-cut white cardstock using the Bats and Spiderwebs Die, plus the Ghosts die. Die-cut the spider from the Bats and Spiderwebs Die from black glitter cardstock.
Pop up the BOO panel in the center of the card and glue the spiderwebs to two corners and pop up the spider in the top left corner.
Place double sided on the backside of the ghosts' eyes and mouth, then add black glitter to the front of the ghosts, eyes and mouth. Pop them up on the card.
Crystal Stickles was placed in the little hole of the black scalloped frame of the BOO panel.


Layer the colors together as shown and place tape on the back to keep the pieces together.
Die-cut black glitter paper twice, using the Small Classic Alphabet Die and glue the letters to the center green panel to spell BOO.


Now die-cut white cardstock using the Bats and Spiderwebs Die, plus the Ghosts die. Die-cut the spider from the Bats and Spiderwebs Die from black glitter cardstock.


Pop up the BOO panel in the center of the card and glue the spiderwebs to two corners and pop up the spider in the top left corner.
Place double sided on the backside of the ghosts eyes and mouth, then add black glitter to the front of the ghosts, eyes and mouth. Pop them up on the card.
Crystal Stickles was placed in the little hole of the black scalloped frame of the BOO panel.


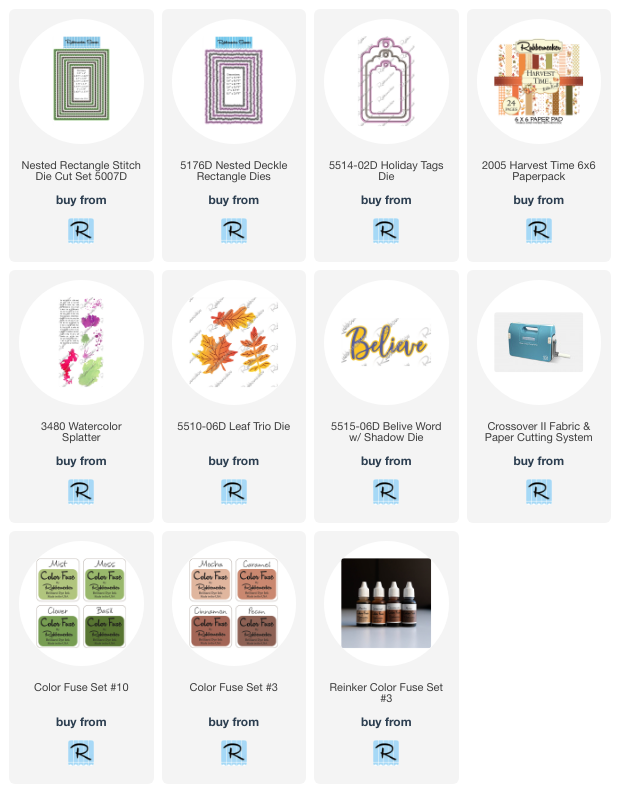
Click on the product below to go to the Rubbernecker Stamps online shop.

Have a crafty day!

Let's Connect!

Affiliate and Product Disclosure
I am on various Design Teams and get free goodies for blogging about craft products but only because I love their products and genuinely use them. Ultimately my opinions are my own. A list of companies is in my sidebar.