
While making this birthday card using the Circle Background w/Stitch Die from Rubbernecker Stamps, I also wanted to use the circles that would be cut out from this pretty lined paper, but how can I keep all of the lines straight? Well here is a super-easy way to do just that with a little help from Stick It Paper that Rubbernecker Stamps carries HERE.
Here's how my card was made;
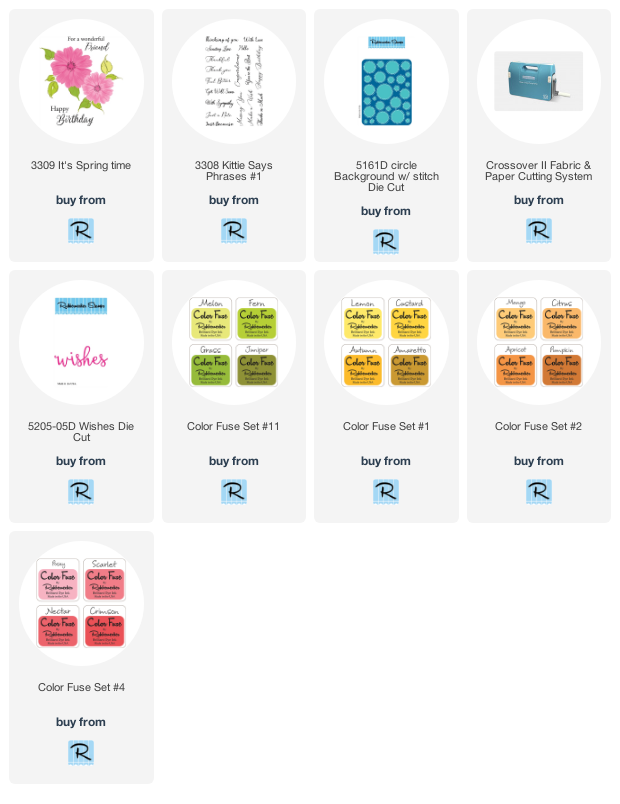
- Apply a 4" x 5" piece of Stick It to the back of striped decorative paper from Bo Bunny and die-cut using the Circle Background w/ Stitch Die Cut, with the die on top of the decorative side.
- Keep the die-cut pieces in the die, place the die on your desk with the Stick It side facing up and remove the liner paper from all of the circles only using an Exacto knife.
- Take a piece of white cardstock 3 3/4" x 5" and place this on top of the Stick It panel that has the liner removed from the circles only and rub the cardstock with your fingers to have the Stick It adhere to the panel. Lift the panel and the decorative paper will have adhered to the panel. Set this aside to use for another card.

- Remove the remaining paper from the die, remove the liner and place on a 4" x 5 1/" piece of white cardstock. Layer this onto slightly larger orange card stock and glue to a black card.
- Stamp three flowers and five leaves from the It's Spring Time set with inks from Color Fuse Ink Sets #1, #2, #4, #11 and die cut using the coordinating Spring Time Die Set.

- Glue two of the flowers and three of the leaves flat in the bottom left corner and pop up the last flower and leaves using 3D Foam Squares from Scrapbook Adhesives by 3L.

- Stamp the sentiment from the Kittie Says Phrases #1 set with Onyx Black VersaFine Ink on orange paper. Pop this up diagonally on the card.
- Die-cut Wishes Die Cut from black cardstock and glue below the popped up sentiment.
- Randomly apply Silver Pearl Liquid Pearls to the popped up sentiment.

Have a crafty day!
Let's Connect!
Affiliate and Product Disclosure
I am on various Design Teams and get free goodies for blogging about craft products but only because I love their products and genuinely use them. Ultimately my opinions are my own. A list of companies is in my sidebar.
Being part of various affiliate programs – when you click on an affiliate link and then go on to make a purchase, at no cost to you, I receive a small commission. The affiliates I use include Rubbernecker Stamps.
No comments:
Post a Comment