Featured Post

Privacy Policy

I'm working on a new privacy policy for my followers, but for now you should know that if you comment on my site, my site collects your ...

Showing posts with label decorative paper. Show all posts

Saturday, March 30, 2024

Miss You Press Plate Card


 I'm playing with my Miss You Press Plate from Spellbinders and I used it without a Letter Press.

Here's how I did it-
1. The plate was inked with red VersaFine Ink.
2. The inked plate was placed, inked side down, on decorative paper from the Paper Rose Collection.
3. This was then run through an embossing machine the same way die are..
4. Remove the plate to see the beautiful, inked impression.

Here are the products used with the links-

Miss You Press Plate- https://shrsl.com/4h2ha
Botanical Solarium- https://shrsl.com/4h2hd
Candy Kisses 6 x 6 Paper Collection- https://shrsl.com/4h2hg
Have a crafty day! 🙂
Have a crafty day!

Let's Connect!

Affiliate and Product Disclosure
I am on various Design Teams and get free goodies for blogging about craft products but only because I love their products and genuinely use them. Ultimately my opinions are my own. A list of companies is in my sidebar.

Monday, March 18, 2024

Birthday Window Card


Hi crafty friends, I'm dropping in today with a quick post. I have a birthday card made with pretty papers from Spellbinders, along with the Vista View Die Set. It's an easy way to make a quick and easy card that's beautiful.


Products used-
Vista View Die Set- https://shrsl.com/4gl0v
Candy Kisses 6x6 Paper Pad- https://shrsl.com/4gkzl
Paper Rose Collection- https://shrsl.com/4gl16
Spellbinders- https://shrsl.com/4gl18

Have a crafty day!

Let's Connect!

Affiliate and Product Disclosure
I am on various Design Teams and get free goodies for blogging about craft products but only because I love their products and genuinely use them. Ultimately my opinions are my own. A list of companies is in my sidebar.
 

Wednesday, March 13, 2024

Birthday Wishes


I made this quick and easy card using the pretty new papers from Spellbinders.
To make my card, I cut a piece of the Morning Memories Paper to 4" x 5 1/4", layered this onto slightly larger blue cardstock and glued it to a tan card.


The sentiment was cut using the Snowflake Wishes Stamp and Die Set. Don't let the name fool you, it has sentiments for all occasions.


Blue Diamond Dotz were randomly glue to the card and glitter glue was put in the center of the flowers to add more sparkle.

You can view the full Paper Rose Collection at Spellbinders HERE.

Have a crafty day!

Let's Connect!

Affiliate and Product Disclosure
I am on various Design Teams and get free goodies for blogging about craft products but only because I love their products and genuinely use them. Ultimately my opinions are my own. A list of companies is in my sidebar.

Monday, March 11, 2024

Garden Hello Card


Happy Monday! Today I have a framed hello garden card made with dies and pretty papers and a BetterPress Plate, all from Spellbinders.

Did you know that you can used BetterPress Plates even if you don't have the LetterPress? That's what I did with my card, here's how it was made-

**I took the Copperplate Hello Press Plate and inked it with Onyx Black VersaFine Ink by tapping the pad on top of the plate.


**Next, using an embossing machine, a decorative paper panel was place on it with the pattern up and the place put in the center with the inked side down. It was then run through the embossing machine as you would a die. This gives you a beautiful crisp, indented impression.

**A frame was then made from black cardstock using the Nestabilities A-2 Matting Basics Set and it was popped up framing the Hello.


**Then the Botanical Solarium Etched Die Set was used to cut all of the garden pieces from pretty colors of cardstock.


Have a crafty day!

Let's Connect!

Affiliate and Product Disclosure
I am on various Design Teams and get free goodies for blogging about craft products but only because I love their products and genuinely use them. Ultimately my opinions are my own. A list of companies is in my sidebar.

Friday, February 16, 2024

Gardening Shaker Card


Hi my friends, today I have a shaker card that I made for a friend who likes to garden. I picked a paper pad that has pretty muted colors and die-cut everything from the pad, so I didn't have to worry about the colors coordinating, it's done for me.
The Botanical Solarium Etched Die Set from Spellbinders was used and includes the flowers, pot, watering can and gardening tools.


I also used these other items from Spellbinders Hugs Sentiments Clear Stamp Set to stamp the sentiment in the center of the shaker.


Geo Prints Clear Stamp Set was used to stamp lines and stamps on the decorative paper background to add more interest.
Have a crafty day!

Let's Connect!

Affiliate and Product Disclosure
I am on various Design Teams and get free goodies for blogging about craft products but only because I love their products and genuinely use them. Ultimately my opinions are my own. A list of companies is in my sidebar.


Wednesday, December 6, 2023

Christmas Card Gift Card Holder


Cut cardstock to 5 1/2" x 8 1/2" and fold in half to a 5 12" x 4 1/2" card.
Score the left side of the card at 1 14". 
Place double sided tape on each end of the 1 1/4" scored piece and fold to seal the edges. This will be for the gift card.
Cut the house decorative paper from the Snowy Wonder Paper Pad to 2 3/4" x 5 1/4" and glue it to a slightly larger brown panel from the same paper pad. Glue this to the top card panel.
Cut brown decorative paper from the same pad to 1 1/4" x 5 1/4".
Stamp this panel using snowflakes from the Christmas Cheer Gnomes Set using white ink and glue to the left side of the open card.
Die cut blue and white cardstock using the Nested Scallop w/ Half Holes and just white cardstock from the Nested Rectangle Stitch Die Cut Set.
Stamp the white Nested Rectangle Stitch panel with the sentiment from the Bells and Garland Set with Pecan Color Fuse Ink using a stamping apparatus such as a Misti, clean your stamp without removing it, then ink it with VersaMark Ink and restamp.
Emboss this with clear glitter embossing powder and glue it to the top of the blue die cut piece.
Randomly stamp this with snowflakes using a blue ink and add small rhinestones to the center of the snowflakes.
Stamp the white Nested Scallop w/ Half Holes with the sentiment from the Kittie Says Christmas with Pecan Color Fuse Ink and glue to the inside of the card and add a gift card.


Place double sided tape on each end of the 1 1/4" scored piece and fold to seal the edges. This will be for the gift card.


Cut the house decorative paper from the Snowy Wonder Paper Pad to 2 3/4" x 5 1/4" and glue it to a slightly larger brown panel from the same paper pad. Glue this to the top card panel.


Die cut blue and white cardstock using the Nested Scallop w/ Half Holes and just white cardstock from the Nested Rectangle Stitch Die Cut Set.


Stamp the white Nested Rectangle Stitch panel with the sentiment from the Bells and Garland Set with Pecan Color Fuse Ink using a stamping apparatus such as a Misti, clean your stamp without removing it, then ink it with VersaMark Ink and restamp.
Emboss this with clear glitter embossing powder and glue it to the top of the blue die cut piece.
Randomly stamp this with snowflakes using a blue ink and add small rhinestones to the center of the snowflakes.


Cut brown decorative paper from the same pad to 1 1/4" x 5 1/4".
Stamp this panel using snowflakes from the Christmas Cheer Gnomes Set using white ink and glue to the left side of the open card.
Stamp the white Nested Scallop w/ Half Holes with the sentiment from the Kittie Says Christmas with Pecan Color Fuse Ink and glue to the inside of the card and add a gift card.


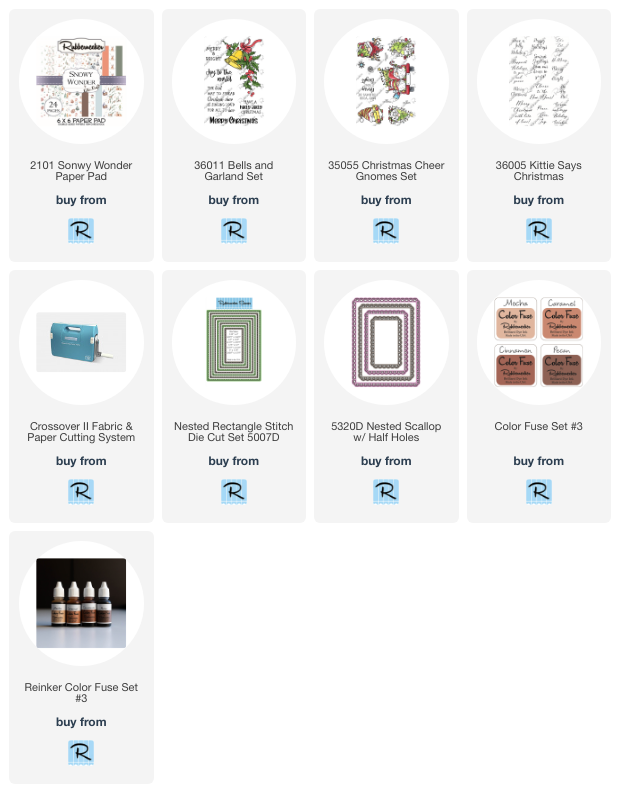
Click on the product below to go to the Rubbernecker Stamps online store.
 
Have a crafty day!

Let's Connect!

Affiliate and Product Disclosure
I am on various Design Teams and get free goodies for blogging about craft products but only because I love their products and genuinely use them. Ultimately my opinions are my own. A list of companies is in my sidebar.

Wednesday, November 22, 2023

Fun Fold Thank You Card


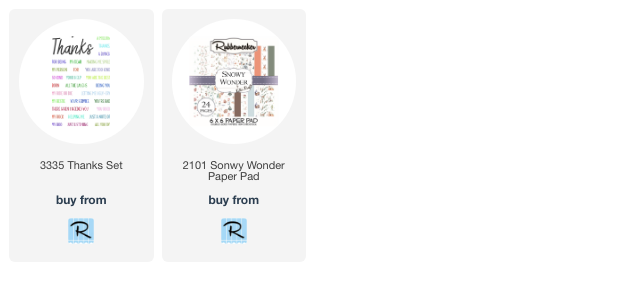
Today I have a fun fold thank you card make with pretty papers and stamps from Rubbernecker Stamps.
Here's how my card was made.

Cut a sheet of rust colored cardstock to 4 1/4" x 11" and fold in half.
Fold the top of the card in half so that the flap can be pulled open from the left side.
Pick two patterns from the Snowy Wonders Paper Pad and glue one sheet to the inside of the card and half to the top of the folded side.


Stamp a white cardstock panel with Thanks in rust ink and the rest of the sentiment below Thanks in a dusty blue ink.
The pinecone was cut from the paper pad and glued to the bottom left corner of the panel.
Randomly add blue Stickles to the panel.


Monday, November 20, 2023

Season's Greetings Pink & Gray Card


I love traditional colors for Christmas cards but sometimes it's fun to use colors that aren't expected and that's what I've done.

Pink and gray are pretty together and I love how this turned out. The Merry Mugs Set ( https://shrsl.com/49sra ) was used to die cut decorative paper. The sentiment die and stamp is from Bibi's Snowflake Collection ( https://shrsl.com/4a73v ) AND it's currently on sale at Spellbinders.

Here's the link for the HUGE SPELLBINDERS SALE- https://shrsl.com/4bcmo be sure to take a look, you don't want to miss this!


Have a crafty day!

Let's Connect!

Affiliate and Product Disclosure
I am on various Design Teams and get free goodies for blogging about craft products but only because I love their products and genuinely use them. Ultimately my opinions are my own. A list of companies is in my sidebar.


Wednesday, November 15, 2023

Fun Fold Christmas Card


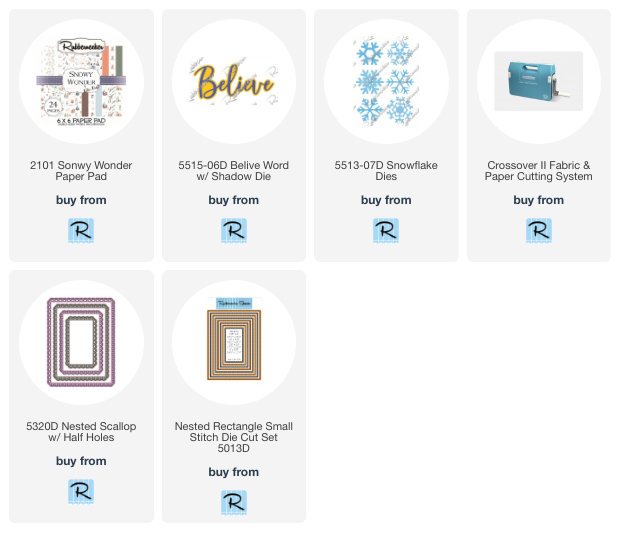
Today I have a fun fold Card using dies and decorative paper from Rubbernecker Stamps and all of the adhesives used are from Scrapbook Adhesives by 3L.  To make my card, I cut a sheet of 8 1/2" x 11" periwinkle cardstock diagonally. The cardstock was then scored to create the fold. Next a 4" x 5 1/4" piece of decorative paper paper was then cut diagonally (this will make two cards) and one piece was taped to the bottom fold using TAPE RUNNER.


Snow fakes were die-cut from white cardstock and glued to the top fold of the card using the DUAL TIP. The snowflakes that were hanging over the edge were cut off.


To make the frame, white cardstock was die-cut using a scalloped rectangle and and a stitched rectangle that's slightly smaller was cut from periwinkle cardstock and attached using RUNNER


The frame was centered and glued to the left top fold of the card, using the DUAL TIP.  Believe was die-cut from the same carstock colors, glued together using the DUAL TIP. Hearts were placed aroud the sentiment using the HEARTS RUNNER and crystal micro fine glitter was sprinkled on.


Click on the product below to go to the Rubbernecker Stamps online store.

Have a crafty day!

Let's Connect!

Affiliate and Product Disclosure
I am on various Design Teams and get free goodies for blogging about craft products but only because I love their products and genuinely use them. Ultimately my opinions are my own. A list of companies is in my sidebar.


Thursday, October 26, 2023

Believe-Fall Card


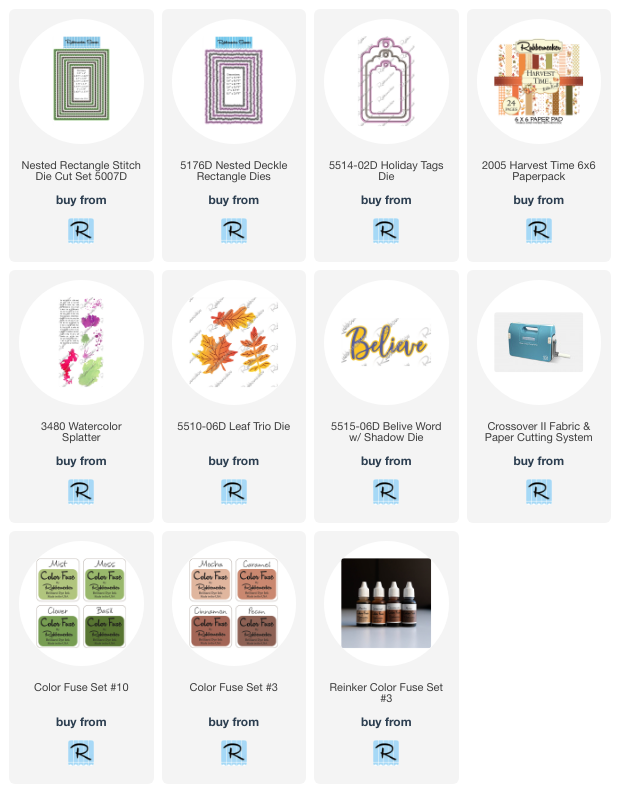
Die-cut decorative paper from the Harvest Time 6 x 6 paper pad using the Nested Deckle Rectangle Dies.
Layer this on top of a rust-colored panel that was die-cut using the Nested Deckle Rectangle Die set and glue it to a white card.
Die-cut burlap paper and white cardstock with the Holiday Tags Die.
Stamp the white tag with Caramel Color Fuse Ink using one of the ink splatter stamps from the Watercolor Splatter clear stamp set and sponge the edges with Caramel ink.
Glue the white tag on top of the burlap tag so that you can see the burlap tag underneath and pop it up on the card diagonally.
Die-cut leaves using the Leaf Trio Die from green and goldenrod colored cardstock and sponge the edges with Basil and Caramel Color Fuse Inks.
Glue these leaves to the white tag.
Die-cut Believe Word with Shadow Die from golden rod and black cardstock.
Glue the two together and pop it up on the tag.
Add green ribbon to the top of the tag.


Click on the product below to go to the Rubbernecker Stamps online store.
Have a crafty day!

Let's Connect!

Affiliate and Product Disclosure
I am on various Design Teams and get free goodies for blogging about craft products but only because I love their products and genuinely use them. Ultimately my opinions are my own. A list of companies is in my sidebar.


Sunday, October 1, 2023

Floating Strips Birthday Card


Today I have a floating strips birthday card that's made with pretty scraps that I just couldn't throw away.

Here's how my card was -

Emboss the bottom of a white cardstock panel using the Monoline Stars Embossing Folder and place the panel diagonally in the folder.

Snowflake Wishes Clear Stamp and Die Set-

  Place a strip of gold paper where the embossing ends using 1/8" tape. Mount this to a top folding pink card using the E-Z Runner Strips. 


Die-cut an oval from acetate and place alternating strips of decorative paper and gold paper, securing it with 1/4" and 1/8" tape. 


Place 3D Strips on the back of the acetate behind the paper strips.


Die-cut flowers and leaves using Sealed For Christmas Sprigs Dies from white cardstock and place them on the left side of the oval using Micro dots. The pink center of the flower is popped up using 3D micro squares. Attach pink cord and a bow to the stem of the flowers using Micro Dots. Die-cut Wishing from black and gold cardstock. Layer the gold on the black with the black edge showing and pop this up diagonally on the oval using a 3D Foam Strip. Die-cut a banner from white cardstock and stamp it with the sentiment using pink ink. Add pink twine and a white and gold ribbon to the stem of the flowers.


Die-cut the sentiment using the Snowflake Wishes Clear Stamp and Die Set and cut the Wishing from black and gold cardstock. Layer the gold on the black with the black edge showing and pop this up diagonally on the oval using a 3D Foam Strip. Die-cut a banner from white cardstock and stamp it with the sentiment using pink ink. Add pink twine and a white and gold ribbon to the stem of the flowers.


Here are the dies and embossing folders that were used.


Have a crafty day!

Let's Connect!

Affiliate and Product Disclosure
I am on various Design Teams and get free goodies for blogging about craft products but only because I love their products and genuinely use them. Ultimately my opinions are my own. A list of companies is in my sidebar.