Featured Post
Privacy Policy
I'm working on a new privacy policy for my followers, but for now you should know that if you comment on my site, my site collects your ...
Wednesday, August 17, 2022
Get Well Soon
Friday, April 15, 2022
Happy Birthday Mini Slimline Card
.jpg)
Skill Level: Intermediate Creative Time: 35 minutes
Materials Needed:
Scrapbook Adhesives by 3L®
Adhesive Dots 3D Permanent
Adhesive Lines Permanent
Adhesive Dots Micro Permanent
3D Foam Strips White Large
E-Z Dots Dispenser
Plus
Kaisercraft- Amethyst Paper Pad
Stampendous- Ultra Fine Glitter
Monday, March 14, 2022
Butterfly Wishes
Hi, I hope that everyone is having a good start to the week! I have a Best Wishes card made with some new release products from Stampendous, Wings Perfectly Clear Set and the Vertical Wishes Rubber Stamp.
This was an easy card to make, both butterflies were stamped on white cardstock with Onyx Black VersaFine Ink, colored with Prisma Pencils and cut out. The sentiment strips are from the Vertical Wishes Rubber Stamp, which I love because it's a bunch of words in boxes that you can use as a pretty background for a card or tag or you can cut them apart and use them individually which is what I did. I also stamped the Vertical Wishes Rubber Stamp with black ink but I also stamp and emboss it with pretty colors to match my projects.
The green circle under the top butterfly was rubbed with VersaMark Ink, sprinkled with Spring Sparkle Lime Embossing Powder and then heat embossed. You can't tell from the picture but it's so pretty and sparkly in person! The polka dot background is a decorative paper called Dots n Stripes from Dress Your Craft. It was die-cut with a rectangle die layered onto a slightly larger white panel then attached to a purple card.
And to make sure that everything stays stuck down, I used the E-Z Runner Squares for everything that is flat and 3D Foam Squares to keep the wings up, adhesives are from Scrapbook Adhesives by 3L.
Be sure to share what you're making with Stampendous products on their Stampendous! Fans Facebook page, we'd love to see what you're making!Sunday, January 30, 2022
Friend
This new Floral Flutter from Stampendous is so big and beautiful! It was colored with Prisma Colored Pencils and cut out. The sentiment is from the Vertical Wishes stamp, it was stamped with black ink, the word was cut out and sponged with purple ink then popped up in the center of the butterfly.
Sunday, August 15, 2021
Hello My Bestie

Tuesday, January 14, 2020
Butterfly Flowers

- To make my card I stamped the background image (without the butterfly) on a watercolor panel using VersaMark Ink and embossed with White Embossing Powder. Distress ink in Spun Sugar, Picked Raspberry and Wilted Violet were sponged across the panel.
- The butterfly was stamped on watercolor paper with Onyx Black VersaFine Ink, embossed with Clear Embossing Powder and colored with Zig Clean Color Real Brush Pens. The body was glued to the background panel and the wings were curved to stay up.
- The sentiment was stamped on black cardstock with VersaMark Ink, embossed with White Embossing Powder and glued to the background panel.
- This was then glued to a larger black panel then glued to a purple card.
- Sequins were randomly glued to the background.
Monday, June 24, 2019
Butterfly Smile
Hi friends, I'm just stopping by real quick to let you know that today start is the start of the Rubbernecker Stamps Instagram Hop and they have some really great prizes!! Be sure to play along for your chance to win, click HERE to go to my Instagram page.
Here is what I used to make my card;
Tuesday, April 16, 2019
Butterfly Thanks
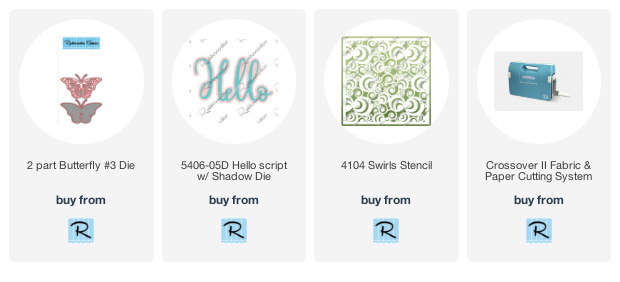
Hi my crafty friends, today I have a card made with Dies and Stamps from Rubbernecker Stamps. The Butterflies are the 2 Part Butterfly #3 Die with the intricate die cut from silver glitter paper and the bold cut from pink decorative paper. The sentiment is from the Best Friends Etc Clear Set, stamped in black ink and embossed with clear embossing powder. Strips of silver Washi Tape are used as accents.
Thursday, November 1, 2018
Butterfly Shaker Card
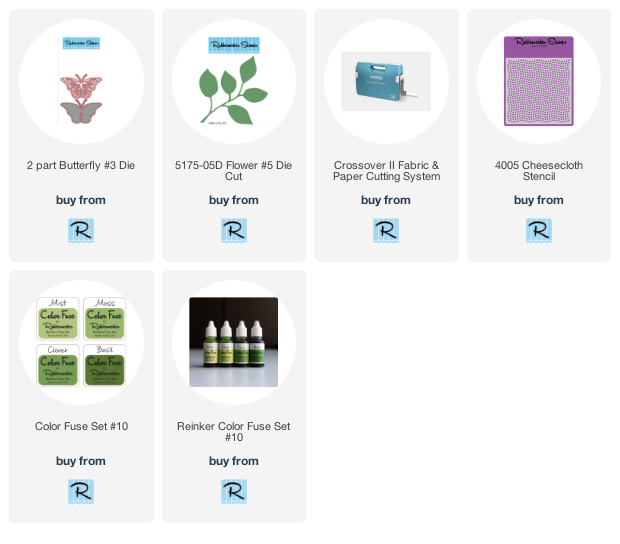
This week I'm up on the Rubbernecker Stamps Blog with this butterfly shaker card. I used the 2 Part Butterfly #3 Die to diecut the butterflies from black paper. The shaker portion was made and layered against decorative paper. The words are from the Butterflies Are Free clear set, it's one sentiment that I stamped and cut apart.
Thursday, August 23, 2018
Beautiful Butterflies
Saturday, August 11, 2018
No Stamping Required!
This card was made for my Stamp Club challenge of making a card with dies only, no stamps. That may sound easy but when you always use stamps on your cards, it can be a challenge!
If you don't belong to a stamp club, I recommend that you find one to join or if there isn't one, start a club of your own like I did. It's such a joy to get together with other ladies who share the love of stamping and understand how exciting it is to buy a new glue haha!
For my card I used the Square Combo #1 OPC Die from Rubbernecker Stamps for the circles, it was run through my die cutting machine once with craft colored cardstock and you get all of these shapes shown below, to use on other projects.

The intricate image was cut out of white cardstock and the solid out of pink decorative paper. I curved the wings of the white piece and glued only the body to the pink image so you get a 3D effect.
I don't know what company the Hello is from but it was cut from black cardstock.
Now to assemble it, Cracked Pistachio Distress Ink was rubbed on my craft mat, spritzed with water and picked up with a wet brush. It was then splattered on a white card. The circles, butterflies and hello, were then glued down using Glitter Art Glue. A strip of the same pink decorative paper as the butterfly was glued to the bottom with a strip of black and white striped paper glued to that. To finish it off, pink Nuvo Drops were randomly added.
Thursday, February 22, 2018
Butterfly Dreams Box
I'm up on the Rubbernecker Blog today with this cute treat box. I decided to make this to play along with the Rubberneck Stamps Challenge #27, Anything But A Card. The box is a decorated kraft color box using the Butterflies Are Free Set to decorate a tag that was sponged with Twisted Citron and Wilted Violet Distress Inks. The butterfly was then stamped once on the violet and once on the citron with matching inks. It was then over stamped with the a sentiment from the set with black ink. The Butterfly was stamped with black and embossed with clear embossing powder. It was then die cut using the matching Butterflies Are Free Die Set and layered onto a purple die cut piece. The butterfly was stamped on Strathmore Bristol Smooth paper and colored with Zig Clean Color Real Brush Pens, I find the Zigs blend the best on the Strathmore paper. Crushed Grape Nuvo Crystal Drops were randomly added for interest.
Monday, February 5, 2018
New Curios Collection
Stampendous has a new line of stamps called CURIOS, that have a wonderful colored label on the it to help inspire you. They also look nice in your creative space, even when you don't clean up.
My card was made with CURIOS Butterfly Sketch and colored with Prisma pencils. It was stamped on a white panel with black ink then an craft knife was used to cut out the wings but not the body. The wings were curled around my finger before gluing the panel to a blue card. But before it was glued to the card, leaves were sponged around the butterfly using the Fern Frond Stencil and Peeled Paint Distress Ink. For the sentiment, I used the Funky Alphabet Perfectly Clear Set and embossed it with a beautiful shimmery embossing powder called Green Tinsel. After Peeled Painted was splattered on the panel, it was then glued to the card. A frame was die cut using one of the Fitted Frames Sets and glued over the sentiment.
Disclaimer- I get free goodies for blogging about craft products! Today I'm sharing a card made with products from Stampendous.


.jpg)


.jpg)


.jpg)


