Featured Post

Privacy Policy

I'm working on a new privacy policy for my followers, but for now you should know that if you comment on my site, my site collects your ...

Friday, March 17, 2023

Best Bunny Wishes


I'm just having a little fun in my craft room today and this happened, an Easter card. It was made using Egg Dies from Sizzix, Bunny Die from Eco Park, Word Stamps from Whimsy Stamps, Random Dots Background from Rubbernecker Stamps , Cardstock and White Glitter Paper from PrintWorks Specialty Ppaer and White Embossing Powder from Stampendous.

All of these mixed and matched nicely.

Have a crafty day!


Wednesday, March 15, 2023

Decorative Paper Fold Hello Card


My post today is for all of you fellow paper hoarders!! You can make so many pretty cards quickly with this sketch, it requires double-sided decorative paper, I used a beautiful paper pad from Rubbernecker Stamps along with their dies, you can see the items below.

Here's how my card was made-

Start with double sided decorative paper, I used the Modern Floral Paper Pad from Rubbernecker Stamps (link below), and cut starting at the right side, approximately 1 3/4" towards the center of the paper, you can also experiment with different measurements. Adhere this to a pink card using the E-Z Runner Grand Dispenser from Scrapbook Adhesives by 3 L. 


Die-cut pink paper, from the same pad, using a stitched rectangle die and gray cardstock using a Nested Scallop with Half Holes Die. Layer the pink onto the gray using the E-Z Runner Grand Dispenser.


Place larger 3D Foam Circles from the 3D Foam Circles White Mix, on the back of the gray panel as shown and pop it up on the center of the card.


Die-cut Hello from PrintWorks Specialty Paper (available on Amazon), in both black cardstock and silver glitter cardstock, then glue them together, slightly off center so the silver paper can be seen, using the Dual Tip Glue Pen.


Glue the Hello to the center of the frame using the Dual Tip Glue Pen. Randomly add a few self adhesive rhinestones to the card.


Materials Needed:

Scrapbook Adhesives by 3L® E-Z Runner Grand Dispenser 3D Foam Circles White Mix
Home Hobby by 3L® Dual Tip Glue Pen Plus 
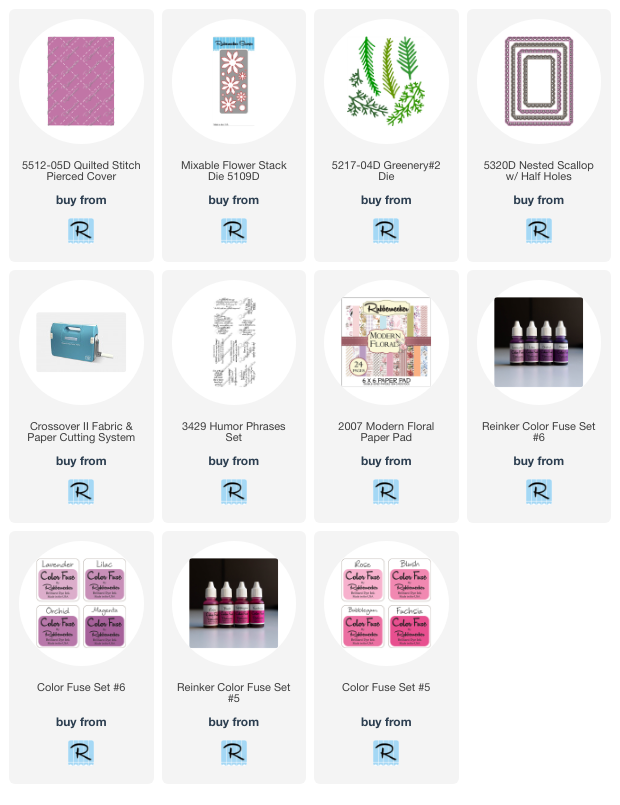
Rubbernecker Stamps- Dies, Decorative Paper PrintWorks Specialty Paper- Silver Glitter Paper, Black Cardstock


Click on the product below to go to the online shop

Have a crafty day!

Let's Connect!

Affiliate and Product Disclosure
I am on various Design Teams and get free goodies for blogging about craft products but only because I love their products and genuinely use them. Ultimately my opinions are my own. A list of companies is in my sidebar.

Tuesday, March 14, 2023

Springtime Card


Spring is one week away and I'm ready with this little bird singing under watercolored flowers.

The flowers were stamped on watercolor paper with Onyx Black VersaFine Ink, embossed with clear embossing powder and colored using watercolor pencils.
The bird was stamped on a seperate piece of watercolor paper, the same as the flowers, cut out and popped up on the card. The ground markings were stamped below the bird with brown ink.
The Stampendous Deckle Die Set was used to die-cut the layers and also the ovals that the sentiment was stamped on.


The stamped panel was popped up on a slightly larger blue using 3D Foam Squares from Scrapbook Adhesives by 3L, the blue panel had a strip of black and white decorative paper glued to the left side. This was mounted to a die-cut deckle edge white cardstock panel and mounted to a blue card.

You can see the full collection of Stampendous products on the Spellbinders website.

Have a crafty day!

Let's Connect!

Affiliate and Product Disclosure
I am on various Design Teams and get free goodies for blogging about craft products but only because I love their products and genuinely use them. Ultimately my opinions are my own. A list of companies is in my sidebar.


Saturday, March 11, 2023

Happy Day Watercolor Card


Today I have a card made with products from the Stampendous / Spellbinders new release. I used the Hello Butterfly Clear Stamp Set.  


The flowers were stamped on watercolor paper with Onyx Black VersaFine Ink and watercolored with watercolor pencils.
Once dry it was die-cut using the oval die from the Stampendous Frames and Borders Die Set, then layered onto a larger black oval from the same set.


This was then popped up on a pink panel that was embossed with the Plaid Company Embossing Folder after one side of the folder was rubbed with white pigment ink and glued to a pink card.


The butterfly was also stamped on watercolor paper, colored with watercolor pencils, cut out and popped up on the top edge of the oval.
The sentiment was stamped on white cardstock with black ink and embossed with Clear Embossing Powder.

Have a crafty day!

Let's Connect!

Affiliate and Product Disclosure
I am on various Design Teams and get free goodies for blogging about craft products but only because I love their products and genuinely use them. Ultimately my opinions are my own. A list of companies is in my sidebar.

Friday, March 10, 2023

Thinking of You Quick Card


Have you ever needed a card but didn't have enough time to make one? Well, Stampendous has some beautiful new papers that you need in your collection, the line is called Quick Cards.
For my card I used the Hope Of Spring Quick Card Backgrounds and the Joy of Spring Backgrounds.

Hope of Spring Quick Card Backgrounds
To make my card, I cut out the bird with the sentiment and inked just the sentiment with green ink.  I then die-cut the bottom using a die from the Stampendous Frames and Borders Die Set.


This panel was then layered onto green cardstock.  Paper from the Joy of Spring pack was used in the background.  Leaves were die-cut from white cardstock using the Autumn Leaves Etched Dies, they were then sponged with green ink and glued underneath the bird panel.


Autumn Leaves Etched Dies


Have a crafty day!

Let's Connect!

Affiliate and Product Disclosure
I am on various Design Teams and get free goodies for blogging about craft products but only because I love their products and genuinely use them. Ultimately my opinions are my own. A list of companies is in my sidebar.

Tuesday, March 7, 2023

Funny Floral Card

One thing that I love doing is making a pretty card and adding an unexpected sentiment. Rubbernecker Stamps has so many funny sentiments, I LOVE them!

Here's how my card was made-

Die-cut white cardstock measuring 4 1/4" x 5 1/2" using the Quilted Stitch Cover.
Cut strips of decorative paper from the Modern Floral Paper Pad and glue them to the center of the panel.


Then cut that using the largest of the Nested Scallop w/ Half Holes die and glue it to a purple card.
Cover the two inner seams of the decorative paper strips with thin glitter Washi Tape and set aside.


Die-cut white cardstock twice with the Mixable Flower Stack Die and sponge one set with pink Color Fuse Ink and purple Color Fuse Inks on the second set. Glue the pieces together and add a yellow enamel dot in the center of both flowers.


Die-cut leaves using the Greenery #2 Die and glue three leaves to the left side of the card.


Pop-up the pink flower and glue down the purple below the pink flower as shown.


Stamp the sentiment from the Humor Phrases Set on black cardstock with VersaMark Ink and emboss with white embossing powder.
Cut it into a tag shape and glue it diagonally below the flowers and add a purple and white baker's twine bow.


Click on the product to go to the Rubberstamps online shop.
They ship quick!
Have a crafty day!

Let's Connect!

Affiliate and Product Disclosure
I am on various Design Teams and get free goodies for blogging about craft products but only because I love their products and genuinely use them. Ultimately my opinions are my own. A list of companies is in my sidebar.

Wednesday, March 1, 2023

Framed Birthday Cake Card


Happy March 1st!! I have this layered cake Birthday card on the Scrapbook Adhesive's Blog with a tutorial on how it was made and what adhesives are best for all of the different pieces.

Here is one of their products that is my absolute favorites, the 3D Foam Squares Micro. These make popping up thin or small pieces a breeze!!!


Scrapbook Adhesives by 3L products used.

E-Z Runner Grand Dispenser
Crafty Foam Tape 108 ft
3D Foam Squares Micro White
3D Foam Circles White Mix
Dual Tip Glue Pen

Rubbernecker Stamps- Happy Birthday Stamp Set, Quilted Stitch Cover, Nested Rectangle with Square Holes Die
Spellbinders- Stitched Fringe Cake
PrintWorks Specialty Paper- Cardstock

Click on image to go to the Rubbernecker Stamps online shop.

Have a crafty day!

Let's Connect!

Affiliate and Product Disclosure
I am on various Design Teams and get free goodies for blogging about craft products but only because I love their products and genuinely use them. Ultimately my opinions are my own. A list of companies is in my sidebar.