Featured Post

Privacy Policy

I'm working on a new privacy policy for my followers, but for now you should know that if you comment on my site, my site collects your ...

Tuesday, April 4, 2023

Mother's Day Floral Card


Here's the card that I made for my Mom for Mother's Day, I'm so lucky to still have her, she'll be 90 on Saturday.

Here's how my card was made-
 
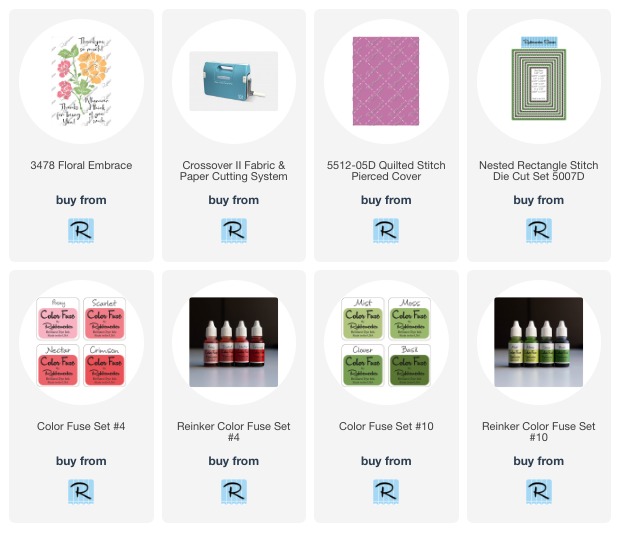
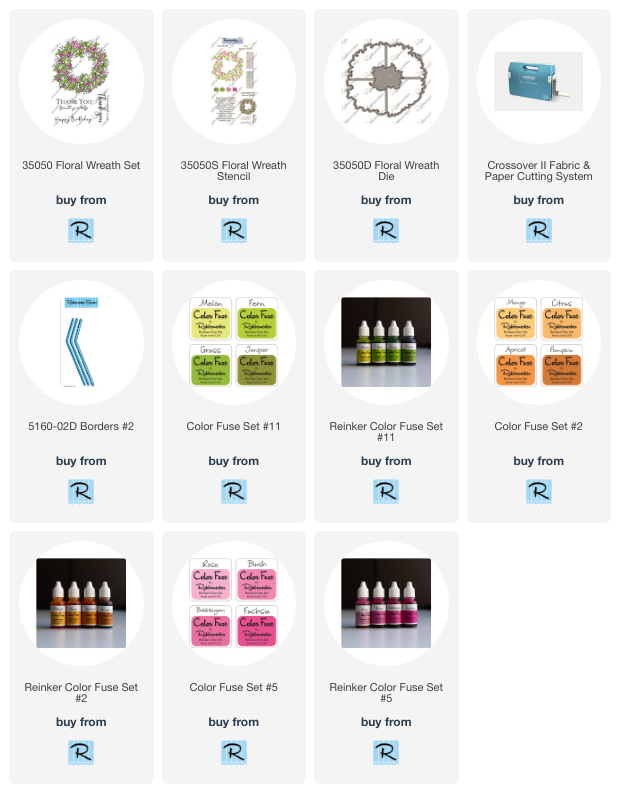
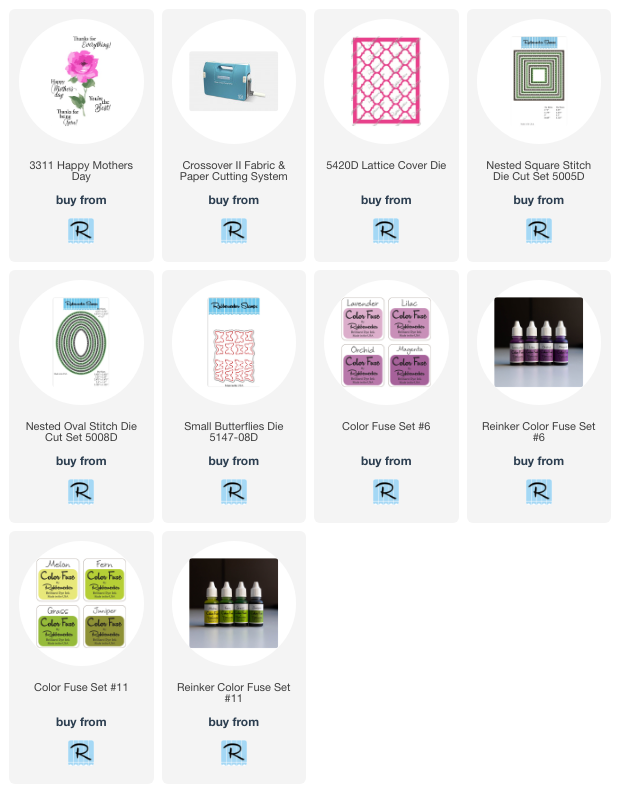
1.  Stamp the flower from the Happy Mother's Day stamp set using Color Fuse Inks #6 for the petals and Color Fuse Ink #10 for the stem and leaves on white cardstock.
2.  Die-cut the flower using a die from the Nested Oval Stitch Die Set and layer it onto a green oval that's one size larger.
3.  Shadow around the flower using blue decorative chalk and a flat brush.
4.  Die-cut white cardstock using the Lattice Cover Die and layer it onto a purple card.
5.  Pop up the flower in the center of the card using 3D Foam Circles.
6.  Stamp the sentiment from the set on white cardstock with black ink and die-cut it using the Nested Square Stitch Die Cut Set and layer it on green cardstock. Glue this to the card as shown.
7.  Glue a small butterfly to the top left corner that was cut using the Small Butterflies Die.
8.  Make a bow from sliver cord and glue it to the stem of the flower.

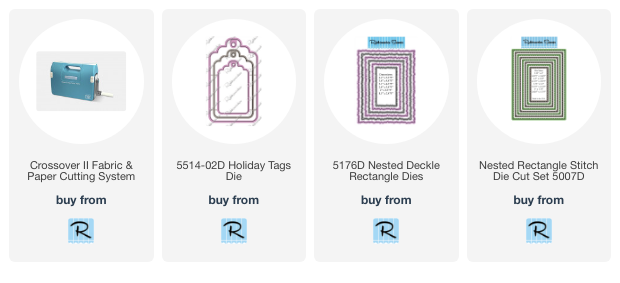
If you're looking for a die-cutting machine, I really love the Crossover ll (shown below) because you don't have to change out the plates depending on what you are die-cutting, you simply spin the pressure wheel on the top to adjust the pressure. I've had mine for about 4 years and the plate hasn't warped!

 Click on the product used to go to the Rubbernecker Stamps online shop.

Have a crafty day!

Let's Connect!

Affiliate and Product Disclosure
I am on various Design Teams and get free goodies for blogging about craft products but only because I love their products and genuinely use them. Ultimately my opinions are my own. A list of companies is in my sidebar.

Saturday, April 1, 2023

Special Day Shaker Card


Today's card is a shaker card made using pretty papers from Kaisercraft.
To start, I splattered white ink on a dusty pink panel and mounted it to an off-white card using E-Z Dots.


Two coordinating papers from the pad were die-cut using a Nested Deckle Rectangle Die from Rubbernecker Stamps, both sheets are the same size. They were layered slightly askew also using the E-Z Runner Dots from Scrapbook Adhesives by 3L.


Floral paper was die-cut using the Holiday Tags Die from Rubbernecker Stamps, then a smaller tag die from the set was centered on the tag. I didn't want the top part of the tag die-cut, so I placed the embossing plate at the bottom scallop of the die and ran it through my Crossover ll embossing machine. By doing this, only the bottom portion of the tag will be cut.


This is what it will look like. Now all that needs to be done is to place a ruler across the tag and use a craft knife to cut it off. Don't forget to cut on a self healing mat.


Since the decorative paper isn't thick, I die-cut the tag with the cutout from white cardstock so it won't be flimsy when it's popped up. The two pieces are attached using the E-Z Dots Runner.
Acetate was die-cut using the larger die and this was attached to the back of the tag using the E-Z Dots Runner.


If you like making shaker cards you will LOVE these 3D Foam Strips, they are nice and thin so you don't have to cut them down. The back of the tag was lined with these, being sure their aren't any openings for the shaker bits to fall out. This is also the point where you want to add ribbon at the top of the tag.


The die-cut paper panels are adhered to the card using the E-Z Dots Runner, then shaker bits were placed on the center of the panel and the tag was placed on top.  Butterflies were cut from one of the papers, the wings were bent up and glued to the card using the Dual Tip Glue Pen. For the final touch, pale pink enamel dots were placed on the card as shown.


All adhesives are from Scrapbook Adhesives by 3L
  
Plus
Kaisercraft Paper Pad- Flowering Native

Here are the products used from Rubbernecker Stamps.
Click on the product below to go to their online shop.

Have a crafty day!

Let's Connect!

Affiliate and Product Disclosure
I am on various Design Teams and get free goodies for blogging about craft products but only because I love their products and genuinely use them. Ultimately my opinions are my own. A list of companies is in my sidebar.

Tall Friend Tag


Skill Level: Intermediate

Creative Time: 35 minutes

Materials Needed:

Scrapbook Adhesives by 3L® E-Z Runner Grand 3D Foam Circles Black Mix 3D Foam Squares Micro White

Home Hobby by 3L® Dual Tip Glue Pen Plus Spellbinders Paper Arts- Door Die, Embossing Folder PrintWorks Specialty Paper- White Glitter Paper, Cardstock Rubbernecker Stamps- Friend Die

Friday, March 24, 2023

Small Miracles Hummingbird Card


Happy Friday! Today I have a card made with the really pretty Stampendous Hummingbird Day Stamp Set from Spellbinders. The set is filled with everything you need to make cute cards.


To make my card, I stamped the images on watercolor paepr and colored them with watercolor pencils.  The images were then cut out.

The white cardstock background was made using the Beveled Diamond 3D Embossing Folder also from Spellbinders. It was mounted to a pink card using the E-Z Runner Grand from Scrapbook Adhesives by 3L. The 3D Embossing Folder, gives wonderful dimension and doesn't cut your paper.

Once everything was placed on the card with the flowers and hummingbird popped up, green enamel dots were placed in the center of the diamond shapes of the embossed background.

Have a crafty day!

Let's Connect!

Affiliate and Product Disclosure
I am on various Design Teams and get free goodies for blogging about craft products but only because I love their products and genuinely use them. Ultimately my opinions are my own. A list of companies is in my sidebar.


Wednesday, March 22, 2023

Floral Friendship Card


Use the Quilted Stitch Pierced Cover to die-cut a white cardstock panel.
Die-cut a frame from gold glitter paper using the Nested Rectangle Stitch Die Cut Set and glue it to the center of the white panel.


Next, stamp the sentiment from the Floral Embrace Set, in the center of the frame with VersaFine Onyx Black Ink and emboss it with clear embossing powder.
Stamp two flowers, one with Posey Color Fuse Ink and sponge the edges with Scarlet Color Fuse Ink. Stamp the second flower with Lavender and sponge the edges with Magenta.
Stamp the leaves with Mist and Clover Color Fuse Inks.


Cut out the flowers and leaves, pop up the flowers one in the upper left corner and one in the lower right corner using 3D Foam Squares.
Glue the flowers down under the flowers.
Mount this to a purple top folding card.


Click on the product to go to the Rubbernecker Stamps online shop.
Have a crafty day!

Let's Connect!

Affiliate and Product Disclosure
I am on various Design Teams and get free goodies for blogging about craft products but only because I love their products and genuinely use them. Ultimately my opinions are my own. A list of companies is in my sidebar.

Monday, March 20, 2023

Wreath Thank You Card


For the first day of Spring, I have a card made with the beautiful Floral Wreath Set along with the coordinating Floral Wreath Stencil and Floral Wreath Die. The Stencil Set makes this quick and easy to color.

Here's how my card was made-

Stamp the Floral Wreath on white cardstock with Onyx Black VersaFine Ink. 
Use the coordinating stencils to add Color Fuse Inks using blending brushes.


Die-cut the bottom of and orange panel of paper using a border die from the Borders #2 Set. 
Splatter white on the panel by mixing a little water with Dr.Ph Martin's Bleed Proof White, this paint  is very opaque.


Next, place three strips of 3D Foam Strips on the back of the orange panel, these are from Scrapbook Adhesives by 3L.


Pop the panel up on a lighter orange card and stamp the sentiment with Onyx Black VersaFine Ink.


Die-cut the wreath using the coordinating Wreath Die and place 3D Foam Circles on the back.


Pop the wreath up on the card and use the Dual Tip Glue Pen to glue a bow at the top of the wreath. 
Lastly, apply Premium Double-Sided Tape 1/8", also from Scrapbook Adhesives by 3L, to the back of a strip of white and gray striped paper and place it on the left edge of the card.


Click on the product to go to the Rubbernecker Stamps online shop.


Have a crafty day!

Let's Connect!

Affiliate and Product Disclosure
I am on various Design Teams and get free goodies for blogging about craft products but only because I love their products and genuinely use them. Ultimately my opinions are my own. A list of companies is in my sidebar.

Saturday, March 18, 2023

Happy Birthday Quick Cards


Here's a quick card today, made with the Stampendous Hope of Spring Quick Card Backgrounds from Spellbinders, that looks like a lot of time was spent making it. This is a beautiful pack of image papers, all you have to do is cut it up or die-cut it, layer it and you have a beautiful card in minutes.
I used the Stampendous Deckle Die Set to die-cut two corners so the blue paper can peek through.


Have a crafty day!

Let's Connect!

Affiliate and Product Disclosure
I am on various Design Teams and get free goodies for blogging about craft products but only because I love their products and genuinely use them. Ultimately my opinions are my own. A list of companies is in my sidebar.