For those of you that haven't started your Christmas cards, I have a bunch of cards with directions to help you get started. All of the cards and tags are made using Stamps and Dies from Rubbernecker Stamps. If you need to order anything, they have fast shipping so it's not too late to order!!
Santa and Reindear Tags
.jpg)
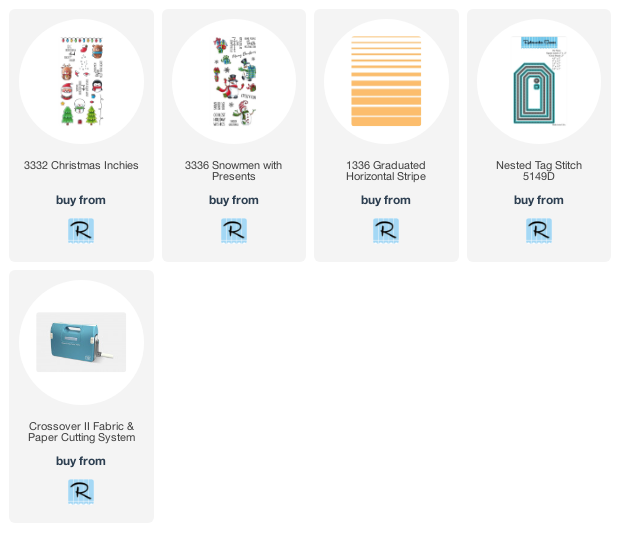
This Christmas Season don't forget to make some cute little tags for those gifts under the tree. I used the Christmas Inchies Stamp Set from Rubbernecker Stamps that I used on Monday to make my slimline card (see it HERE), this set is not only cute but also versatile.
Here's how my card was made-
- Stamp Christmas Inchies on white cardstock with Onyx Black VersaMark Ink and color with Prisma Colored Pencils.
- Cut out and set aside.

- Stamp tan cardstock with the Graduated Horizontal stamp using white pigment ink.
- Stamp snowflakes from the Snowman with Presents stamp set over the stamped tan panel.
- Die-cut the stamped tan panel twice using a tag from the Nested Tag Stich Die Set.

- Cut a wave at the top of white glitter paper and use the same tag die to cut the glitter paper just tall enough for the bottom of the tag.
- Glue the glitter paper to the bottom of the tags and layer and glue the tags, one on red and one on green cardstock that has been die-cut with the same tag die having them be a bit offset.


Click on the product to go to the Rubbernecker Stamps online shop
Christmas Tree Tags

Gingerbread Man Tag

Winter Coffee Card

Just because Christmas is over, don't put away those snowflakes, they can be used all winter long! I used them on the purple frame and die-cut them out of glitter paper. Here's how my card was made;
- Die-cut a purple frame using the Deckle Frame Die.
- Stamp the frame with the Snow Flake Frame stamp and white pigment ink. Pop this up on a white card using foam squares and set aside.
- Die-cut a white and purple cardstock with the Nested Rectangle Small Stitch Die Set and glue together so that they are offset. Glue this in the center of the frame on the white card.
- Stamp the girl from the Coffee Lovers Set with black ink on white cardstock, color with colored pencils, and die-cut with the Coffee Lovers Die set.
- Die-cut white cardstock using the Nested Tag Stitch die set and apply Sky Color Fuse Ink to the enter of the die.
- Use the Nested Oval Small Stitch Die Cut Set to cut grey patterned paper.
- Glue the oval to the bottom of the tag, pop up the girl with foam squares, and randomly ally sequines to the tag.
- Glue the tag to the center of the frame diagonally and glue on green ribbon that has been tied into a knot.
- Die-cut several snowflakes from white glitter paper and glue two flat to the bottom left corner and pop one up using a foam square.
- Stamp the sentiment from the set onto white cardstock with black ink and die-cut with the Nested Oval Small Stitch Die.
- Glue two snowflakes to the back of the sentiment and pop up the right corner.


Slimline Christmas Card

Hi there, I hope you're having a good start to your week. How are you doing on those Christmas cards? If you haven't started, today is the day! For my card, I made a slimline card using the new Christmas Inchies stamp set. Be sure to come back in a couple of days, I'll have tags that I made using the same set for a completely different look.
Here's how my card was made;


Hi there, I hope you're having a good start to your week. How are you doing on those Christmas cards? If you haven't started, today is the day! For my card, I made a slimline card using the new Christmas Inchies stamp set. Be sure to come back in a couple of days, I'll have tags that I made using the same set for a completely different look.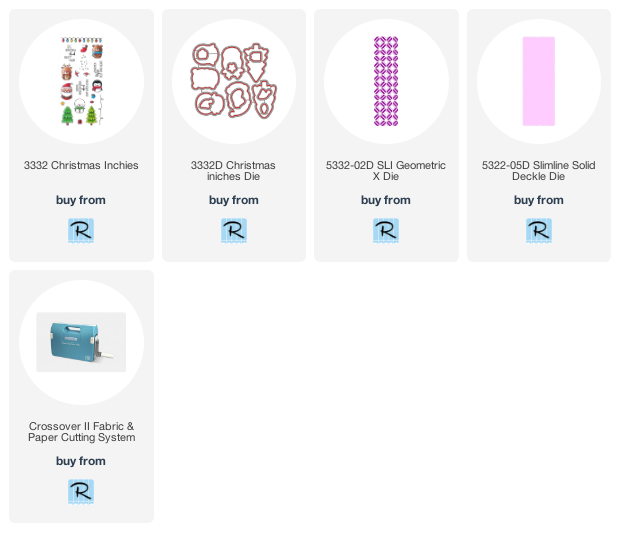


- Stamp the Santa, Christmas tree and Rudolph from the Christmas Inchies set on white cardstock with Onyx Black Ink and color with Prisma Colored Pencils.
- Die-cut the images with the Christmas Inchies Die set and set aside.

- Using the Slimline Solid Deckle Die, die-cut white cardstock.
- Place the SLI Geometric X Die in the center of the Solid Deckle panel, keep it in place using a low tack tape and run it through the Crossover ll.
- Repeatedly stamp the string of lights across the top of the die-cut panel with black ink.
- Stamp Merry Christmas on the bottom center of the panel with black ink.

- Color lights green, red, and yellow using Bottle Green Nuvo Crystal Drops, Carnation Red Liquid Pearls, and Sunflower Liquid Pearls.
- Apply Diamond Glaze over the top of the painted lights and let dry.

- Layer the die-cut slimline panel onto slightly larger decorative paper and glue to a red slimline card.
- Place foam squares on the back of the three Inchies and pop upon the card as shown.

Here's how my card was made;
- Stamp the Santa, Christmas tree and Rudolph from the Christmas Inchies set on white cardstock with Onyx Black Ink and color with Prisma Colored Pencils.
- Die-cut the images with the Christmas Inchies Die set and set aside.
- Using the Slimline Solid Deckle Die, die-cut white cardstock.
- Place the SLI Geometric X Die in the center of the Solid Deckle panel, keep it in place using a low tack tape and run it through the Crossover ll.
- Repeatedly stamp the string of lights across the top of the die-cut panel with black ink.
- Stamp Merry Christmas on the bottom center of the panel with black ink.
- Color lights green, red, and yellow using Bottle Green Nuvo Crystal Drops, Carnation Red Liquid Pearls, and Sunflower Liquid Pearls.
- Apply Diamond Glaze over the top of the painted lights and let dry.
- Layer the die-cut slimline panel onto slightly larger decorative paper and glue to a red slimline card.
- Place foam squares on the back of the three Inchies and pop upon the card as shown.
Products used
Click on item to go to the Rubbernecker Stamps online shop
Believe Santa Gnome Card

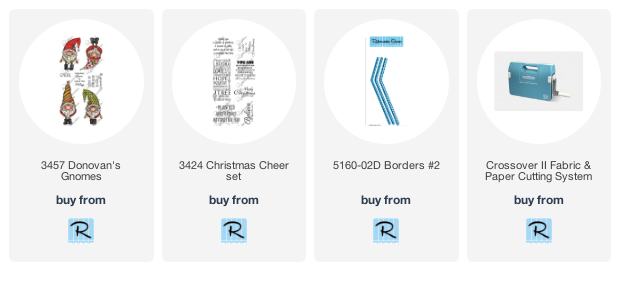
Hey my crafty friends, have you started on your Christmas cards yet? If not tic toc... now is the time, and if you're short on time here's a quick and easy festive card that you can whip out in no time. The new William Winter Gnome from Rubbernecker Stamps is colored with Prisma Colored Pencils and glitter was applied to the trim of the hat.

He was cut out and popped up on a white panel. The plaid paper edge was die cut using the Borders #2 die set, isn't that cute!! Once the papers were glued to a red top folding card, the sentiment Magic of the Season was stamped in black and a twine bow was tied on the top.

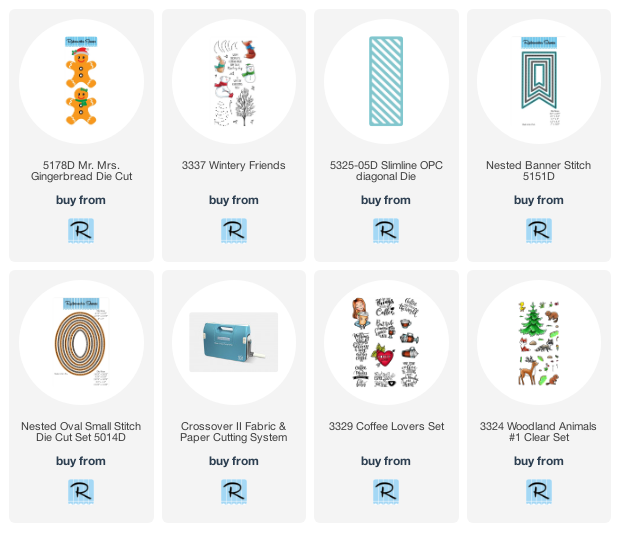
 Wintery Gingerbread Man Slimline Card
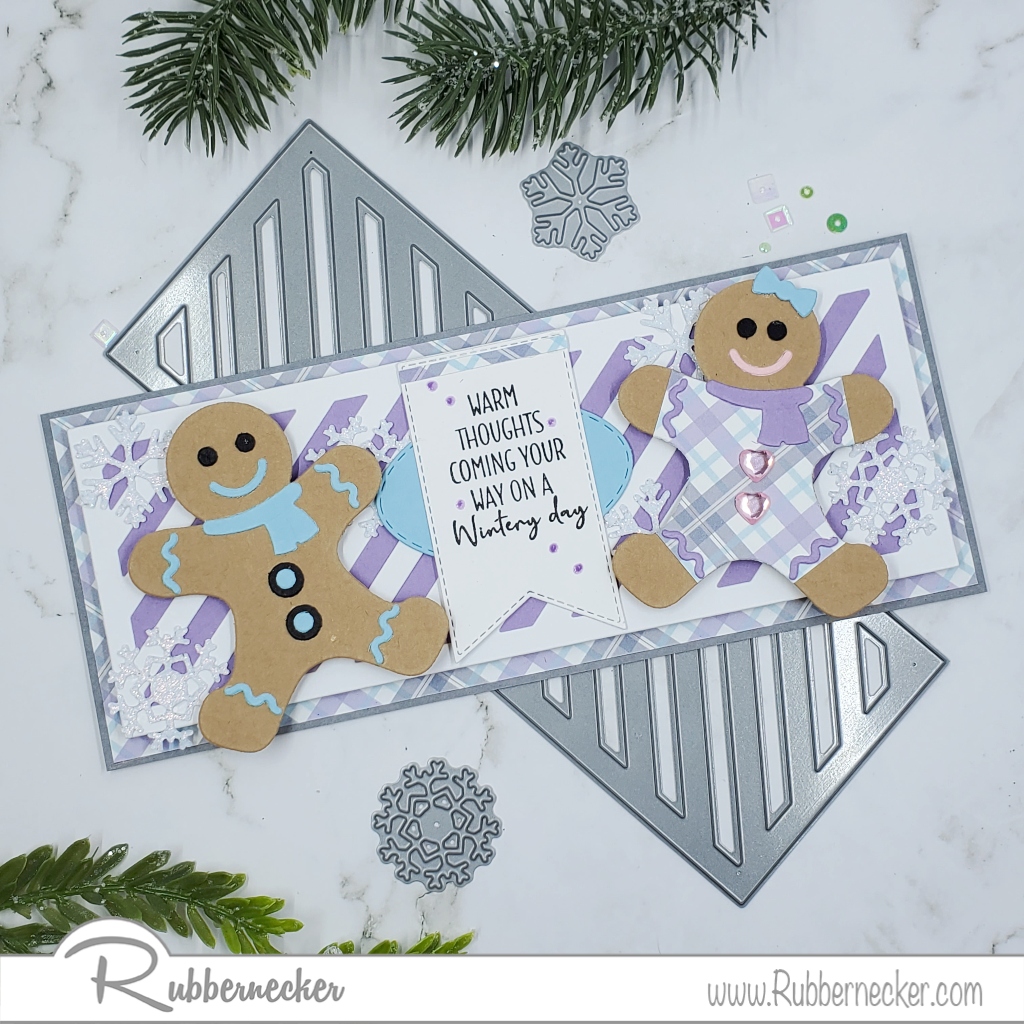
- Die-cut two pieces of kraft color cardstock, one-piece each of light blue cardstock, lavender cardstock, black cardstock, and one piece of decorative paper using the Mr. Mrs. Gingerbread Die Cut.
- Glue blue and black pieces onto one of the gingerbread men as shown and set aside.

- Cut the hands and feet off of the decorative paper gingerbread man to make a cute little outfit for the Mrs.
- Glue the pieces on as shown.
- Apply two pink adhesive heart rhinestones for the buttons and set aside.

- Die-cut white cardstock using the Nested Banner Stitch Die Set and Slimline OPC Diagonal die.
- Die-cut white cardstock with the Nested Oval Small Stitch Die Cut Set from light blue cardstock.
- Glue the Slimline OPC Diagonal onto lavender paper, pop this up onto slightly larger decorative paper, and glue it onto a grey slimline card.
- Die-cut white glitter paper with the Small Snow Flake Die 5100-03D and 5100-04D. Glue these to the card.
- Stamp sentiment from the Wintery Friends stamp set with black in on the die-cut banner, glue it on top of the blue oval die-cut and glue flat to the center of the card.
- Randomly add dots of Nuvo Crystal Crushed Grape around the sentiment.
- Pop up Mr. and Mrs. Gingerbread Die Cut to each side of the sentiment.

- There were some cutout images on my desk and thought they would also look good on the card, so I added the bottom two cards for a couple more ideas.


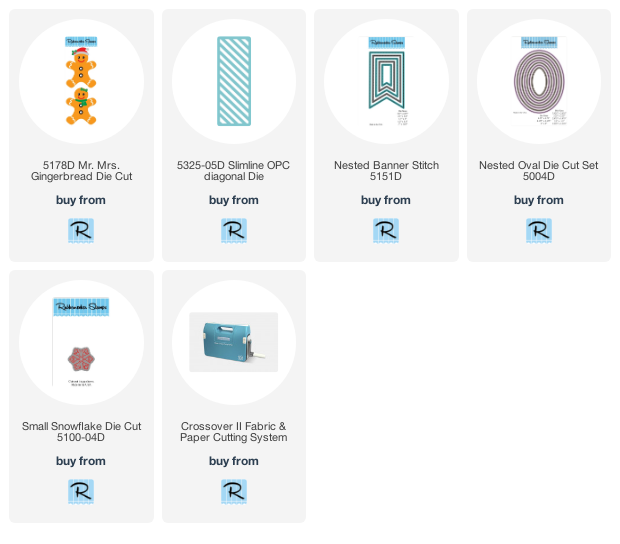
These are the Rubbernecker Stamps products used for the cards.
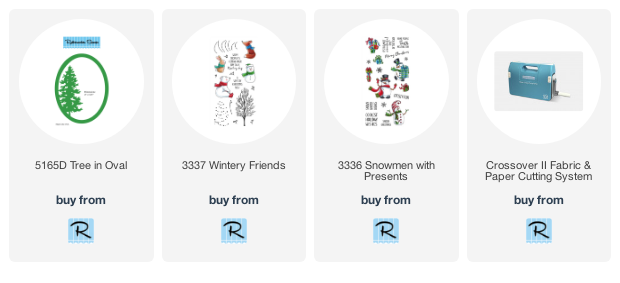
Gold Glitter Christmas Card

I know this may seem early but it's Christmas in July, if you start now and make a few each month, you won't be in a rush to make Christmas cards in December. My card is quick and easy so if you have a lot to make this might be for you.
Here's how my card was made-
- Die-cut the Tree In Oval from gold glitter paper, I used the Crossover II Fabric & Paper Cutting System.

- Apply 3D Foam Squares from Scrapbook Adhesives by 3L to the backside of the die-cut piece.

- Place this piece on a 4" x 5 1/4" cream cardstock panel and lightly mark the inside of the oval with a pencil.
- Before removing the die-cut piece stamp the sentiment from the Wintery Friends Set with gold ink and emboss with clear embossing powder.
- Randomly stamp snowflakes from the Snowmen with Presents Set.
- Adhere the cream panel to a kraft and gold polka dot card.

- Now adhere the die-cut piece to the card.

No comments:
Post a Comment