Featured Post
Privacy Policy
I'm working on a new privacy policy for my followers, but for now you should know that if you comment on my site, my site collects your ...
Monday, November 22, 2021
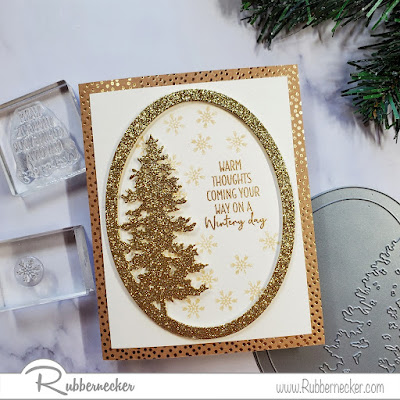
A Merry Christmas Shaker
Monday, November 15, 2021
Make your Merry Christmas Background
Tuesday, November 9, 2021
Just For You
Saturday, November 6, 2021
A Note To Lift You
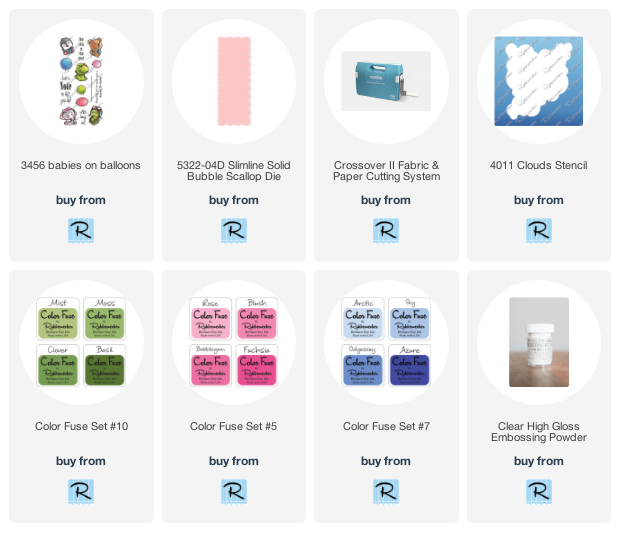
- Use the Cloud Stencil to stencil clouds on white cardstock with Blush, Sky and Clover Color Fuse Inks. Blender brushes or sponges can be used for this, I used blender brushes.
- Die-cut the cloud panel using the Slimline Solid Bubble Scallop Die. I use the CrossOver ll die-cut machine, you don't have to change the plates depending on what you're cutting because it has a wheel on the top for you to adjust the pressure, so easy!!
- Layer this onto a slightly larger white cardstock panel and then onto a light blue card.
- Stamp the animals and balloons from the Babies on Balloons Clear Set on watercolor paper with VersaFine Ink and emboss with clear embossing powder.
- Watercolor the images with Inktense Pencils and cut them out.
- Stamp the sentiment from the same set with black ink on white cardstock and layer this onto slightly larger blue cardstock. Glue this diagonally to the top left of the card.
- Pop up the animals and balloons with foam squares.
- Glue twine to the back of the balloons, tie a knot towards the bottom and glue the knot to the animal.
- Randomly glue sequins to the card and pink enamel dots around the sentiment.
Tuesday, November 2, 2021
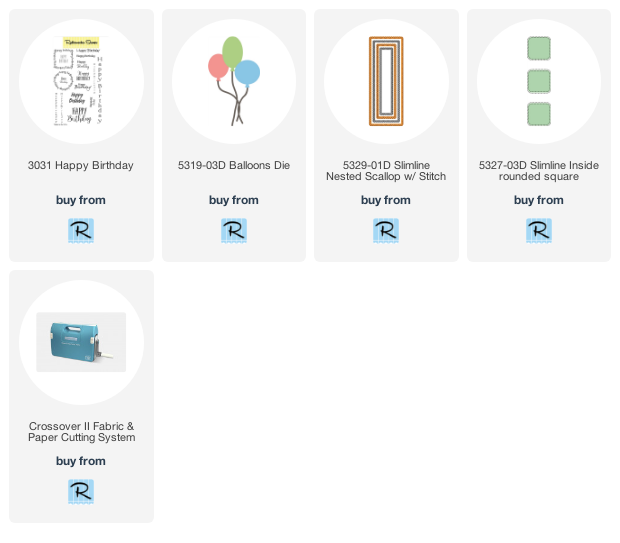
Birthday Balloons Slimline Card
- Die-cut decorative paper using the largest die from the Slimline Nested Scallop w/ Stitch.
- Place the Slimline Inside Rouned Square die in the center of the decorative paper piece and run it through your CrossOver ll die cut machine (with this machine there is no need to change out plates. You can adjust the pressure by turning a knob on top, so easy!). Also, die-cut white cardstock with the same die, to use one of the squares.
- Pop up the decorative paper piece on a slightly larger white cardstock panel using foam squares.
- Stamp the happy birthday square from the Happy Birthday Set, on one of the die-cut squares with VersaMark Ink and emboss with Iced Pink Embossing Enamel.
- Stamp Happy Birthday from the same set with VersaMark Ink and emboss it with gold embossing powder.
- Apply foam squares to the back of the square and pop it up in the center open square.
- Use the Balloons Die and die-cut decorative paper and Iced Pink embossed cardstock.
- Add three balloons to the top and bottom squares, gluing the side balloons to the decorative paper card and popping up the center balloon with foam squares.
- Glue this to a pink slimline card and randomly add sequins.
Monday, November 1, 2021
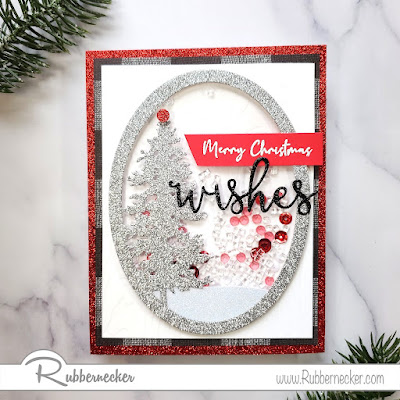
Christmas Shaker Card
Sunday, October 24, 2021
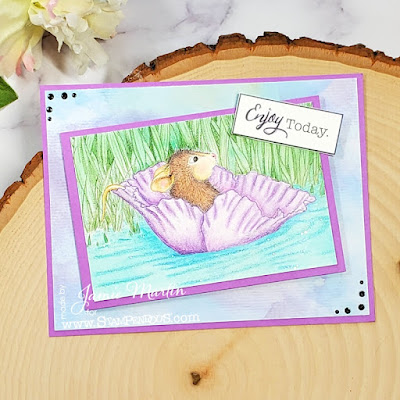
Enjoy Today
Hi, I hope you're enjoying your day just like this cute little mouse is floating down the river. The stamp is Stream Float from Stampendous.
Sometimes House-Mouse Designs stamps might look a little intimidating to color, but I have a hack for you.
I colored the mouse and flower with Prisma Colored Pencils and the hack comes in for the background. I used decorative chalks (Jane Davenport) to color the grass by using a flat paintbrush and green chalk, I then shade some of the grass blades with pencils. I did the same for the water using blue chalk the using a darker blue pencil to do the shading, this saves a ton of time.
The background watercolor paper is from a decorative paper pack that I picked up at Hobby Lobby, it looks like it was handmade!