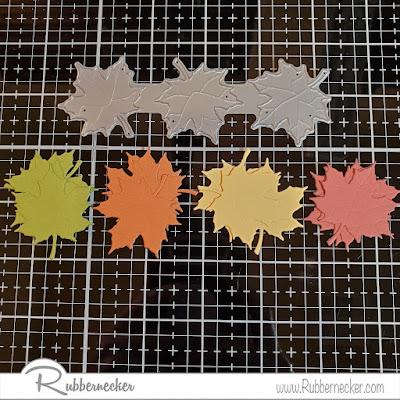
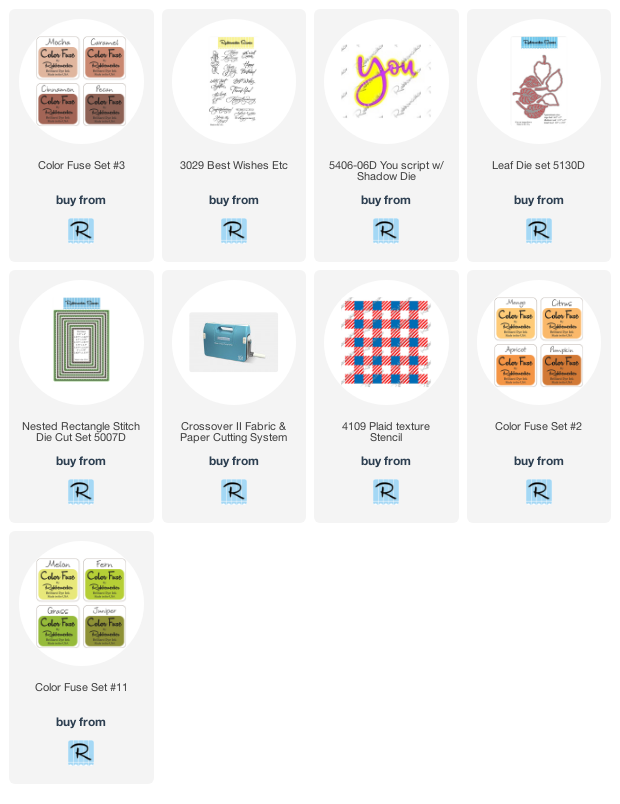
Die-cut leaves from the Leaf Die Set using PrintWorks white cardstock.
Use blender brushes or sponges to add Color Fuse Ink from sets #2, #3, and #11. Make the solid leaves a little darker than the open-cut leaves.
Glue the open-cut leaves to the matching solid leaves and set aside.
For the background, I had previously made a background using the new Plaid Texture Stencil using Carved Pumpkin Distress Oxide Ink. The stencil had a lot of ink on it when I was done, so rather than wasting it, I spritzed it with water, placed a piece of watercolor paper on top and gave it a little rub. This gave me a pretty background.
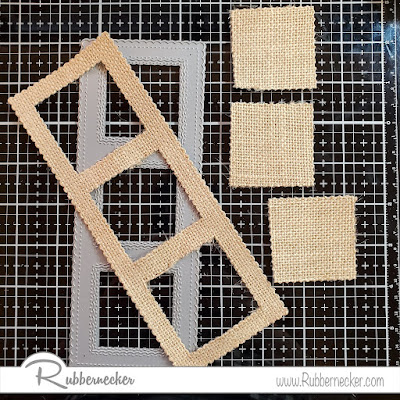
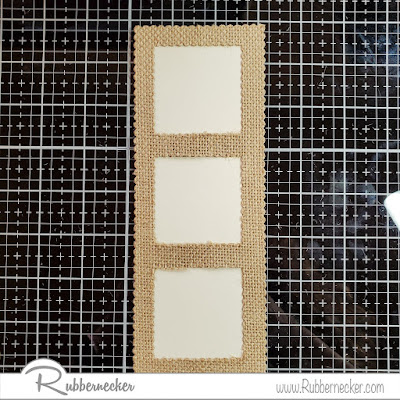
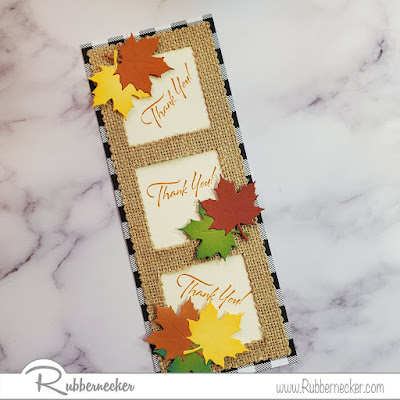
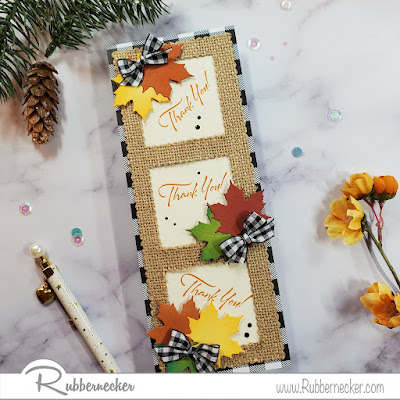
Die-cut the watercolor paper with a die from the Nested Rectangle Stitch Die Cut Set and layer it onto a slightly larger rust panel. Apply foam squares to the pack and pop it up on a light orange card.
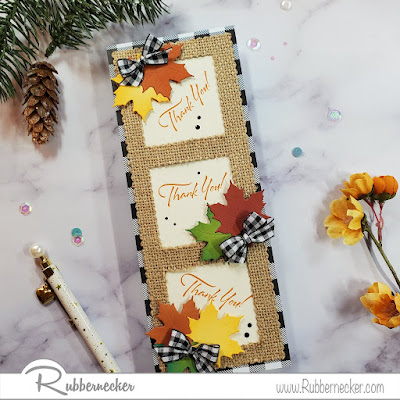
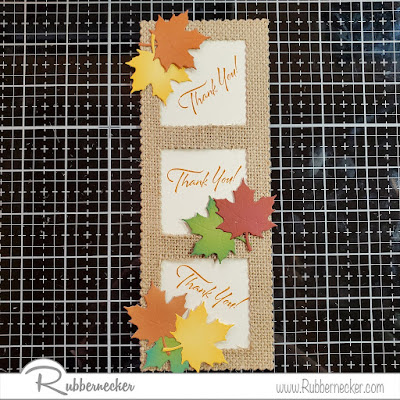
Glue the green and brown leaves to the panel as shown and pop us the green leaf using foam squares.
Die-cut the You Script w/Shadow Die from green and orange papers, glue together as shown and glue to the panel.
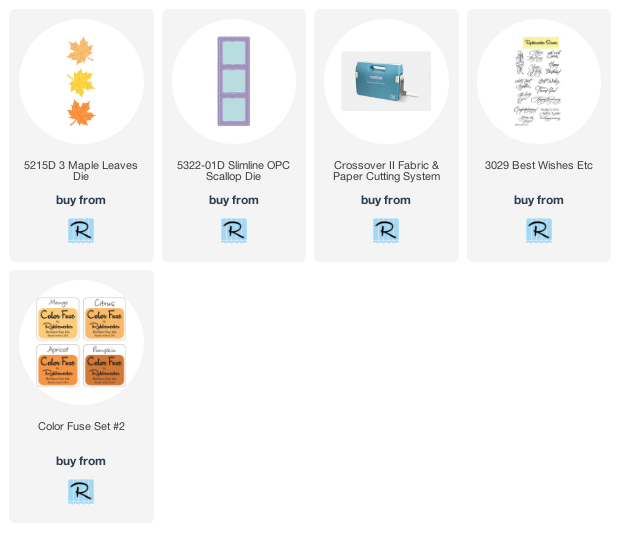
Stamp "Thank" from the Best Wishes Set with black ink on a strip of orange paper. Pop it up on the panel as shown.
Add gold glitter enamel dots to the card as shown
Have a crafty day!
Let's Connect!
Affiliate and Product Disclosure
I am on various Design Teams and get free goodies for blogging about craft products but only because I love their products and genuinely use them. Ultimately my opinions are my own. A list of companies is in my sidebar.
Being part of various affiliate programs – when you click on an affiliate link and then go on to make a purchase, at no cost to you, I receive a small commission. The affiliates I use include Rubbernecker Stamps.