Featured Post
Privacy Policy
I'm working on a new privacy policy for my followers, but for now you should know that if you comment on my site, my site collects your ...
Wednesday, October 6, 2021
Autumn Thank You
Friday, October 1, 2021
A Sparkly BOO To You

Tuesday, September 21, 2021
Slimline Hello
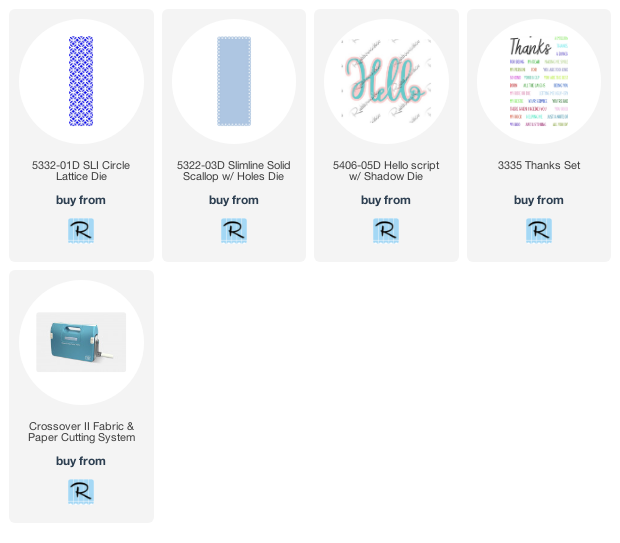
- Die-cut decorative paper using the Slimline Solid Scallop w/ Holes Die and the SLI Circle Lattice Die and glue it onto a white cardstock panel.
- Use the Organic Shapeable Daisy Die to die-cut yellow and green cardstock from PrintWorks.
- Add Pumpkin and Juniper Color Fuse inks to the edges of the petals and leaves using blender brushes.
- Die-cut the Hello Script w/ Shadow Die from black cardstock and gold glitter paper from PrintWorks. Glue the gold glitter Hello to the black Hello Shadow.
- Glue the Daisy and Hello to the Lattice Circle piece as shown.
- Stamp the sentiment from the Thanks Set on a strip of white cardstock with black ink.
- Glue the Circle Lattice panel to a slightly larger yellow panel then onto a white slimline card.
- Glue all of the pieces to the card as shown and add a gold glitter dot to the sentiment.
- Die-cut decorative paper using the Slimline Solid Scallop w/ Holes Die and the SLI Circle Lattice Die and glue it onto a white cardstock panel.
- Use the Organic Shapeable Daisy Die to die-cut yellow and green cardstock from PrintWorks.
- Add Pumpkin and Juniper Color Fuse inks to the edges of the petals and leaves using blender brushes.
- Die-cut the Hello Script w/ Shadow Die from black cardstock and gold glitter paper from PrintWorks. Glue the gold glitter Hello to the black Hello Shadow.
- Glue the Daisy and Hello to the Lattice Circle piece as shown.
- Stamp the sentiment from the Thanks Set on a strip of white cardstock with black ink.
- Glue the Circle Lattice panel to a slightly larger yellow panel then onto a white slimline card.
- Glue all of the pieces to the card as shown and add a gold glitter dot to the sentiment.
Monday, September 20, 2021
Hug From The Inside
Stampendous
Q257 Cocoa Gnome
H339 Cocoa Hug
Mixed Media White Paper
Onyx Black VersaFine Ink
PlusPen
Prisma Colored Pencils
Scrapbook Adhesives by 3L- Dual Tip Glue, Stars, 3D Foam Circles
Black and White Twine
Nested Banner Stitch Die
Decorative Paper
Red Cardstock
Wednesday, September 15, 2021
Birthday Card and Gift Box
Friday, September 3, 2021
Pumpkin Stack
- I stamped the image on Mixed Media White Cardstock with VersaFine Onyx Black ink and colored it with Prisma Colored Pencils.
- To shadow around my image, I used Broken China Distress Ink with a blending brush.
- The image was layered on some pretty decorative paper that I ran across while cleaning my stamp room, I just love finding things that I've forgotten about!
- I used adhesives from Scrapbook Adhesives by 3L and the purple and green cardstock are from PrintWorks.
Supplies
Stampendous
P370 Gnome Patch
SSC007 Storybook Alphabet Perfectly Clear Set
Mixed Media White Paper
Onyx Black VersaFine Ink
Plus
Prisma Colored Pencils
Scrapbook Adhesives by 3L- Dual Tip Glue, 3D Foam Circles,
PrintWorks- Cardstock in Green, Purple
The Paper Studio- Decorative Paper
Wednesday, September 1, 2021
Fall Greetings
Start with a tan card and die-cut the top flap with an edge die. Cut a strip of Adhesive Sheet that's a little larger than your leaves, remove one side of the liner and place it in the center of your card. Cut an additional piece to place on the bottom of the inside of the card so that it is seen when the card is closed.
Remove the top liner from the adhesive sheet and place three leaves on the adhesive as shown.
Skill Level: Intermediate
Creative Time: 35 minutes
Materials Needed:
Scrapbook Adhesives by 3L®
Crafty Power Tape Polybag 81ft.
Scrapbook Adhesives by 3L®