Today I have a clean and simple card made using a beautiful Spinaround Flower Stencil from Rubbernecker Stamps. Links to the products is at the bottom of the post.
Here's how my card was made-
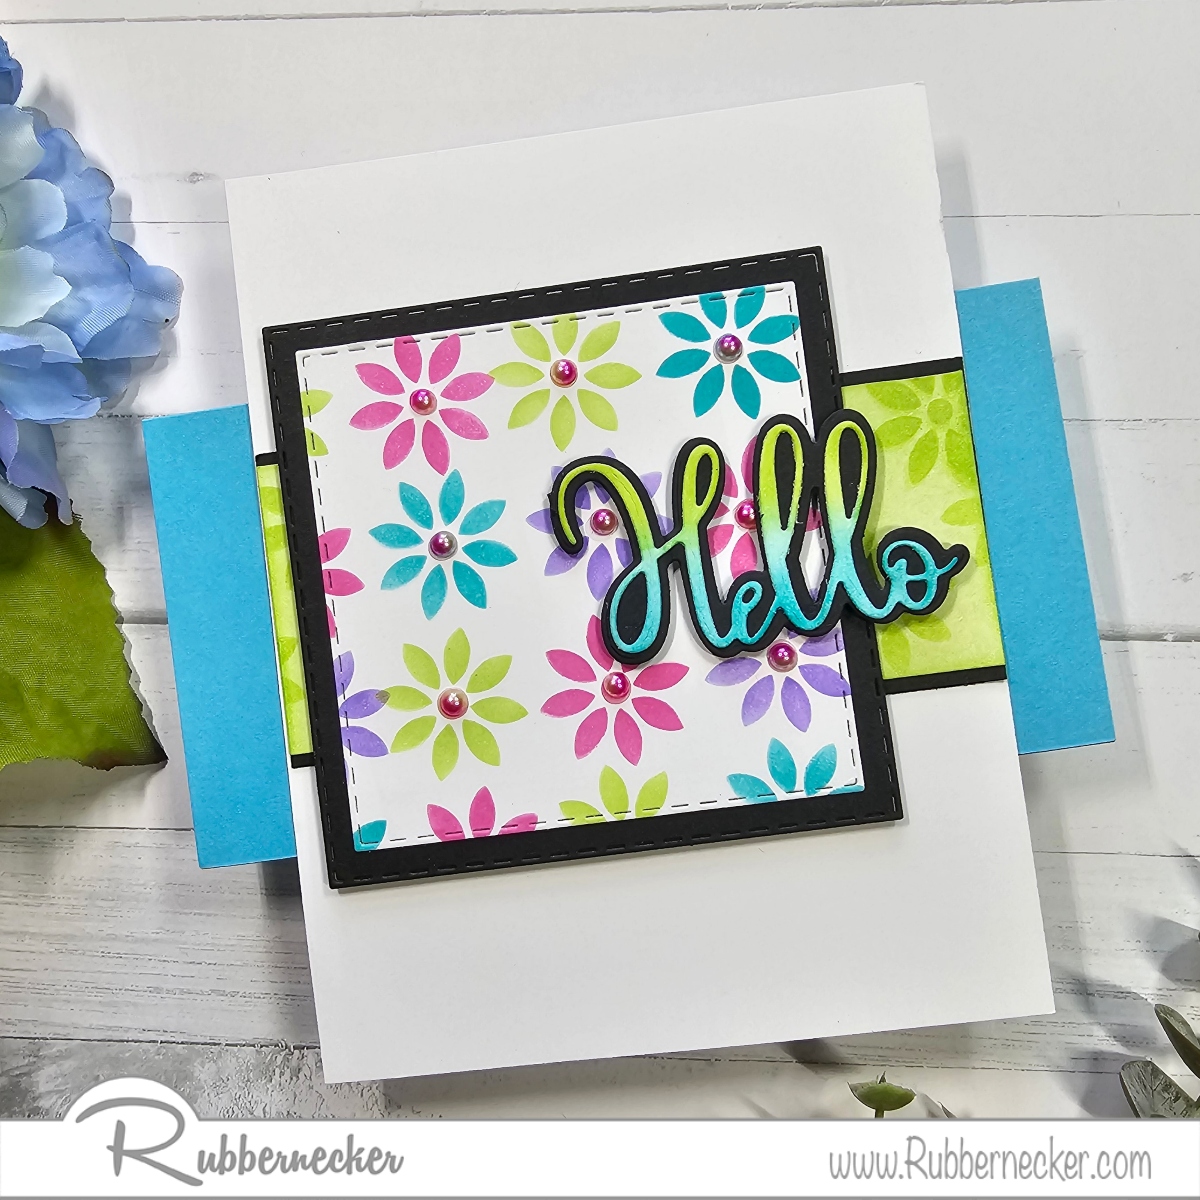
Place the Spinaround Flower Stencils on white cardstock, use pink ink on all of the flowers, clean it then spin it 1/4 of the way and apply the next color, continue until all four sides are done.
Die-cut this piece using the Nested Square with Pierce Die and the next larger die on black cardstock to layer the flowers onto.

Stencil green flowers onto a strip of white cardstock, once the ink is dry, lightly sponge the strip with the same color ink.
Layer the panel onto a slightly wider piece of black cardstock and glue it to the center of a white card.
Die-cut Hello Script w/ Shadow die on white cardstock. Keep the Hello in the cardstock to sponge it with blue ink on the bottom and green ink on top.
Die-cut the shadow portion on black cardstock and glue the sponged Hello on the shadow.

Apply 3D Foam Squares Micro Black on the back of the Hello and pop it up center, right on the card.
Place small self-adhesive pearls to the center of the flowers.

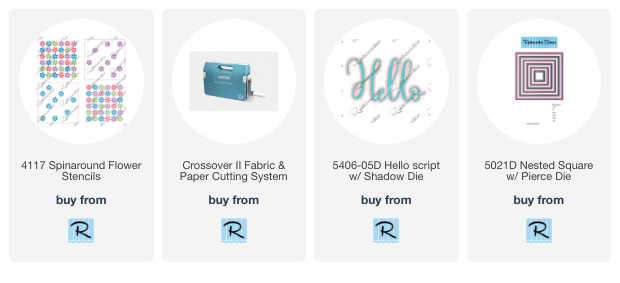
Click on the product to go to the Rubbernecker Stamps online shop.
Have a crafty day!