Featured Post

Privacy Policy

I'm working on a new privacy policy for my followers, but for now you should know that if you comment on my site, my site collects your ...

Saturday, January 7, 2023

Watercolor Fish Friendship Card


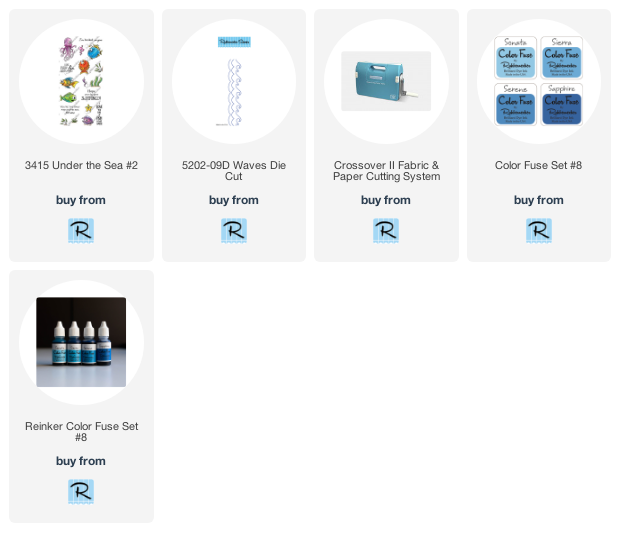
Today's card uses the new release Under the Sea Set #2 from Rubbernecker Stamps to make this fun summer card.  Be sure to read on to see how the waves were made!

Here's how my card was made-
  • Die-cut blue cardstock 4" x 5 1/4" with the Waves Die Cut about 1/3 from the top.
  • Use the top portion that was cut off like a stencil and leaving the top of the wave panel un-inked, start applying blue inks from the Color Fuse Inks #8 Set starting with the lightest color and move the "stencil" down each time you go darker.

  • Glue the waves to a white cardstock panel 4" x 5 1/4" using the Dual Tip Glue Pen from Home and Hobby by Scrapbook Adhesives by 3L.
  • Stamp the sentiment from the Under the Sea #2 with Onyx Black Ink and emboss with clear embossing powder from Stampendous.


  • Glue this to a light blue card using the same adhesive.
  • Stamp the fish from the Under the Sea #2 Set with black ink on watercolor paper and emboss with clear embossing powder. 
  • Watercolor the fish and cut them out.
  • Pop up the fish with 3D Foam Adhesive Squares as shown.
  • Glue on blue and clear Dew Drops for the bubbles above the fish.
  • Add a seashell sequin near the sentiment.


Have a crafty day!

Let's Connect!

Affiliate and Product Disclosure
I am on various Design Teams and get free goodies for blogging about craft products but only because I love their products and genuinely use them. Ultimately my opinions are my own. A list of companies is in my sidebar.
Being part of various affiliate programs – when you click on an affiliate link and then go on to make a purchase, at no cost to you, I receive a small commission.  The affiliates I use include Rubbernecker Stamps.

Sunday, January 1, 2023

Truck Full of Hearts Card


Today I have this card up on the Scrapbook Adhesives Blog with a tutorial on how this truck full of hearts card was made, you can see it HERE.

These products are from Rubbernecker Stamps, click on image to go to their online shop.

Have a crafty day!

Let's Connect!

Affiliate and Product Disclosure
I am on various Design Teams and get free goodies for blogging about craft products but only because I love their products and genuinely use them. Ultimately my opinions are my own. A list of companies is in my sidebar.

Friday, December 23, 2022

Good Morning Coffee Card


Hi there! I hope all of my U.S.A. friends are staying warm during our super cold weather that's sweeping across the U.S. I thought this would be a good time to share a coffee card using stamps and dies from Rubbernecker Stamps.


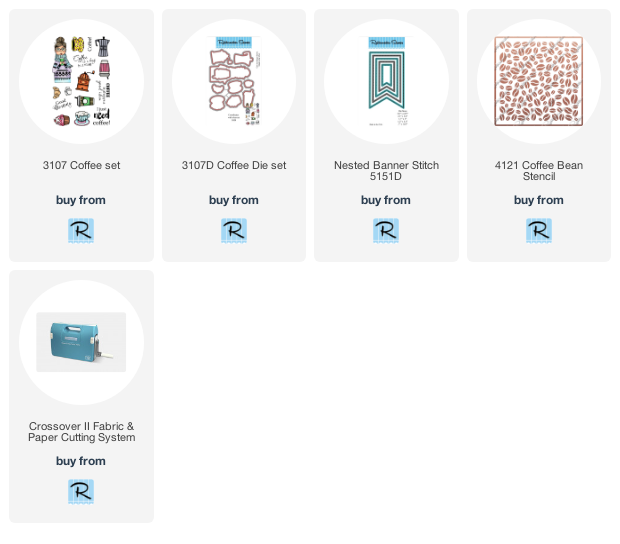
The images were colored with Prisma Colored Pencils and cut using coordinating dies. 

Here are the products used from Rubbernecker Stamps, click on an image to go to the rubbernecker stamps online store.

 
Have a crafty day!

Let's Connect!

Affiliate and Product Disclosure
I am on various Design Teams and get free goodies for blogging about craft products but only because I love their products and genuinely use them. Ultimately my opinions are my own. A list of companies is in my sidebar.

Tuesday, December 20, 2022

Thanks Floral Tag Card


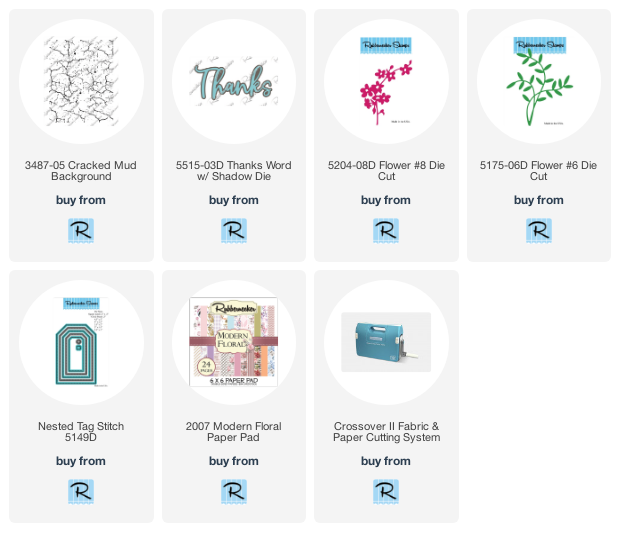
Die-cut floral and solid paper from the beautiful Modern Floral 6 x 6 Paper Pad using a die from the Nested Tag Stitch Die Set and  adhere them together with the solid color slightly off so it can be seen, using the E-Z Runner Grand Dispenser from Scrapbook Adhesives by 3L.


Here's what the beautiful Modern Floral Paper Pad looks like.


Stamp a gray panel with the Cracked Mud Background using a white pigment ink. Layer this onto a pink card.


Die-cut the Flower #8 and Flower #6 from white glitter paper and use a blending brush to apply green and pink inks.


Cut three strips of white glitter paper and glue them to the bottom of the gray panel.


Next use the Thanks Word w/ Shadow Die to cut the same solid color as used for the tag and for the shadow, cut gray and white cardstock.
Glue the two shadow pieces with the gray on top and the white underneath so it can be seen.  Then glue the thin Thanks to the top.


Now to assemble the card,
Glue the leaves and flowers to the card and pop up the tag over them using foam squares. 
Pop up the Thanks on the tag diagonally using foam squares.
Tie the top with ribbon and set aside.


Click on the product below to go to the Rubbernecker Stamps online store.
Have a crafty day!

Let's Connect!

Affiliate and Product Disclosure
I am on various Design Teams and get free goodies for blogging about craft products but only because I love their products and genuinely use them. Ultimately my opinions are my own. A list of companies is in my sidebar.

Thursday, December 15, 2022

Slimline Baby Card


Today I have this sweet slimline baby card up on the Scrapbook Adhesives by 3L Blog with a tutorial on how it was made and what adhesives were used to stick things down and pop them up. Be sure to check it out HERE.


Plus Rubbernecker Stamps- Sand Stencil Stampendous/Spellbinders Paper Arts- Frames and Boarders Die Set Ranger Ink- Distress Ink DCWV- Baby Boy Stack Paper Pad


Have a crafty day!

Let's Connect!

Affiliate and Product Disclosure
I am on various Design Teams and get free goodies for blogging about craft products but only because I love their products and genuinely use them. Ultimately my opinions are my own. A list of companies is in my sidebar.
 

Wednesday, December 7, 2022

Thanks Square Leaf Card


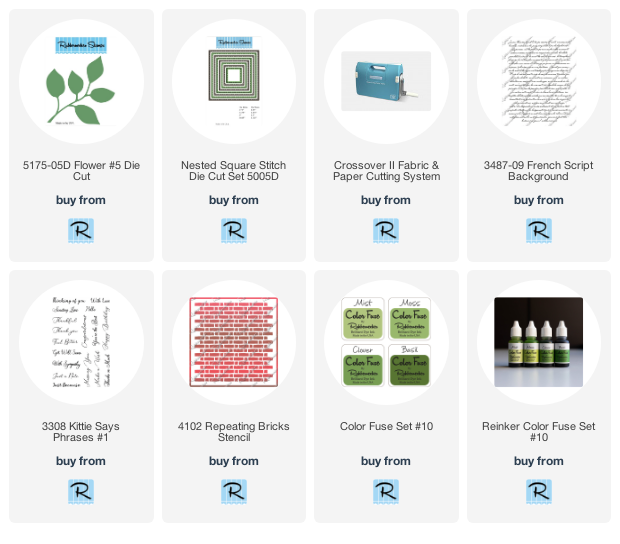
Use the Repeating Bricks Stencil to create a background on watercolor paper using pink and maroon glitter paste. Be sure to wash the stencil right away with warm soapy water. 


Once the paste is dry, die-cut the panel using the Nested Square Stitch Die Set.


Die-cut white cardstock using the Flower #5 Die Cut and apply Moss and Basil Color Fuse Inks using a blending brush.


Stamp the leaf with the French Script Background with Onyx Black VersaFine Ink.
Layer this on a black die-cut of the Flower #5 Die.


Now we will put this all together by layering the brick panel to a slightly larger black cardstock panel and this was popped up on a white cardstock panel that has been glued to a green square card.


Lasty stamp "Thankful" from the Kittie Say Phrases #1 on a strip of white cardstock with black ink pop this up diagonally on the bottom of the stem and add a black and white bow made from bakers' twine.


Have a crafty day!

Let's Connect!

Affiliate and Product Disclosure
I am on various Design Teams and get free goodies for blogging about craft products but only because I love their products and genuinely use them. Ultimately my opinions are my own. A list of companies is in my sidebar.

Thursday, December 1, 2022

Glitter Butterfly Thank You Card


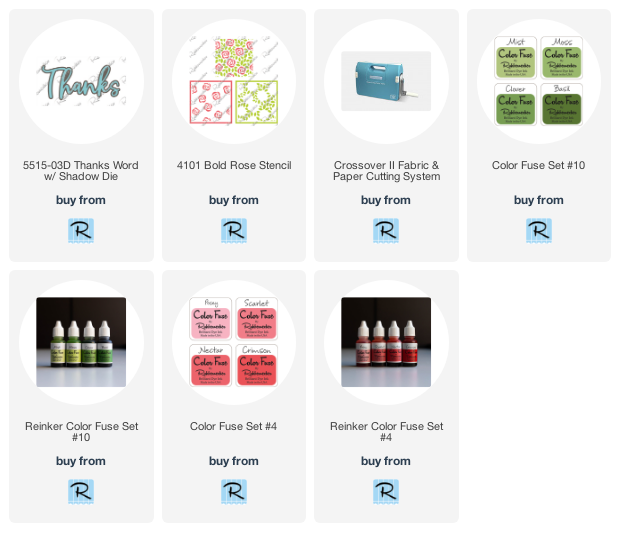
I'm making Thank You cards to get ready for after Christmas. I have this up on the Scrapbook Adhesives by 3L Blog and all of the products used from Rubbernecker Stamps are listed below.

To create the background, a two-part stencil was used to first add the flowers with a red ink, then to add the leaves with green ink (link below).


Next, die-cut the center of the decorative panel using a rectangle die and die-cut gold glitter paper using one size larger of the rectangle die.


Layer all of the pieces using the E-Z Runner Grand and layer onto a gold glitter card.


Die-cut the butterfly from Spellbinders Paper Arts from white and gold glitter cardstock.


Once the butterfly body has been cut from glitter paper from PrintWorks Specialty Paper, use a brush to apply Nectar ink.


Use the Dual Tip Glue Pen to glue the butterfly pieces together.


Glue the butterfly diagonally to the center of the card and glue "Thank" at has been die-cut from black cardstock, below the butterfly using the Dual Tip Glue Pen. 


Click on the product below to go to the Rubbernecker Stamps online shop.
Have a crafty day!

Let's Connect!

Affiliate and Product Disclosure
I am on various Design Teams and get free goodies for blogging about craft products but only because I love their products and genuinely use them. Ultimately my opinions are my own. A list of companies is in my sidebar.