Featured Post

Privacy Policy

I'm working on a new privacy policy for my followers, but for now you should know that if you comment on my site, my site collects your ...

Showing posts with label Backgrounds. Show all posts

Wednesday, April 6, 2022

Good Friends, Great Adventures


Hi my crafty friends, today I have a fun card made with the Group of Friends Set from Rubbernecker Stamps, and they sure do look like a fun bunch.

  • Using a stamping tool such as a Misty, stamp the Wildflower Background on white cardstock with Blush Color Fuse Ink from Set #2.
  • Clean your stamp and stamp again with VersaMark Ink and emboss it with Clear Embossing Powder.
  • Die-cut the stamped panel using the Nested Rectangle Frame w/ Stitches.
  • Now die-cut pink cardstock with the Nested Scallop w/ Half Holes and layer the stamped panel onto this.
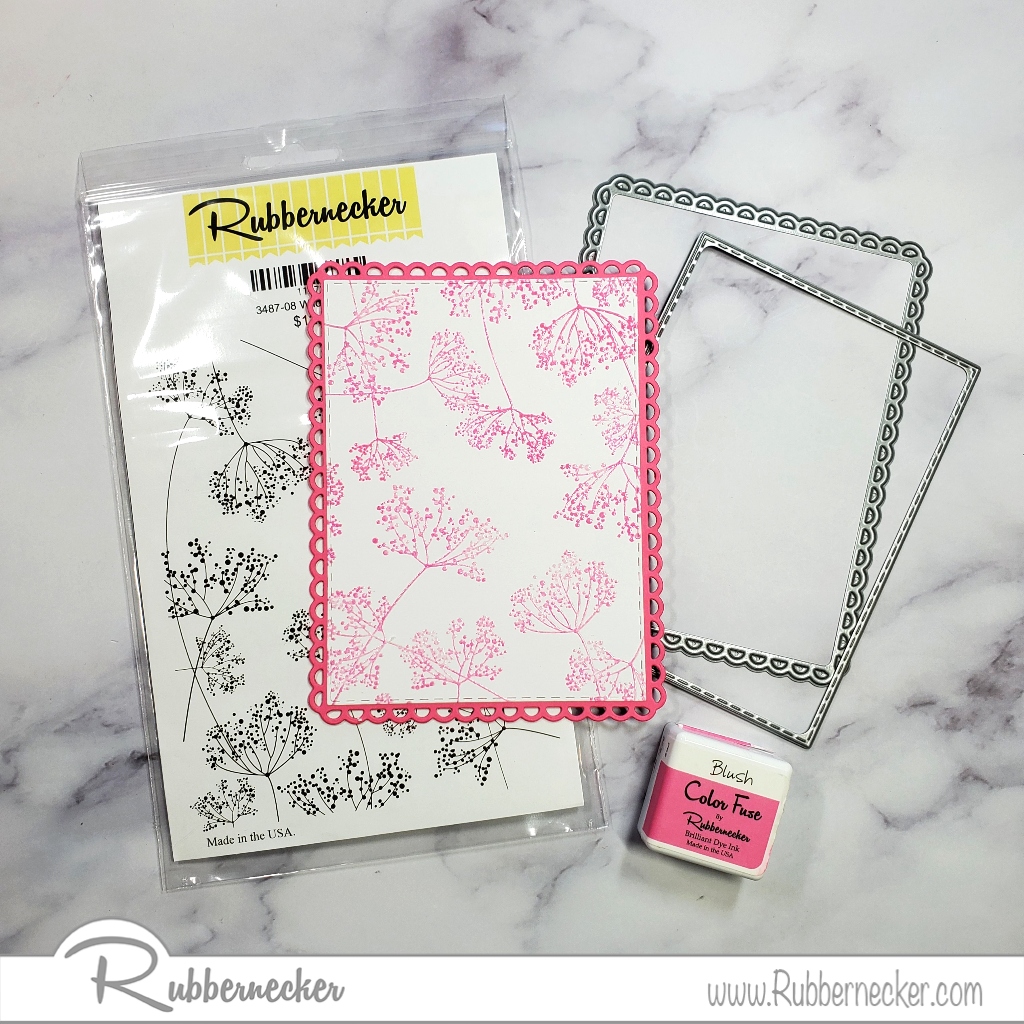

  • Place foam squares on the back of the pink panel, make sure to use enough of the squares so when it's mounted to the card, you don't have any sagging.


  • Cut black cardstock slightly smaller than a white card and use a tape runner to mount the black panel.
  • Pop up the flower panel on top of this.


  • Stamp the animals from the Group of Friends Set onto watercolor paper with Onyx Black VersaFine Ink and emboss with Clear Embossing Powder.
  • Watercolor the image with Zig Clean Color Real Brush Pens and cut out.


  • Die-cut white cardstock using the Flower #6 Die Cut.


  • Glue the Flower #6 Die Cut to the card and pop up the animals over this using foam squares.


  • Stamp the sentiment from the set on a black cardstock strip with VersaMark Ink and emboss with White Embossing Powder.
  • Place a foam square under the right and left sides and pop it up over the bottom of the animals.
  • For the final touch add pink enamel dots on each side of the sentiment and black polka dot enamel dots around the animals. 


Adhesives- Scrapbook Adhesives by 3L
Cardstock Black, White, Pink- PrintWorks Specialty Paper 

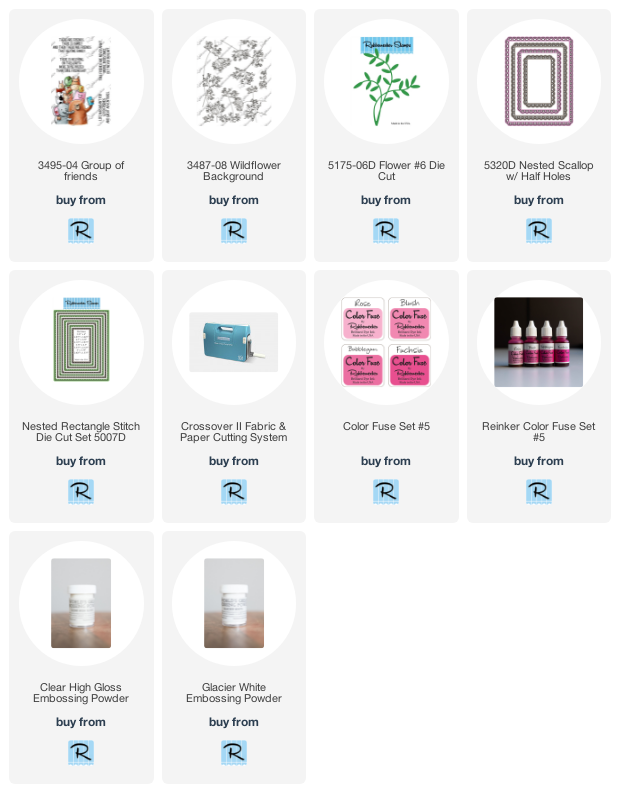
Click on the product below to go to the Rubberneck Online Shop
Have a crafty day!

Let's Connect!

Affiliate and Product Disclosure
I am on various Design Teams and get free goodies for blogging about craft products but only because I love their products and genuinely use them. Ultimately my opinions are my own. A list of companies is in my sidebar.
Being part of various affiliate programs – when you click on an affiliate link and then go on to make a purchase, at no cost to you, I receive a small commission.  The affiliates I use include Rubbernecker Stamps.

Wednesday, May 19, 2021

Birthday Wish


Happy Wednesday, I have an easy birthday card today with the sentiment against a pretty embossed background.  Change up the background and colors to suit anyone of any age, here's how my card was made-
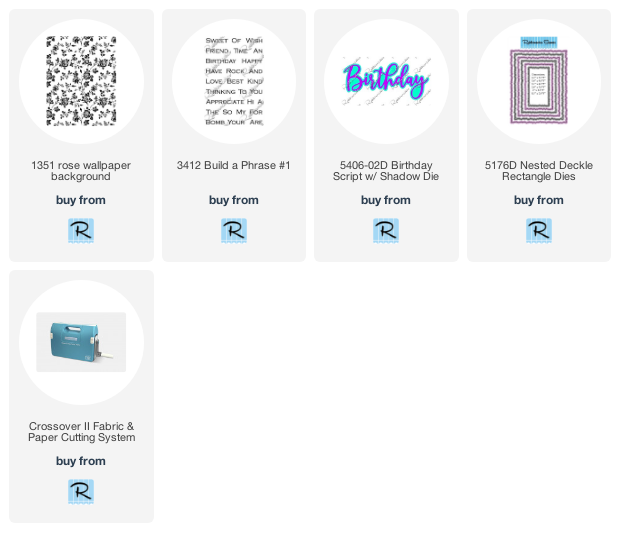
  • Stamp the Rose Wallpaper Background on decorative paper with VersaMark Ink and emboss with purple embossing powder.
  • Die-cut the panel using the Nested Deckle Rectangle Dies.  If you're looking for a die cutting machine, take a look at the Crossover II, the pressure is adjustable so no need for different shims or multiply plates of different thicknesses. Just adjust the pressure with the roll of a knob!
  • Glue this onto a slightly larger white cardstock panel.
  • Then glue diagonally to a 4" x 5 1/4" dark purple panel and adhere it to a white card.
  • Use the Birthday Script with Shadow Die and die-cut white and dark purple cardstock.
  • Glue the white script birthday to the dark purple shadow.
  • Use 3D Foam Circles to pop up the Birthday on the card.
  • Stamp Wish from the Build a Phrase #1 Set on a strip of white cardstock with Onyx Black VersaFine Ink and add two strips of thin silver glitter washi tape to the left side and glue it flat below the Birthday.
  • Apply a thin strip of silver glitter washi tape down the left side of the card.
  • For the final touch add three self-adhesive pearls as shown.


Have a crafty day!

Let's Connect!

Affiliate and Product Disclosure
I am on various Design Teams and get free goodies for blogging about craft products but only because I love their products and genuinely use them. Ultimately my opinions are my own. A list of companies is in my sidebar.
Being part of various affiliate programs – when you click on an affiliate link and then go on to make a purchase, at no cost to you, I receive a small commission.  The affiliates I use include Rubbernecker Stamps.

Friday, April 24, 2020

Happy Birthday


Hi my crafty friends, I'm here again this week with another card made with Rubbernecker Stamps, this time I used they're beautiful new layering stamp set "It's Spring Time".
Here's how my card was made-
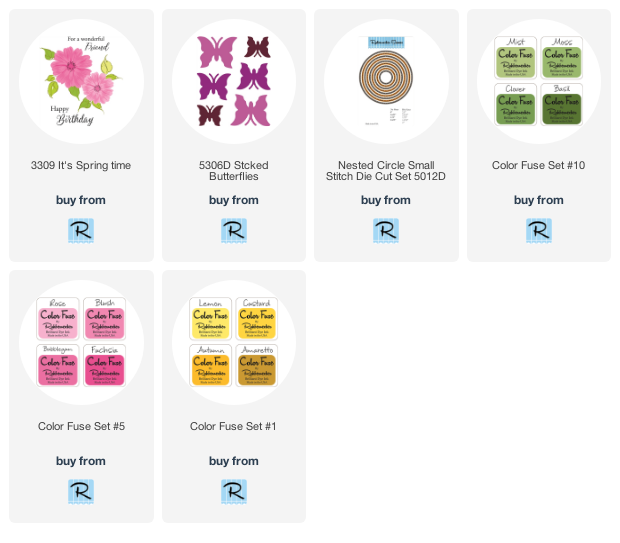
  • Die-cut a circle from white cardstock and grey using the Nested Circle Small Stitch Die Cut Set.
  • Use the "It's Spring Time" stamp set to stamp the large flower in pinks using Color Fuse Inks #5 and the small flower with Color Fuse Inks #1  and leaves with Color Fuse Inks #10 on the right side of the die-cut circle.
  • Stamp the sentiment from the set with Onyx Black VersaMark Ink and glue to the grey die-cut circle.
  • Glue decorative paper to a grey card and glue a strip of white glitter paper to it towards the bottom.
  • Pop up the circle on the card using foam squares.
  • Then you just can't make a Springtime birthday card without a butterfly so I die-cut a butterfly using the Stcked Butterflies from white glitter paper.  To add a little color to it, I used a blue alcohol marker to color the body and the edges of the wings.

  • Randomly apply a few dots of green Nuvo Drops to the white circle and you're done!

Have a creative day!


Follow Me- Stamp This, on-
Twitter

Affiliate and Product Disclosure
I am on various Design Teams and get free goodies for blogging about craft products but only because I love their products and genuinely use them. Ultimately my opinions are my own. A list of companies is in my sidebar.
Being part of various affiliate programs – when you click on an affiliate link and then go on to make a purchase, at no cost to you, I receive a small commission.  The affiliates I use include Rubbernecker Stamps.


Sunday, April 19, 2020

Listening is a Precious Gift


Here is a quick and easy way to make a beautiful card by making your background and added a sentiment.
To make the card-

  •  I repeatedly stamped the background stamp with VersaMark Ink and embossed with white embossing powder on white cardstock until the panel was filled.  
  • I then used a brush to brush on yellow and orange inks and blended the colors into each other.  
  • This panel was then layered onto a larger black panel, then a larger white panel before being glued to and orange card.
  • Black and white twine was wrapped around the card three times.

  • Stamp the sentiment from the From My Heart Perfectly Clear Set on white cardstock with black ink and cut out using the Fitted Frames B Set and layer onto black cardstock that was also cut using the same set.
  • Layer these two pieces and pop up on the card using 3D Foam Squares from Scrapbook adhesives by 3L.
  • To finish off the card, randomly add enamel dots.


Have a creative day and follow me on 


Disclaimer- I get free goodies for blogging about craft products! Today I'm sharing a card made with products from Stampendous


Thursday, February 27, 2020

I Appreciate You


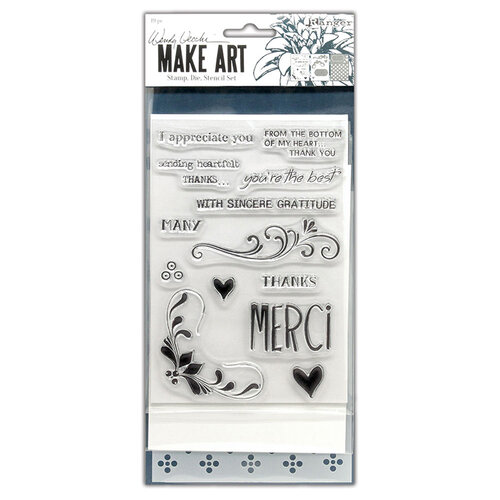
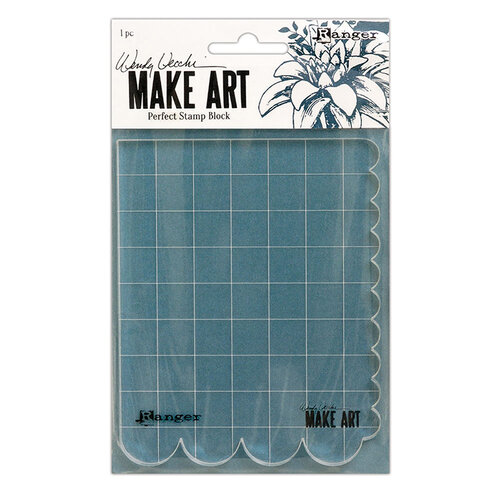
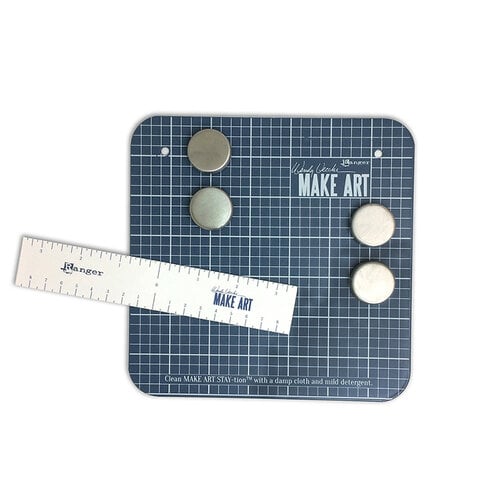
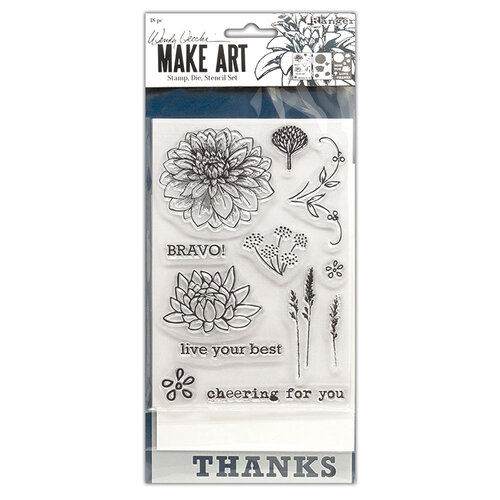
Hi my friends, today I have a card made with a bunch of new Wendy Vecchi products from Ranger.  For my card I used the Bravo and Merci Stamp, Die and Stencil Sets along with the 7"x7" STAY-tion, Perfect Stamp Postioner, Perfect Stamp Block, Perfect Stylus Set and
 
                                  Ranger Ink - Wendy Vecchi - Make Art - Stamp, Die, and Stencil Set - Bravo      Ranger Ink - Wendy Vecchi - Make Art - Stamp, Die, and Stencil Set - Merci and More

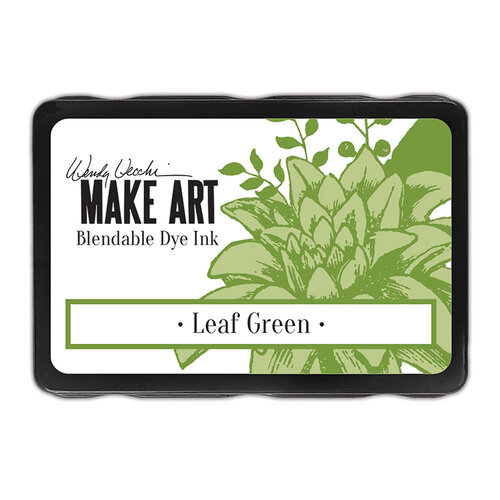
  •  I started by die-cutting an oval in the center of a white cardstock panel and applying Leaf Green ink with a brush.  
  • I then placed  it on the 7"x7" STAY-tion with stencil on top with the word "Thanks" from the Bravo Set, at the bottom of the panel, secured it with the magnets and oh wow are they strong!  Leaf Green ink was then used to stencil the word. 


  • The stencil from the Merci Set was then placed on top of the panel and the flowers were randomly stenciled with the same ink.
  • Tiger Lily ink was lightly blended over the oval center die-cut piece. Both pieces were then glued to a white card and set aside.
  • The flower from the Bravo set was stamped on white cardstock with black ink and embossed with clear embossing powder.
  • The stencil was placed over the flower and Cactus flower was applied with a brush. (The picture below shows Pink Peony being used)
  • The flower was then die-cut using the matching die.

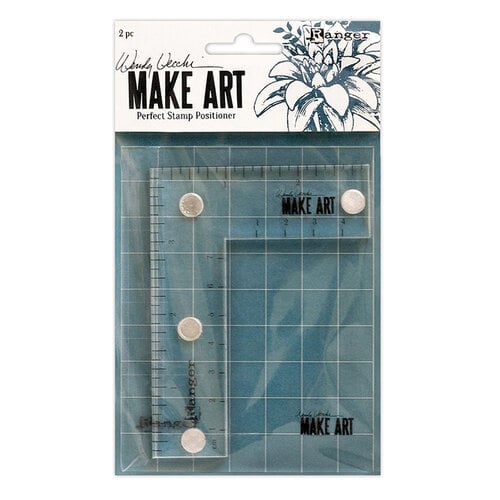
  • Next the leaves were stamped and to be sure they were stamped in the right place, I used the new Wendy Vecchi MAKE ART Perfect Stamp Positioner Set which is two pieces, the postioner that has magnets built into it so it really sticks to the STAY-tion, and an acrylic piece to stamp your image on to know where to postion your image.
  • The picture below shows me stamping the leaves on the acrylic piece.


  • The die-cut flower was placed where I wanted it on the card but now glued down yet.  The Perfect Stamp Postioner with the stamped acrylic piece was placed where I wanted to stamp the leaves.  I then left the Perfect Postioner in place, removed the acrylic piece and the flower.  The leaves were then stamped exactly where I wanted them.  This was then repeated above the flower.


  • The sentiment from the Bravo Set was stamped on black cardstock with embossing ink and embossed with white embossing powder.
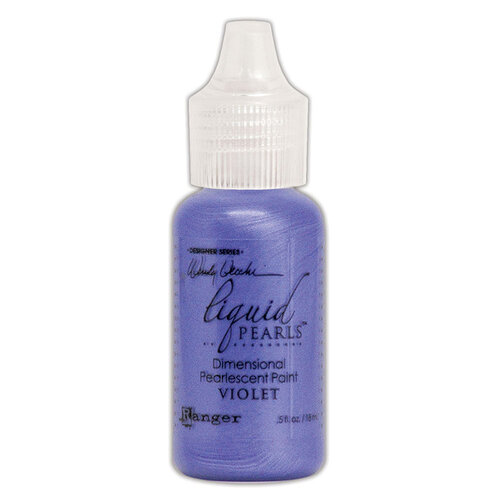
  • Lastly dots were applied to the leaf branches using Violet Liquid Pearls by putting some on my craft mat and dipping the largest end of the Perfect Stylus into it and tapping the card where I wanted dots.  This way you get perfect dots everytime!  


The links below will take you to the Scrapbook.com site where they are currently having a sale on these items!


Ranger Ink - Wendy Vecchi - Make Art - Perfect Stamp Positioner SetRanger Ink - Wendy Vecchi - Make Art - Perfect Stamp Block  Ranger Ink - Wendy Vecchi - Make Art - Stay-tion - 7 Inch  Ranger Ink - Wendy Vecchi - Make Art - Liquid Pearls - Violet
Ranger Ink - Wendy Vecchi - Make Art - Blendable Dye Ink Pads - Leaf Green  Ranger Ink - Wendy Vecchi - Make Art - Blendable Dye Ink Pads - Tiger Lily  Ranger Ink - Wendy Vecchi - Make Art - Blendable Dye Ink Pads - Cactus Flower
Have a creative day and follow me on 

Disclaimer- I get free goodies for blogging about craft products! Today I'm sharing a card made with products from Ranger and Wendy Vecchi.


Monday, January 20, 2020

Coffee Shaker Card


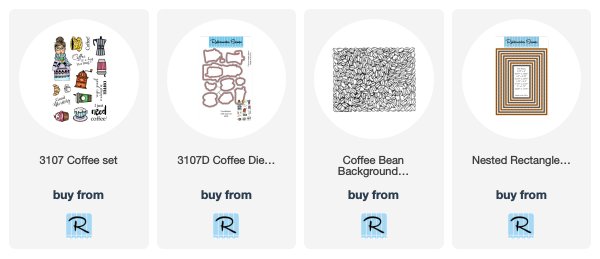
Hi there, I hope you all are having a good start to your Monday and to help wake you up and stay warm, I have a coffee shaker card for you using the Coffee Set,  Coffee Die Cut Set and the Coffee Bean Background Set.

Here's how my card was made-
  • Stamp the lady holding coffee from the Coffee clear set in black ink, color with Prisma pencils and die cut using the coordinating dies.
  • Stamp Coffee Bean Background on a tan panel with VersaMark Ink and emboss with White Embossing Powder.
  • Use the Nested Rectangle Small Stitch Die Set to cut a window in the panel and then cut a larger frame out of blue decorative paper to glue around the opening.
  • Glue a light blue decorative paper panel to a tan card, lay the Coffee Bean panel centered on top of this and stamp Can't Buy Happiness with Sepia VersaFine Ink and emboss with Clear Embossing Powder.

  • Glue an acetate panel on the backside of the window that was cut in the Coffee Bean Background panel then line with foam tape. 
  • Wrap the bottom of the panel with purple and white twine and pop up lady holding coffee with foam squares.
  • Place sequins over the sentiment and mount the panel, centered over this.
  • Randomly glue sequins to the front of the card.


Follow Me- Stamp This, on-
Twitter

Affiliate and Product Disclosure
I am on various Design Teams and get free goodies for blogging about craft products but only because I love their products and genuinely use them. Ultimately my opinions are my own. A list of companies is in my sidebar.
Being part of various affiliate programs – when you click on an affiliate link and then go on to make a purchase, at no cost to you, I receive a small commission.  The affiliates I use include Rubbernecker Stamps and Whimsy Stamps.

Tuesday, February 26, 2019

Smile, Smile, Smile


Smile, it's Tuesday, let's make this a great week it's, the end of February and the beginning of March.  In an attempt to clean up my desk, a little Spring cleaning, I thought why put things away when I can create with what's scattered about.   I had made this background for my card last month but never used it, it was time.

The Buffalo Plaid stamp was stamped on watercolor paper with VersaMark ink and embossed with white embossing powder.  I then rubbed different colors of Distress Inks directly on the panel, sprayed it with water and let it dry.  This is one of my favorite techniques.

The Smile Large Word Die was then die cut three times from black cardstock and once from yellow, pink and orange.  The colors were offset over the black to give a shadow effect.

If you have extra pieces laying around on your desk, don't put them away, create!

Click on images to go to the Whimsy site.

Buffalo Plaid Background Rubber Cling Stamp    *NEW Smile Large Word Die


Follow me, Stamp This


Affiliate and Product Disclosure
I am on various Design Teams and get free goodies for blogging about craft products but only because I love their products and genuinely use them. Ultimately my opinions are my own. A list of companies is in my sidebar.
I am also part of various affiliate programs – when you click on an affiliate link and then go on to make a purchase, at no cost to you, I receive a small commission.  The affiliates I use include Rubbernecker Stamps and Whimsy Stamps.
I hope if you like the content of my blog you will support me by clicking through these links to make your purchases.


Tuesday, September 11, 2018

Honey Doo Crafts New Release


Today I have another card made with Honey Doo Crafts New Release, Fleur Set.  These flowers and leaves are so pretty and you can arrange them so many ways. 

The background was made by randomly stamping watercolor paper with flowers and leaves from the set with VersaMark Ink and embossing with white embossing powder.  Then the Direct to Paper technique was used by rubbing Twisted Citron, Mowed Lawn, Tumbled Glass and Faded Jeans Distress Inks directly over the embossed background.  Water was spritzed on the inks so they blend, this was set aside to dry.  A flower and two leaves were stamped with Onyx Black VersaFine Ink, embossed with clear and colored with Zig Clean Color Real Brush Markers.  These were cut out, the flower petals were curled and glued to a black circle.  White dots were added around the flower and the circle was glued to the watercolored panel, this was layered onto a black panel and glued to a white card.  A Sentiment was stamped and embossed on black paper, then glued to the bottom of the card.

Follow me, Stamp This

Instagram


Disclaimer- I get free goodies for blogging about craft products! Today I'm sharing a card made with products from Honey Doo Crafts.


Sunday, October 1, 2017

Best Friends


It's time for another Sweet Sunday Team Inspiration over at the Rubbernecker Stamps Inspiration and Challenge Blog, be sure to take a look at what the other Designers have for you today.

To make my card I used one of my favorite sets, the Butterflies Are Free Clear Set, randomly stamped a butterfly with VersaMark Ink and embossed with white on watercolor paper. Distress Inks were rubbed directly on the panel and spritzed with water until the color blended.  The bottom of the watercolor panel was die cut, then the panel was glued to a white cardstock panel.  Washi tape was placed under the butterfly panel and the sentiment was stamped with black ink and embossed with clear.  Glue panel to a black cardstock panel and mount to a pink card.

Supplies
Rubbernecker Stamps

Plus
White Embossing Powder-Stampendous
Clear Embossing Powder-Stampendous
Onyx Black VersaFine Ink
VersaMark Ink
Distress Inks- Spun Sugar, Picked Raspberry, Mustard Seed, Wild Honey
Watercolor Paper
Cardstock- White, Black, Pink
Washi Tape

Stay connected and don't miss a thing!

 Follow Stamp This 


Disclaimer-You guys know I get free goodies for blogging about craft products! Today I'm sharing some products sent to me from Rubbernecker Stamps.
Friday, September 8, 2017

Smile


Here's my second card made with one of the new 8"x 8" stamps from Stampendous. For this card I stamped the DECOR Cling Dream on watercolor paper and embossed with white.  I then rubbed Twisted Citron, Mowed Lawn, Peacock Feathers and Salty Ocean directly on the stamped panel. Once the panel was covered in ink I sprayed the panel liberally with water and set it aside to dry, water puddles and all.  Once dry I die cut it using the beautiful Stylized Dahlia Die and glued to to a black card.  A white gel pen was used to make the white dots. Then smile that was die cut from black paper was glued to the bottom.

Supplies
Stampendous
DECOR Cling Dream
Stylized Dahlia Die
White Embossing Powder
VeraMark Ink
Spray Bottle

Plus
Paper- Watercolor Paper, Black Cardstock
Word Die
Distress Ink- Twisted Citron, Mowed Lawn, Peacock Feathers, Salty Ocean
3 in 1 Glue
Signo White Gel Pen

Stay connected and don't miss a thing!


Disclaimer- I get free goodies for blogging about craft products!  Today I'm sharing some fun new products sent to me from Stampendous!