It's been fun making and sharing Christmas cards for Christmas in July with Rubbernecker Stamps. It really is a great way to get a head start and not be rushed at the last minute.
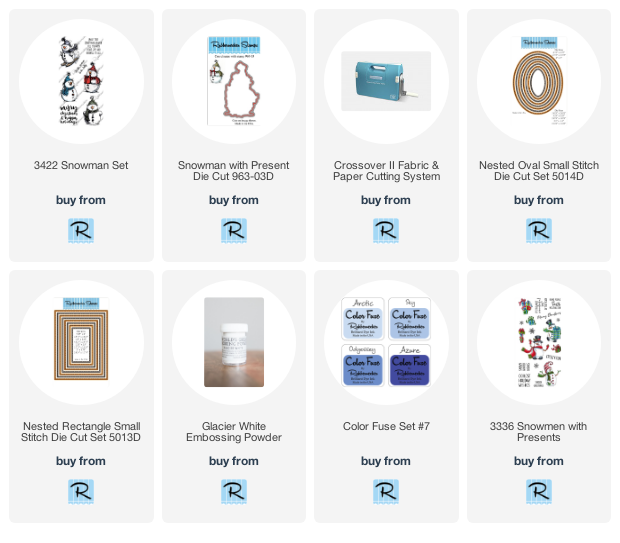
Here's how my card was made-
- Stamp the snowman on watercolor paper with black ink and watercolor with Inktense Pencils.
- Use the Snowman with Present Die Cut to cut out and add glitter to the fur on the hat and the ribbon on the gift. Set aside.
- Die-cut decorative paper with the rectangle die and mount to white cardstock cut with the deckle die then mount to a top folding red card.

- Use oval dies to cut white and red cardstock, cutting the red one size larger than the white.
- Use oval dies to cut white and red cardstock, cutting the red one size larger than the white.
- Stamp the Snow Flake Frame at the top of the white oval with VersaMark Ink and emboss with white embossing powder.
- Use a brush to add blue inks to the top of the white oval.
- Pop up the Santa on the oval with foam squares. Layer this onto the red oval and pop up on the center of the card with foam squares.
- Stamp the sentiment from the Snowmen with Presents Set on a red strip of cardstock with VersaMark Ink and emboss with white embossing powder.
- Pop up on the top left corner of the card with foam squares.
- Finally, tie the bottom of the card with red and white twine.
- Pop up on the top left corner of the card with foam squares.
- Finally, tie the bottom of the card with red and white twine.

Have a crafty day!
Let's Connect!
Affiliate and Product Disclosure
I am on various Design Teams and get free goodies for blogging about craft products but only because I love their products and genuinely use them. Ultimately my opinions are my own. A list of companies is in my sidebar.
Being part of various affiliate programs – when you click on an affiliate link and then go on to make a purchase, at no cost to you, I receive a small commission. The affiliates I use include Rubbernecker Stamps.


No comments:
Post a Comment