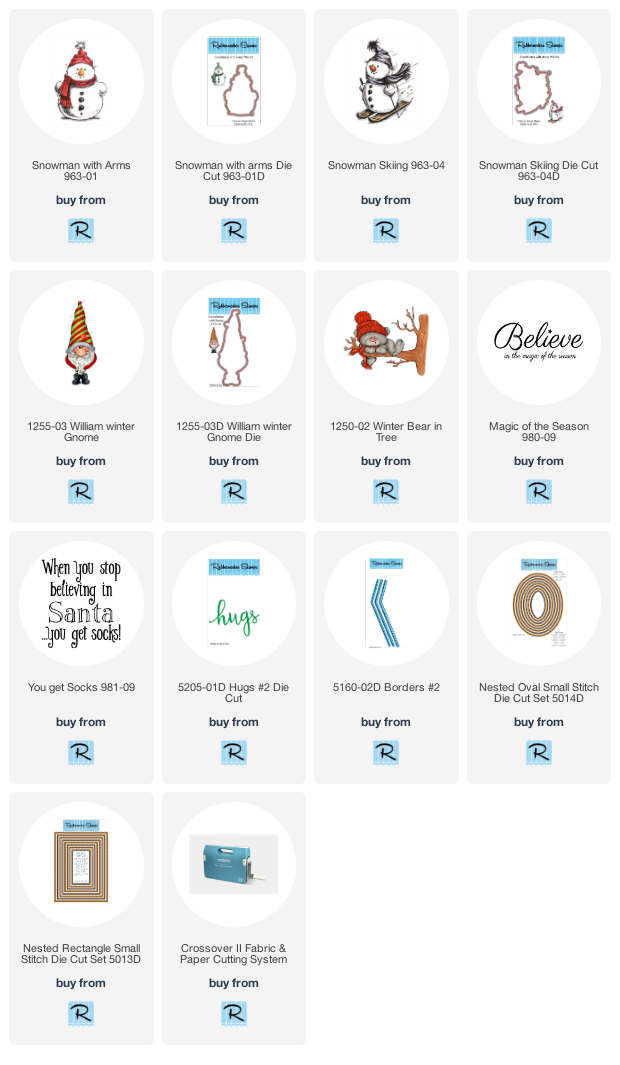
It's Flash Back Friday and I thought it would be fun to share cards and the directions that I have made using Rubbernecker Stamps from last year and the year before. All of the Rubbernecker products used are still available, I hope this will give you a bunch of inspiration all in one Post.
Next up is Snowman with Arms-
- This cute Snowman With Arms was stamped on white paper, colored with Prisma Pencils and blended with gamsol.
- After the snowman was die cut, the bottom was embossed with Shabby White Embossing Powder and heated from underneath so the powder doesn't blow off.
- Decorative chalk was applied around the snowman with a flat brush.
- Tis The Season was stamped with blue, layered on blue and popped up.
- This card is using the cute Snowman With Arms from Rubbernecker Stamps. He's colored with Prisma Colored Pencils and can be cut out with the matching Snowman With Arms Die.
- The decorative paper is by The Paper Studio and the snow behind the snowman is Shabby White Embossing Powder from Stampendous.
- The circle cut out was made with the Rubbernecker Stamps Nested Circle Stitched Die Set.
This is one you can mass-produce pretty quickly, there is coloring involved but not much.
1. The Santa with Present was stamped with Onyx Black VersaFine Ink on white cardstock, heat set and colored with Prisma pencils.
2. The Nested Oval Stitch Die Set was used to cut the oval. Set aside. (A matching Santa with Present Die is also available.)
3. Decorative Christmas paper was layered onto larger white cardstock and glued to a red card. The Santa with Present was popped up on the right side of the card with 3D Foam Squares from Scrapbook Adhesives by 3L.
4. Magic of the Season was stamped on a strip of red cardstock with VersaMark ink and embossed with White Embossing Powder. It was then glued to the upper left side of the card.
5. Three rhinestones were adhered to the left side of the card and you're done!
Snowman Skiing-
- He was stamped in black ink, colored with Prisma Pencils and die cut with the Snowman Skiing Die.
- The ovals he's layered on were die cut using the Nested Oval Stitch Die with the white oval being embossed with a clear embossing powder with glitter.
- The sentiment, Magic of the Season was stamped with Sepia VersaFine Ink and embossed with clear.
Santa with Presents-
The Santa was stamped in black, colored with Prisma Pencils and die cut using the Santa with Present Die. For the rectangles, the Nested Rectangle Die Set was used and this is layered onto a panel of decorative paper strips. If you've been following me you know I've been trying to use up some of my decorative paper because I have a TON!!!!!
Have a creative day :)
William Winter Gnome-
- William Winter Gnome is colored with Prisma Colored Pencils and glitter was applied to the trim of the hat.
- He was cut out and popped up on a white panel.
- The plaid paper edge was die cut using the Borders #2 die set, isn't that cute!!
- Once the papers were glued to a red top folding card, the sentiment Magic of the Season was stamped in black and a twine bow was tied on the top.
Winter Bear in Tree-
- Winter Bear in Tree is colored with Prisma Colored Pencils and to add a bit of shading around the image, I used blue decorative chalk and applied it with a flat edged brush.
- After coloring the image it was die cut using the Nested Rectangle Stitch Die Cut Set and add the "snow" using Shabby White Embossing Enamel.
- Layer this onto a kraft colored panel, then onto a striped decorative paper panel.
- Glue this to a kraft colored card and pop up a white frame that was cut using the same die set using 3D Foam Squares from Scrapbook Adhesives by 3L.
- Hugs was die cut using Hugs #2 Die Cut, cut from pink and kraft colored cardstocks and glued together slightly offset.


No comments:
Post a Comment