Featured Post

Privacy Policy

I'm working on a new privacy policy for my followers, but for now you should know that if you comment on my site, my site collects your ...

Showing posts with label Not A Card. Show all posts

Monday, May 1, 2023

Bloomin Easel (SA Project 2023)


Skill Level: Intermediate

Creative Time: 35 minutes

Materials Needed:

Scrapbook Adhesives by 3L® E-Z Runner Grand E-Z Runner Hearts E-Z Runner Stars 3D Foam Squares White Mix

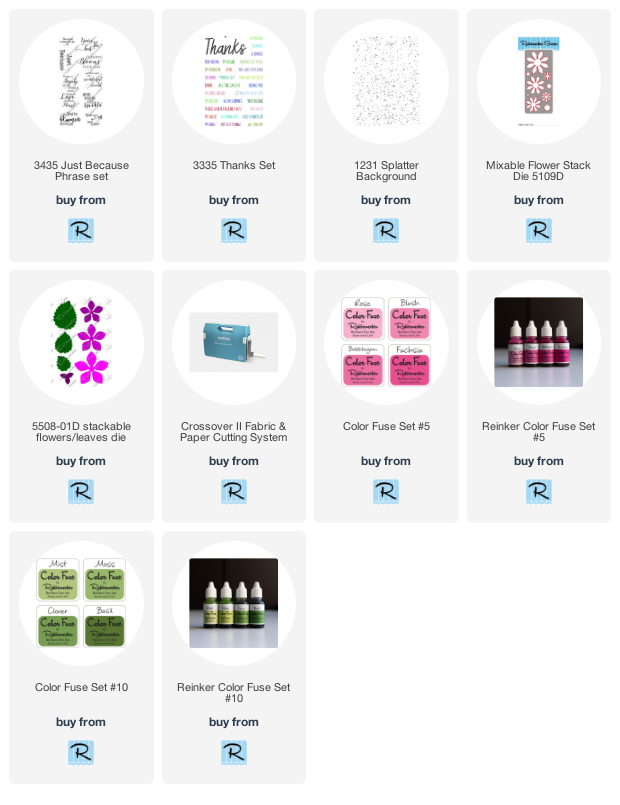
Plus Rubbernecker Stamps- Flower Dies, Stamps, Color Fuse Inks Sizzix- Easel Die


Friday, April 1, 2022

Gift Box For All You Do!


Hi my friends, today I have a gift box with some pretty Spring time elements and Scrapbook Adhesive by 3L has everything you'll need to keep things stuck together, stuck down, and popped up!.

  • To make my box I used a box die from Concord & 9th to cut thick decorative cardstock that's white with silver polka dots.  
  • The box is made using two dies, the front and the back, each piece has a tab that attaches to the other piece.  
  • Strips of Premium Double Sided-Tape were placed on each flap to attach the two pieces of the box.


  • Two ovals were die-cut from white cardstock, one piece was stamped with a sentiment from Rubbernecker Stamps Friends Etc Set using VersaMark Ink and embossed with Sterling Silver Embossing Powder from Stampendous. 
  • The second piece had Leaf Green Archival Ink blended on it then E-Z Dots Permanent Runner was used to attach the green piece behind the sentiment as shown.

  • The sentiment piece was then popped up using 3D Foam Squares White Mix, then set the box aside.

  • A Blossoms Chippie by Wendy Vecchi from Ranger Ink was rubbed with VersaMark Ink, then embossed with a translucent pink glitter embossing powder from the Spring Sparkle Embossing Powder Set from Stampendous. 
  • A yellow enamel dot from Queen & Co was placed in the center.

  • A leaf Chippie from the Lots of Leaves Set was blended with Leaf Green Archival Ink and a strip Premium Double-Sided Tape 1/2" and placed diagonally on the box.  
  • Then adhesive Dots Micro were placed on the back of the flower, I placed on every other leaf and in the center. 
  • For the final touch, a butterfly was die-cut from decorative paper and a small epoxy dot was placed on the body.  The wings were then bent up and an Adhesive Dots Micro was placed under the body only and stuck down on the lid.

Materials Needed:

Scrapbook Adhesives by 3L®

Adhesive Dots Micro
3D Foam Squares White Mix

E-Z Dots

Home Hobby by 3L®

Premium Double-Sided Tape 1/2" Premium Double-Sided Tape 1/4" Plus Concord & 9th- Box Die Wendy Vecchi- Chippies Blossoms, Chippies Lots of Leaves, Leaf Green Archival Ink Stampendous- Spring Sparkle Embossing Powder Set, Sterling Silver Embossing Powder

DCWV- Decorative Paper

Queen & Co- Epoxy Dots

Rubbernecker Stamps- Small Butterflies Die Cut, Best Friends Etc Set


Thursday, December 16, 2021

Sparkly Christmas Tags


Today I have a couple of sparkly Christmas tags that can be attached to gifts or mounted on a card especially if you're still making Christmas cards.

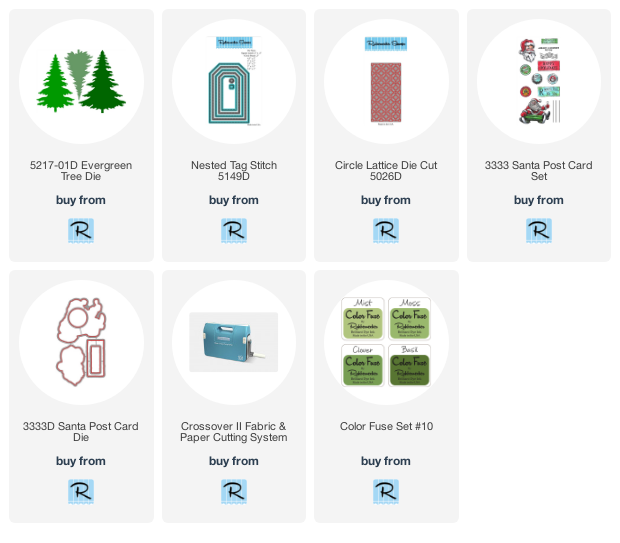
  • Die-cut white cardstock and gold glitter cardstock using the largest of the Nested Stitch Tag Dies.
  • Place the Circle Lattice Die Cut in the center of the white tag and run it through your Cross Over ll Die Cutting Machine.  When you remove the die from the tag, keep some of the centers of the Lattice in place.
  • Glue the white tag ontop of the gold glitter tag, be sure to place glue on the backs of the little pieces that are staying in the die-cut piece so that they don't fall out.


  • Next, die-cut trees using the Evergreen Tree Die and several shades of green cardstock, gold cardstock, glitter cardstock and green decorative papers.


  • Stamp the sentiment from the Santa Post Card Set on dark green cardstock with VersaMark Ink and emboss with White Embossing Powder.
  • Die-cut the sentiment using the coordinating die in the Santa Post Card Die Set.
  • Pop this up on the right top side of the tag using foam squares.


  • Then glue one tall tree flat on the tag and pop up the other three trees with foam squares.
  • Add white Enamel Accents to the small green tree.


  • Punch a hole at the top of the tag and add green ribbon then tie it with a gold cord.


 Click on the images below to see the item at the Rubberneck Stamps online shop.

Wednesday, December 15, 2021

Upcycled Christmas Tag Holder


Hi there, Jamie here with you today with a question, were you one of the toilet paper hoarders at the beginning of the pandemic?  Well if you were, keep those empty toilet paper rolls and craft with them!!  I made them into tag holders for Christmas tags, read on to find out how easy it is to make.


To start recycling the roll, wrap it with Extreme Double-Sided Tape 1/4".  I wrapped two rows at the top and bottom and one in the center to make sure that the paper isn't loose once the roll is flattened.


Next I cut a piece of decorative paper a little longer than the roll so that it could be tucked inside.  I wrapped the roll and cut the paper so that it would slightly overlap.  I don't have measurements just in case the rolls are different sizes.
Extreme Double-Sided Tape was placed along all four edges, the roll was placed at on edge and rolled to the other edge.


To tuck the paper in, the paper overhang was cut approximately every 1/4" and folded down.  Since there's already tape at the edge just give it a little rub so that it will adhere.


Next the roll was flattened with the seam of the paper in the back.  Half of a circle die was placed inside of the roll with the cutting blade facing up.  It was then run through my CrossOverll Diecutting Machine to cut out half a circle.
The same circle die plus one that's one size larger was used to cut out the purple cardstock and it was glued the roll cut out using the Dual Tip Glue Pen.  You can see in the picture below, the cut marks of the paper. If this bothers you, you can cut a piece of the same decorative paper and glue a piece inside. But for me, I'm not that picky.


Now it's time to use the 3D Foam Holiday Embellishment Kit!  One of the taller trees from the tree foam sheet was placed on the right side of the roll and then it was rubbed with pink mica powder.  Then white Enamel Accents were placed on the tree, once this dried the star from the kit was placed at the top of the tree and silver foil from the kit was placed on the star.  When you use the foil, make sure the pretty side is facing you and the "ugly" side is down.


Next up is the sentiment, it was stamped on white cardstock with black ink and the edges were sponged with Cactus Flower Ink.  
The sentiment was then layered on slightly larger silver glitter paper using a strip of Extreme Double-Sided Tape.  
To attach this to the roll, turn it over and place a small amount of the Dual Tip Glue Pen on the right and two 3D Foam Circles on the left side.  This needs to be done since the roll is still a bit curved even though it has been flattened.
A strip of Extreme Double-Sided Tape was placed at the bottom of the role and rubbed with pink mica powder.


A tag was made by cutting a piece of white cardstock to fit inside the roll.  It was then rubbed with blue, lavender and silver Brilliance Inks for the background.  Holly Leaves were placed on the tag and rubbed with green mica powder and the dots were rubbed with the same mica powder as above.
The sentiment was then stamped with black ink and ribbon was added to the top.


Skill Level: Intermediate

Creative Time: 35 minutes

Materials Needed:
Scrapbook Adhesives by 3L®

3D Foam Squares White Mix

3D Foam Holiday Embellishment Kit


Home Hobby by 3L®

Extreme Double-Sided Tape 1/4″

Dual Tip Glue Pen


Wednesday, August 26, 2020

Pretty Packages For Christmas


Hi there!  Have you started making things for Christmas yet?  Well, there are more things to make than just Christmas cards, tags, gift bags, and gift containers.  Today I'm sharing a gift bag and gift container that both have tags using the same dies and stamps but with different looks.

Here's what was done for the bag-
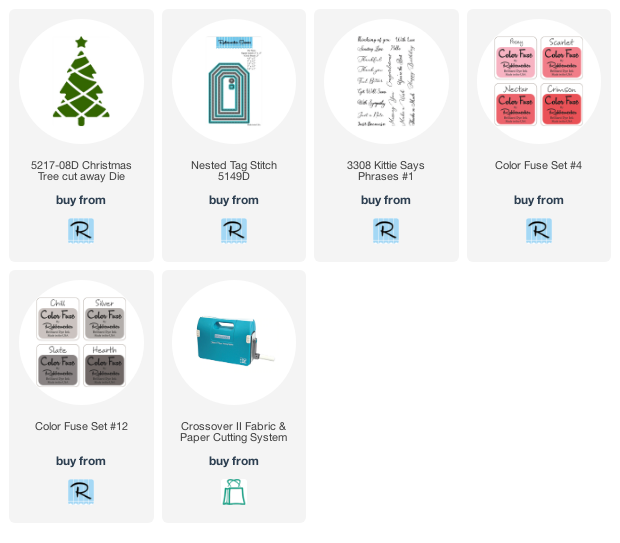
  • To make the tag I used the Nested Tagged Stitch Die and used the largest die to cut red decorative paper. The second to the largest die was used to cut white cardstock and green glitter paper.
  • Die-cut the white tag with the Christmas Tree cutaway Die.
  • Stamp "with love"  with Crimson Color Fuse Ink as shown.
  • Glue the white tag over the green glitter tag then onto the larger red decorative paper tag.
  • Use a decorative close pin to clip the tag onto the bag.

For this gift container I did a little upcycling, being a crafter it's always hard to throw things away that might be useful in some way.  This clear container is a side salad container from Chick-fil-A, when I saw it I just knew it had to be good for something even though it has a clear logo on the top of the lid.


  • This tag was made the same way as above except the words were stamped with Hearth Color Fuse Ink and popped up on the tag with foam squares.  
  • The red ribbon on the top of the tag was stapled on.  
  • Red shred was put inside of the container with the gift nestled in the shred.  
  • The container was then wrapped with red ribbon and the gift tag was popped up on the container with a foam square.


Follow Me- Stamp This, on-
Twitter

Affiliate and Product Disclosure
I am on various Design Teams and get free goodies for blogging about craft products but only because I love their products and genuinely use them. Ultimately my opinions are my own. A list of companies is in my sidebar.
Being part of various affiliate programs – when you click on an affiliate link and then go on to make a purchase, at no cost to you, I receive a small commission.  The affiliates I use include Rubbernecker Stamps.


Tuesday, July 21, 2020

Gift Card Wallets


Stampendous! is celebrating the July Catalog with a Virtual Catalog Party for their retailers! Each day a new product will be featured and there will be a video and other artwork spotlighting it. Be sure to check Stampendous!' blog throughout the week so you don't miss anything!


Today I have a few gift card holders made with the new Gift Card Wallet Die from Stampendous.  I wanted to show a few different ideas so you could get an idea of the different looks that you could get.

The first one use just the dies that come in the set except for one sentiment stamp.  The Wallet is cut from decorative paper.  


The baby Gift Card Wallet is cut from decorative paper and the Baby Gift Perfectly Clear Set was used to stamp the sweet images.  This stamp set is made to be used with the Wallet but it can also be used on a card or other things.


This last Wallet was cut from watercolor paper, the hearts from the Wedding Gifts Perfectly Clear Stamps Set were white embossed and colored with Zig Clean Color Real Brush Pens.


Have a creative day!!

Have a creative day and follow me on 

Disclaimer- I get free goodies for blogging about craft products! Today I'm sharing a card made with products from Stampendous


Tuesday, October 29, 2019

Altered Box For Fall


Today I have something a little different, it's an altered hearing aid box.  In my Bunco group, one of the ladies works for a doctor and they get an excess of hearing aid boxes, so rather than throw them away, she gave each of us one to decorate of course!!  Here is what I came up with, a Fall Wreath.


I wrapped the box with decorative paper, die-cut the circle out of burlap using the Circle Stitch OPC Die and die-cut the leaves using the Fall Leaf Die Set from colored cardstock and sponged them with the same colors of inks.  Smile was also die-cut, this was super quick and easy.  To make the drawer easy to open I added a ribbon pull attached with a decorative brad.


Follow Me- Stamp This, on-
Twitter

Affiliate and Product Disclosure
I am on various Design Teams and get free goodies for blogging about craft products but only because I love their products and genuinely use them. Ultimately my opinions are my own. A list of companies is in my sidebar.
Being part of various affiliate programs – when you click on an affiliate link and then go on to make a purchase, at no cost to you, I receive a small commission.  The affiliates I use include Rubbernecker Stamps and Whimsy Stamps.

Friday, August 30, 2019

All Shapes and Sizes


Hi everyone, hope you all had a good week!  I just wanted to share a  box I made for my crafty bunco group.  Each month we have a theme and bring a gift made using that theme, this month was dogs.
 I got these great craft boxes from Hobby Lobby while on sale and I wrapped a band of decorative paper around the center.  I colored the cute little dog that's from the Dogs 1 Clear Set from Rubbernecker Stamps with Prismas Colored Pencils and used the matching Dogs 1 Die Set to cut it out.  The dog was popped up on circles cut with Nested Circle Small Stitch Die Cut Set and glued to the box.  The sentiment and paw print were stamped on a tag and popped up on the box.
If you're looking for a new Die Cut Machine, check out the Crossover II that Rubbernecker Stamps is now carrying.  I absolutely love mine because on the top of the machine there's  a wheel that you can adjust the tension with so you don't need different plates when using thin dies, thick dies, embossing folders or when die-cutting different thicknesses of materials.  All you do is roll the wheel!!


I've had this red ribbon or quite a while that got from Costco around Christmas and thought it would be cute on the handle. 
Have a great weekend!  Here are the links to the Rubbernecker Stamps products-

              
Follow Me- Stamp This, on-
Twitter

Affiliate and Product Disclosure
I am on various Design Teams and get free goodies for blogging about craft products but only because I love their products and genuinely use them. Ultimately my opinions are my own. A list of companies is in my sidebar.
Being part of various affiliate programs – when you click on an affiliate link and then go on to make a purchase, at no cost to you, I receive a small commission.  The affiliates I use include Rubbernecker Stamps and Whimsy Stamps.

Friday, March 1, 2019

Sweet Treats- Whimsy Stamps


It's March 1st, that means it's new release day for Whimsy Stamps!  I'm using the new Build a Basket Die Set and I thought I would use it on a basket.  I die cut a bunch of different pieces from decorative paper and glitter papers. 

The little die cut basket is layered on circles using the Stitched Circles Die Set. 

The tag was made using the Tombstone Die Set.

Click on product to be taken to the Whimsy Stamps site.
*NEW Build-a-Basket Die SetTombstone Tag Die Set


Follow me, Stamp This


Affiliate and Product Disclosure
I am on various Design Teams and get free goodies for blogging about craft products but only because I love their products and genuinely use them. Ultimately my opinions are my own. A list of companies is in my sidebar.
I am also part of various affiliate programs – when you click on an affiliate link and then go on to make a purchase, at no cost to you, I receive a small commission.  The affiliates I use include Rubbernecker Stamps and Whimsy Stamps.
I hope if you like the content of my blog you will support me by clicking through these links to make your purchases.

Here is how to make the the Origami basket from one piece of 12 x 12 paper
The Origami Box requires no adhesive: You will need a sheet of 12 x 12”  paper. Place paper with decorative side down (side of paper that will be on outside of box). Fold the paper in the following order:
1. Fold in half horizontally, turn 90 degrees and fold again.
2. Open and fold corner inwards to center of paper.
3. With corners folded in, fold left and right sides into center and open out. Turn paper 90 degrees and repeat folding left and right sides into center.
4. Open folds, leaving two diagonal corners folded in. Lift two sides of box up. While holding two sides up, fold corner folds inwards, creating the third side. Fold flap into box with corner lining up in the center of bottom of box. Fold in last edge to create fourth side of box. Optional: adhere a decorative strip along top edge of box.
The handle-
Cut two pieces of corrugated paper 3” x 12” with corrugated lines running horizontally. Score and fold 2¼” from bottom edges on both pieces. Cut two pieces of patterned paper 2½“ x 12“.  Adhere centered onto corrugated strip. Punch a handle using a 2” circle punch at top of strips, about ½“ from top edges. Adhere top edges together. Punch a smaller circle or a bracket shape from a contrasting paper. Fold in half horizontally (like a tab) and adhere over top edge of handle edge. Place and adhere origami box onto one bottom flap. Fold and adhere second flap onto other side of box. Tie ribbon around caddy and through handle. Tie a bow and attach decorative tags and ticket. Add sticker letters or a monogram onto one tag. Add a Flair on top of ribbon about ½“ from bottom edge.

I got the directions from the Fancy Pants Designs page.