Featured Post

Privacy Policy

I'm working on a new privacy policy for my followers, but for now you should know that if you comment on my site, my site collects your ...

Friday, November 28, 2014

Home For the Holidays


Today's card is using Train Postcard Stamp from Stampendous.  I love this stamp because all of the collage work is done for me.  All that needs to be done is color it, mount it to a card and you're done!
Here is how the card was made;
1.  Stamp Train Postcard on white cardstock with Tuxedo Black Memento ink twice so you have one to use as a mask.
2.  Cut the oval and holly out, place it on top of the other stamped piece and sponge the collage part with Antique Linen and Tea Dye Distress Inks.
3.  Color the train portion with blues.
4.  Sprinkle Shabby White Embossing Enamel on the sponged collage portion and heat from underneath so the embossing powder doesn't fly off.
5.  Stamp the right side of a light blue card with Delicate Snowflake with Stonewash Adirondack ink.
6.  Sprinkle the right side with Shabby White Embossing Enamel and heat from underneath.
7.  Use the Spellbinders Shapeabilities Grateful Lattice and cut from light blue paper, sponge with Stonewashed ink. 
Grateful Lattice
8.  Rub with Versamark ink, sprinkle with Shabby White Embossing Enamel and heat from underneath.
9.  Attach to the left side of the card with 3 in 1 glue and cut off the over hang.
10.  Glue a bow to made from May Arts Ribbon to the bottom right side. 
 
Big news!!! Starting January 2015 one Wednesday a month I will have a "Give Away Wednesday" and I will also start having Tips and Tricks Tuesdays.  Don't miss a thing and follow me or become an email subscriber to be notified when new posts are posted!  More information coming soon.

Stay connected and don't miss a thing!

Monday, November 24, 2014

We Have Blog Hop Winners!!!!! Are you One?

 Here are the 6 winners from Stampendous for the Spellbinders and Tombow Blog Hops.  And congratulations Jackie P Neal, you are the winner from MY Blog!!!!!  Winners and instructions on how to claim your prizes are listed below.

There are winners here!

Thank you for taking the time to hop with us last week and leave such nice comments for our designers and partnering companies. Now on to our winners! Please email your address to submissions@stampendous.com

Spellbinders Holiday Blog Hop

Stampendous Pize Package

Day 1: Stampendous Blog, JPScraps!Day1Winner Day1Winner_comment

Day 2: Amy Hurley-Purdie’s Blog, Michel E.!Day2Winner_Day2Winner_MichelE_addy_US

Day 3: Jamie Martin’s Blog, Jackie P Neal!Day3Winner Day3Winner_Comment


Tombow Winter Wonderland Hop

Stampendous_hop_prize

Day 1: Kristine Reynolds blog, Barb!TB_Day1Winner TB_Day1Winner_Comment

Day 2: Laura Weed’s blog, Carla!TB_Day2Winner TB_Day2Winner_Comment

Day 3: Lea Kimmel’s blog, Diane!TB_Day3Winner TB_Day3Winner_Comment

Winners, please submit your US mailing address to submissions@stampendous.com to receive your prize.

Tombow’s will announce winners through their social media outlets!

 And

Go see if Spellbinders has posted winners!

Big news!!! Starting January 2015 one Wednesday a month I will have a "Give Away Wednesday" and I will also start having Tips and Tricks Tuesdays.  Don't miss a thing and follow me or become an email subscriber to be notified when new posts are posted!  More information coming soon.

Stay connected and don't miss a thing!

Saturday, November 22, 2014

A Colorful Time Of Year


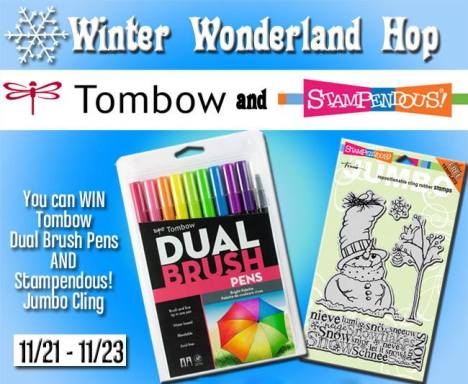
Stampendous and Tombow have joined together to bring you a three day Blog Hop with a chance to win prizes! All you need to do is comment on the Designers Blogs listed below. 


 My card today was made using white glossy paper and coloring it with Tombow Dual Brush Pens from the Bright collection.  Here is how it was made:

1.  To color the grapes purple and pink markers were scribbled on a craft mat and spritzed it with water. Then place a piece of glossy white cardstock, glossy side down onto the marker scribbles and lift.  If there are any white spots you can place it back down in the puddle.  Let dry.


2.  Do the same using yellow and green markers for the leaves and yellow and orange for the background panel. Let dry.
3.  Once dry stamp the purple panel with the grapes from the Jumbo Cling Rubber Grapes and the green panel with leaves using Tuxedo Black Memento. 
4.  Stamp the background panel with the swirl by coloring directly onto the stamp with an orange marker.
5.  Now it's time to Frantage! Sprinkle Aged Copper Embossing Enamel on the background panel and heat from underneath.  Then sprinkle additional Embossing Enamel in the bottom left and upper right corners and heat again from underneath.
6.  Glue the grapes and leaves onto the background panel then wrap the left side with gold cord.  Layer onto a purple card.

Here is the prize package information-
- One Prize Package (Top Hat Snowman Stamp Set and a Jumbo Acrylic Handle PLUS Tombow Dual Brush Pen Set)
- Comment on each designer's blog
- Like both company Facebook Pages
TombowUSA -
https://www.facebook.com/tombowusa
Stampendous! - https://www.facebook.com/stampendous
- Winners announced on Monday November 24th at 11:30 AM EST
- Stampendous Official Prize Rules
http://stampendousblog.wordpress.com/2014-challenge-cont…/…/

Big news!!! Starting January 2015 one Wednesday a month I will have a "Give Away Wednesday" and I will also start having Tips and Tricks Tuesdays.  Don't miss a thing and follow me or become an email subscriber to be notified when new posts are posted!  More information coming soon.

Stay connected and don't miss a thing!

Thursday, November 20, 2014

Double the Pleasure...

As we officially head into the holiday season, the Dream Team is challenging all of our followers to be especially "Thankful and Thoughtful" during the month of November. We hope that you will link your creations with this theme in mind on the Dream It Up! blog using the Inlinkz tool. Our "thanks" to you is providing you with the opportunity to win the stencil of your choice, and a bonus stencil of our choosing could be yours for using Dreamweaver product(s) in your artwork.
I'm posting this for you today:
I am very thankful that I can make two cards by diecuting one DL3005 Holly and Berries!  I diecut it from a gold glitter paper panel so I could use the positive and negative images.

JOY was diecut using the DD005 Dual Alphabet Dies with red cardstock.


 I wanted the berries to be red so Red Dot Sparklers from Stampendous were used and they were also used at the top right corner. Then tied green ribbon was added.
For the next card the postive image was used and layered on top of a white panel that had Rocket Red Brilliance sponged through LX7027 Quatrefoil stencil.  I had a scrap of gold glitter paper on my desk so I layered it onto some red and added it to the card!  The stentiment "Tis The Season Perfectly Clear Stamps Set" from Stampendous was stamped in Onyx Black VersaFine ink.

By the way, the Dream Team are very THANKFUL when our followers are THOUGHTFUL enough to leave us a nice comment on our posts! Here's the "A" team lineup for this week, as well as our very special guest designer, Linda Neff!

Big news!!! Starting January 2015 one Wednesday a month I will have a "Give Away Wednesday" and I will also start having Tips and Tricks Tuesdays.  Don't miss a thing and follow me or become an email subscriber to be notified when new posts are posted!  More information coming soon.

Stay connected and don't miss a thing!
Follow my blog (in the right column)
 https://blogger.googleusercontent.com/img/b/R29vZ2xl/AVvXsEh51wyTO6jT5VTdYnB6w_G_m5HpVcLHg74CtPgP_LxPEKzn_V-OoKqGG2xT1wqb9akJ4WnFtjyWN2v_w0oXJVDqSV3SyVI_lnvmji1y88Z-8_yaN4exn-xXopYtjiwAjsF2De1Y9Uh9R-yQ/s1600/Dreamweaver+logo.jpg

Holiday Crafting With Stampendous And Spellbinders


Welcome to the Spellbinders and Product Partners Holiday Blog Hop.
W
e are so excited to have you join us!

For the past three days Spellbinders and their Product Partners have been showcasing projects for the holidays. To view all of the great projects you’ll want to start at the Spellbinders blog. We are promoting each day of the blog hop, so we decided to share extra projects from our designers! You’ll find those here.
Do you feel like there should be… Prizes? Oh yes, there are plenty of prizes. Spellbinders has compiled a fantastic giveaway package for each day consisting of three brand new Spellbinders dies/templates plus product from that day’s Featured Partners! Details and Official Rules can be found here.

We will also have a a prize package here on the Stampendous blog, and we bet other Product Partners will be doing the same.

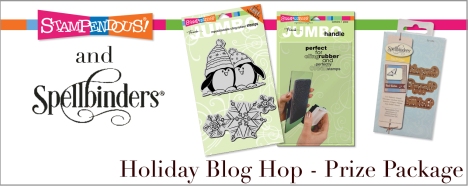
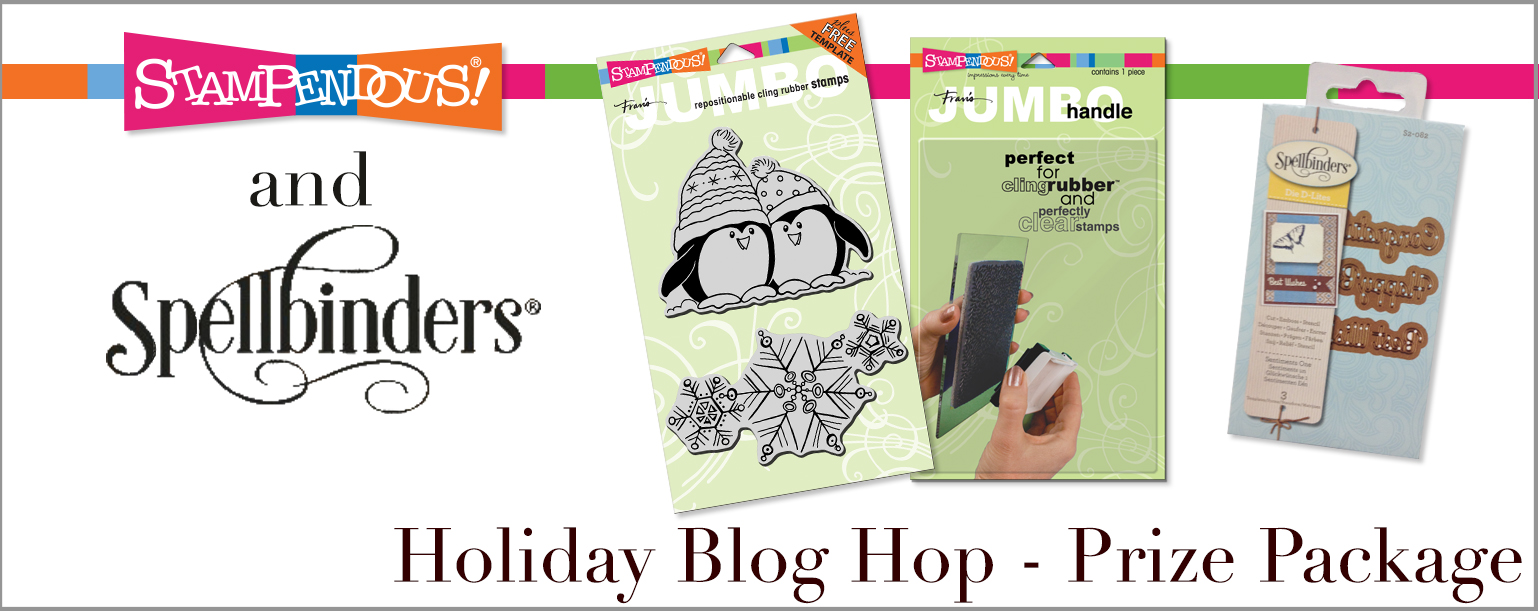
Our prize package each day will be a Jumbo Penguin Duo stamp set and a Jumbo Perfectly Clear Handle, PLUS a set of Spellbinders greeting dies! To be eligible to win our Stampendous prize package, you need to comment on our blog that of each Stampendous designer in the list provided below. We’ll pick a winner each day (3) and announce them on Monday, November 24th. Eligible winners are those comments that provide a valid email and indicate a U.S. Mailing address. Here are the Stampendous Official Rules for all contests. So hop around and check them out!!


Here is how my card was made;

1. Stamp Santa Mouse on white cardstock with Tuxedo Black Memento and color with Prisma colored pencils.
2.  Using Spellbinders Nestabilities Oval Bliss, die cut gold paper from the design shown.  Then place the same die over the Santa Mouse and lightly trace the inside oval on the paper and cut out with scissors.  Doing this will allow you to layer the Santa Mouse onto the gold diecut piece, but don't do that yet!
3.  Apply Glossy Accents to the furry part of the hat and sprinkle with Crystal Micro Glitter.  Let sit and shake off excess.
4.  Sprinkle on a Spoon Full of Snow below his feet and heat with a heat gun from underneath the paper so the powder doesn't blow away. Now you can layer Santa Mouse to the gold diecut.
5.  Layer this to the oval shape one size up and apply red Dot Sparklers to the little ends as shown. Set aside.
6.  Diecut on gold paper using the smallest oval.  Place the same die on white cardstock, trace the inside of the die with a pencil, cut out and stamp "Joy."  Add red Dot Sparklers.
7.  Stamp Christmas Background on white cardstock with Lettuce Adirondack ink.  Lightly sprinkle with Chunky Gold Depp Impressions Embossing enamel and heat from underneath the paper so it doesn't blow away.  Then add more to the upper left and bottom right corners and heat again.  Layer this to decorative paper.
8.  Mount Joy to card with gold cord and a foam square.
9.  Glue Santa Mouse to panel using 3 in 1 Glue from Beacon Adhesives.
10.  Glue finished panel onto a gold card.


Now take a look at what the other Stampendous Designers have made.


Big news!!! Starting January 2015 one Wednesday a month I will have a "Give Away Wednesday" and I will also start having Tips and Tricks Tuesdays.  Don't miss a thing and follow me or become an email subscriber to be notified when new posts are posted!  More information coming soon.

Stay connected and don't miss a thing!

Tuesday, November 11, 2014

Vintage Couple Christmas Tag


Today I have a Christmas tag to share with you using the new Christmas stamps from Stampendous. Be sure to stop by the Stampendous blog for links to the other Design Team members who are posting today. The link is at the bottom of this post. 
Here is how the tag was made; 

1.  Stamp Vintage Couple on white cardstock with VersaMark ink and emboss with white powder.
2.  Sponge with Stonewashed Adirondack ink and tear the top and bottom of the paper, set aside.
3.  Stamp Yule Diamonds on a white tag with Stonewashed and Denim Adirondack inks then sponge tag with Stonewashed ink.
4.  Stamp Snowflake onto dark blue paper with VersaMark ink and emboss with white.  Use matching Die to cut out.  Glue onto tag and add a pearl to the center.
5.  Add ribbon and cord at the top of the tag and a self adhesive pearl.

I am entering this tag into the challenge over at Die Cut Diva's, take a look you may want to play along too.

Supplies:
From Stampendous:
Q204 Vintage Couple
CRS5069 Cling Delicate Snow Set
SSC1211 Yule Diamonds Perfectly Clear™ Stamps
DCS5069 Snowflake Die Set
SSH57 Jumbo Perfectly Clear™ Acrylic Handle
MEM01 Memento™ Tuxedo Black Ink by Tsukineko®
Plus:
Cardstock by Bazill Basics Paper®
Zip Dry™ Paper Glue by Beacon Adhesives

Stay connected and don't miss a thing!

Thursday, November 6, 2014

Peaceful, Thankful Fall


As we officially head into the holiday season, the Dream Team is challenging all of our followers to be especially "Thankful and Thoughtful" during the month of November. We hope that you will link your creations with this theme in mind on the Dream It Up! blog using the Inlinkz tool. Our "thanks" to you is providing you with the opportunity to win the stencil of your choice, and a bonus stencil of our choosing could be yours for using Dreamweaver product(s) in your artwork.
I'm posting this for you today:

1.  Place LL3043 Oak Leaf stencil on cream paper and stipple or sponge with plum, butterscotch and green inks and clean stencil.
2.  Replace stencil over stippled leaf and emboss with Dreamweaver Stencils Translucent Embossing Paste.  Remove stencil and clean.
3.  Sprinkle the wet embossing paste with Bronze Crushed Glass Glitter from Stampendous, let dry.
4.  Sponge edges with brown, spray with Memory Mist spray, layer onto a plum panel.  Set aside.
5.  Stencil "peace" from the LG696 Comfort Combo stencil on tan paper with plum ink, sponge edges with brown ink.
6.  Wrap the leaf panel with gold cord and glue the peace tag under cord.
7.  Randomly stamp a tan card and green panel with Butterfly Charms Perfectly Clear Set from Stampendous using light brown ink.
8.  Sponge card and green panel with brown ink, distress the edges of the green panel and mount pieces to card as shown.

By the way, the Dream Team are very THANKFUL when our followers are THOUGHTFUL enough to leave us a nice comment on our posts! Here's the "A" team lineup for this week, as well as our very special guest designer, Linda Neff!


Stay connected and don't miss a thing!

Wednesday, November 5, 2014

Leaves Are Falling


It's that time of the year when the leaves are falling off of our trees and that has inspired me to create a falling leaves card. All stamps are from Stampendous.  Here is how it was made;

1.  Stamp PenPattern Leave Set on two different colors of paper with VersaMark ink, emboss one with PEARLustre Moonstone and the other with Aged Green Embossing Enamel.
2.  Place the matching die from the Leaf  Die Cut Set over the embossed image and run through your diecut machine.
3.  Die cut a leaf from Sticky Panels, remove the carrier from one side, place on card stock, place the matching die over it and run through your diecut machine.  Remove the remaining carrier and sprinkle with Copper Lux Mix.
4.  Cut one leaf from Burlap paper. Hint- place the cutting edge of the die on the burlap, not the paper backing side.  by doing this you will get a clean cut.
5.  Randomly stamp a tan panel with Vintage Contract using Golden Gitz Delicata ink from Tsukineko and layer onto a rust 5 1/2" x 5 1/2" card.
6.  Glue leaves as shown using 3 in 1 glue from Beacon Adhesives.
7.  Die cut cream paper using Spellbinders Nestabilities Labels Thirty-Six.  Sponge edges with rust ink and stamp sentiment from Life Words Perfectly Clear Set with black Versafine. Mount to card ontop of green twine.


Stay connected and don't miss a thing!