Featured Post

Privacy Policy

I'm working on a new privacy policy for my followers, but for now you should know that if you comment on my site, my site collects your ...

Showing posts with label Animals. Show all posts

Saturday, July 6, 2024

Get Well "Fence" Card


This dog on roller skates is just too cute! I opted to make my Dalmatian yellow instead of white, because I could lol. And layered it on a fence card, I'm kind of on a fence card kick at the moment.  Since it's a get-well card, flowers were added because a dog and flowers would make anyone feel better.

To make my card, the Roller Disco Dottie Die Set from Spellbinders was used. If you look closely, you can see that I layered Dottie on gray cardstock to give a shadow effect and popped her up on the fence card.

1. To make the "fence" card, white cardstock was cut to 5 1/2" x 8 1/2" and folded in have to make a 5 1/2" x 4 1/4" card.
2. Then on the top panel only, 1/4" strips were cut until you have 5 strips. 
3. One of the strips was cut in half and glued to the top of the card, with both of the bottom strips even with the bottom back of the card.
4. The remaining strips are evenly spaced and glued to the back of the two strips that were glued to the top.


The flowers were made with the Autumn Sealed Sprigs Die Set (this is one of my all-time favorite sets).

The Sentiment was made using the Snowflake Wishes Clear Stamp and Die Set, but don't let the name fool you! It has sentiments for many, many occasions.


Spellbinders has a new, pretty die-cut embossing machine, it's the Platinum Scout Lilac Shimmer Die-cut and Embossing Machine 3.5". It's the perfect size to sit on your desk and cut these dies without getting up.


Let's Connect!

Affiliate and Product Disclosure
I am on various Design Teams and get free goodies for blogging about craft products but only because I love their products and genuinely use them. Ultimately my opinions are my own. A list of companies is in my sidebar.


Saturday, January 27, 2024

Birthday Wish Card


Hi my friends, today I have a birthday card made with Simon Hurley's new collection from Spellbinders. I usually make girly color birthday cards but with a few boy birthdays coming up, I thought I would use blue orange and terracotta colors.

To make my card, I used the Big Hugs Stamp and Die Bundle and stamped the cat, present and balloon on watercolor paper with Onyx VersaFine Ink and used Derwent Inktense watercolor pencils to color it. Once it was dry, the coordinating dies were used to cut it out.

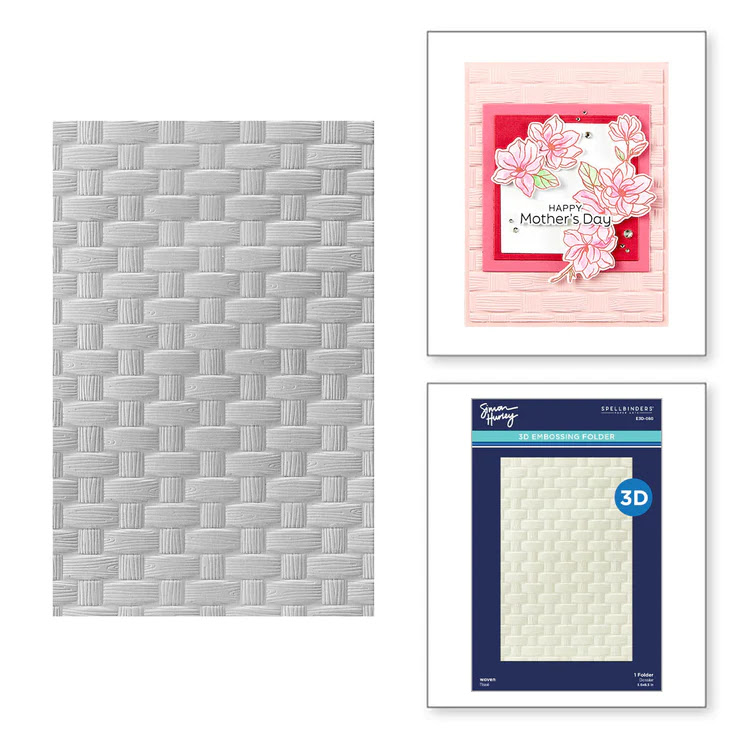
To make the background, terracotta cardstock was embossed using the Woven 3D Embossing Folder and glued onto a top folding white card that had blue ink blended on the edges.


A frame was made using the Essential Arches Etched Dies from white cardstock and sponged with blue ink.

The sentiment from the set was stamped on a strip of terracotta cardstock with VersaMark ink and embossed with white embossing powder.

For those who only want the Big Hugs Clear Stamp Set, Spellbinders has that too.

 \Have a crafty day!

Let's Connect!

Affiliate and Product Disclosure
I am on various Design Teams and get free goodies for blogging about craft products but only because I love their products and genuinely use them. Ultimately my opinions are my own. A list of companies is in my sidebar.

Make A Wish Birthday Card


Hi my friends, today I have a birthday card made with Simon Hurley's new collection from Spellbinders. I usually make girly color birthday cards but with a few boy birthdays coming up, I thought I would use blue orange and terracotta colors.

To make my card, I used the Big Hugs Stamp and Die Bundle and stamped the cat, present and balloon on watercolor paper with Onyx VersaFine Ink and used Derwent Inktense watercolor pencils to color it. Once it was dry, the coordinating dies were used to cut it out.

To make the background, terracotta cardstock was embossed using the Woven 3D Embossing Folder and glued onto a top folding white card that had blue ink blended on the edges.


A frame was made using the Essential Arches Etched Dies from white cardstock and sponged with blue ink.

The sentiment from the set was stamped on a strip of terracotta cardstock with VersaMark ink and embossed with white embossing powder.

For those who only want the Big Hugs Clear Stamp Set, Spellbinders has that too.

 \Have a crafty day!

Let's Connect!

Affiliate and Product Disclosure
I am on various Design Teams and get free goodies for blogging about craft products but only because I love their products and genuinely use them. Ultimately my opinions are my own. A list of companies is in my sidebar.

Wednesday, December 27, 2023

Coffee Lover Card


Stamp a brown cardstock panel using the Wood Grain Fence stamp with VersaMark ink and emboss using white embossing powder. Glue this to a pink top folding card.


Stamp the owl from the Words Can't Espresso Set and the heart from the Coffee Lovers Set on white cardstock using Onyx Black VersaFine Ink. Color with Prisma Colored Pencils.
Use the coordinating dies to cut out the images and set aside.


Die cut an oval frame using two dies from the Nested Oval Stitch Die Cut Set and pop this up in the center of your card.
Pop up the owl in the center of the die and the heart at the top left of the card.
Die cut leaves from green cardstock using the Branches and Leaves Die Set and glue them below the oval.


Have a crafty day!

Let's Connect!

Affiliate and Product Disclosure
I am on various Design Teams and get free goodies for blogging about craft products but only because I love their products and genuinely use them. Ultimately my opinions are my own. A list of companies is in my sidebar.

Wednesday, November 29, 2023

You Can Do It! Encouragement Card


You can do it!! Today I have a cute encouragement card with the Flying to See You Stamp Set from Spellbinders.
The image is colored with Prisma Colored Pencils and layered onto a cloud background that was made by sponging on pink, purple and blue shades of Distress Oxides.
The white frame was made using rectangle dies and the mouse body was glued to the center of the frame and the wings were pulled up to look like he's flying.


Have a crafty day!

Let's Connect!

Affiliate and Product Disclosure
I am on various Design Teams and get free goodies for blogging about craft products but only because I love their products and genuinely use them. Ultimately my opinions are my own. A list of companies is in my sidebar.


Friday, September 29, 2023

Sending Sparkle Tag


Do you make gift tags for your gifts? It's a fun way to add a special touch to those pretty packages.

I used dies from the Dancin' Christmas Collection from Spellbinders
The Dancin' Penguin was used for my tag, he's just the cutest!


The sentiment is from the Bibi's Snowflakes Collection and I used the Snowflake Wishes Clear Stamp and Die Set to make the pretty sentiment.


The background of the tag is decorative paper.
Adhesives from Scrapbook Adhesives were used to stick things down and to pop them up.

Have a crafty day!

Let's Connect!

Affiliate and Product Disclosure
I am on various Design Teams and get free goodies for blogging about craft products but only because I love their products and genuinely use them. Ultimately my opinions are my own. A list of companies is in my sidebar.


Tuesday, August 1, 2023

A Purr-fect Day Kitty Card


Happy August!! Today I have this sweet kitty shaker card up on the Scrapbook Adhesives Blog with a tutorial on how it was made using papers from Doodlebug Designs and dies from Rubbernecker Stamps.


Click on the product below to go to the Rubbernecker Stamps online store.
Have a crafty day!

Let's Connect!

Affiliate and Product Disclosure
I am on various Design Teams and get free goodies for blogging about craft products but only because I love their products and genuinely use them. Ultimately my opinions are my own. A list of companies is in my sidebar.

Saturday, July 1, 2023

Cat-titude Card


I recently got the Pretty Kitty collection by Doodlebug Designs, and oh my gosh are the papers and stickers cute!! I made this card for the Scrapbook Adhesives Blog with a tutorial on how it was put together and what adhesives were used, you can see it HERE.

Here is a photo of the adhesives that were used.


Here's a picture of the Doodlebug Design products used.


Have a crafty day!

Let's Connect!

Affiliate and Product Disclosure
I am on various Design Teams and get free goodies for blogging about craft products but only because I love their products and genuinely use them. Ultimately my opinions are my own. A list of companies is in my sidebar.


Monday, June 12, 2023

So Sorry Card


Here's my 3rd card made using the new Stampendous Hugs Collection. I used the Stampendous Puppy Hugs Etched Dies and Stampendous Puppy Hugs Faces and Sentiments Clear Stamps, click on the highlighted links to go to the Spellbinders site and take a look at the cute collection.

 Have a crafty day!

Let's Connect!

Affiliate and Product Disclosure
I am on various Design Teams and get free goodies for blogging about craft products but only because I love their products and genuinely use them. Ultimately my opinions are my own. A list of companies is in my sidebar.

Tuesday, February 14, 2023

Furry Friends Slimline Card


 Today I have a cute slimline card made with Stampendous FransFormer Furry Friends Clear Stamps from Spellbinders. 

The cute little furry faces were stamped on white cardstock die-cut hexagons using the Stampendous Frames and Borders Die Set also from Spellbinders, stamped with Onyx Black VersaFine Ink.  The images were colored with watercolor pencils and layered onto larger colored hexagons.

A white slimline panel was stamped with dots from the Stampendous FransFormer Geo Prints Clear Stamps using ink colors to match the hexagon. This panel was then mounted to a blue slimline card cut using a die from the Stampendous Frames and Borders Die Set.


 FransFormer Geo Prints Clear Stamps


The sentiments are from the Stampendous FransFormer Friends Hugs Clear Stamps.

FransFormer Friends Hugs Clear Stamps


Have a crafty day!

Let's Connect!

Affiliate and Product Disclosure
I am on various Design Teams and get free goodies for blogging about craft products but only because I love their products and genuinely use them. Ultimately my opinions are my own. A list of companies is in my sidebar.


Friday, January 27, 2023

Skatboarding Elephant Card


I thought I would try a boy themed card using the cute Stampendous FransFormer Furry Urban Jungle Stamps from Spellbinders.  
 The elephant was colored using watercolor pencils and the oval background was inked with the grass being stamped with the dots from the Stampendous FransFormer Geo Shapes Stamps.  
 The orange background is decorative paper that was also stamped with the dots using orange ink.
 I got the wave look by using the Frames and Borders Die and die-cutting the paper.

The FransFormer Furry Friends Stamps are super cute and you can pick which animal you and to use with the close.

Here are the sets that were used from Spellbinders, click on the names to go to their page.


FransFormer Urban Jungle Stamps


Have a crafty day!

Let's Connect!

Affiliate and Product Disclosure
I am on various Design Teams and get free goodies for blogging about craft products but only because I love their products and genuinely use them. Ultimately my opinions are my own. A list of companies is in my sidebar.


Monday, January 9, 2023

Fabulous Friends Slimline Card


Have you heard the news? Stampendous products are now available at Spellbinders Paper Arts AND Stampendous has a new release with some really cute animal sets.

For my slimline card, I used the Stampendous FransFormer Feathers Clear Stamps by stamping the flamingo on watercolor paper with Onyx Black VersaFine Ink and embossed with Clear Embossing Powder. The flamingo was then colored with watercolor pencils.
The sentiment from the set was stamped with VeraMark Ink on black cardstock and embossed with White Embossing Powder.
The panel was then layered on pink cardstock that was die-cut with the  Stampendous Frames and Borders Die Set then mounted onto a white card.

Be sure to go to the Spellbinders Paper Arts site HERE and put Stampendous in their search bar to see all of the products available.

 Have a crafty day!

Let's Connect!

Affiliate and Product Disclosure
I am on various Design Teams and get free goodies for blogging about craft products but only because I love their products and genuinely use them. Ultimately my opinions are my own. A list of companies is in my sidebar. 

Wednesday, July 20, 2022

Christmas in July


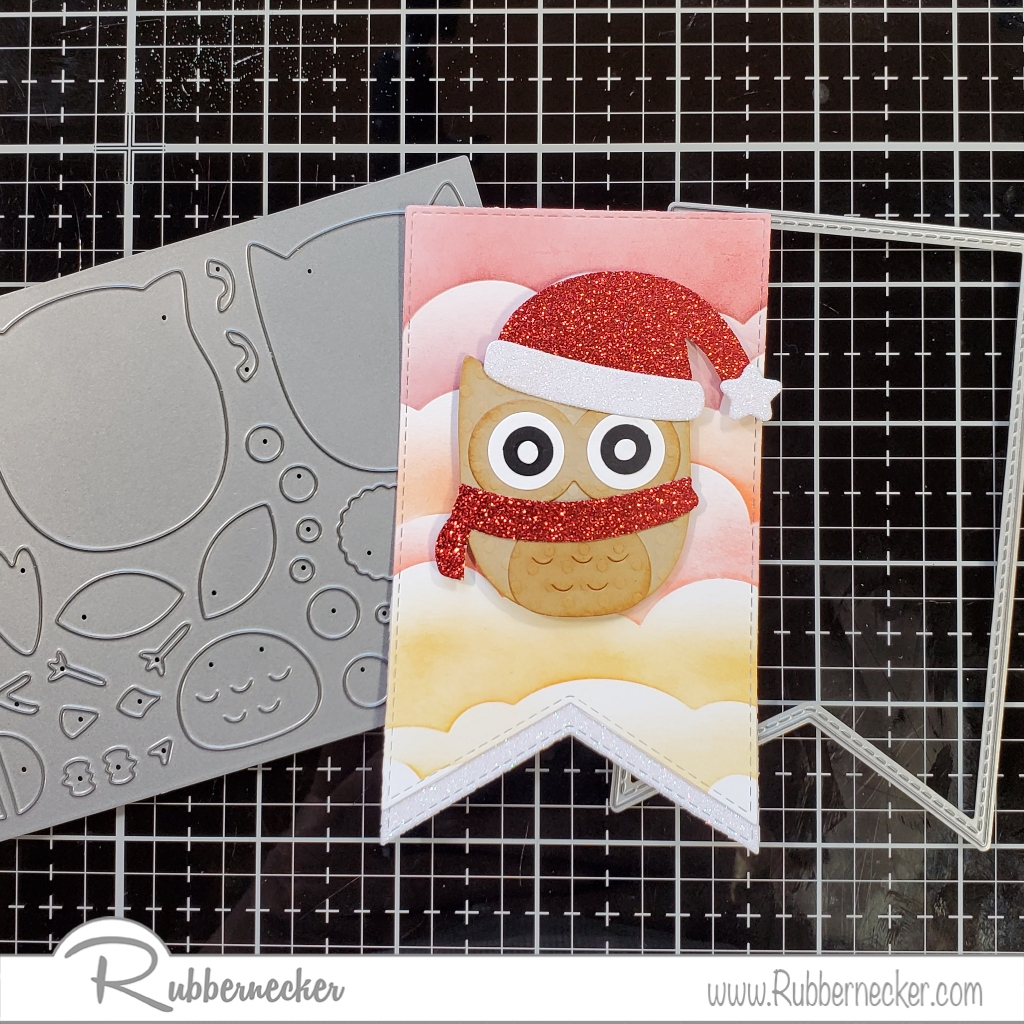
Today I have a Christmas card made with stamps, stencils and dies from Rubbernecker Stamps. Here's how my card was made-

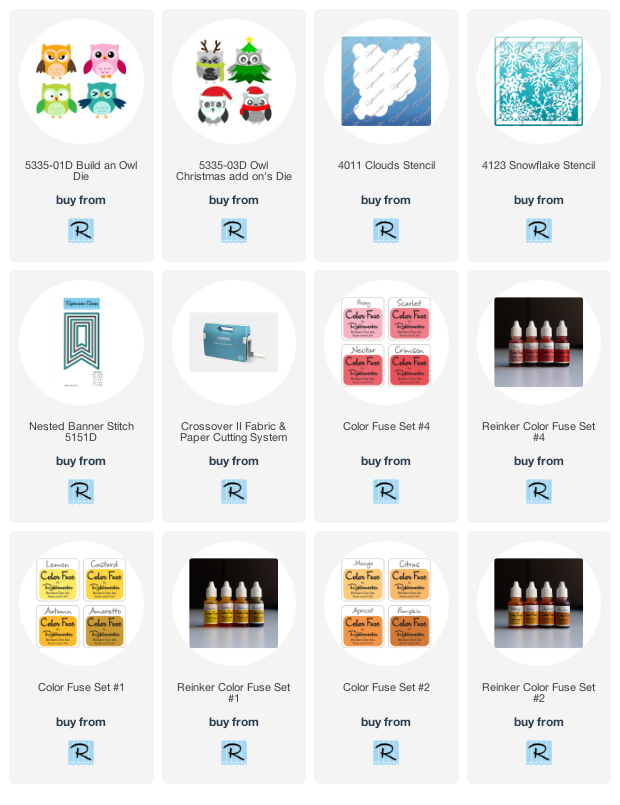
Place the Snowflake Stencil on a red cardstock panel and apply white pigment ink over the stencil. 


Now it's time to die-cut all of your pieces.  The Build an Owl Die was die-cut from a textured tan cardstock, white cardstock, black cardstock and peach cardstock.
Use the Owl Christmas Add On's Die to die-cut red and white glitter papers.
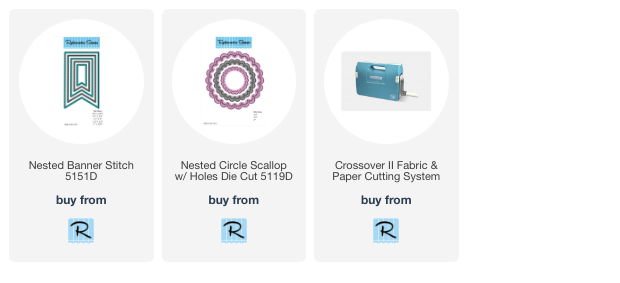
Die-cut white cardstock and white glitter paper using the largest die from the Nested Banner Stitch Die.


Now create your owl and set it aside.
Use the Clouds Stencil to make clouds on the banner using colors from Color Fuse Inks #1, #2, and #4.
Glue this onto the white glitter panel so the bottom can be seen on the banner.
Use foam squares to pop up the Santa owl on the cloud banner.
Glue the banner to the stenciled snowflake panel.
Stamp the sentiment with VersaMark Ink on a strip of red cardstock and emboss it with White Embossing Powder.
Die-cut this using the large Nested Banner Stitch Die and pop it up under the his feet using foam squares.
Glue the completed piece to a top folding white card and tie the top with white and gold twine.


Click on the items below to go to the Rubbernecker Stamps online shop.

Have a crafty day!

Let's Connect!

Affiliate and Product Disclosure
I am on various Design Teams and get free goodies for blogging about craft products but only because I love their products and genuinely use them. Ultimately my opinions are my own. A list of companies is in my sidebar.

Wednesday, May 4, 2022

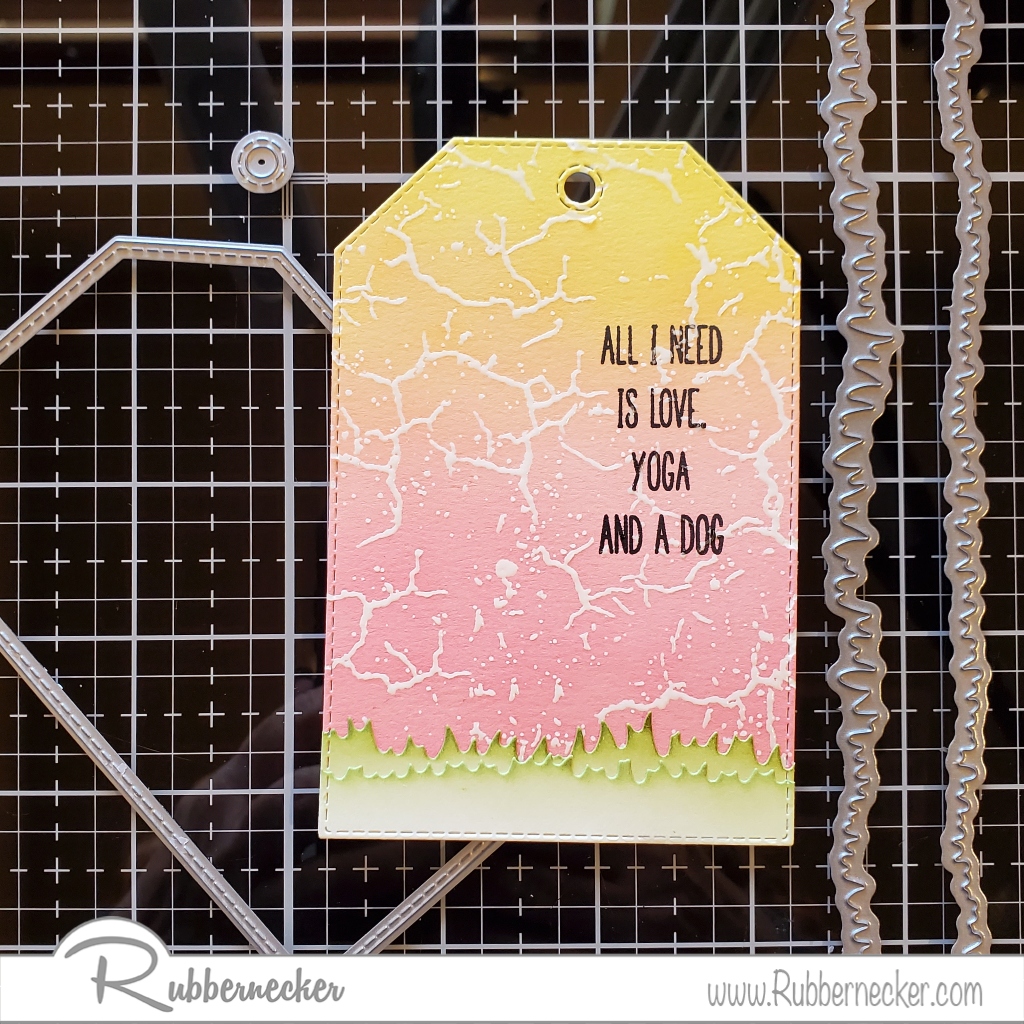
Love, Yoga and a Dog


I thought making a tag and creating a little scene with the new Yoga Dogs from Rubbernecker Stamps would be fun.  I haven't decided if I'll attach it to a gift bag or mount it on a card, either will be cute.  Below are pictures of how the card was made and below that are the instructions, I thought I would try a new format.  Let me know which you prefer.


Directions
  1. Stamp the dog from the Yoga Dogs set with black ink and emboss with clear embossing powder.  Sponge the dog with Mocha Color Fuse Ink, die-cut with the Yoga Dogs Die and set it aside.
  2. Stamp white cardstock with the Crackled Mud Background using VersaMark Ink and emboss with clear embossing powder. Color blend the panel with yellow and pink Distress Oxides.  I used these inks instead of the beautiful Color Fuse Inks because the Oxides can be wiped off of the embossed areas where the Color Fuse can't.
  3. Die-cut the panel with the Nested Tag Stitch Die and set it aside.
  4. Die-cut two strips of white cardstock using the Slimline Die, sponge the tops with green Color Fuse Inks and layer them on top of each other with one just below the other.
  5. Now die-cut the grass with the same Nested Tag Stitch Die and glue this to the bottom of the tag.
  6. Stamp the sentiment from the Yoga Dogs Set on the right side of the tag with Black VersaFine Ink.
  7. Pop up the dog at the bottom left of the tag using foam squares.
  8. Use the Clouds Die to die-cut white cardstock and blend the bottom of the clouds with Sonata Color Fuse Ink and glue the two clouds to the top of the tag.
  9. The hearts are from the Slimline OPC Hearts die, they were leftover from another project.  You know we crafters can't throw anything away, we might be able to use it haha. The two hearts were popped up using foam squares and the third little heart is an enamel heart.
  10. A ribbon was added to the top of the tag and tied with black and white twine.

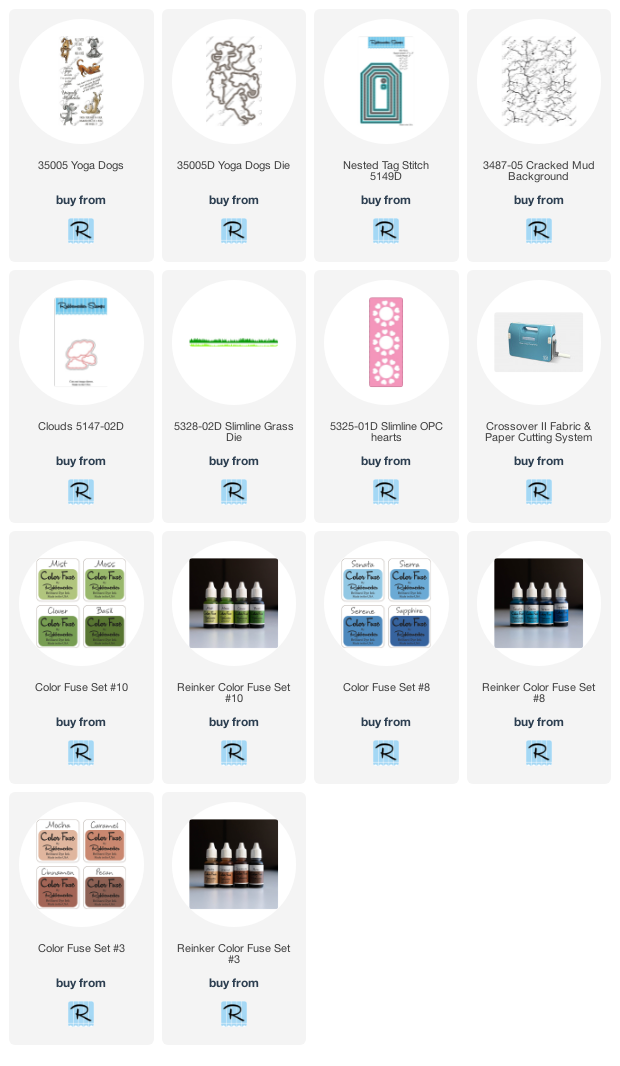
Click on the product to go to the Rubbernecker Stamps online shop.