Featured Post

Privacy Policy

I'm working on a new privacy policy for my followers, but for now you should know that if you comment on my site, my site collects your ...

Showing posts with label Rubbernecker Stamps. Show all posts

Wednesday, December 27, 2023

Coffee Lover Card


Stamp a brown cardstock panel using the Wood Grain Fence stamp with VersaMark ink and emboss using white embossing powder. Glue this to a pink top folding card.


Stamp the owl from the Words Can't Espresso Set and the heart from the Coffee Lovers Set on white cardstock using Onyx Black VersaFine Ink. Color with Prisma Colored Pencils.
Use the coordinating dies to cut out the images and set aside.


Die cut an oval frame using two dies from the Nested Oval Stitch Die Cut Set and pop this up in the center of your card.
Pop up the owl in the center of the die and the heart at the top left of the card.
Die cut leaves from green cardstock using the Branches and Leaves Die Set and glue them below the oval.


Have a crafty day!

Let's Connect!

Affiliate and Product Disclosure
I am on various Design Teams and get free goodies for blogging about craft products but only because I love their products and genuinely use them. Ultimately my opinions are my own. A list of companies is in my sidebar.

Wednesday, December 6, 2023

Christmas Card Gift Card Holder


Cut cardstock to 5 1/2" x 8 1/2" and fold in half to a 5 12" x 4 1/2" card.
Score the left side of the card at 1 14". 
Place double sided tape on each end of the 1 1/4" scored piece and fold to seal the edges. This will be for the gift card.
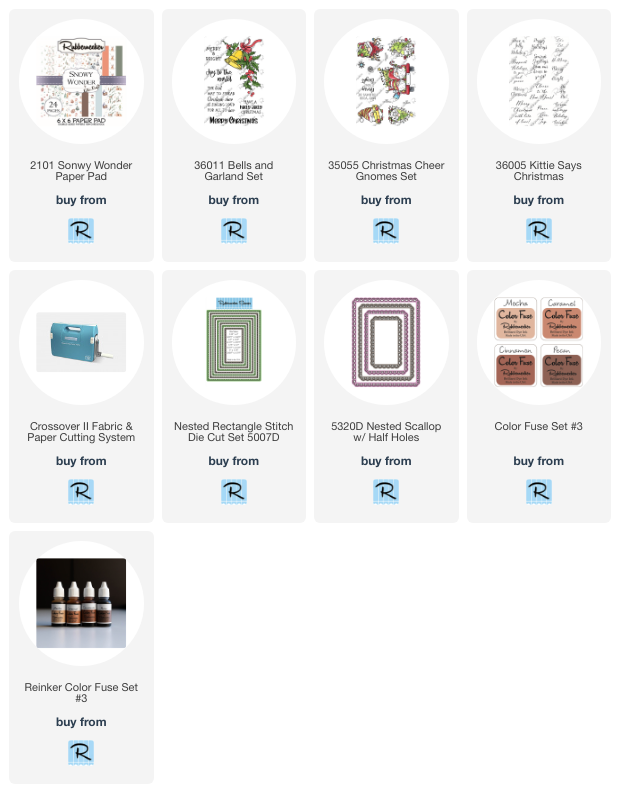
Cut the house decorative paper from the Snowy Wonder Paper Pad to 2 3/4" x 5 1/4" and glue it to a slightly larger brown panel from the same paper pad. Glue this to the top card panel.
Cut brown decorative paper from the same pad to 1 1/4" x 5 1/4".
Stamp this panel using snowflakes from the Christmas Cheer Gnomes Set using white ink and glue to the left side of the open card.
Die cut blue and white cardstock using the Nested Scallop w/ Half Holes and just white cardstock from the Nested Rectangle Stitch Die Cut Set.
Stamp the white Nested Rectangle Stitch panel with the sentiment from the Bells and Garland Set with Pecan Color Fuse Ink using a stamping apparatus such as a Misti, clean your stamp without removing it, then ink it with VersaMark Ink and restamp.
Emboss this with clear glitter embossing powder and glue it to the top of the blue die cut piece.
Randomly stamp this with snowflakes using a blue ink and add small rhinestones to the center of the snowflakes.
Stamp the white Nested Scallop w/ Half Holes with the sentiment from the Kittie Says Christmas with Pecan Color Fuse Ink and glue to the inside of the card and add a gift card.


Place double sided tape on each end of the 1 1/4" scored piece and fold to seal the edges. This will be for the gift card.


Cut the house decorative paper from the Snowy Wonder Paper Pad to 2 3/4" x 5 1/4" and glue it to a slightly larger brown panel from the same paper pad. Glue this to the top card panel.


Die cut blue and white cardstock using the Nested Scallop w/ Half Holes and just white cardstock from the Nested Rectangle Stitch Die Cut Set.


Stamp the white Nested Rectangle Stitch panel with the sentiment from the Bells and Garland Set with Pecan Color Fuse Ink using a stamping apparatus such as a Misti, clean your stamp without removing it, then ink it with VersaMark Ink and restamp.
Emboss this with clear glitter embossing powder and glue it to the top of the blue die cut piece.
Randomly stamp this with snowflakes using a blue ink and add small rhinestones to the center of the snowflakes.


Cut brown decorative paper from the same pad to 1 1/4" x 5 1/4".
Stamp this panel using snowflakes from the Christmas Cheer Gnomes Set using white ink and glue to the left side of the open card.
Stamp the white Nested Scallop w/ Half Holes with the sentiment from the Kittie Says Christmas with Pecan Color Fuse Ink and glue to the inside of the card and add a gift card.


Click on the product below to go to the Rubbernecker Stamps online store.
 
Have a crafty day!

Let's Connect!

Affiliate and Product Disclosure
I am on various Design Teams and get free goodies for blogging about craft products but only because I love their products and genuinely use them. Ultimately my opinions are my own. A list of companies is in my sidebar.

Wednesday, November 22, 2023

Fun Fold Thank You Card


Today I have a fun fold thank you card make with pretty papers and stamps from Rubbernecker Stamps.
Here's how my card was made.

Cut a sheet of rust colored cardstock to 4 1/4" x 11" and fold in half.
Fold the top of the card in half so that the flap can be pulled open from the left side.
Pick two patterns from the Snowy Wonders Paper Pad and glue one sheet to the inside of the card and half to the top of the folded side.


Stamp a white cardstock panel with Thanks in rust ink and the rest of the sentiment below Thanks in a dusty blue ink.
The pinecone was cut from the paper pad and glued to the bottom left corner of the panel.
Randomly add blue Stickles to the panel.


Wednesday, November 15, 2023

Fun Fold Christmas Card


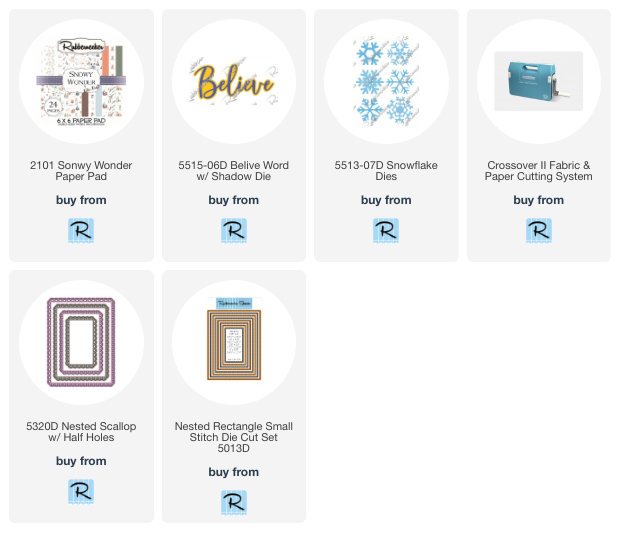
Today I have a fun fold Card using dies and decorative paper from Rubbernecker Stamps and all of the adhesives used are from Scrapbook Adhesives by 3L.  To make my card, I cut a sheet of 8 1/2" x 11" periwinkle cardstock diagonally. The cardstock was then scored to create the fold. Next a 4" x 5 1/4" piece of decorative paper paper was then cut diagonally (this will make two cards) and one piece was taped to the bottom fold using TAPE RUNNER.


Snow fakes were die-cut from white cardstock and glued to the top fold of the card using the DUAL TIP. The snowflakes that were hanging over the edge were cut off.


To make the frame, white cardstock was die-cut using a scalloped rectangle and and a stitched rectangle that's slightly smaller was cut from periwinkle cardstock and attached using RUNNER


The frame was centered and glued to the left top fold of the card, using the DUAL TIP.  Believe was die-cut from the same carstock colors, glued together using the DUAL TIP. Hearts were placed aroud the sentiment using the HEARTS RUNNER and crystal micro fine glitter was sprinkled on.


Click on the product below to go to the Rubbernecker Stamps online store.

Have a crafty day!

Let's Connect!

Affiliate and Product Disclosure
I am on various Design Teams and get free goodies for blogging about craft products but only because I love their products and genuinely use them. Ultimately my opinions are my own. A list of companies is in my sidebar.


Thursday, October 26, 2023

Believe-Fall Card


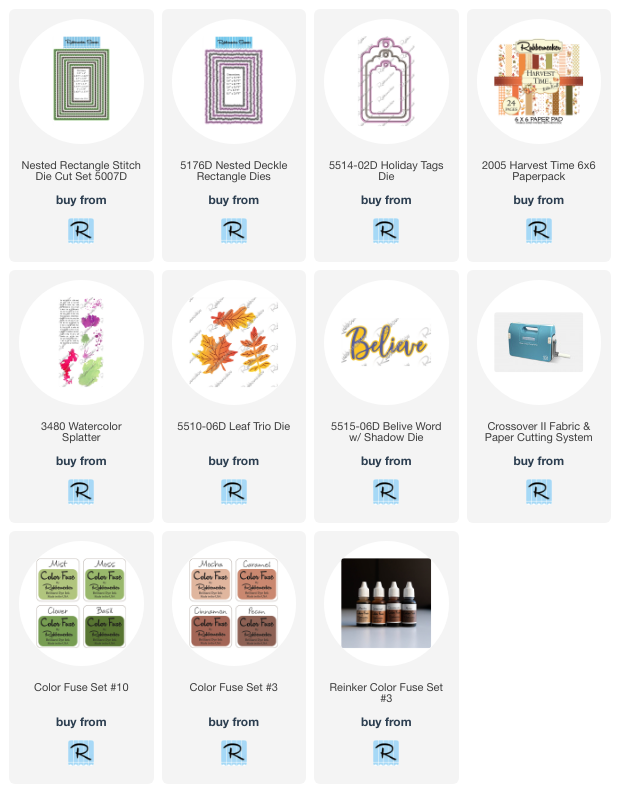
Die-cut decorative paper from the Harvest Time 6 x 6 paper pad using the Nested Deckle Rectangle Dies.
Layer this on top of a rust-colored panel that was die-cut using the Nested Deckle Rectangle Die set and glue it to a white card.
Die-cut burlap paper and white cardstock with the Holiday Tags Die.
Stamp the white tag with Caramel Color Fuse Ink using one of the ink splatter stamps from the Watercolor Splatter clear stamp set and sponge the edges with Caramel ink.
Glue the white tag on top of the burlap tag so that you can see the burlap tag underneath and pop it up on the card diagonally.
Die-cut leaves using the Leaf Trio Die from green and goldenrod colored cardstock and sponge the edges with Basil and Caramel Color Fuse Inks.
Glue these leaves to the white tag.
Die-cut Believe Word with Shadow Die from golden rod and black cardstock.
Glue the two together and pop it up on the tag.
Add green ribbon to the top of the tag.


Click on the product below to go to the Rubbernecker Stamps online store.
Have a crafty day!

Let's Connect!

Affiliate and Product Disclosure
I am on various Design Teams and get free goodies for blogging about craft products but only because I love their products and genuinely use them. Ultimately my opinions are my own. A list of companies is in my sidebar.


Friday, October 6, 2023

Boo! Halloween Strips Card


With Halloween right around the corner, Rubbernecker Stamps has some great dies to make those fun spooky cards.

Here's how my card was made-

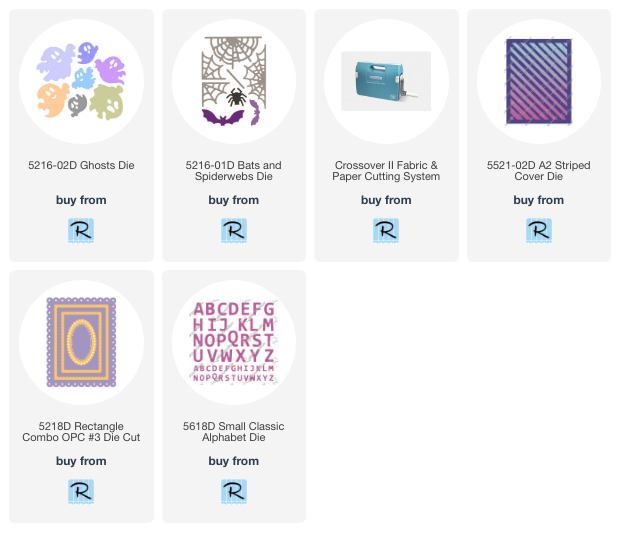
Die-cut black, green and purple cardstock using the Striped Cover Die and keep all of the strips that are cut out. I use the Crossover ll Die-Cut Machine 


Glue the back die-cut panel to a black card, then glue the green and purple strips in the die-cut piece as shown, no need to glue in the black strips, since the card is black and will show through.


Use the Rectangle Combo OPC #3 Die to die-cut black, green and purple cardstock.
Layer the colors together as shown and place tape on the back to keep the pieces together.
Die-cut black glitter paper twice, using the Small Classic Alphabet Die and glue the letters to the center green panel to spell BOO.
Now die-cut white cardstock using the Bats and Spiderwebs Die, plus the Ghosts die. Die-cut the spider from the Bats and Spiderwebs Die from black glitter cardstock.
Pop up the BOO panel in the center of the card and glue the spiderwebs to two corners and pop up the spider in the top left corner.
Place double sided on the backside of the ghosts' eyes and mouth, then add black glitter to the front of the ghosts, eyes and mouth. Pop them up on the card.
Crystal Stickles was placed in the little hole of the black scalloped frame of the BOO panel.


Layer the colors together as shown and place tape on the back to keep the pieces together.
Die-cut black glitter paper twice, using the Small Classic Alphabet Die and glue the letters to the center green panel to spell BOO.


Now die-cut white cardstock using the Bats and Spiderwebs Die, plus the Ghosts die. Die-cut the spider from the Bats and Spiderwebs Die from black glitter cardstock.


Pop up the BOO panel in the center of the card and glue the spiderwebs to two corners and pop up the spider in the top left corner.
Place double sided on the backside of the ghosts eyes and mouth, then add black glitter to the front of the ghosts, eyes and mouth. Pop them up on the card.
Crystal Stickles was placed in the little hole of the black scalloped frame of the BOO panel.


Click on the product below to go to the Rubbernecker Stamps online shop.
Have a crafty day!

Let's Connect!

Affiliate and Product Disclosure
I am on various Design Teams and get free goodies for blogging about craft products but only because I love their products and genuinely use them. Ultimately my opinions are my own. A list of companies is in my sidebar.

Tuesday, October 3, 2023

Starting Fall Card


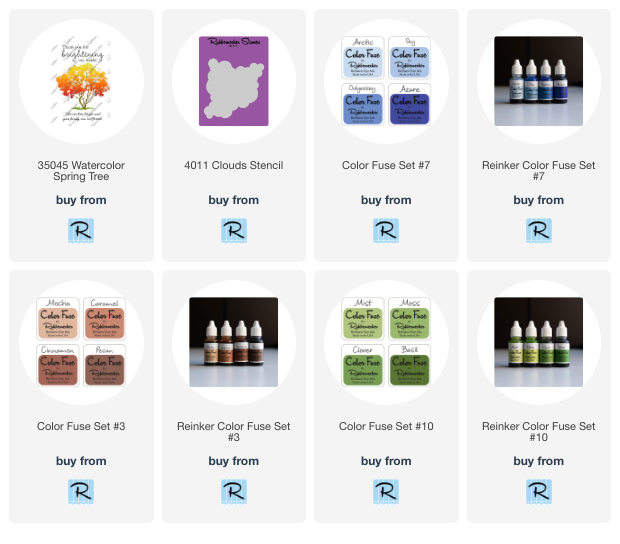
I'm making a Fall card using the Watercolor Spring Tree set from Rubbernecker Stamps and thought I'd share what I've made so far.

-To make my card, I started by stamping the tree trunk in Cinnamon Color Fuse Ink, then the foilage was stamped with VersaMark Ink and three colors of embossing powder were sprinkled on and embossed.
-Once that was done, the clouds were stenciled using Color Fuse Ink Set #7. The ink was stenciled over the foilage and wiped off when done.
-Next, ink from Color Fuse Ink Set #10 was blended from the bottom up for the grass, then grass was stamped using Clover from the same set.

 Click on the picture below to go to the Rubbernecker Stamps online store.

Have a crafty day!

Let's Connect!

Affiliate and Product Disclosure
I am on various Design Teams and get free goodies for blogging about craft products but only because I love their products and genuinely use them. Ultimately my opinions are my own. A list of companies is in my sidebar.

Wednesday, September 20, 2023

Welcome Autumn


Today I have an Autumn card with pretty leaves that look like they have been created with inks, but nope, they were stamped on decorative watercolor looking paper. Read on to see how my card was made.

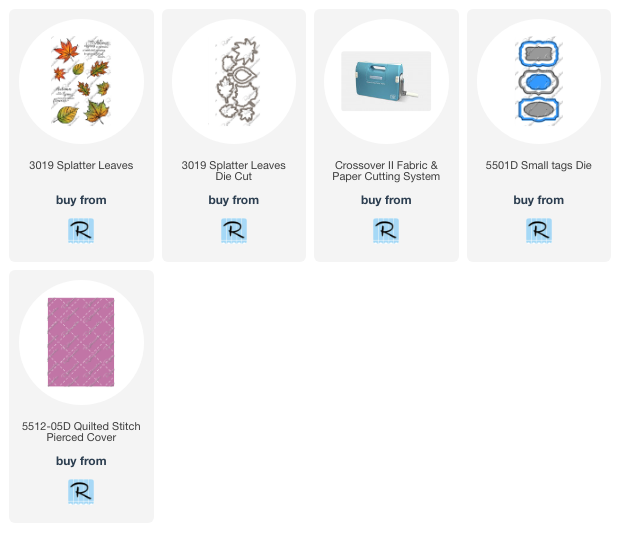
Die-cut white cardstock using the Quilted Pierced Stitched Cover.
Glue a strip of black and white diagonal striped decorative paper on the left side.  Glue this to a black card.
Place thin black glitter washi tape on each side of the decorative strip.


Stamp leaves from the Splatter Leaves stamp set with Onyx Black VersaFine Ink on decorative paper and emboss with clear embossing powder.
Die-cut the leaves using the Splatter Leaves Die Cut.


Glue the 1st and 3rd leaves to the card and pop up the 2nd and 4th leaves.


Stamp the sentiment with black ink and emboss with clear embossing powder. 
Die-cut the sentiment using a die from the Small Tags Die set.


Layer this onto a slightly larger black panel and pop it up on the upper right side of the card and add peach enamel dots in the corners.


Click on the product below to go to the Rubbernecker Stamps online shop.

Have a crafty day!

Let's Connect!

Affiliate and Product Disclosure
I am on various Design Teams and get free goodies for blogging about craft products but only because I love their products and genuinely use them. Ultimately my opinions are my own. A list of companies is in my sidebar.