Featured Post

Privacy Policy

I'm working on a new privacy policy for my followers, but for now you should know that if you comment on my site, my site collects your ...

Wednesday, May 17, 2023

Summer Fun Card


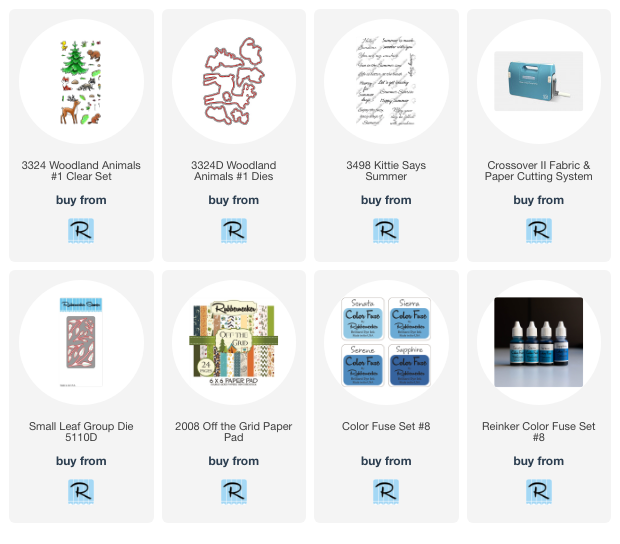
Who's ready for some fun in the summer sun? I used papers stamps and dies from Rubbernecker Stamps to make my summer card, here's how it was made-

Cut a piece of decorative paper from the Off The Grid Paper Pad, to 4" x 5 1/4".
Using a paper cutter, a 1 1/2" slight was cut half way down the paper on the right side.
Each of the cut pieces were folded, you want the fold to go both, the top and bottom corners.
Place a 3D Foam Circle behind each fold, so that it will stay up a bit.
Glue this to a green card.


Stamp the sentiment on a white cardstock paper strip with Serene Color Fuse Ink and layer it onto green and yellow papers.


Place Foam Strips to the back of the sentiment panel, leaving a space where it will go over the folded center of the decorative paper.


Die-cut leaves using the Small Leaf Group Die from white cardstock, vellum and green cardstock.


Pop up the sentiment in the center of the card and glue the leave under the strip.
Stamp the duck from the Woodland Animals #1 Clear Set on white cardstock with black ink, color with colored pencils and cut it out using the matching die from the Woodland Animals #1 Dies and glue it to the right side of the card as shown.


Click on the product to go to the Rubbernecker Stamps online shop.

Have a crafty day!

Let's Connect!

Affiliate and Product Disclosure
I am on various Design Teams and get free goodies for blogging about craft products but only because I love their products and genuinely use them. Ultimately my opinions are my own. A list of companies is in my sidebar.

Monday, May 15, 2023

Animal Train Birthday Slimline Card


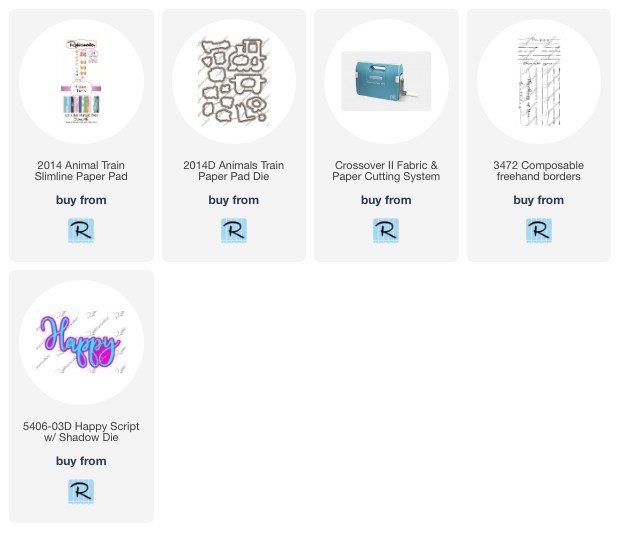
Today I have this slimline Birthday card up on Scrapbook Adhesives Blog with a tutorial. I used cute paper and dies from Rubbernecker Stamps, a list of products is at the end of the post.
This is the perfect card to make if you need a last minute card because the images are die-cut from a slimline paper pad. The only stamping done is the birthday.

Have a crafty day!

Let's Connect!

Affiliate and Product Disclosure
I am on various Design Teams and get free goodies for blogging about craft products but only because I love their products and genuinely use them. Ultimately my opinions are my own. A list of companies is in my sidebar.

Wednesday, May 3, 2023

Wonderful Friends Great Adventures Card


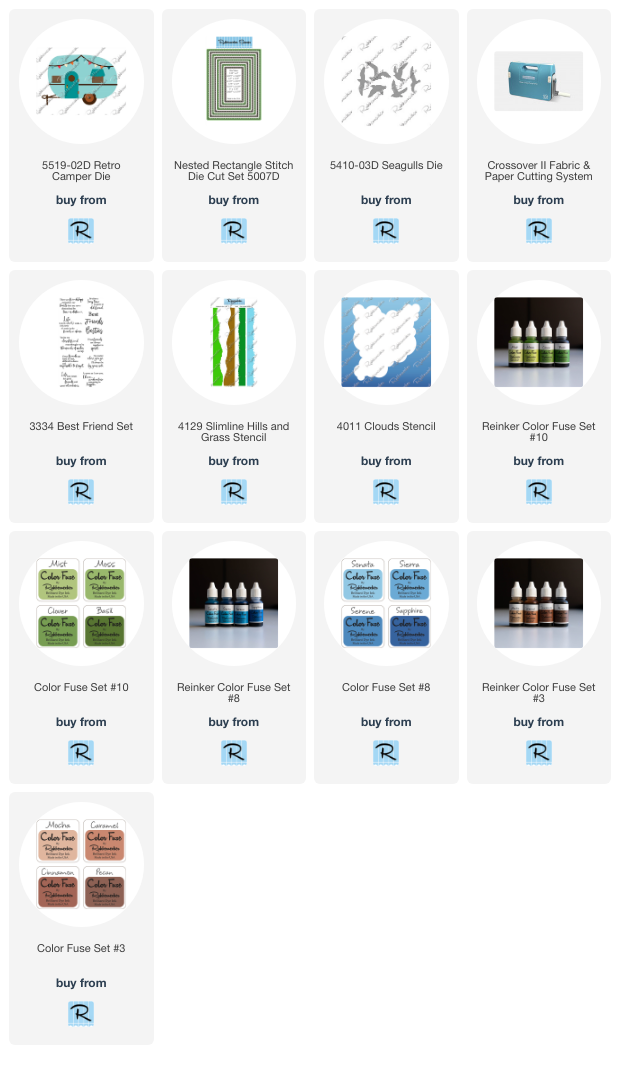
Use the Retro Trailer Die to die-cut different color papers and piece it together, set aside.


On a white cardstock panel 4 1/4" x 5 1/2", make a background scene starting with the grass by using the Slimline Hills and Grass Stencil and different shades of green from the Color Fuse Set #10. 
Next, move up to the mountains using brown inks from the Color Fuse Set #3.
The clouds were made using the Clouds Stencil and blue inks from the Color Fuse Set #8. All of the inks were applied using blender brushes, I like the soft look that can be achived, but you could also use foam daubers.


Die-cut the background scene using the large die from the Nested Rectangle Stitch Die Cut Set and mount to a brown card.
Stamp the sentiment from the Best Friend Set on a white cardstock square with brown ink from the Color Fuse Set #3 and layer it onto gray and peach squares, then pop it up at the top left of the card using 3D Foam Squares.


Glue the trailer to the bottom center of the card.
For the final touch, die-cut a seagull using the Seagulls Die and glue it to the top right of the card.


Click on the product below to go to the Rubbernecker Stamps online shop.

 
Have a crafty day!

Let's Connect!

Affiliate and Product Disclosure
I am on various Design Teams and get free goodies for blogging about craft products but only because I love their products and genuinely use them. Ultimately my opinions are my own. A list of companies is in my sidebar.

Monday, May 1, 2023

Be A Cactus Card


Today I have a fun cactus card with a southwestern flare and it's up on the Scrapbook Adhesives by 3L Blog.

Die-cut white cardstock and decorative paper using the largest rectangle die from the set. Using a paper trimmer, cut just a bit of the top left corner off and about half of the bottom right corner off.


Using the E-Z Runner Squares Dispenser, tape the cut white cardstock panel to the decorative paper panel and set aside.


Die-cut white cardstock using the second to the smallest oval and apply green and blue inks using blender brushes.


Stamp the cactus images on white cardstock, color with colored pencils then die-cut the images. Next, apply Sunflower Liquid Pearls to the dots on the tall cactus. Since the dots are so small, I squirted some of the Liquid Pearls on my glass mat and used a small stylus to dip it into the Liquid Pearls and dot it on the vase.

E-Z Runner Squares were placed on the back of the tall cactus 3D Foam Circles were place behind the flower cactus and mounted to the oval as shown.


3D Foam Strips were placed on the back of the oval panel. These are great to use so that no part of your oval sags once it's placed on the card.


The oval is placed off center to the upper left. Two die-cut arrows were glued below the cactus's using the Dual Tip Glue Pen. The sentiment was stamped with brown ink on white cardstock, layered on brown cardstock and popped up on the bottom of the card using 3D Foam Circles. Orange enamel dots were randomly placed around the card.


off


Supplies

All adhesives are from Scrapbook Adhesives by 3L

Stamps, Dies and Decorative Paper- Whimsy Stamps
Arrow Dies- Spellbinders
Inks- Pinkfresh
Liquid Pearls- Wendy Vecchi/ Ranger
Cardstock- PrintWorks Specialty Paper

Have a crafty day!

Let's Connect!

Affiliate and Product Disclosure
I am on various Design Teams and get free goodies for blogging about craft products but only because I love their products and genuinely use them. Ultimately my opinions are my own. A list of companies is in my sidebar.

Bloomin Easel (SA Project 2023)


Skill Level: Intermediate

Creative Time: 35 minutes

Materials Needed:

Scrapbook Adhesives by 3L® E-Z Runner Grand E-Z Runner Hearts E-Z Runner Stars 3D Foam Squares White Mix

Plus Rubbernecker Stamps- Flower Dies, Stamps, Color Fuse Inks Sizzix- Easel Die


Wednesday, April 19, 2023

Father's Day Die-Cut Card


Do you need a Father's Day card and think that you don't have the right stamps or dies? Well, that may not  be the case. I used dies to make this card that will work great for Dad.

Here's how it's made-

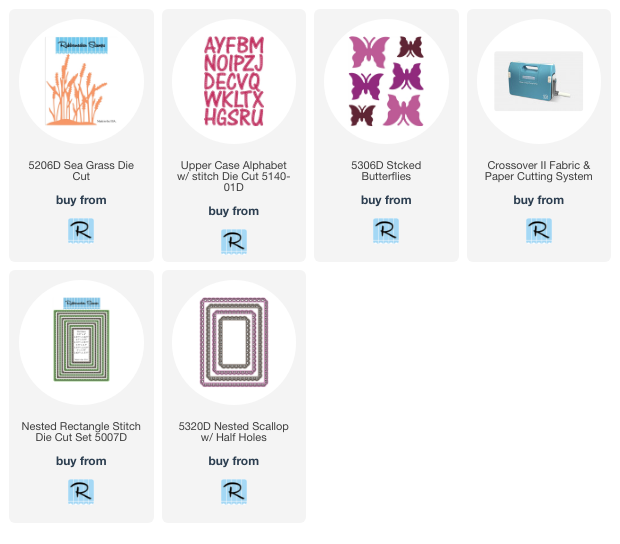
Die-cut decorative paper using the Nested Rectangle Stitch Die Set and die-cut white glitter paper using the Nested Scallop w/Hole Die Set.


Glue the two panels together and mount to a black card.


Die-cut black glitter paper using the Sea Grass Die Cut.


C

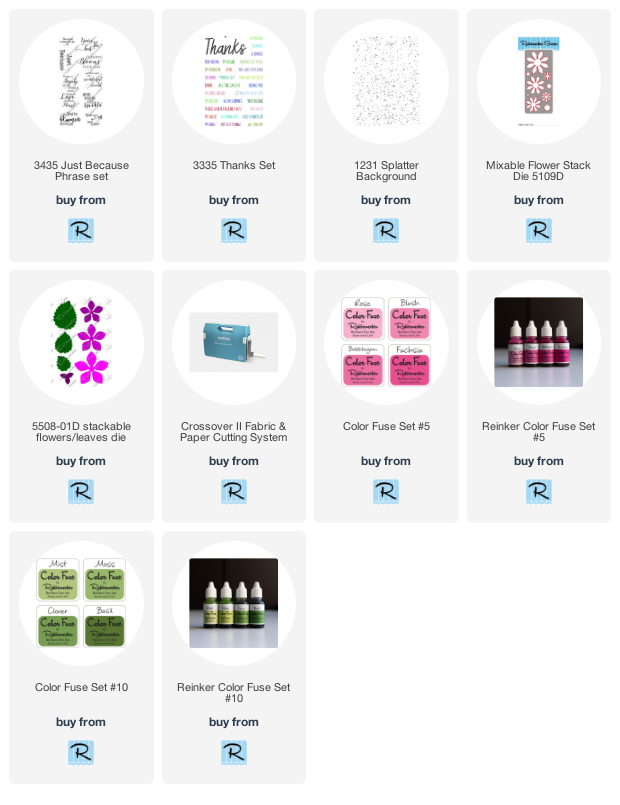
Click the item to go to the Rubbernecker Stamps online shop

Have a crafty day!

Let's Connect!

Affiliate and Product Disclosure
I am on various Design Teams and get free goodies for blogging about craft products but only because I love their products and genuinely use them. Ultimately my opinions are my own. A list of companies is in my sidebar.

Saturday, April 15, 2023

Floral Foil Shaker Card


To make the background, four sizes of Premium Double-Sided Tape in, 1", 1/2", 1/4", 1/8", were placed diagonally across a 4 1/4" x 5 1/2" white piece of cardstock. Using Metallic Transfer Foil Sheets from the Nature and Pastel Sets were used to create a marbled look by crumpling up a piece of pink foil and rolling it in your hands, opening it up and placing it on one of the lines of Premium Double-Sided Tape (with the pretty side facing you).  Give it a rub and remove the foil carrier. You will then place a sheet of black foil from the Foil Transfer Sheets over the tape that has the pink foil and rub.  This will create a vein look. You will continue this with other colors until all of the tape is covered.


The panel was then die-cut using a scallop die.


Scrapbook Adhesives by 3L makes shaker card making so easy by using the 3D Foam Circle Frames White. You don't have to worry about any of your shaker bits falling out. All you do is pick the size of circle that you need and place it on your panel.


Then die-cut a circle that fits inside of the foam circle, stamp it with a sentiment with black ink and emboss it with clear embossing powder. Add a couple of self-adhesive pearls. Glue the circle to the inside of the foam circle, I used a liquid glue for this so I could move the circle around while the glue is wet to get it centered.


Next, the shaker bits were placed in the center of the foam circle.


Flowers were diecut twice from white cardstock and once from black cardstock. On one of the white cardstock pieces, pink was sponged on the flowers and the flowers were cut off. On the other white piece the stems were sponed with green ink. The pink flowers were then glued onto the green stems using the Dual Tip Glue Pen.  The flowers were then layered onto the black die-cut pieces so just of a bit of the black can be seen to make a shadow.


A scallop circle was die-cut from white cardstock and the center was die-cut using a circle die. Acetate was placed behind the scallop piece using the Dual Tip Glue Pen.  The flowers were glued to the left side of the shaker also using the Dual Tip Glue Pen. The shaker panel was then mounted to a green card using the E-Z Runner Grand.


Scrapbook Adhesives by 3L®  Premium Double-SidedTape  Tape 1" Premium Double-Sided Tape 1/2" Premium Double-Sided Tape 1/4"  Premium Double-Sided Tape 1/8" E-Z Runner Grand 3D Foam Mini Square

3D Foam Circle Frames White Metallic Foil Transfer Sheets Nature Metallic Foil Transfer Sheets Pastel

Home Hobby by 3L® Dual Tip Glue Pen

Plus Rubbernecker Stamps- Dies (Circle, Rectangle), Color Fuse Inks, Crossover ll Die-cut Machine Sizzix/ Tim Holtz- Dies (flower) Divinity Designs- Dies (mini tag) Printworks Specialty Paper- Cardstock

Have a crafty day!

Let's Connect!

Affiliate and Product Disclosure
I am on various Design Teams and get free goodies for blogging about craft products but only because I love their products and genuinely use them. Ultimately my opinions are my own. A list of companies is in my sidebar.