Featured Post

Privacy Policy

I'm working on a new privacy policy for my followers, but for now you should know that if you comment on my site, my site collects your ...

Friday, July 26, 2019

Hello My Friend


Today I have a card made with some beautiful new, Wendy Vecchi Make Art, Blendable Dye Inks and used them along with the Flowers Say It All Stamp, Die and Stencil Set.

The bottom of my card was stenciled using the Cactus Flower ink and a strip of Washi Tape Assortment 1, was placed above it the stenciled lines.  The flowers were stamped with Leaf Green, Cactus Flower, and Pink Peony inks.  The stencil was then placed over the images and sponged with the same color inks.

Have a creative day!


Follow me, Stamp This


Disclaimer- I get free goodies for blogging about craft products! Today I'm sharing a card made with products from Ranger Ink.


Thursday, July 25, 2019

Doggy Shaker Card


Hi my friends, today I'm up on the Rubberneck Stamps Blog with this doggy shaker card. I chose to use the Dog 1 Clear Stamp Set because we have a little puppy that we got last month.  Let me tell you, I had forgotten how much work they are but she sure is a cutie!! Here she is a couple of weeks ago.


So with that, bring on the dog stamps!!  The dog and fire hydrant were stamped with black ink on white cardstock and colored with Prisma Colored Pencils.  They were then die-cut using the matching Dog 1 Die Set dies.   The dog was glued to a grass and sky scene then a frame die-cut from the Nested Rectangle Stitch Die Cut Set, stamped with paw prints was popped up after acetate was applied and shaker bits were placed inside.


The sentiment was stamped in black on white cardstock, layer onto black and red cardstock panels and popped up on top of the acetate window.  The fire hydrant was also glued on top of the acetate window.

Click on the product to go to the Rubbernecker Stamps site.


***Check out this Crossover II Fabric & Paper die-cutting machine, you can cut with thin dies, thick dies, use embossing folders and dry emboss.  And you can do all of this without multiple plates because it has an adjustment that you can roll to tighten or to loosen the tension.   Another thing I really love about the Cross Over II is that so far, my plates haven't warped!! That's a huge plus for me.
Follow Me- Stamp This, on-
Twitter

Affiliate and Product Disclosure
I am on various Design Teams and get free goodies for blogging about craft products but only because I love their products and genuinely use them. Ultimately my opinions are my own. A list of companies is in my sidebar.
Being part of various affiliate programs – when you click on an affiliate link and then go on to make a purchase, at no cost to you, I receive a small commission.  The affiliates I use include Rubbernecker Stamps and Whimsy Stamps.


Thursday, July 18, 2019

A Party Without Cake...


I love the saying on this stamp, don't you?  And another thing that I love is it's all one stamp so you stamp once and done, so easy!  After stamping Without Cake from Stampendous, on watercolor paper with brown ink it was embossed with clear embossing powder and colored with Zig Clean Color Real Brush Pens.  It was then layered onto a few papers and glued to a white card.


Disclaimer- I get free goodies for blogging about craft products! Today I'm sharing a card made with products from Stampendous.


Saturday, July 13, 2019

Christmas Flamingo


Today for Christmas in July, I have a card for those of you who don't like traditional cards but prefer something a little funky.  This new Flamingo Santa from Stampendous is a fun way to send out Christmas cards that are just a little different.  
Have you seen the new Stampendous July Catalog?  You can click HERE  to see the flippy catalog filled with amazing new stamps and beautiful samples, you'll even see this one!


Here's how my card was made;
1.  Stamp Flamingo Santa with black ink on Mixed Media White Paper and color with colored pencils.
2.  Sponge the bottom of the panel with blue ink and layer onto a larger black panel.
3.  Layer green decorative paper on a larger white then black panel, glue to a red card and pop up the Flamingo Santa with foam squares.
4.  Stamp the sentiment from the Cardinal Christmas Cling Set, on white paper with black ink and emboss with clear embossing powder.  Layer onto red paper and randomly add lime green Nuvo Crystal Drops.  Pop up on the card.


Supplies
Stampendous
P339 Flamingo Santa
QS5043 Cardinal Christmas Cling Set
MPW811 Mixed Media White Paper
STF082 VersaFine Onyx Black Ink

Plus 
3D Foam Square from Scrapbook Adhesives by 3L
Zip Dry Glue
Prisma Colored Pencils
Nuvo Crystal Drops
Paper- Red Cardstock, Black Cardstock, Decorative Paper


Disclaimer- I get free goodies for blogging about craft products! Today I'm sharing a card made with products from Stampendous.


Thursday, July 11, 2019

Snowman Smile


Who's ready for a little Christmas in July? It's blazing hot here in Oklahoma so I'm ready to crank up the air conditioning, sing Christmas songs and get a head start on Christmas cards!  This Snow Wonderful card uses new stamps from the Stampendous, July Catalog.  Have you seen the July catalog?  If not, click on this link Stampendous July Catalog to take a look, be sure to let me know what you think!

Now here's how my card was made;
1.  Stamp Snowman Smile on White Mixed Media, color with colored pencils and sponge the top with blue ink.
2.  Emboss the bottom with Shabby White Embossing Powder by sprinkling it where you want it and use the heat gun underneath the paper to heat it so the powder doesn't blow off. Layer onto a larger black cardstock panel.
3.  Glue decorative paper to a larger black panel and glue to a dark green card.
4.  Glue a strip of coordinating decorative paper to the center of the card.
5.  Glue stamped image to the left side of the card and apply rhinestone snowflakes as shown.
6.  Stamp sentiment with VersaMark ink, emboss with White Embossing Powder and pop up on the card.


Supplies
Stampendous
P337 Snowman Smile
FREG027 Shabby White Embossing Enamel
EP100 White Embossing Powder
MPW811 Mixed Media White Paper
STF0VM00182 VersaFine Onyx Black Ink
VM001 VersaMark Ink

Plus 
3D Foam Square from Scrapbook Adhesives by 3L
Zip Dry Glue
Prisma Colored Pencils
Rhinestone Snowflakes

Disclaimer- I get free goodies for blogging about craft products! Today I'm sharing a card made with products from Stampendous.


Sunday, June 30, 2019

You Little Stinker!


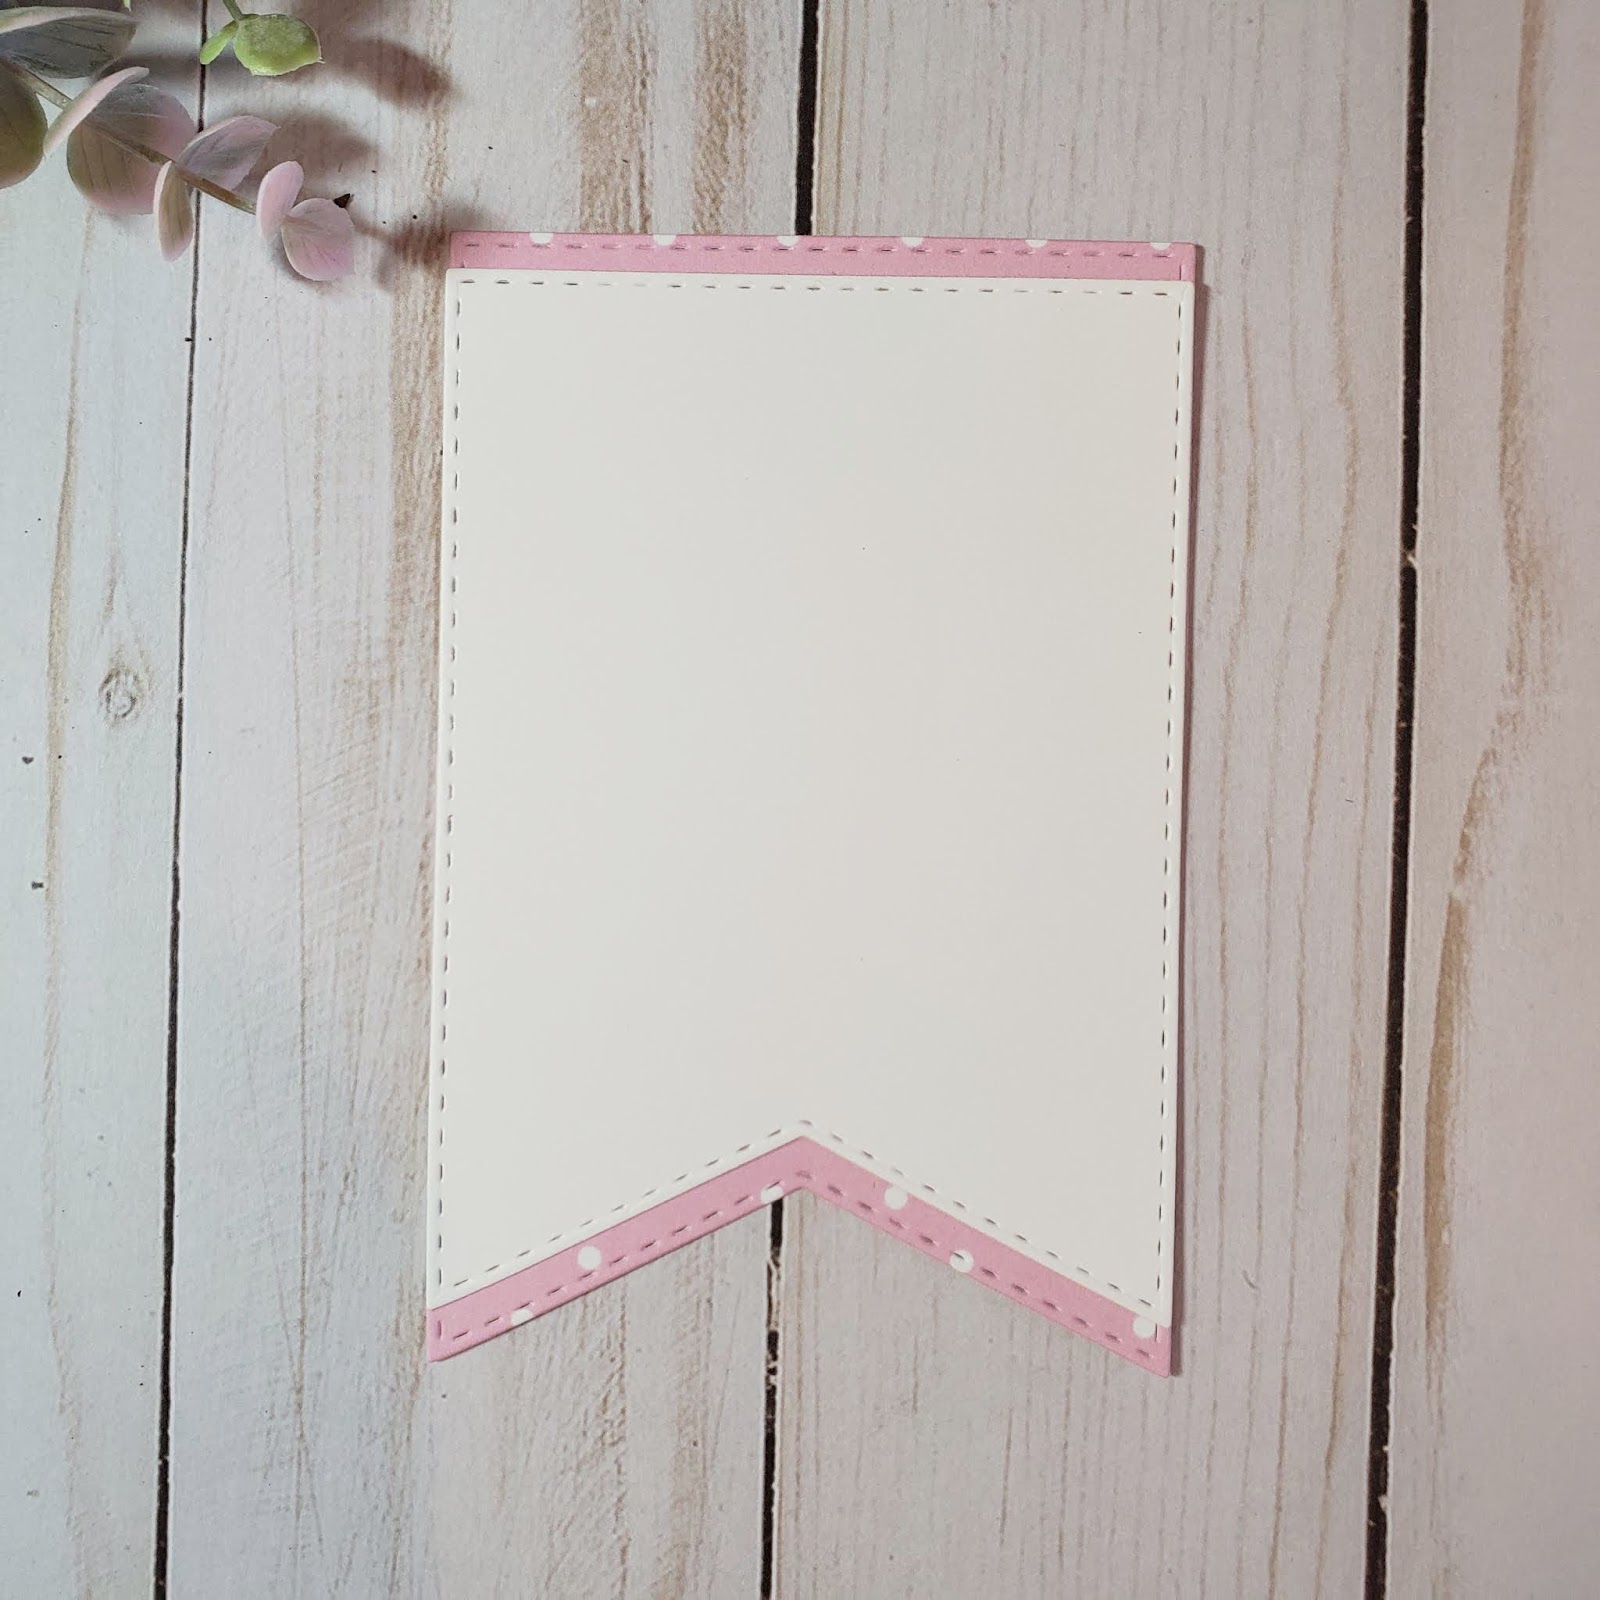
We all have a little stinker in our life and isn't this a cute way to let them know you're thinking of them?  It was made with the Shaker Maker Banner Die Set, the Oink Clear Stamp Set and the 6 x 6 Pretty Pastel Paper Pack from Whimsy Stamps.
The white die cut piece is the largest of the dies and I wanted patterned paper behind the white peeking through from the top and bottom.  So I die cut a piece of pink decorative paper with the same size die as the white and it was then cut it in half. 

After that was done it was glued to the back of the white piece.


The little piggy was stamped on white cardstock, colored with Prisma Colored Pencils, cut out and glued to the center of the banner and Stinker from the same set was stamped below the pig.  Shaker bits were placed on the piggy and the green decorative paper die cut piece was popped up over it.  "You little"  was stamped in black on decorative paper and glued on top of the acetate.


*** I'm sad to say I'll be taking a short break from the very talented Whimsy Stamps Design Team, to care for my mom who has been in the hospital for a little over a month.   I'm currently in the process of moving her to a nice new assisted living community that is just two miles from my home.  Wow, there is so much involved doing this and it's taking up all of my time especially since I don't have any siblings to share the tasks with.  But I will still be sharing things I make will all of the awesome products that they have given me, so be sure to keep checking in to see what I've made!!!

Oink Clear Stamps   Shaker Maker Banner Die Set   6x6 Paper Pack - Pretty Pastels

Follow me, Stamp This


Affiliate and Product Disclosure
I am on various Design Teams and get free goodies for blogging about craft products but only because I love their products and genuinely use them. Ultimately my opinions are my own. A list of companies is in my sidebar.
I am also part of various affiliate programs – when you click on an affiliate link and then go on to make a purchase, at no cost to you, I receive a small commission.  The affiliates I use include Rubbernecker Stamps and Whimsy Stamps.
I hope if you like the content of my blog you will support me by clicking through these links to make your purchases.


Thursday, June 27, 2019

Smile!


Hi everyone, I'm up on the Rubbernecker Stamps Blog this week.  I made this card by using the direct to paper technique, have you tried it?  It's a quick and easy way to get beautiful results.  Here's what I did;
1.  Randomly stamp the leaf from the Organic Set #2 on watercolor paper with VersaMark Ink and emboss with white embossing powder.
2.  Rub Squeezed Lemonade, Twisted Citron and Mowed Lawn on the watercolor paper in random spots starting with the lightest color first.
3. Spritz with water so the colors move around and set aside to dry.


4.  Once dry die-cut the center using one of the Nested Deckle Rectangle Dies and layer onto a larger black panel.
5.  Glue the outer piece to a white card and pop up the die-cut piece after tieing it with black and white cord.


6.  Die-Cut the Smile #2 Die Cut with both white and black papers.  Glue the black die-cut piece underneath the white and a little offset.  Glue to a strip of black paper and pop up on the card.
7.  Randomly apply rhinestones and you're done!

Have a creative day! 


Follow Me- Stamp This, on-
Twitter

Affiliate and Product Disclosure
I am on various Design Teams and get free goodies for blogging about craft products but only because I love their products and genuinely use them. Ultimately my opinions are my own. A list of companies is in my sidebar.
Being part of various affiliate programs – when you click on an affiliate link and then go on to make a purchase, at no cost to you, I receive a small commission.  The affiliates I use include Rubbernecker Stamps and Whimsy Stamps.