Featured Post

Privacy Policy

I'm working on a new privacy policy for my followers, but for now you should know that if you comment on my site, my site collects your ...

Showing posts with label Wendy Vecchi. Show all posts

Saturday, October 1, 2022

Mini Slimline Foiled Merry Christmas


Today I have this card up on the Scrapbook Adhesives by 3L Blog with a full picture tutorial on how to make this mini slimline card with Wendy Vecchi Chippies from Ranger Ink, Adhesive Sheets and Transfer Foil from Scrapbook Adhesives by 3L, dies, stamps and decorative paper by Rubbernecker Stamps and cardstock from PrintWorks Specialty paper.

Materials Needed:

Scrapbook Adhesives by 3L® Adhesive Sheets 4x6 Metallic Transfer Foil Sheets Celebrate Colors 3D Foam Circles White Mix

Home Hobby by 3L® Extreme Double-Sided Tape 1/8" 

Plus
Ranger Ink- Wendy Vecchi Statement Chippies
Rubbernecker Stamps- Dies, Stamps, Decorative Paper
PrintWorks Specialty Paper- Earth Tone Cardstock

 Click on the item to go to the Rubbernecker Stamps online shop.

Click on the items below to go to the Rubbernecker Stamps online shop.

Have a crafty day!

Let's Connect!

Affiliate and Product Disclosure
I am on various Design Teams and get free goodies for blogging about craft products but only because I love their products and genuinely use them. Ultimately my opinions are my own. A list of companies is in my sidebar.

Thursday, September 1, 2022

Gift Card Holder Thank You Card


Today I have this card up on the Scrapbook Adhesives by 3L Blog!

The bag was die-cut from glossy cardstock that had Rosey Posey and Peachy Keen Archival Inks applied to it.  A dot stencil was then laid on top and Rosey Posey Ink was added.  The flower was stamped with black ink on watercolor paper and watercolored with watercolor pencils.


Thursday, February 27, 2020

I Appreciate You


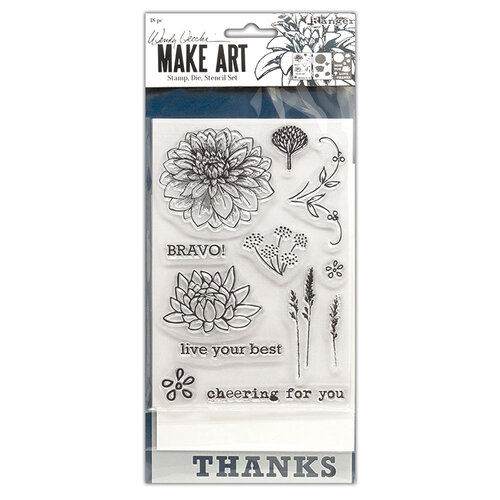
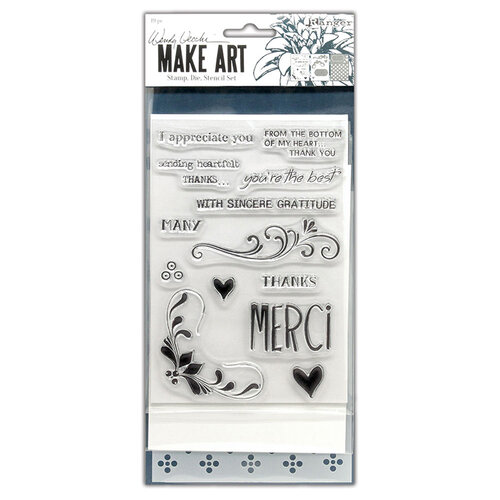
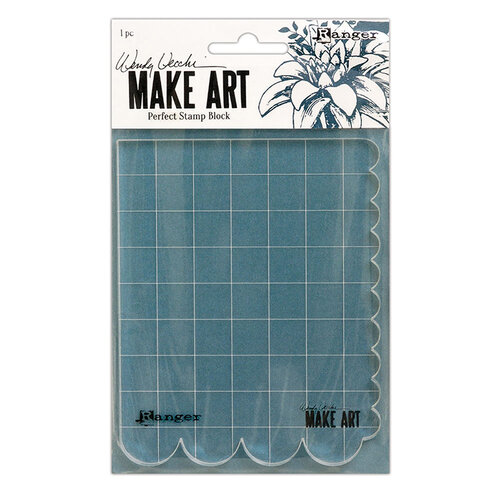
Hi my friends, today I have a card made with a bunch of new Wendy Vecchi products from Ranger.  For my card I used the Bravo and Merci Stamp, Die and Stencil Sets along with the 7"x7" STAY-tion, Perfect Stamp Postioner, Perfect Stamp Block, Perfect Stylus Set and
 
                                  Ranger Ink - Wendy Vecchi - Make Art - Stamp, Die, and Stencil Set - Bravo      Ranger Ink - Wendy Vecchi - Make Art - Stamp, Die, and Stencil Set - Merci and More

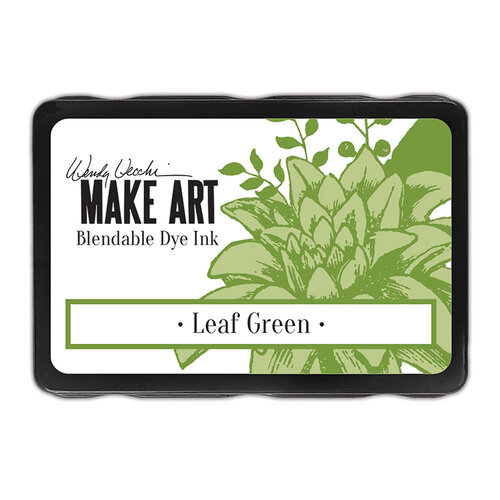
  •  I started by die-cutting an oval in the center of a white cardstock panel and applying Leaf Green ink with a brush.  
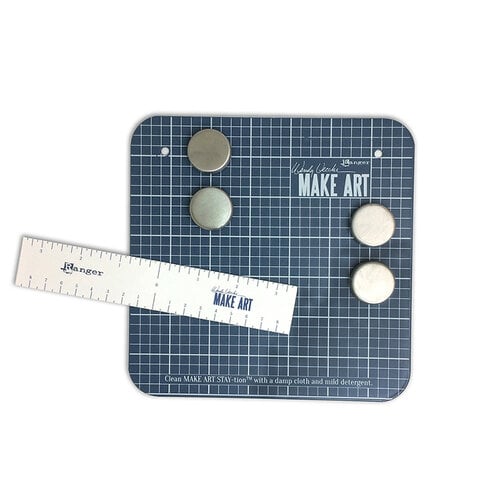
  • I then placed  it on the 7"x7" STAY-tion with stencil on top with the word "Thanks" from the Bravo Set, at the bottom of the panel, secured it with the magnets and oh wow are they strong!  Leaf Green ink was then used to stencil the word. 


  • The stencil from the Merci Set was then placed on top of the panel and the flowers were randomly stenciled with the same ink.
  • Tiger Lily ink was lightly blended over the oval center die-cut piece. Both pieces were then glued to a white card and set aside.
  • The flower from the Bravo set was stamped on white cardstock with black ink and embossed with clear embossing powder.
  • The stencil was placed over the flower and Cactus flower was applied with a brush. (The picture below shows Pink Peony being used)
  • The flower was then die-cut using the matching die.

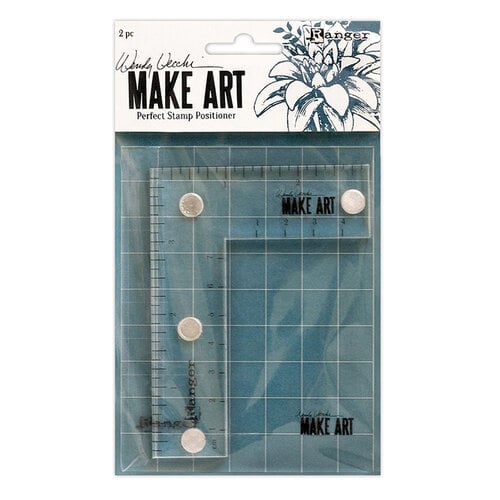
  • Next the leaves were stamped and to be sure they were stamped in the right place, I used the new Wendy Vecchi MAKE ART Perfect Stamp Positioner Set which is two pieces, the postioner that has magnets built into it so it really sticks to the STAY-tion, and an acrylic piece to stamp your image on to know where to postion your image.
  • The picture below shows me stamping the leaves on the acrylic piece.


  • The die-cut flower was placed where I wanted it on the card but now glued down yet.  The Perfect Stamp Postioner with the stamped acrylic piece was placed where I wanted to stamp the leaves.  I then left the Perfect Postioner in place, removed the acrylic piece and the flower.  The leaves were then stamped exactly where I wanted them.  This was then repeated above the flower.


  • The sentiment from the Bravo Set was stamped on black cardstock with embossing ink and embossed with white embossing powder.
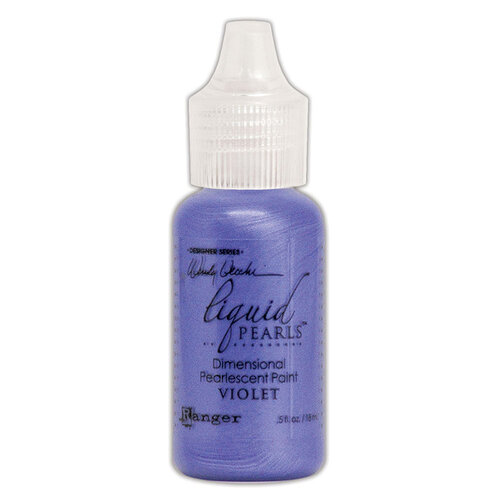
  • Lastly dots were applied to the leaf branches using Violet Liquid Pearls by putting some on my craft mat and dipping the largest end of the Perfect Stylus into it and tapping the card where I wanted dots.  This way you get perfect dots everytime!  


The links below will take you to the Scrapbook.com site where they are currently having a sale on these items!


Ranger Ink - Wendy Vecchi - Make Art - Perfect Stamp Positioner SetRanger Ink - Wendy Vecchi - Make Art - Perfect Stamp Block  Ranger Ink - Wendy Vecchi - Make Art - Stay-tion - 7 Inch  Ranger Ink - Wendy Vecchi - Make Art - Liquid Pearls - Violet
Ranger Ink - Wendy Vecchi - Make Art - Blendable Dye Ink Pads - Leaf Green  Ranger Ink - Wendy Vecchi - Make Art - Blendable Dye Ink Pads - Tiger Lily  Ranger Ink - Wendy Vecchi - Make Art - Blendable Dye Ink Pads - Cactus Flower
Have a creative day and follow me on 

Disclaimer- I get free goodies for blogging about craft products! Today I'm sharing a card made with products from Ranger and Wendy Vecchi.


Tuesday, February 18, 2020

Merci- You're the Best


Have you seen the exciting new products that Wendy Vecchi introduced at Creativeations last month?  I'll be sharing her new products over the next couple of weeks and you can purchase them from Simon Says Stamp starting February 27th.
I have to say I love these new products and she has designed some brilliant accessories to go with her new 7" x 7" STAY-tion, which is a smaller version of her 12" x 12" STAY-tion.   

For my card today I used the new Merci & More Wendy Vecchi MAKE ART Stamp, Die, Stencil Set, the 7" x 7" STAY-tion, and the Wendy Vecchi line of Liquid Pearls in Sunflower, Prickly Pear and Cornflower Blue.  Be sure to keep coming back to see the other new products, you can see them here on my Blog, on my Stamp This Facebook page and on my Stamp This Instagram page, just click on the links to follow.

Here's how my card was made-


  • The STAY-tion comes with four magnets that securely hold your stencil on your paper, so you can apply ink without worrying about your stencil moving.  I used a blender brush to apply Forget-Me-Not ink.


  • Once I was done with applying the ink, I used the gridlines to apply Wendy Vecchi Washi Tape from the Assortment 1 pack.
  • Sunflower Archival Ink was blended on the upper portion of the panel.
  • Dots of Sunflower Liquid Pearls were added to the center of the stenciled images.  To do this I squeezed a small amount of the Liquid Pearls onto my craft mat and used the larger stylus from the Perfect Stylus Set, dip the larger end into the Liquid Pearls and tapped it in the center.  This was repeated until done.
  • The green image was stamped on white cardstock with Leaf Green ink and cut out using the matching die.
  • Merci was stamped with Forget-Me-Not ink the frame was stenciled around it with black ink.
  • Hearts were die-cut from red cardstock using dies from the set.


Disclaimer- I get free goodies for blogging about craft products! Today I'm sharing a card made with products from Ranger, Wendy Vecchi MAKE ART

Friday, July 26, 2019

Hello My Friend


Today I have a card made with some beautiful new, Wendy Vecchi Make Art, Blendable Dye Inks and used them along with the Flowers Say It All Stamp, Die and Stencil Set.

The bottom of my card was stenciled using the Cactus Flower ink and a strip of Washi Tape Assortment 1, was placed above it the stenciled lines.  The flowers were stamped with Leaf Green, Cactus Flower, and Pink Peony inks.  The stencil was then placed over the images and sponged with the same color inks.

Have a creative day!


Follow me, Stamp This


Disclaimer- I get free goodies for blogging about craft products! Today I'm sharing a card made with products from Ranger Ink.