Featured Post
Privacy Policy
I'm working on a new privacy policy for my followers, but for now you should know that if you comment on my site, my site collects your ...
Wednesday, May 18, 2022
You Are Amazing Mini Slimline Card

Sunday, May 15, 2022
Fun With Foil Slimline Card
- Place a sheet of 4x6 in Adhesive Sheet on white cardstock, keep the top liner on, and die-cut with heart dies.
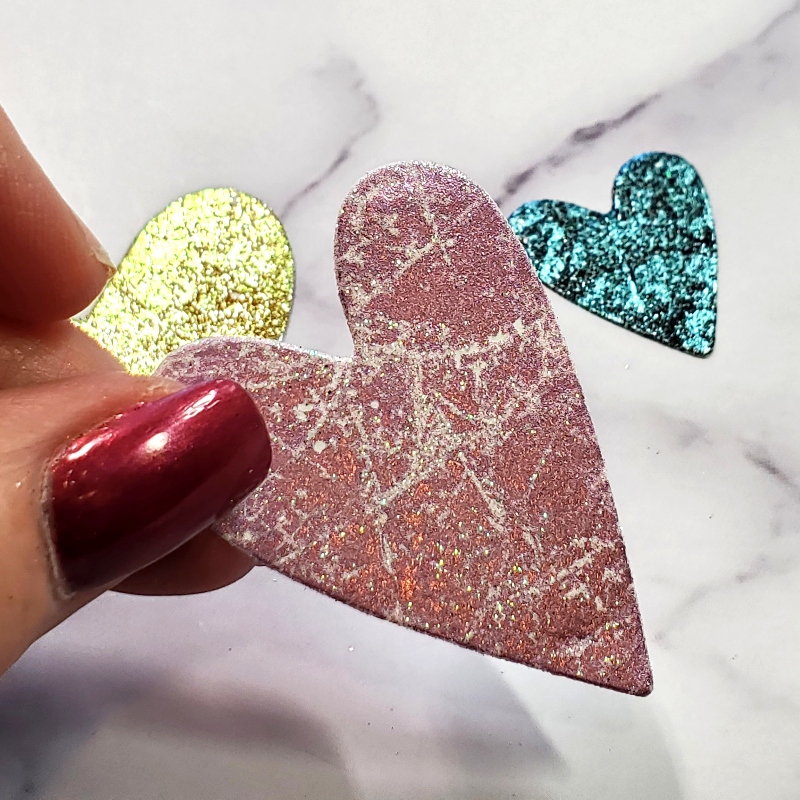
- Cut foil a little larger than the heart that you are going to cover, then wad it up and roll it in your hands then open it, this is what you'll get.
- Remove the liner from the heart and place the foil on top with the pretty side of the foil facing up.
- Remove the foil to reveal a marbled look which will be sticky so either a different color foil needs to be placed on it and rubbed to fill in the cracks or you can use glitter, fun flock or even embossing powder.
- Here are three hearts that have just solid foil on top, they're beautiful!
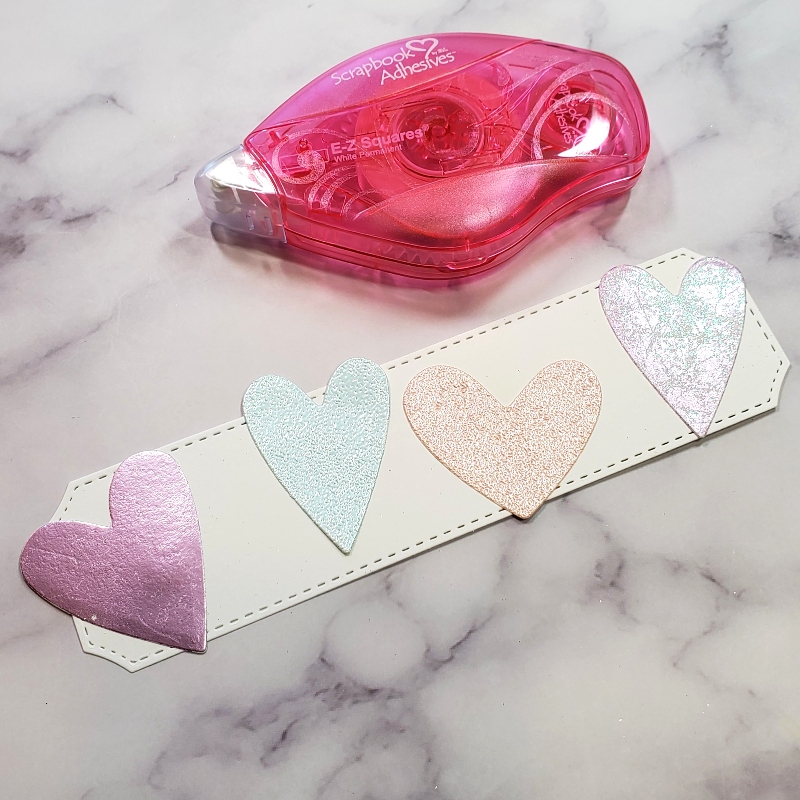
- White cardstock was die-cut using a slimline die and four hearts were placed spaced apart using and glued flat using a E-Z Runner.
- The first heart uses solid pink foil, the blue and pink hearts are embossed with embossing powder and the last heart uses pink foil and the marbling technique.
- Three hearts will be popped up using 3D Foam Circles and placed in between the hearts on the panel.
- An additional blue heart was attached flat below the little green popped-up heart.
- Die-cut a second larger panel from the same slimline die set and pop up the heart panel using 3D Foam Circles.
- The words were stamped on white cardstock with black ink, cut them out and use the E-Z Runner to attach them flat to the bottom panel.
- Pop up the panel to a slightly larger pink panel that has been stamped with splatter spots with pink ink.
- Attach this to a white slimline card.
- For the final touches, a few pink enamel dots were placed around the hearts and pink Enamel Accents were added to the larger white panel.
Materials used from Scrapbook Adhesives by 3L®
3D Foam Circles White Mix Adhesive Sheets 4x6" Metallic Transfer Foil Sheets Pastel Colors
Plus Stampendous- Word Stamps Whimsy Stamps- Slimline Dies Queen & Co- Enamel Dots
Wednesday, May 4, 2022
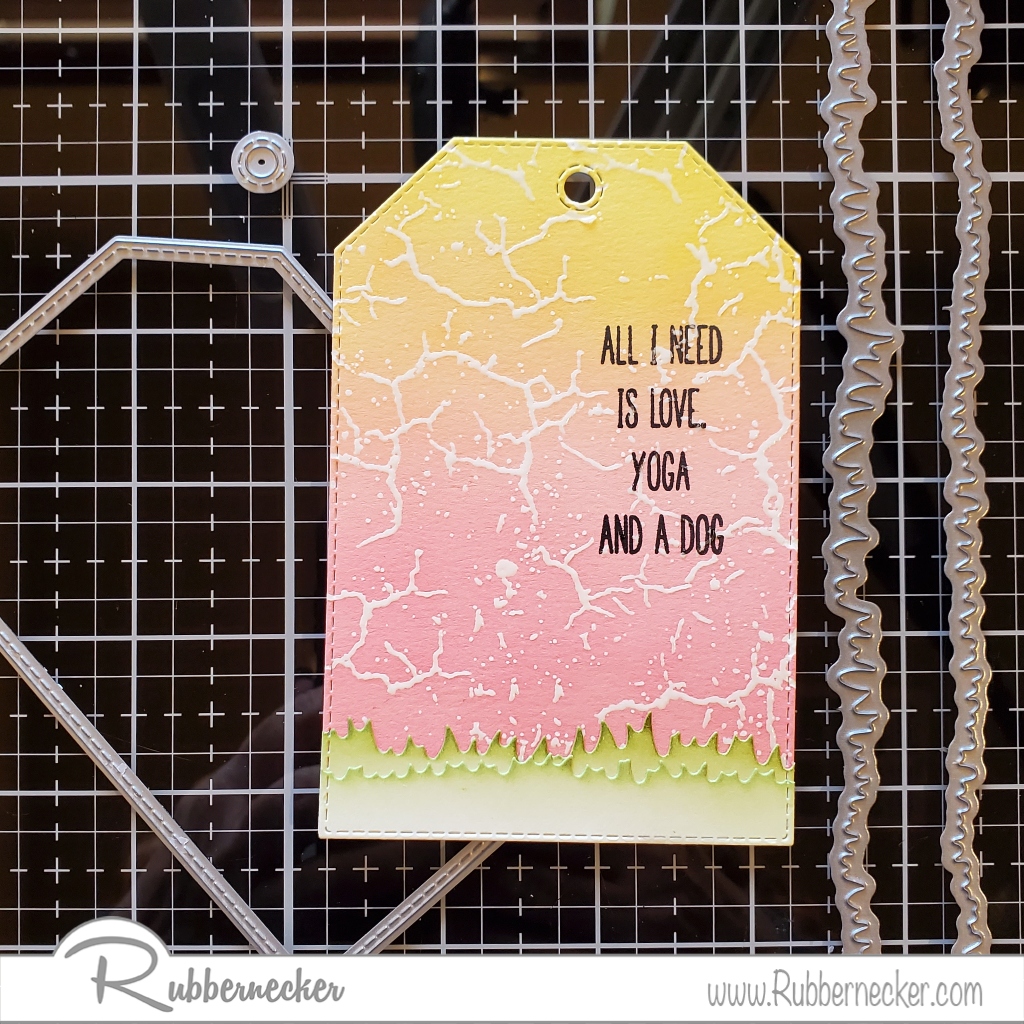
Love, Yoga and a Dog
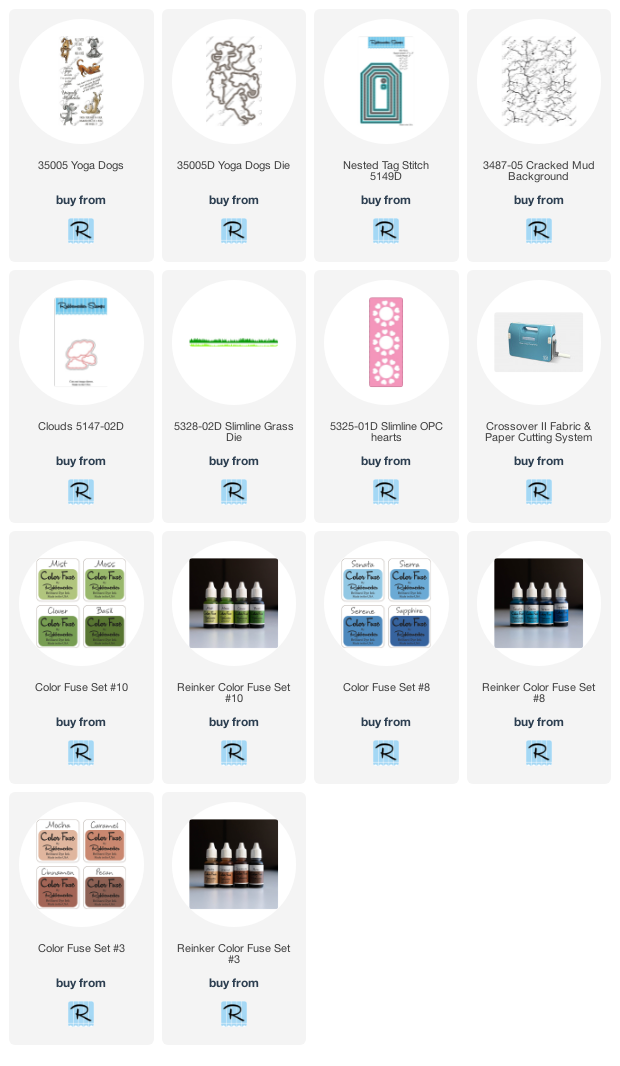
- Stamp the dog from the Yoga Dogs set with black ink and emboss with clear embossing powder. Sponge the dog with Mocha Color Fuse Ink, die-cut with the Yoga Dogs Die and set it aside.
- Stamp white cardstock with the Crackled Mud Background using VersaMark Ink and emboss with clear embossing powder. Color blend the panel with yellow and pink Distress Oxides. I used these inks instead of the beautiful Color Fuse Inks because the Oxides can be wiped off of the embossed areas where the Color Fuse can't.
- Die-cut the panel with the Nested Tag Stitch Die and set it aside.
- Die-cut two strips of white cardstock using the Slimline Die, sponge the tops with green Color Fuse Inks and layer them on top of each other with one just below the other.
- Now die-cut the grass with the same Nested Tag Stitch Die and glue this to the bottom of the tag.
- Stamp the sentiment from the Yoga Dogs Set on the right side of the tag with Black VersaFine Ink.
- Pop up the dog at the bottom left of the tag using foam squares.
- Use the Clouds Die to die-cut white cardstock and blend the bottom of the clouds with Sonata Color Fuse Ink and glue the two clouds to the top of the tag.
- The hearts are from the Slimline OPC Hearts die, they were leftover from another project. You know we crafters can't throw anything away, we might be able to use it haha. The two hearts were popped up using foam squares and the third little heart is an enamel heart.
- A ribbon was added to the top of the tag and tied with black and white twine.
Sunday, May 1, 2022
Summer Memories
Skill Level: Intermediate
Creative Time: 35 minutes
Materials Needed:
Scrapbook Adhesives by 3L® 3D Foam Squares White Mix 3D Foam Micro Squares White
Home Hobby by 3L® Dual Tip Glue Pen Premium Double-Sided Tape 1/2"
Plus
Whimsy Stamps- Stamp and Banner Die
Momenta- Helm and Word Dies
PrintWorks Specialty Paper- Cardstock- Gold Glitter, White, Red
Wednesday, April 20, 2022
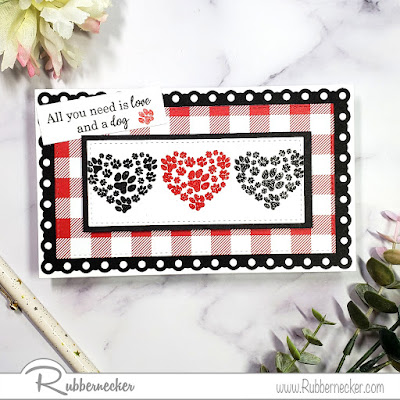
Love and a Dog Mini Slimline Card
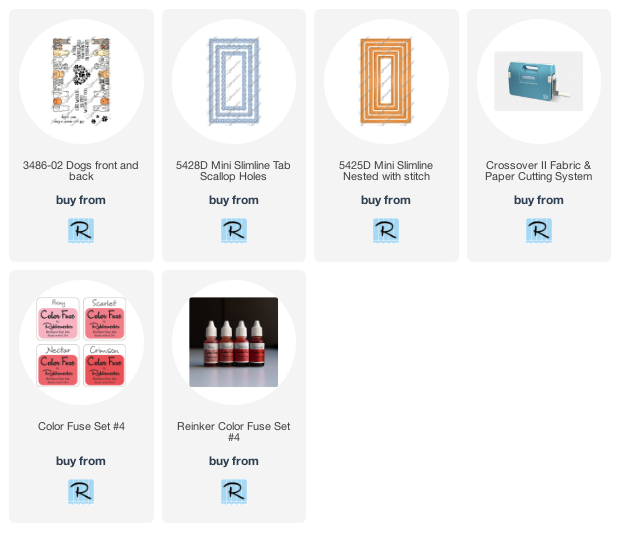
Stamp the heart from the Dogs Front and Back Set in the center of the die-cut panel with VersMark Ink and emboss it with Red Tinsel Embossing Powder. Then stamp the heart again, one on each side to the embossed heart also with VersaMark Ink, but this time emboss it with Twilight Embossing Powder.
Click on the product below to go to the Rubbernecker Stamps Online Shop.

Friday, April 15, 2022
Happy Birthday Mini Slimline Card
.jpg)
Skill Level: Intermediate Creative Time: 35 minutes
Materials Needed:
Scrapbook Adhesives by 3L®
Adhesive Dots 3D Permanent
Adhesive Lines Permanent
Adhesive Dots Micro Permanent
3D Foam Strips White Large
E-Z Dots Dispenser
Plus
Kaisercraft- Amethyst Paper Pad
Stampendous- Ultra Fine Glitter
Wednesday, April 6, 2022
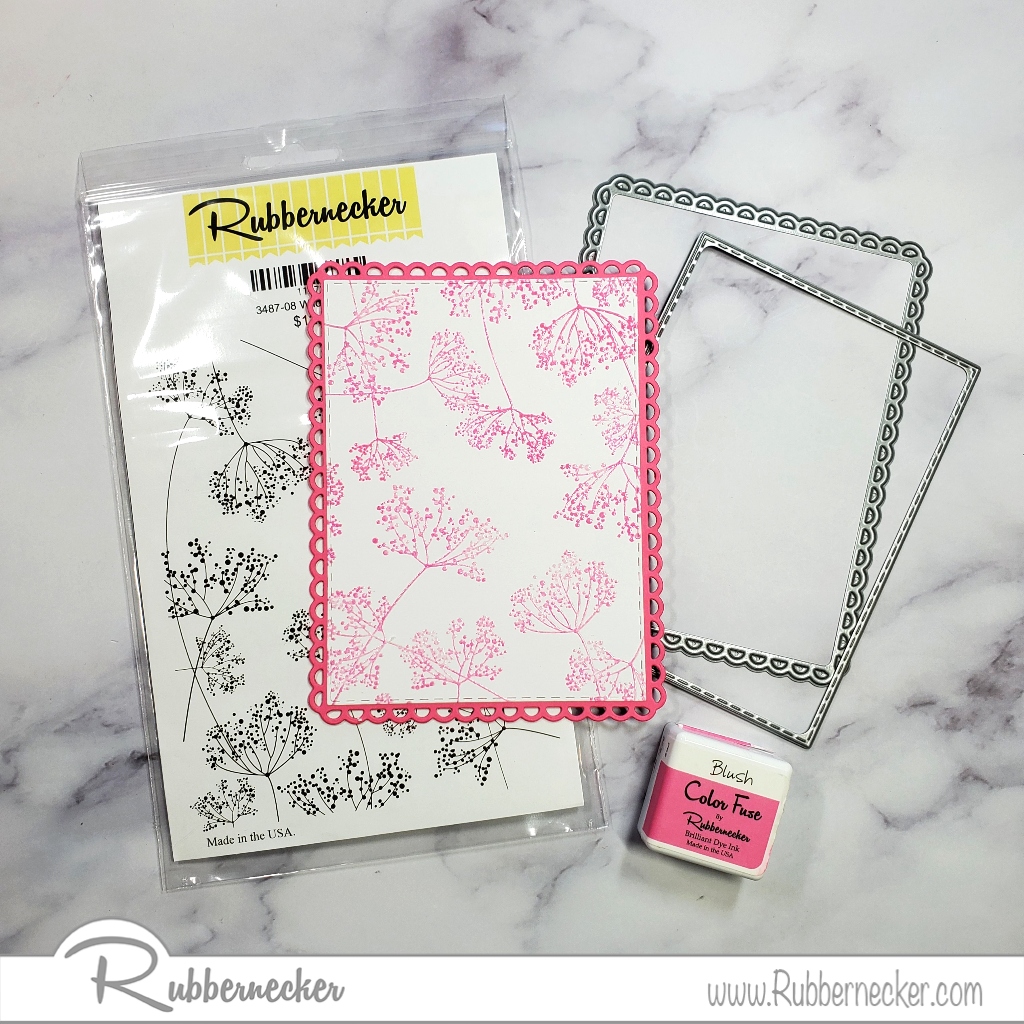
Good Friends, Great Adventures
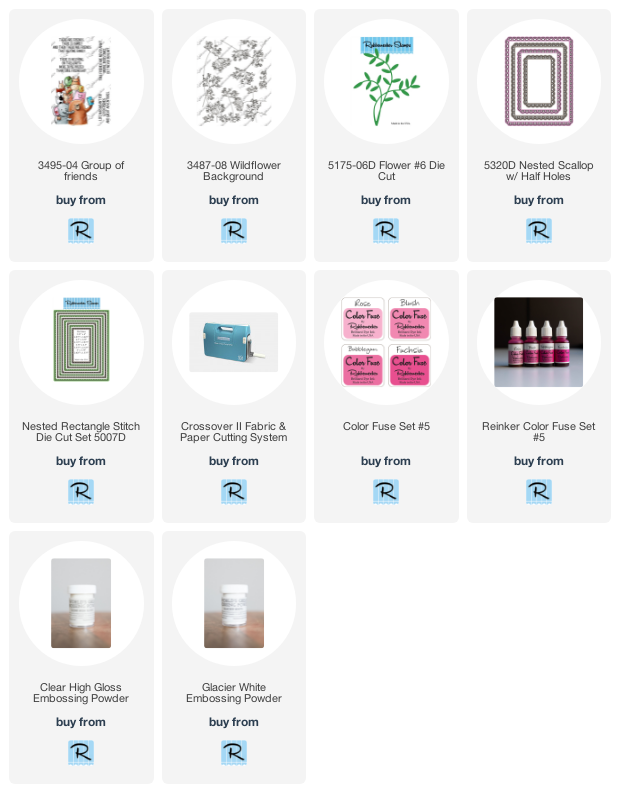
- Using a stamping tool such as a Misty, stamp the Wildflower Background on white cardstock with Blush Color Fuse Ink from Set #2.
- Clean your stamp and stamp again with VersaMark Ink and emboss it with Clear Embossing Powder.
- Die-cut the stamped panel using the Nested Rectangle Frame w/ Stitches.
- Now die-cut pink cardstock with the Nested Scallop w/ Half Holes and layer the stamped panel onto this.
- Place foam squares on the back of the pink panel, make sure to use enough of the squares so when it's mounted to the card, you don't have any sagging.
- Cut black cardstock slightly smaller than a white card and use a tape runner to mount the black panel.
- Pop up the flower panel on top of this.
- Stamp the animals from the Group of Friends Set onto watercolor paper with Onyx Black VersaFine Ink and emboss with Clear Embossing Powder.
- Watercolor the image with Zig Clean Color Real Brush Pens and cut out.
- Die-cut white cardstock using the Flower #6 Die Cut.
- Glue the Flower #6 Die Cut to the card and pop up the animals over this using foam squares.
- Stamp the sentiment from the set on a black cardstock strip with VersaMark Ink and emboss with White Embossing Powder.
- Place a foam square under the right and left sides and pop it up over the bottom of the animals.
- For the final touch add pink enamel dots on each side of the sentiment and black polka dot enamel dots around the animals.
Adhesives- Scrapbook Adhesives by 3L
Cardstock Black, White, Pink- PrintWorks Specialty Paper
Click on the product below to go to the Rubberneck Online Shop


.jpg)


.jpg)


.jpg)


.jpg)

.jpg)