Featured Post

Privacy Policy

I'm working on a new privacy policy for my followers, but for now you should know that if you comment on my site, my site collects your ...

Friday, November 6, 2020

Adulting is Hard


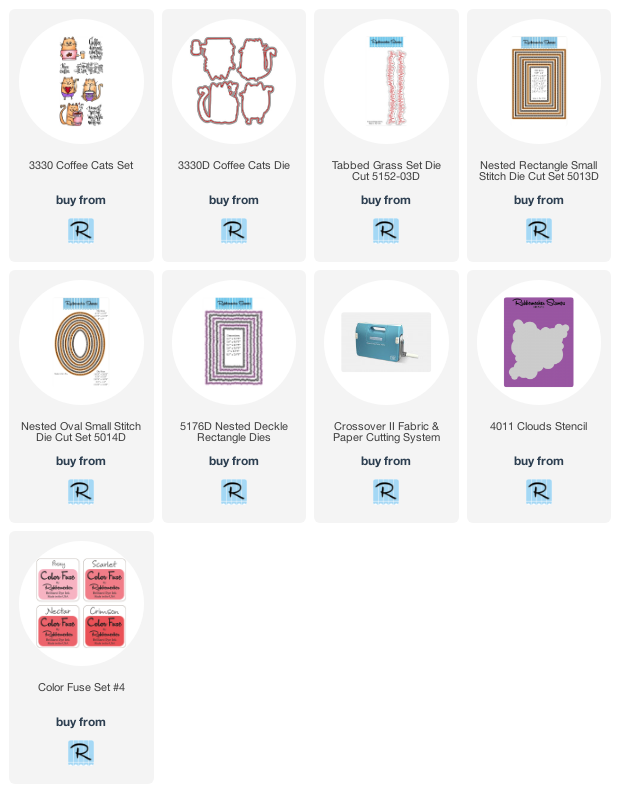
Hi there and welcome!  Today's card is for those of us who may be having a hard time adulting, how about coffee?  If it doesn't make things better, it makes things easier to handle haha.  The stamps, dies, and inks are from Rubbernecker Stamps, links are at the bottom.

Here's how my card was made-
  • Die-cut white cardstock with the Nested Rectangle Small Stitch Die Cut Set (2) and the Nested Oval Small Stitch Die Cut Set (1).
  • Die-cut two shades of green cardstock using the Tabbed Grass Die Cut.

  • Use the Clouds Stencil to stencil pink clouds using Posey Color Fuse Ink.

  • Stamp the sentiment from the Coffee Cats Set with Onyx Black VersaFine Ink and emboss with clear embossing powder.

  • Glue this to one of the rectangle panels and sprinkle Gold Crushed Glitter Glass in the center of the oval.
  • Glue this to the center of pink cardstock that was cut with the Nested Deckle Rectangle Dies.
  • Then glue to a white card.

  • Glue the grass die-cut pieces to the front of the second rectangle.
  • Glue acetate to the back of the rectangle panel and apply foam tape.
  • To help prevent the shaker bits from clinging to the acetate, wipe it with a new dryer sheet.

  • Place this panel over the sentiment panel.
  • Stamp the cute cat from the same set with black ink, color with Inktense Pencils, cut out, and glue to the front of the card.
  • Add a few sequins and you're done.

Have a creative day!
Follow Me- Stamp This, on-
Twitter

Affiliate and Product Disclosure
I am on various Design Teams and get free goodies for blogging about craft products but only because I love their products and genuinely use them. Ultimately my opinions are my own. A list of companies is in my sidebar.
Being part of various affiliate programs – when you click on an affiliate link and then go on to make a purchase, at no cost to you, I receive a small commission.  The affiliates I use include Rubbernecker Stamps.

Monday, November 2, 2020

Baby Boy


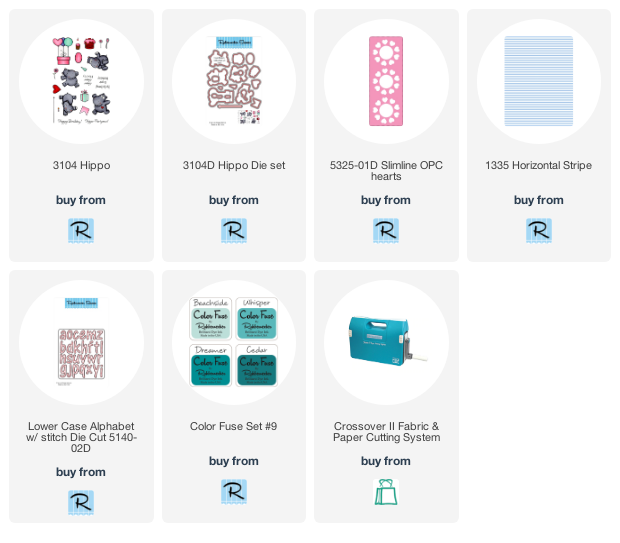
  • Die-cut blue cardstock using the Slimline OPC Hearts die.
  • Stamp this with the Horizontal Stripe background stamp with Whisper Color Fuse Ink.
  • Layer this onto a slightly larger panel of white glitter paper and glue to a darker blue slimline card.


Hi my friends!  Even with the holidays are fast approaching people are still in need of baby cards, those little bundles of joy don't wait!  So I thought that I would make a slimline baby boy card using the Rubbernecker Stamps Hippo set along with their slimline and alphabet dies.
Here 
  • Stamp three of the hippos from the Hippo stamp set with Onyx Black VersaFine Ink and color with gray and pink Inktense Pencils.
  • Use the Hippo Die Set to cut out the hippos and pop up one hippo at each circle.
  • Die-cut the same color cardstock as the card using the Lower Case Alphabet w/stitch Die Cut.
  • Glue b, o, y in each of the circles.
         

Have a creative day!


Follow Me- Stamp This, on-

Affiliate and Product Disclosure
I am on various Design Teams and get free goodies for blogging about craft products but only because I love their products and genuinely use them. Ultimately my opinions are my own. A list of companies is in my sidebar.
Being part of various affiliate programs – when you click on an affiliate link and then go on to make a purchase, at no cost to you, I receive a small commission.  The affiliates I use include Rubbernecker Stamps.

Wednesday, October 28, 2020

Cat Lover's Blog Hop


The card I made today uses the new Thankful Kitty Perfectly Clear Set for the cat,  Build A Wreath Die Set for the leaves and scallop circle, and the Truck Load Die Set for the pumpkin.  All three of the sets can be seen at the bottom of this post.

Here's how my card was made-
  • The cat  and sign were stamped on white cardstock with Onyx Black VersaFine Ink and colored with Inktense Pencils then cut out.
  • Leaves were die-cut from different colors of decorative papers.

  • The scallop circle was used with wood decorative paper that was then glued to a slightly larger white panel and glued to a decorative paper card.
  • The cat was glued inside of the circle and the leaves were glued along the bottom of the circle.
  • The pumpkin was die-cut from orange cardstock and the edges were sponged with orange ink.
  • A jute bow was glued below the sign and a strip of washi tape was place at the top left of the card.

You can see the Stampendous Blog Post HERE and the Cat Lover's Post HERE, be sure to take a look at both, there will be prizes!!!!

Let's connect!

Disclaimer- I get free goodies for blogging about craft products! Today I'm sharing a card made with products from Stampendous

Here are some places that you can find Stampendous Products-
First off check out your local Stamp Store, if they don't have it they can order it.
Online Stores
Scrapbook.com


Tuesday, October 27, 2020

Birthday Shaker


Hi there!  I have a real quick post today since we're in the middle of an ice storm here in Oklahoma, it's the perfect time to stay in my stamp room and create!  I'm getting a jump start on some birthday cards for next year.  Here's the first on made with the new Birthday Numbers Die Set from Stampendous, look at all that you get!!


Let's connect!

Disclaimer- I get free goodies for blogging about craft products! Today I'm sharing a card made with products from Stampendous

Here are some places that you can find Stampendous Products-
First off check out your local Stamp Store, if they don't have it they can order it.
Online Stores
Scrapbook.com


Friday, October 23, 2020

Christmas Card Collection for Flash Back Friday


It's Flash Back Friday and I thought it would be fun to share cards and the directions that I have made using Rubbernecker Stamps from last year and the year before.  All of the Rubbernecker products used are still available, I hope this will give you a bunch of inspiration all in one Post.

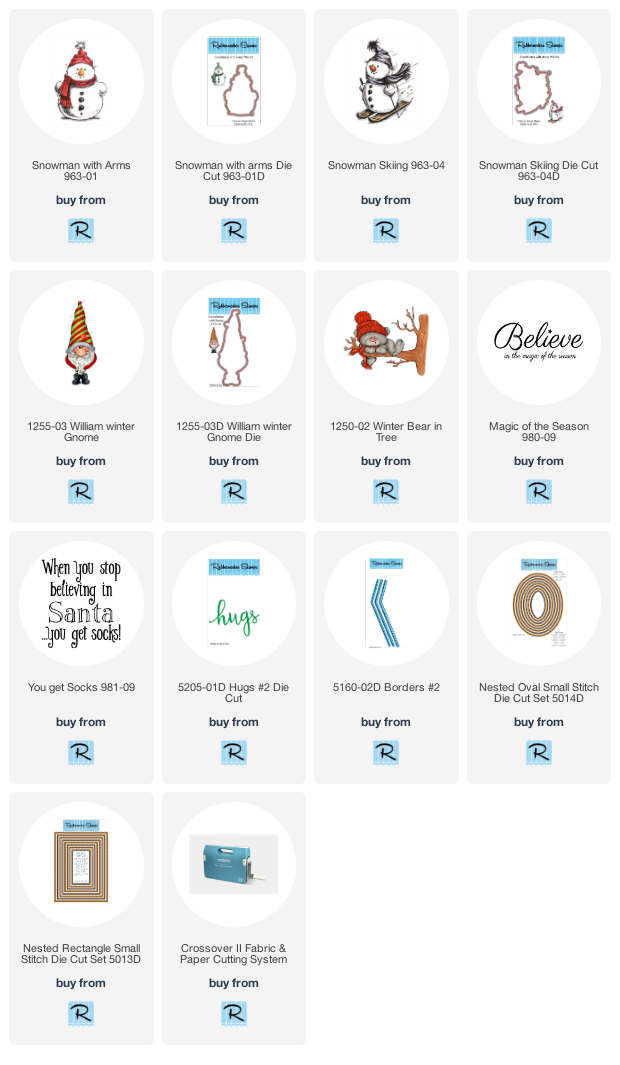
Next up is Snowman with Arms-
  • This cute Snowman With Arms was stamped on white paper, colored with Prisma Pencils and blended with gamsol.  
  • After the snowman was die cut,  the bottom was embossed with Shabby White Embossing Powder and heated from underneath so the powder doesn't blow off. 
  •  Decorative chalk was applied around the snowman with a flat brush. 
  • Tis The Season was stamped with blue, layered on blue and popped up.

2nd Snowman with Arms-

  • This card is using the cute Snowman With Arms from Rubbernecker Stamps.  He's colored with Prisma Colored Pencils and can be cut out with the matching Snowman With Arms Die.
  •  The decorative paper is by The Paper Studio and the snow behind the snowman is Shabby White Embossing Powder from Stampendous.  
  • The circle cut out was made with the Rubbernecker Stamps Nested Circle Stitched Die Set.
Santa with Present-

This is one you can mass-produce pretty quickly, there is coloring involved but not much.  

1.  The Santa with Present was stamped with Onyx Black VersaFine Ink on white cardstock, heat set and colored with Prisma pencils.  
2.  The Nested Oval Stitch Die Set was used to cut the oval.  Set aside. (A matching Santa with Present Die is also available.)
3.  Decorative Christmas paper was layered onto larger white cardstock and glued to a red card.  The Santa with Present was popped up on the right side of the card with 3D Foam Squares from Scrapbook Adhesives by 3L.
4.  Magic of the Season was stamped on a strip of red cardstock with VersaMark ink and embossed with White Embossing Powder. It was then glued to the upper left side of the card.
5.  Three rhinestones were adhered to the left side of the card and you're done!

Snowman Skiing-

  •  He was stamped in black ink, colored with Prisma Pencils and die cut with the Snowman Skiing Die.  
  • The ovals he's layered on were die cut using the Nested Oval Stitch Die with the white oval being embossed with a clear embossing powder with glitter.  
  • The sentiment, Magic of the Season was stamped with Sepia VersaFine Ink and embossed with clear. 
Santa with Presents-


The Santa was stamped in black, colored with Prisma Pencils and die cut using the Santa with Present Die.  For the rectangles, the Nested Rectangle Die Set was used and this is layered onto a panel of decorative paper strips.  If you've been following me you know I've been trying to use up some of my decorative paper because I have a TON!!!!!
Have a creative day :)

William Winter Gnome-

  • William Winter Gnome is colored with Prisma Colored Pencils and glitter was applied to the trim of the hat.


  • He was cut out and popped up on a white panel.  
  • The plaid paper edge was die cut using the Borders #2 die set, isn't that cute!!  
  • Once the papers were glued to a red top folding card, the sentiment Magic of the Season was stamped in black and a twine bow was tied on the top.


Winter Bear in Tree-

  • Winter Bear in Tree is colored with Prisma Colored Pencils and to add a bit of shading around the image,  I used blue decorative chalk and applied it with a flat edged brush.


  • After coloring the image it was die cut using the Nested Rectangle Stitch Die Cut Set and add the "snow" using Shabby White Embossing Enamel.  
  • Layer this onto a kraft colored panel, then onto a striped decorative paper panel.  
  • Glue this to a kraft colored card and pop up a white frame that was cut using the same die set using 3D Foam Squares from Scrapbook Adhesives by 3L.
  • Hugs was die cut using Hugs #2 Die Cut, cut from pink and kraft colored cardstocks and glued together slightly offset.    

I hope that this helps with your Christmas creativity, have a crafty weekend!!


Santa with Present 

Monday, October 19, 2020

Gnome Matter What!


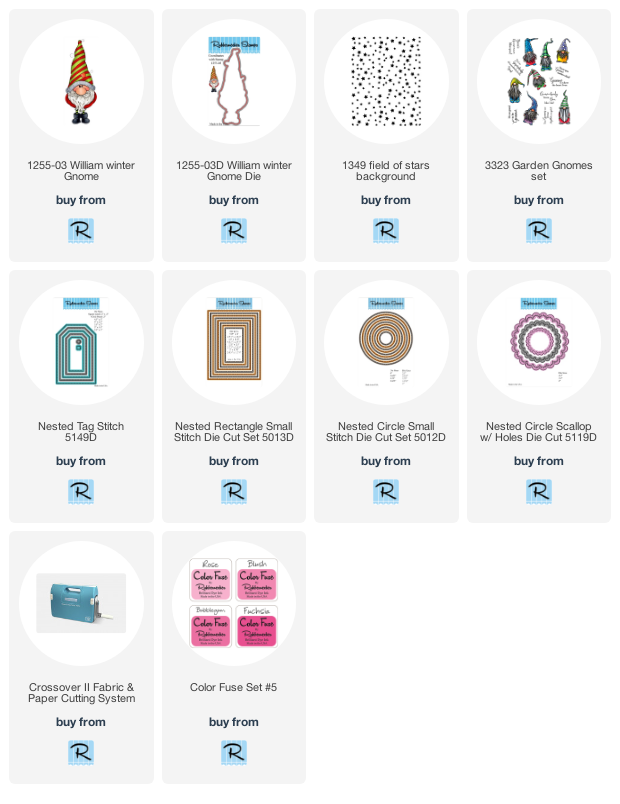
One of my favorite color combos is brown and pink so I thought that William Winter from Rubbernecker Stamps, would look cute in these colors.  William Winter is a Christmas gnome but he doesn't have to be, he can be a love gnome or Valentine gnome.  I think that I'll save this to give to my guy with a box of his favorite candies for Valentine's Day.

Here's how my card was made-
  • Stamp William Winter Gnome on white cardstock with Onyx Black VersaFine ink and color with Prisma Color Pencils with pink, green and brown pencils.
  • Die-cut this out the William Winter Gnome Die and add Unicorn Stickles on the brown stripes to the hat.  Set aside to let dry.

  • Die-cut white cardstock using the Nested Circle Small Stitch Die Cut Set and the Nested Tag Stitch.  
  • Stamp both with the Field of Stars Background stamp using Rose from the Color Fuse #5 set.
  • Die-cut kraft colored cardstock using the Nested Circle Scallop with Holes Die Cut.  Glue the stamped circle onto this. 


  • Stamp the sentiment from the Garden Gnome set on the tag with black ink and glue a little behind William Winter.  Glue this to the circles.

  • Use the largest die from the Rectangle Small Stitch Die Cut Set to cut decorative paper, layer this onto slightly larger white cardstock then glue to a kraft color card.
  • Glue a strip of burlap to the left side of the card and pop up the circles with foam squares.

Have a creative day!


Let's Connect!

Affiliate and Product Disclosure
I am on various Design Teams and get free goodies for blogging about craft products but only because I love their products and genuinely use them. Ultimately my opinions are my own. A list of companies is in my sidebar.
Being part of various affiliate programs – when you click on an affiliate link and then go on to make a purchase, at no cost to you, I receive a small commission.  The affiliates I use include Rubbernecker Stamps.


Friday, October 16, 2020

It's Time To Celebrate!!


It's time to celebrate!  I have a few birthdays coming up that I'll need cards for and wanted to use this great "Balloons and More" set from Stampendous.  The cupcake and candles are separate so you can use the one stamp with a bunch of candles or use the single candle to use just a few. 
Here you can see what all comes in the set, be sure to read the witty sentiments!
  • I stamped the cupcake and candles with Onyx Black VersaFine ink, colored it with Inktense Pencils, cut it out, and added glitter on the flames and on the icing.
  • I wanted to use a layout that was a little different so I placed a white cardstock panel diagonally on a 4" x  5 1/4" decorative panel and glued it down with Zip Dry  Glue.  Once it dried I turned the panel over and cut off the excess white cardstock.

  • Washi tape was added to the white cardstock and "It's time to Celebrate!!!" was stamped at the bottom with black ink.
  • Happy Birthday was stamped diagonally at the top left corner of the white cardstock with black ink and three pink self-adhesive pearls were placed below the sentiment.
  • The cupcake was popped up using 3D Foam Squares from Scrapbook Adhesive by 3L.
  • This was then glued to a pink card and two more self-adhesive pearls were added to the top left of the decorative paper panel.

If you want to see all of the shimmer and shine of this card, stop by my Stamp This Facebook page to see a quick video.

Let's connect!

Disclaimer- I get free goodies for blogging about craft products! Today I'm sharing a card made with products from Stampendous

Here are some places that you can find Stampendous Products-
First off check out your local Stamp Store, if they don't have it they can order it.
Online Stores