Featured Post

Privacy Policy

I'm working on a new privacy policy for my followers, but for now you should know that if you comment on my site, my site collects your ...

Wednesday, July 19, 2023

Merry Christmas Gnomes


Glue a strip of decorative paper from the Snowflake Fun Paper Pad onto a red top folding card.
Place Extreme Double-Sided Tape above and below the decorative paper, remove the carrier and apply crystal glitter to each strip.


Die-cut white cardstock using the Quilted Stitch Pierced Cover Die and then cut that using the Nested Circle Stitch Die Cut Set.
Next cut a frame from red cardstock using the same circle die and one size larger.


Glue the white circle to the center of the decorative paper.
Die-cut acetate using the larger die used for the frame and glue it to the back of the red circle frame.
Place 3D Micro Foam Squares on the back and pop it up over the white circle.
Stamp the gnomes from the Christmas Cheer Gnomes Set, on white cardstock, color with colored pencils and die-cut using the Christmas Cheer Gnomes Dies.
Glue this to the center of the acetate.


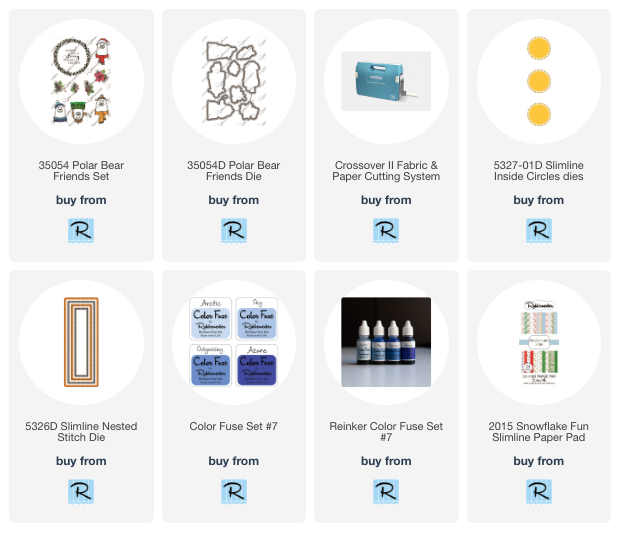
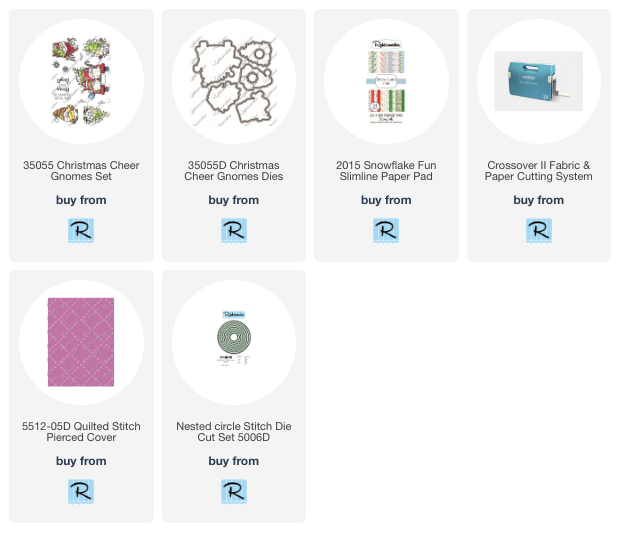
Click on the product below to go to the Rubbernecker Stamps online shop.

Have a crafty day!

Let's Connect!

Affiliate and Product Disclosure
I am on various Design Teams and get free goodies for blogging about craft products but only because I love their products and genuinely use them. Ultimately my opinions are my own. A list of companies is in my sidebar.

Saturday, July 15, 2023

Slimline Polar Bear Card


Share winter wishes with this a slimline card and cute little bears popping up with greetings.

Stamp three of the bears from the Polar Bear Friends Set on white cardstock with black ink and color with colored pencils, then use Polar Bear Friends Dies to cut them out.


Die-cut snowflake paper from the Snowflake Fun Slimline Paper Pad using the largest die from the Slimline Nested Stitched Die set.
Now die-cut this piece by placing the Slimline Inside Circles Dies in the center of the cut panel and run it through your die-cuting machine. I used the Crossover ll Paper Cutting System since it has a wheel at the top of the machine so you can adjust the pressure. So, you can run dies and embossing folders through it without changing plates, plus the plates don't warp.


Place 3D Foam Strips from Scrapbook Adhesives by 3L, on the back of the die-cut panel, ensuring you use enough so no parts of the panel sag. Pop this up on a slightly larger white slimline card.


Die-cut white cardstock with the Slimline Inside Circles Dies and blend the tops of each circle with Artic and Odyssey Color Fuse Inks. I used a blending brush, but a sponge will work as well.
Glue these flat inside of the circles on the card.
Place 3D Circles on the back of three of the bears and pop them up in the circles.


Glue two thin strips of white glitter paper on the card as shown.
Stamp the snowflake two times on white cardstock using Artic Color Fuse Ink and die-cut them using the coordinating die set. 
Pop them up on the glitter paper using 3D Foam Circles.
Place a self-adhesive rhinestone in the center of each snowflake.
Stamp the sentiments on white cardstock using Odyssey Color Fuse Ink, trim them down and pop them up, one by each bear.


Have a crafty day!

Let's Connect!

Affiliate and Product Disclosure
I am on various Design Teams and get free goodies for blogging about craft products but only because I love their products and genuinely use them. Ultimately my opinions are my own. A list of companies is in my sidebar.

Saturday, July 1, 2023

Cat-titude Card


I recently got the Pretty Kitty collection by Doodlebug Designs, and oh my gosh are the papers and stickers cute!! I made this card for the Scrapbook Adhesives Blog with a tutorial on how it was put together and what adhesives were used, you can see it HERE.

Here is a photo of the adhesives that were used.


Here's a picture of the Doodlebug Design products used.


Have a crafty day!

Let's Connect!

Affiliate and Product Disclosure
I am on various Design Teams and get free goodies for blogging about craft products but only because I love their products and genuinely use them. Ultimately my opinions are my own. A list of companies is in my sidebar.


Monday, June 26, 2023

Silhouette Flowers Card


It's new release day at Spellbinders for Simon Hurley! I used the new Watercolor Flower Clear Stamp  and Die Set to make my card. 

1. I stamped the flowers with VersaFine Onyx Black ink and embossed with clear embossing powder on decorative paper.
2. The paper was then glued towards the bottom of a top folding white card, then a gold strip of cardstock was glued below it.
3. The outline die was placed above the flowers and run through my die-cutting machine.
4.The flower die-cut portion was glued to the bottom of the inside of the card. Now to read the sentiment inside, you open the top half of the card.
5. The sentiment from the set was stamped and embossed on the same decorative paper, die-cut with a circle die and layered onto a larger gold circle and popped up on the left side of the card.


Spellbinders has a bunch of other new release stamps and dies, be sure to head to their site to check it out!


Wednesday, June 21, 2023

Floral Friendship Card


Die-cut decorativ paper from the Delightful Dalhia 6x6 Paper Pad using the A2 Striped Cover Die.
(Tip- when removing the die-cut paper from your die-cutting machine, keep the the paper strips in the die and place glue on the back side. Then place the die centered on a 4 1/4" x 5 1/2 piece of cardstock and pop out the strips of paper so that they are glued to the panel. Now you can use this for another card at a later time.)


Take the die-cut decorative paper and glue it to a yellow card.


Die-cut vellum using the Nested Circle Scallop w/ Pierce die and tape it to the left side of the card.
Die-cut the Dahlias and leaves from the Delightful Dalhia Paper Pad and glue one flower down and pop the other up in the right bottom corner, then add the leaves.


Die-cut the Friend Script w/ Shadow Die using white cardstock for the shadow portion and black cardstock for the word.
Use Lilac Color Fuse Ink and sponge it on the white die-cut cardstock piece, then glue the black word on top of it. Pop it up on the right side of the card.


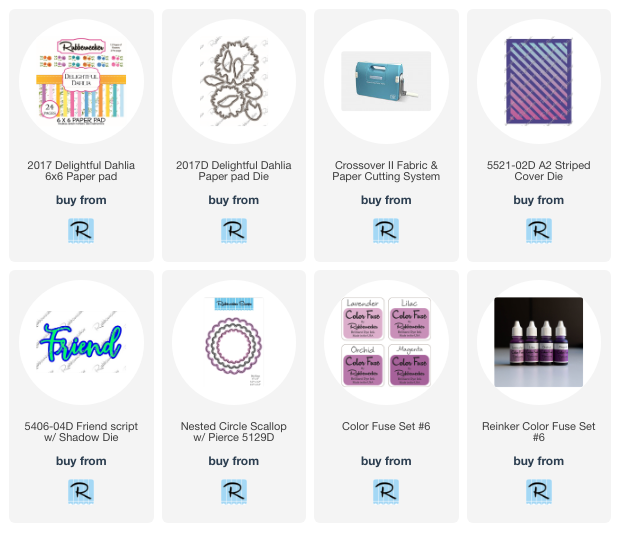
Click on the product below to go to the Rubbernecker Stamps online shop.


Have a crafty day!

Let's Connect!

Affiliate and Product Disclosure
I am on various Design Teams and get free goodies for blogging about craft products but only because I love their products and genuinely use them. Ultimately my opinions are my own. A list of companies is in my sidebar.

Thursday, June 15, 2023

Happy Birthday Bear Card

Today I have this cute bear birthday card up on the Scrapbook Adhesives Blog. 

Die-cut the bear, ballons, gifts cake, and banners from the Birthday Bear Simline Paper Pad.


Die-cut the polka-dot decorative paper from the same pad using a die. Glue this to a pink cardstock panel, using the Dual Tip Glue Pen. Also glue on square decorative paper panel in the center of the bottom row.


Place 3D Foam Circles White Mix, both big and small on the back of the bear and place one large 3D Foam Circle on the back of each balloon.


Place small foam circles behind the banner and pop it up on the top cardstock panel along with the bear and balloons. Glue the cake down using the Dual Tip Glue Pen in the left square and glue two of the presents down in the right square. Pop up the third present up on top of the other two.


Layer the panel onto a slightly larger light blue cardstock panel, then glue it to a white top folding card, using the Dual Tip Glue Pen. Stamp the sentiment at the bottom with blue ink. Place a heart from the E-Z Runner Hearts at the end of the sentiment and sprinkle with Grapefruit Ultra Fine Glitter.


Have a crafty day!

Let's Connect!

Affiliate and Product Disclosure
I am on various Design Teams and get free goodies for blogging about craft products but only because I love their products and genuinely use them. Ultimately my opinions are my own. A list of companies is in my sidebar.

Monday, June 12, 2023

So Sorry Card


Here's my 3rd card made using the new Stampendous Hugs Collection. I used the Stampendous Puppy Hugs Etched Dies and Stampendous Puppy Hugs Faces and Sentiments Clear Stamps, click on the highlighted links to go to the Spellbinders site and take a look at the cute collection.

 Have a crafty day!

Let's Connect!

Affiliate and Product Disclosure
I am on various Design Teams and get free goodies for blogging about craft products but only because I love their products and genuinely use them. Ultimately my opinions are my own. A list of companies is in my sidebar.