Featured Post

Privacy Policy

I'm working on a new privacy policy for my followers, but for now you should know that if you comment on my site, my site collects your ...

Wednesday, August 17, 2022

Get Well Soon


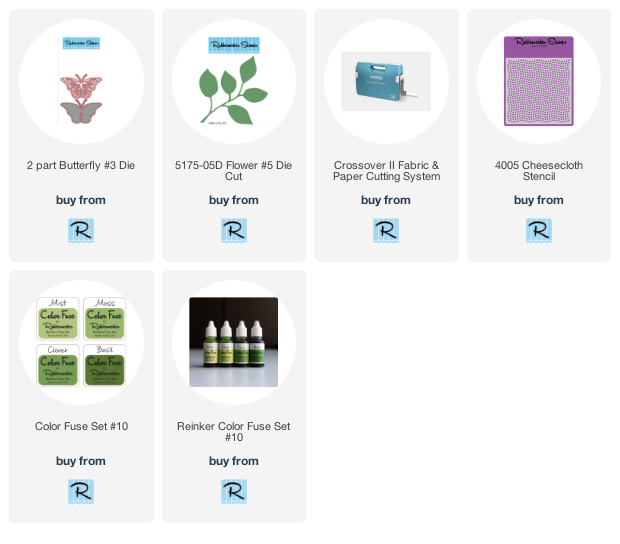
Die-cut the Flower #5 Die-cut and the 2 Part Butterfly #3 Die from watercolor paper using the Crossover II Die-cut Machine.
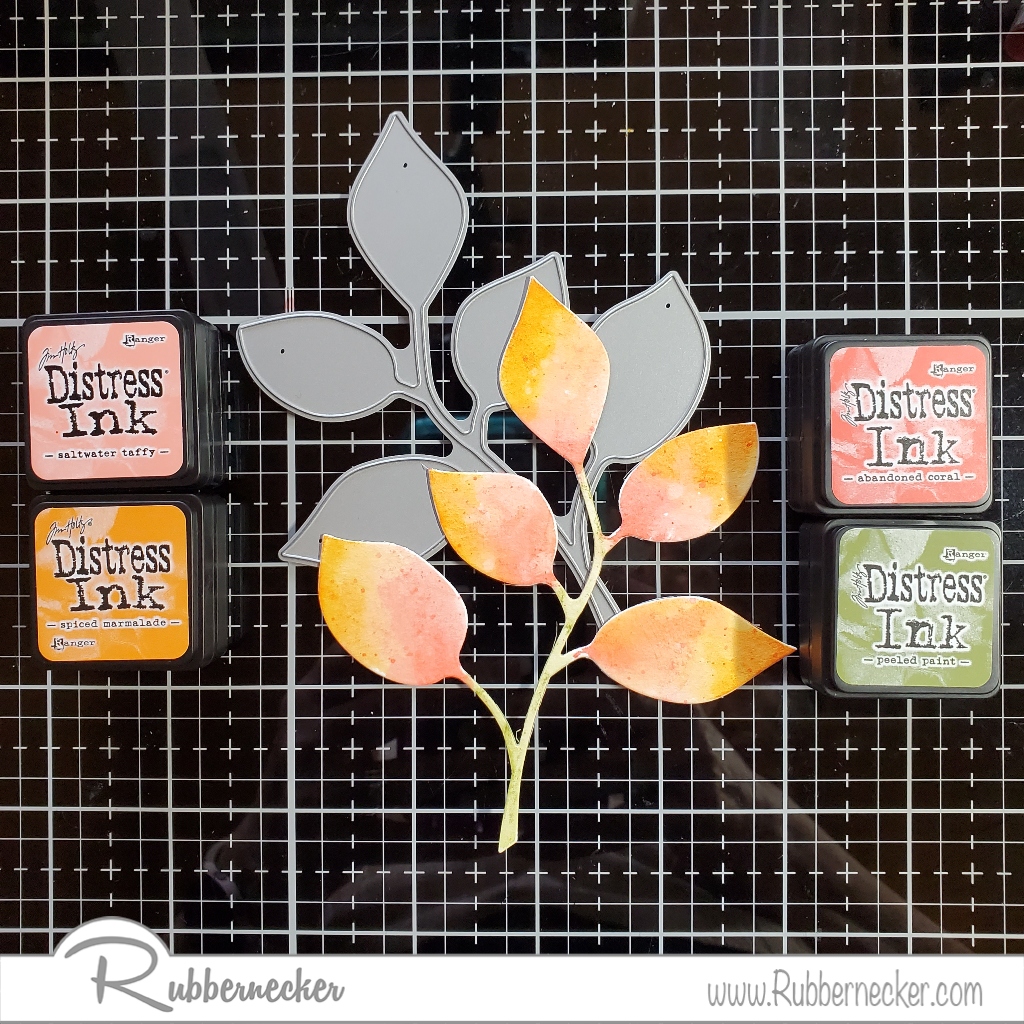
Leave the die-cut pieces in the paper from which it was cut, randomly rub Distress Inks on the watercolor paper, and blend the ink using a wet paintbrush to achieve the desired effect.  
Place the Cheesecloth Stencil on white cardstock and use Moss Color Fuse Ink to stencil the paper.
Glue the body only of the top portion of the butterfly to the bold die-cut piece and glue to the upper right side of the stenciled panel.
Glue the Flower #5 piece below the butterfly at an angle.
Stamp the sentiment from the Kittie Says Phrases #1 with VersaMark ink on black cardstock and emboss it with White Embossing Powder.
Pop this up on the panel with 3D Foam Circles.
Mount this panel to a green card and randomly add Fern Green Liquid Pearls.
 

Monday, August 15, 2022

Fall Leaves Thinking of You


Happy Monday! Today I have a Fall Thinking of You card made with the help of different types of adhesives from Scrapbook Adhesives by 3L.  

Place an Adhesive Sheet 4" x 6" on white cardstock keeping the top liner of the Adhesive Sheet on.  Pull up the liner a bit and place black leaf stickers on the Adhesive Sheet, cut off that section and replace the liner so you can use the rest later.


I had some burlap wired ribbon that I cut a piece off, cut the wires off and placed a strip of Extreme Double-Sided Tape 1" on the back and adhered it to a tan panel that has been stamped with a dot background with brown ink.  


You aren't able to see the adhesive through the burlap.


3D Foam Strips were placed on the back of the panel, you want to use enough of the 3D Foam Strips on the back so that you don't have the edges or middle sagging.


Making the leaves was so much fun! I used different techniques for them, some leaves were made by rubbing a Foil Transfer Sheet on the leaf, and some were made with the foil marbling technique which is where you crumble up some foil, and place it on the leaf. When you remove the sheet, the foil that will be left on the leaf will look like veins. You will then sprinkle it with crystal glitter. Others only had glitter placed on them.
The leaves were mounted on the burlap ribbon using E-Z Runner Squares.


The sentiment was stamped on the bottom of the card with black ink, then black glitter washi tape was added to the top and the bottom of the burlap. This panel was then mounted to a black card using the E-Z Runner Squares.

Materials Needed:

Scrapbook Adhesives by 3L® Adhesive Sheets 4"x6" Metallic Transfer Foil Sheets Natural Colors Metallic Transfer Foil Sheets Pastels E-Z Runner Squares

Home Hobby by 3L® Premium Double-Sided Tape 1"


 Plus 
Stampendous- Glitter
Rubbernecker Stamps- Sentiment & Background Stamp
Krazy Kreations- Leaf Stickers

Have a crafty day!

Let's Connect!

Affiliate and Product Disclosure
I am on various Design Teams and get free goodies for blogging about craft products but only because I love their products and genuinely use them. Ultimately my opinions are my own. A list of companies is in my sidebar.

Friday, August 5, 2022

All You Need- Fall Card


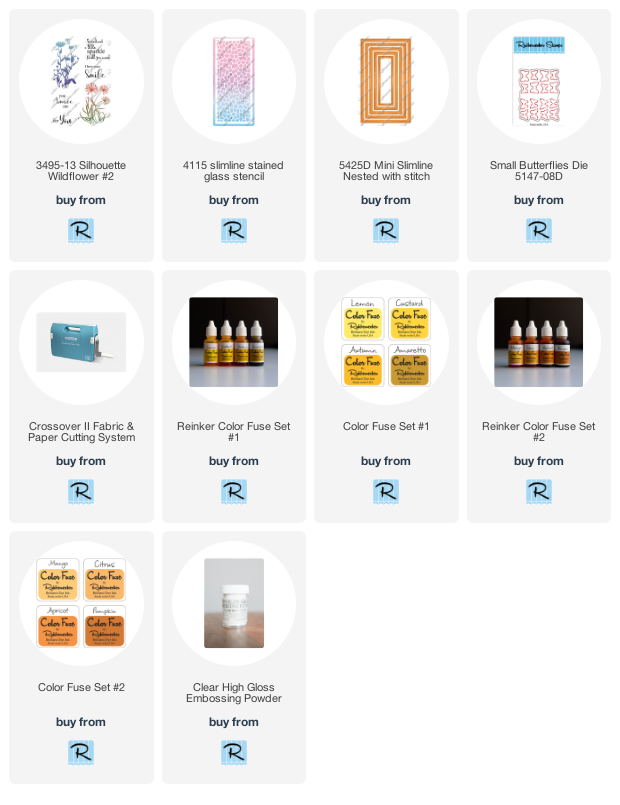
Die-cut white cardstock using the Mini Slimline Nested Die With Stitch.
Place the Slimline Stained Glass Stencil on the paper and apply inks from Color Fuse Inks #1 and #2 Sets.
Stamp flowers from the Silhouette Wildflowers #2 Set with VersaFine Onyx Black Ink on the bottom of the panel and emboss it with Clear Embossing Powder and the sentiment above the flowers a little off center.
Layer this onto slightly larger black and white cardstock panels and then onto a rust colored card.
Randomly apply clear rhinestones around the flowers and the sentiment.


Click on the product below to go to the Rubbernecker Stamps online shop.

Monday, August 1, 2022

You Are My Sunshine


Hi, today I have this card up on the Scrapbook Adhesives by 3L Blog.  You don't need a rainbow die to make a rainbow card.  

Here's how my card was made-

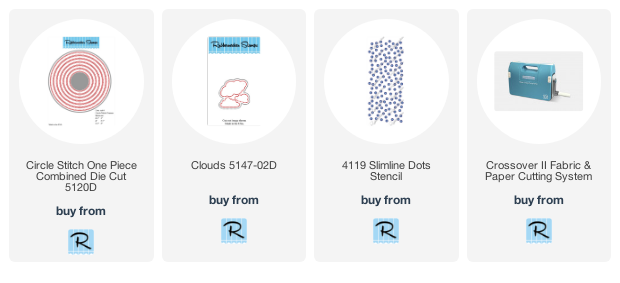
Die-cut different colors of cardstock using a one-piece circle die.


Pick the colors and sizes that you want to use and cut them in half.  Place them in order and apply Extreme Double sided tape on the back side to keep all of the pieces together.


Use a dot stencil to dry emboss white cardstock.


Use the E-Z Runner Squares to attach the white dry embossed pane to a purple card.
Remove the liner from the back of the rainbow and place it on the white panel.


Die cut two clouds from white cardstock and pop them up on each end of the rainbow using 3D Foam Circles White Mix.


Stamp the sentiment on purple cardstock using purple ink and place it under the clouds using E-Z Runner Squares.  Place a yellow enamel dot on each side of the sentiment and randomly add smaller enamel dots around the rainbow.


Materials Needed:


Scrapbook Adhesives by 3L®
E-Z Squares Refillable Dispenser
3D Foam Circles White Mix

Home Hobby by 3L®
Extreme Double-Sided Tape 1/4"

Plus-
Rubbernecker Stamps- Dies, Stencils, Diecutting Machine
Printworks Specialty Paper- All of that pretty Cardstock.

Click on the product below to go to the Rubbernecker Stamps online shop.
Have a crafty day!

Let's Connect!

Affiliate and Product Disclosure
I am on various Design Teams and get free goodies for blogging about craft products but only because I love their products and genuinely use them. Ultimately my opinions are my own. A list of companies is in my sidebar.

Wednesday, July 20, 2022

Christmas in July


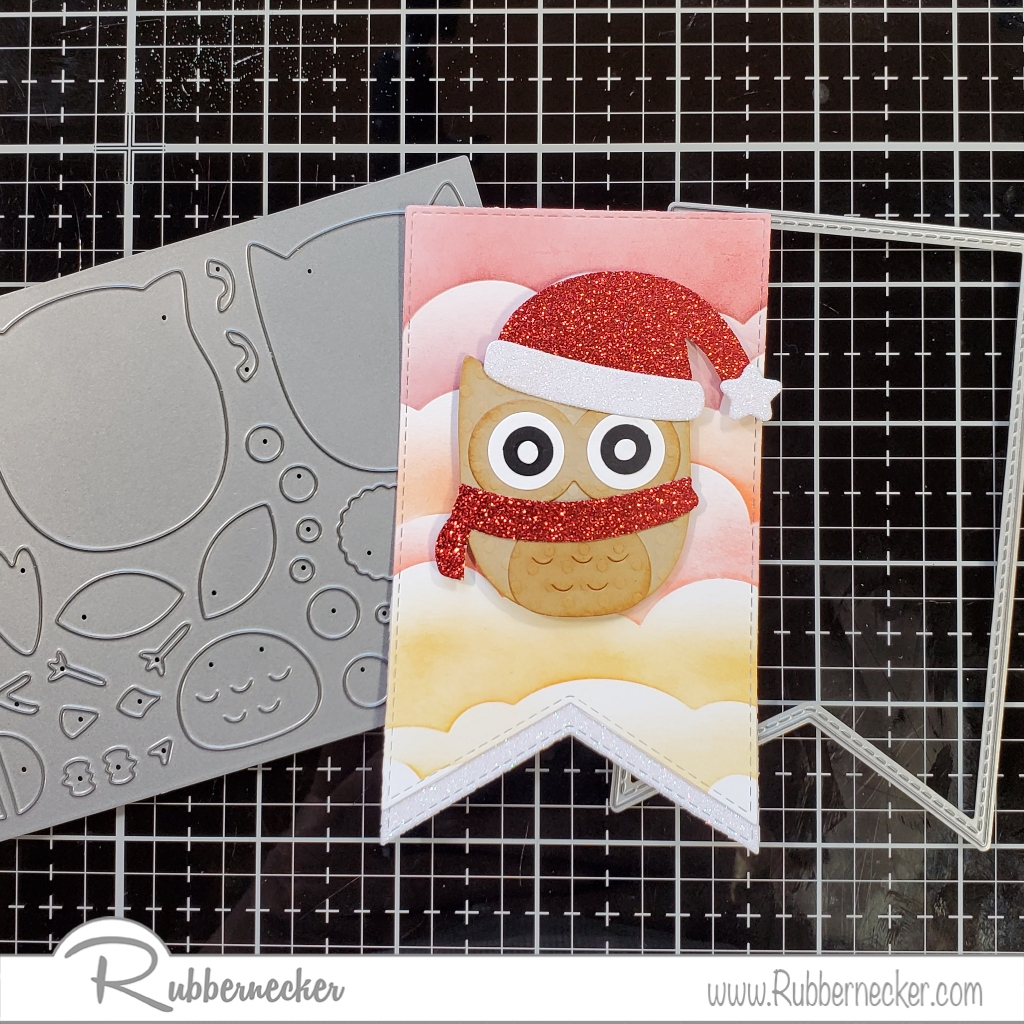
Today I have a Christmas card made with stamps, stencils and dies from Rubbernecker Stamps. Here's how my card was made-

Place the Snowflake Stencil on a red cardstock panel and apply white pigment ink over the stencil. 


Now it's time to die-cut all of your pieces.  The Build an Owl Die was die-cut from a textured tan cardstock, white cardstock, black cardstock and peach cardstock.
Use the Owl Christmas Add On's Die to die-cut red and white glitter papers.
Die-cut white cardstock and white glitter paper using the largest die from the Nested Banner Stitch Die.


Now create your owl and set it aside.
Use the Clouds Stencil to make clouds on the banner using colors from Color Fuse Inks #1, #2, and #4.
Glue this onto the white glitter panel so the bottom can be seen on the banner.
Use foam squares to pop up the Santa owl on the cloud banner.
Glue the banner to the stenciled snowflake panel.
Stamp the sentiment with VersaMark Ink on a strip of red cardstock and emboss it with White Embossing Powder.
Die-cut this using the large Nested Banner Stitch Die and pop it up under the his feet using foam squares.
Glue the completed piece to a top folding white card and tie the top with white and gold twine.


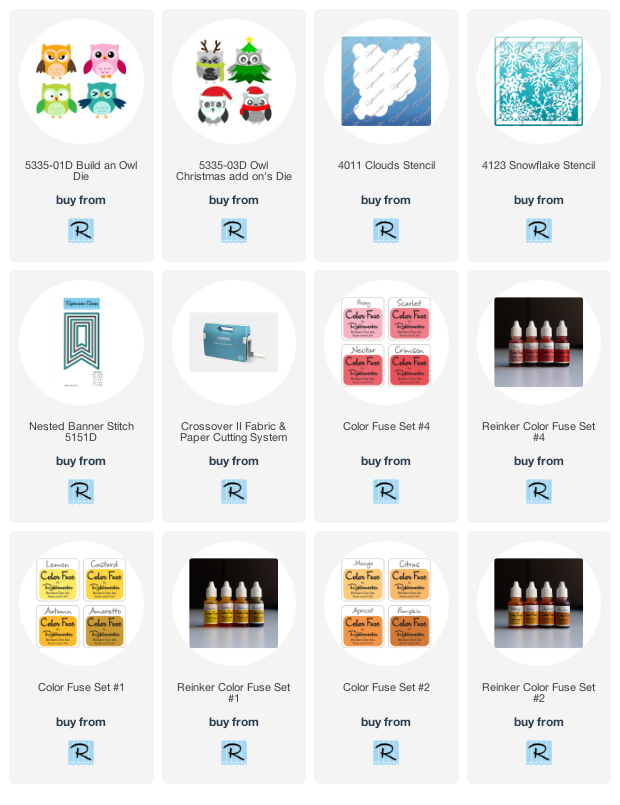
Click on the items below to go to the Rubbernecker Stamps online shop.

Have a crafty day!

Let's Connect!

Affiliate and Product Disclosure
I am on various Design Teams and get free goodies for blogging about craft products but only because I love their products and genuinely use them. Ultimately my opinions are my own. A list of companies is in my sidebar.

Friday, July 15, 2022

Gift Tags with Tag Holders


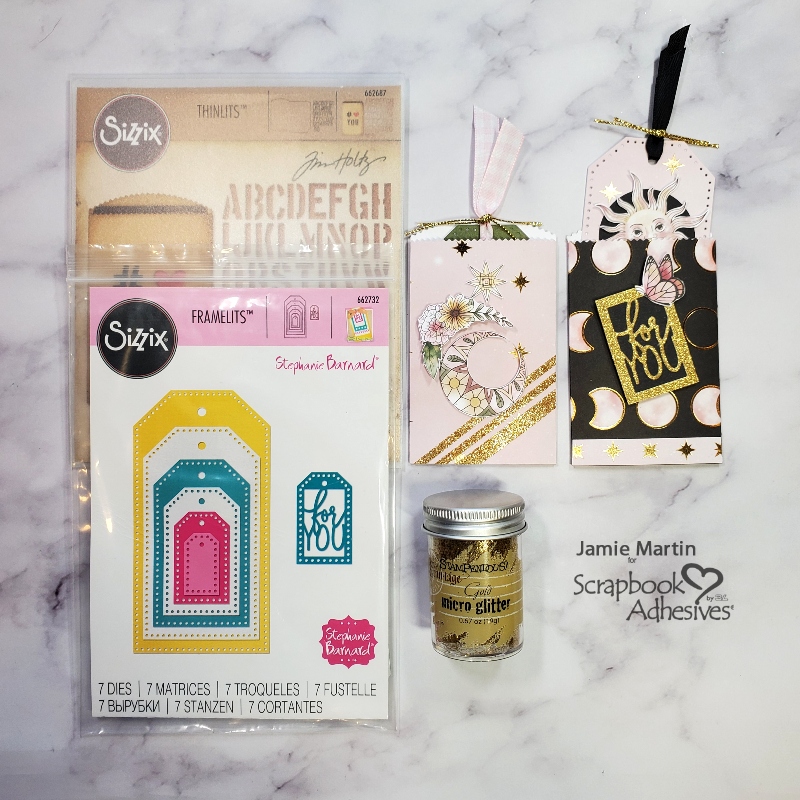
Hi my friends, today I have these tags and matching tag holders up on the Scrapbook Adhesives by 3L Blog.


The tag holder was die-cut from decorative paper and Extreme Double-sided tape 1/8" was used to seal the seams.


A sun from the paper pack was cut out and Extreme Double-sided tape 1/8" was used to adhere it to a circle die cut from black cardstock.
For You was die-cut from gold glitter paper, layered onto black cardstock and popped up on the tag holder using 3D Foam Circles Black Mix.
A small butterfly was cut out from the paper pack and popped up on the right corner of the For You also using 3D Foam Circles.


This was then placed on a die-cut tag also using the Extreme Double-sided tape 1/8".
Black ribbon was added to the top of the tag and tied with gold cord.


This tag holder was made the same as above and to add a little bling.


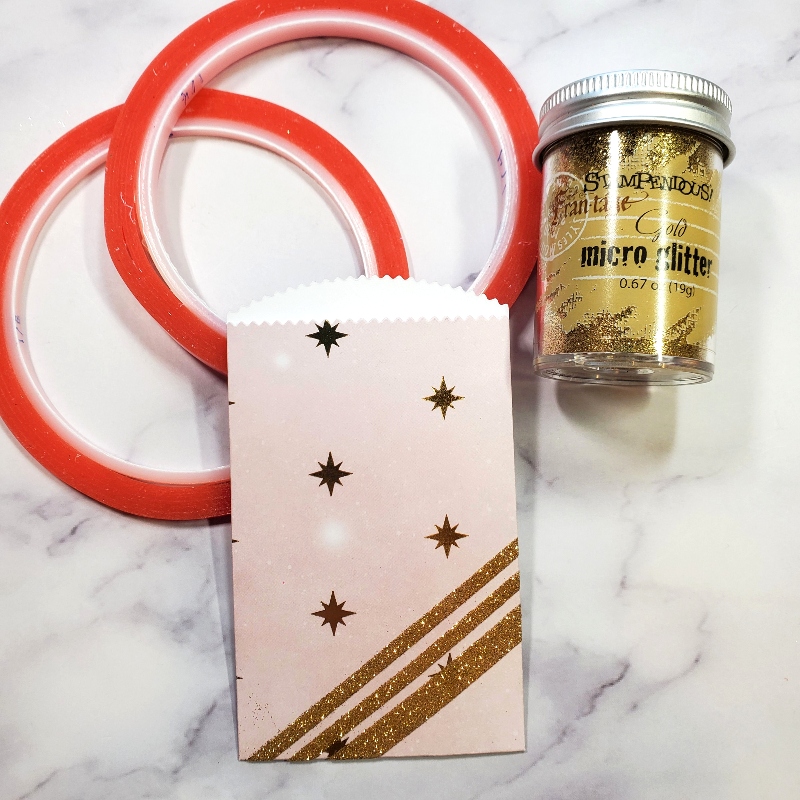
Two strips of Extreme Double-sided Tape 1/8" and one of Extreme Double-sided Tape 1/4" were placed diagonally at the bottom right of the holder.  Gold Micro Glitter was sprinkled over the tape and rubbed in to insure adhesion.  Shake off any extra glitter and place it back into the bottle.


Materials Needed:

Scrapbook Adhesives by 3L® 3D Foam Squares Black Mix

Home Hobby by 3L® Extreme Double-sided Tape 1/8" Extreme Double-sided Tape 1/4"

Plus Sizzix Tim Holtz & Stephanie Bernard Collections- Dies Printworks Specialty Paper- Gold Glitter Paper, Black Cardstock Recollections- Decorative Paper

Have a crafty day!

Let's Connect!

Affiliate and Product Disclosure
I am on various Design Teams and get free goodies for blogging about craft products but only because I love
their products and genuinely use them. Ultimately my opinions are my own. A list of companies is in my sidebar.


Wednesday, July 6, 2022

Be Merry Wreath


Hi crafty friends, have you started thinking about your Christmas cards?  No, it's not too early to start, I have a Christmas card that is easy to mass-produce. Rubbernecker Stamps is having Christmas in July to help you begin your cards so they'll be ready in time to send out.  

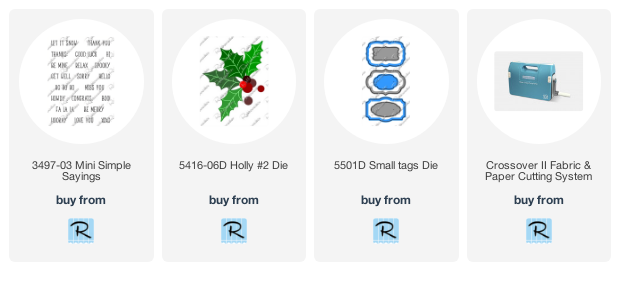
My card is up on the Rubbernecker Blog with a tutorial you'll want to check out! Below is a list of Rubbernecker Stamps products used, just click on the image to go to their online shop.

Have a creative day! 


Let's Connect!

Affiliate and Product Disclosure
I am on various Design Teams and get free goodies for blogging about craft products but only because I love their products and genuinely use them. Ultimately my opinions are my own. A list of companies is in my sidebar.