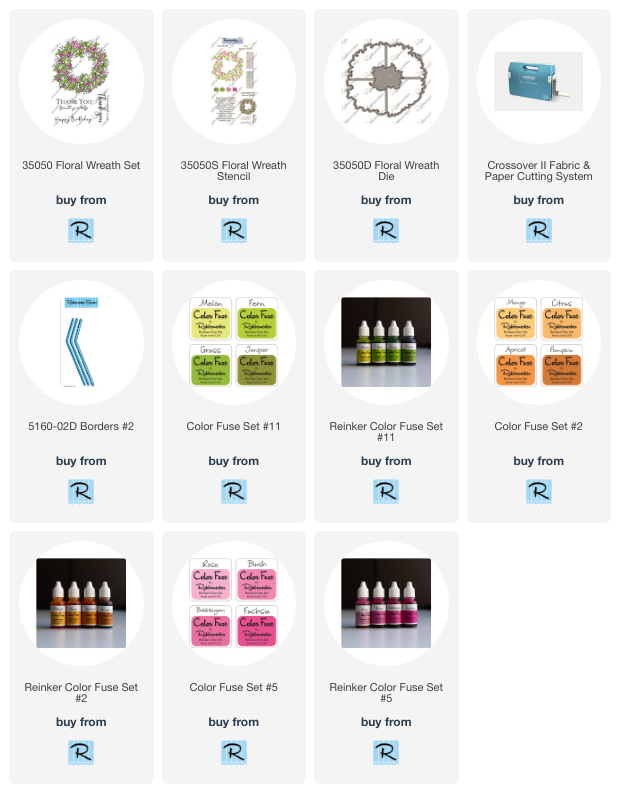
For the first day of Spring, I have a card made with the beautiful Floral Wreath Set along with the coordinating Floral Wreath Stencil and Floral Wreath Die. The Stencil Set makes this quick and easy to color.
Here's how my card was made-
Use the coordinating stencils to add Color Fuse Inks using blending brushes.
Die-cut the bottom of and orange panel of paper using a border die from the Borders #2 Set.
Splatter white on the panel by mixing a little water with Dr.Ph Martin's Bleed Proof White, this paint is very opaque.
Next, place three strips of 3D Foam Strips on the back of the orange panel, these are from Scrapbook Adhesives by 3L.
Pop the panel up on a lighter orange card and stamp the sentiment with Onyx Black VersaFine Ink.
Die-cut the wreath using the coordinating Wreath Die and place 3D Foam Circles on the back.
Pop the wreath up on the card and use the Dual Tip Glue Pen to glue a bow at the top of the wreath.
Lastly, apply Premium Double-Sided Tape 1/8", also from Scrapbook Adhesives by 3L, to the back of a strip of white and gray striped paper and place it on the left edge of the card.
Click on the product to go to the Rubbernecker Stamps online shop.
Have a crafty day!


No comments:
Post a Comment